This post may contain affiliate links. Please read our disclosure policy.
Time for some real talk about my photography! I was recently looking back at old photos, comparing styles and edits, and I realized how far my food photography has actually come. Today, you’ll get a little peek into my photography background, and I’ll share 5 Ways I Improved My Food Photography in Less Than a Year.
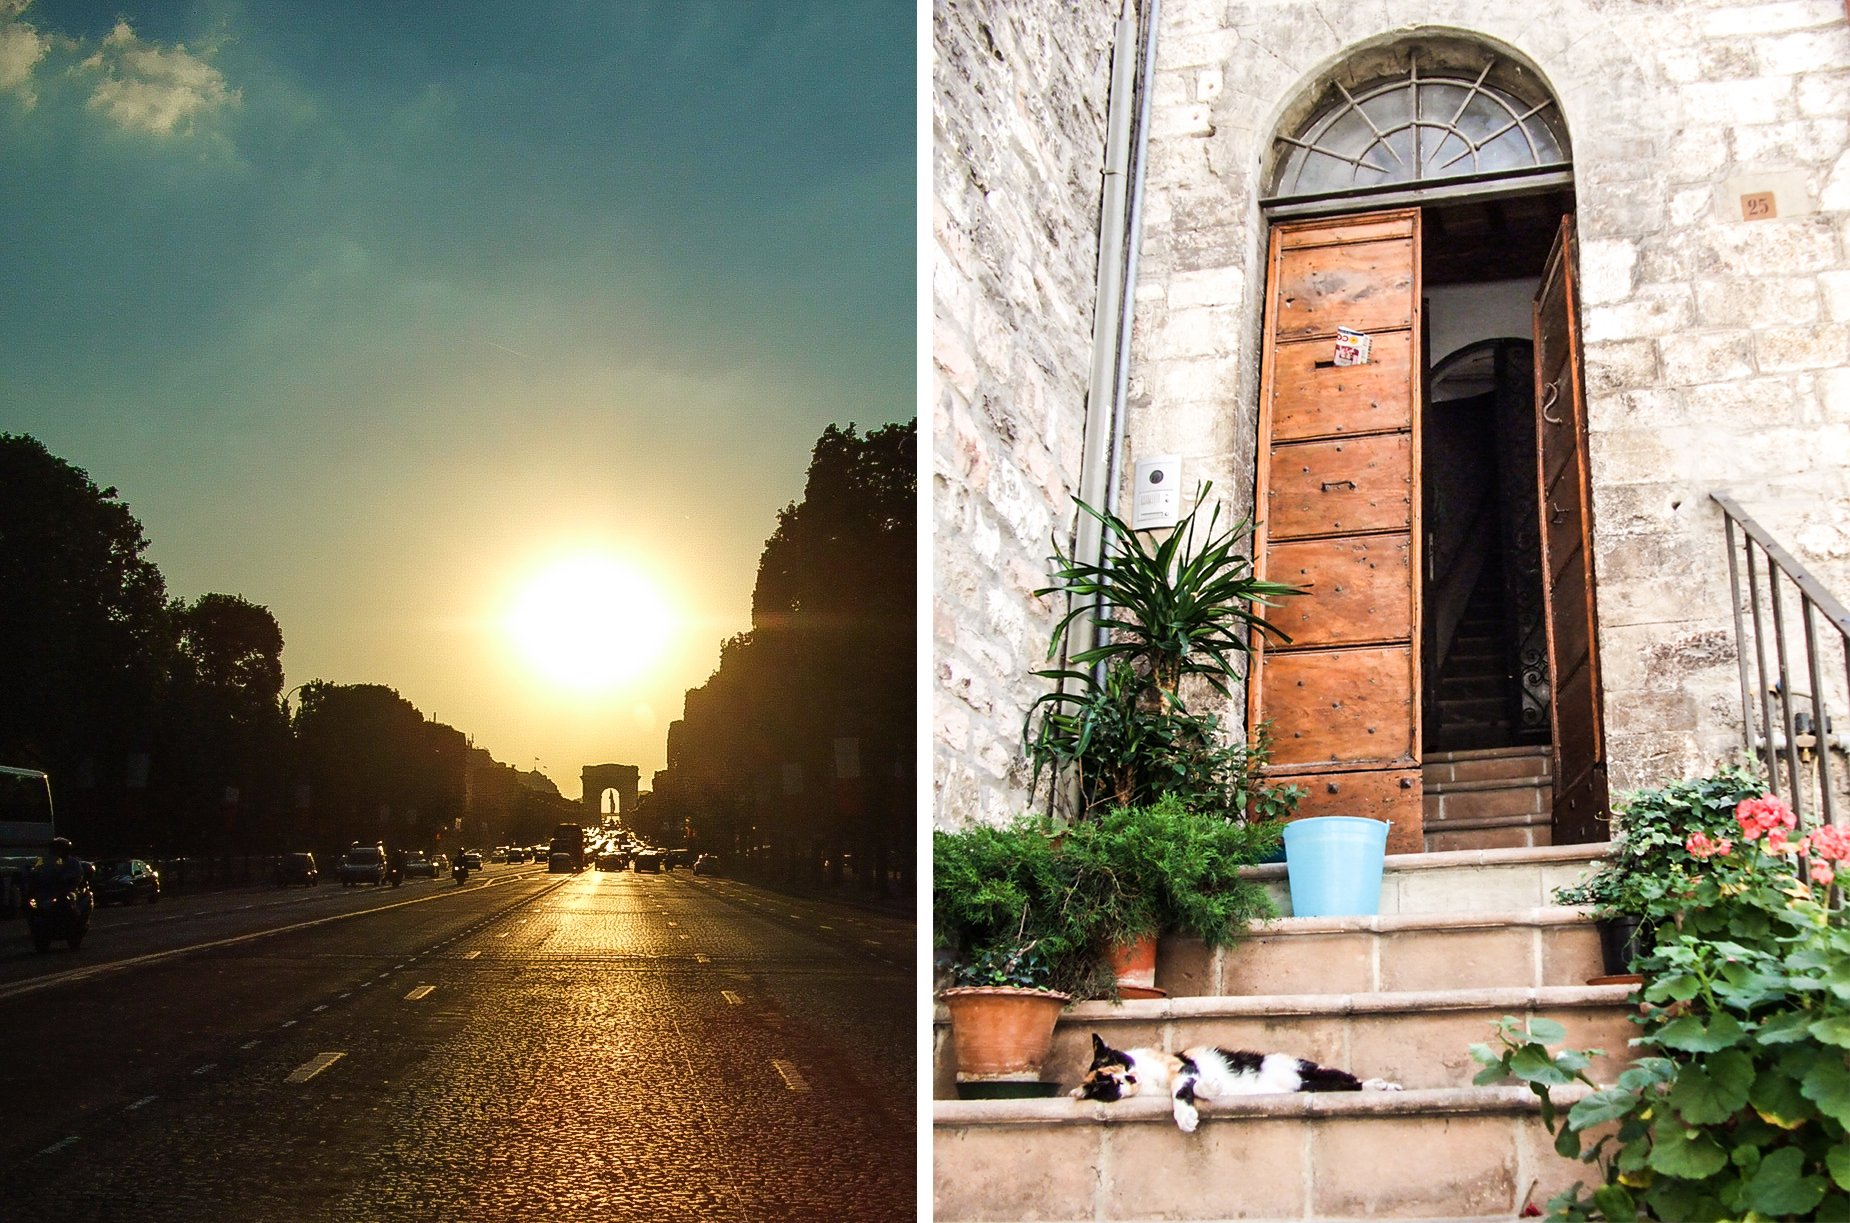
When I was 17, I was fortunate enough to travel to Europe with a group of classmates from my high school. I’d never left the country before, let alone without a parent, so it was especially thrilling for me. We started in Paris, took the TGV down to Nice, and then traveled by bus along the coast through Monaco, and into Italy (stopping in Pisa and Pompeii), finally ending in Rome.
Before we left on this trip, I used all my birthday money to buy a new digital camera (and memory card). ALL OF IT. And I’m pretty sure my phone now has twice as many megapixels than that camera did. This was only 2007 you guys. That technology has come SO far. Anyway.
The trip was 8 days long. Guess how many pictures I took: Over NINE HUNDRED. And I still have every single one. Here’s a sample:
Fast forward like, 8 or 9 years. I get a Nikon DSLR as a Christmas gift. I start using it. I L-O-V-E it. I start the blog. I learn how to ACTUALLY use Manual mode and make food look yummy (ALL from Lindsay Ostrom’s book Tasty Food Photography!).
I spend a lot of time practicing. And now, here we are. I’m not a photography genius by ANY standard, but I’ve identified five different ways I improved my photography since a year ago, and I hope you’ll agree.
5 Ways I Improved My Food Photography
(in Less Than a Year)
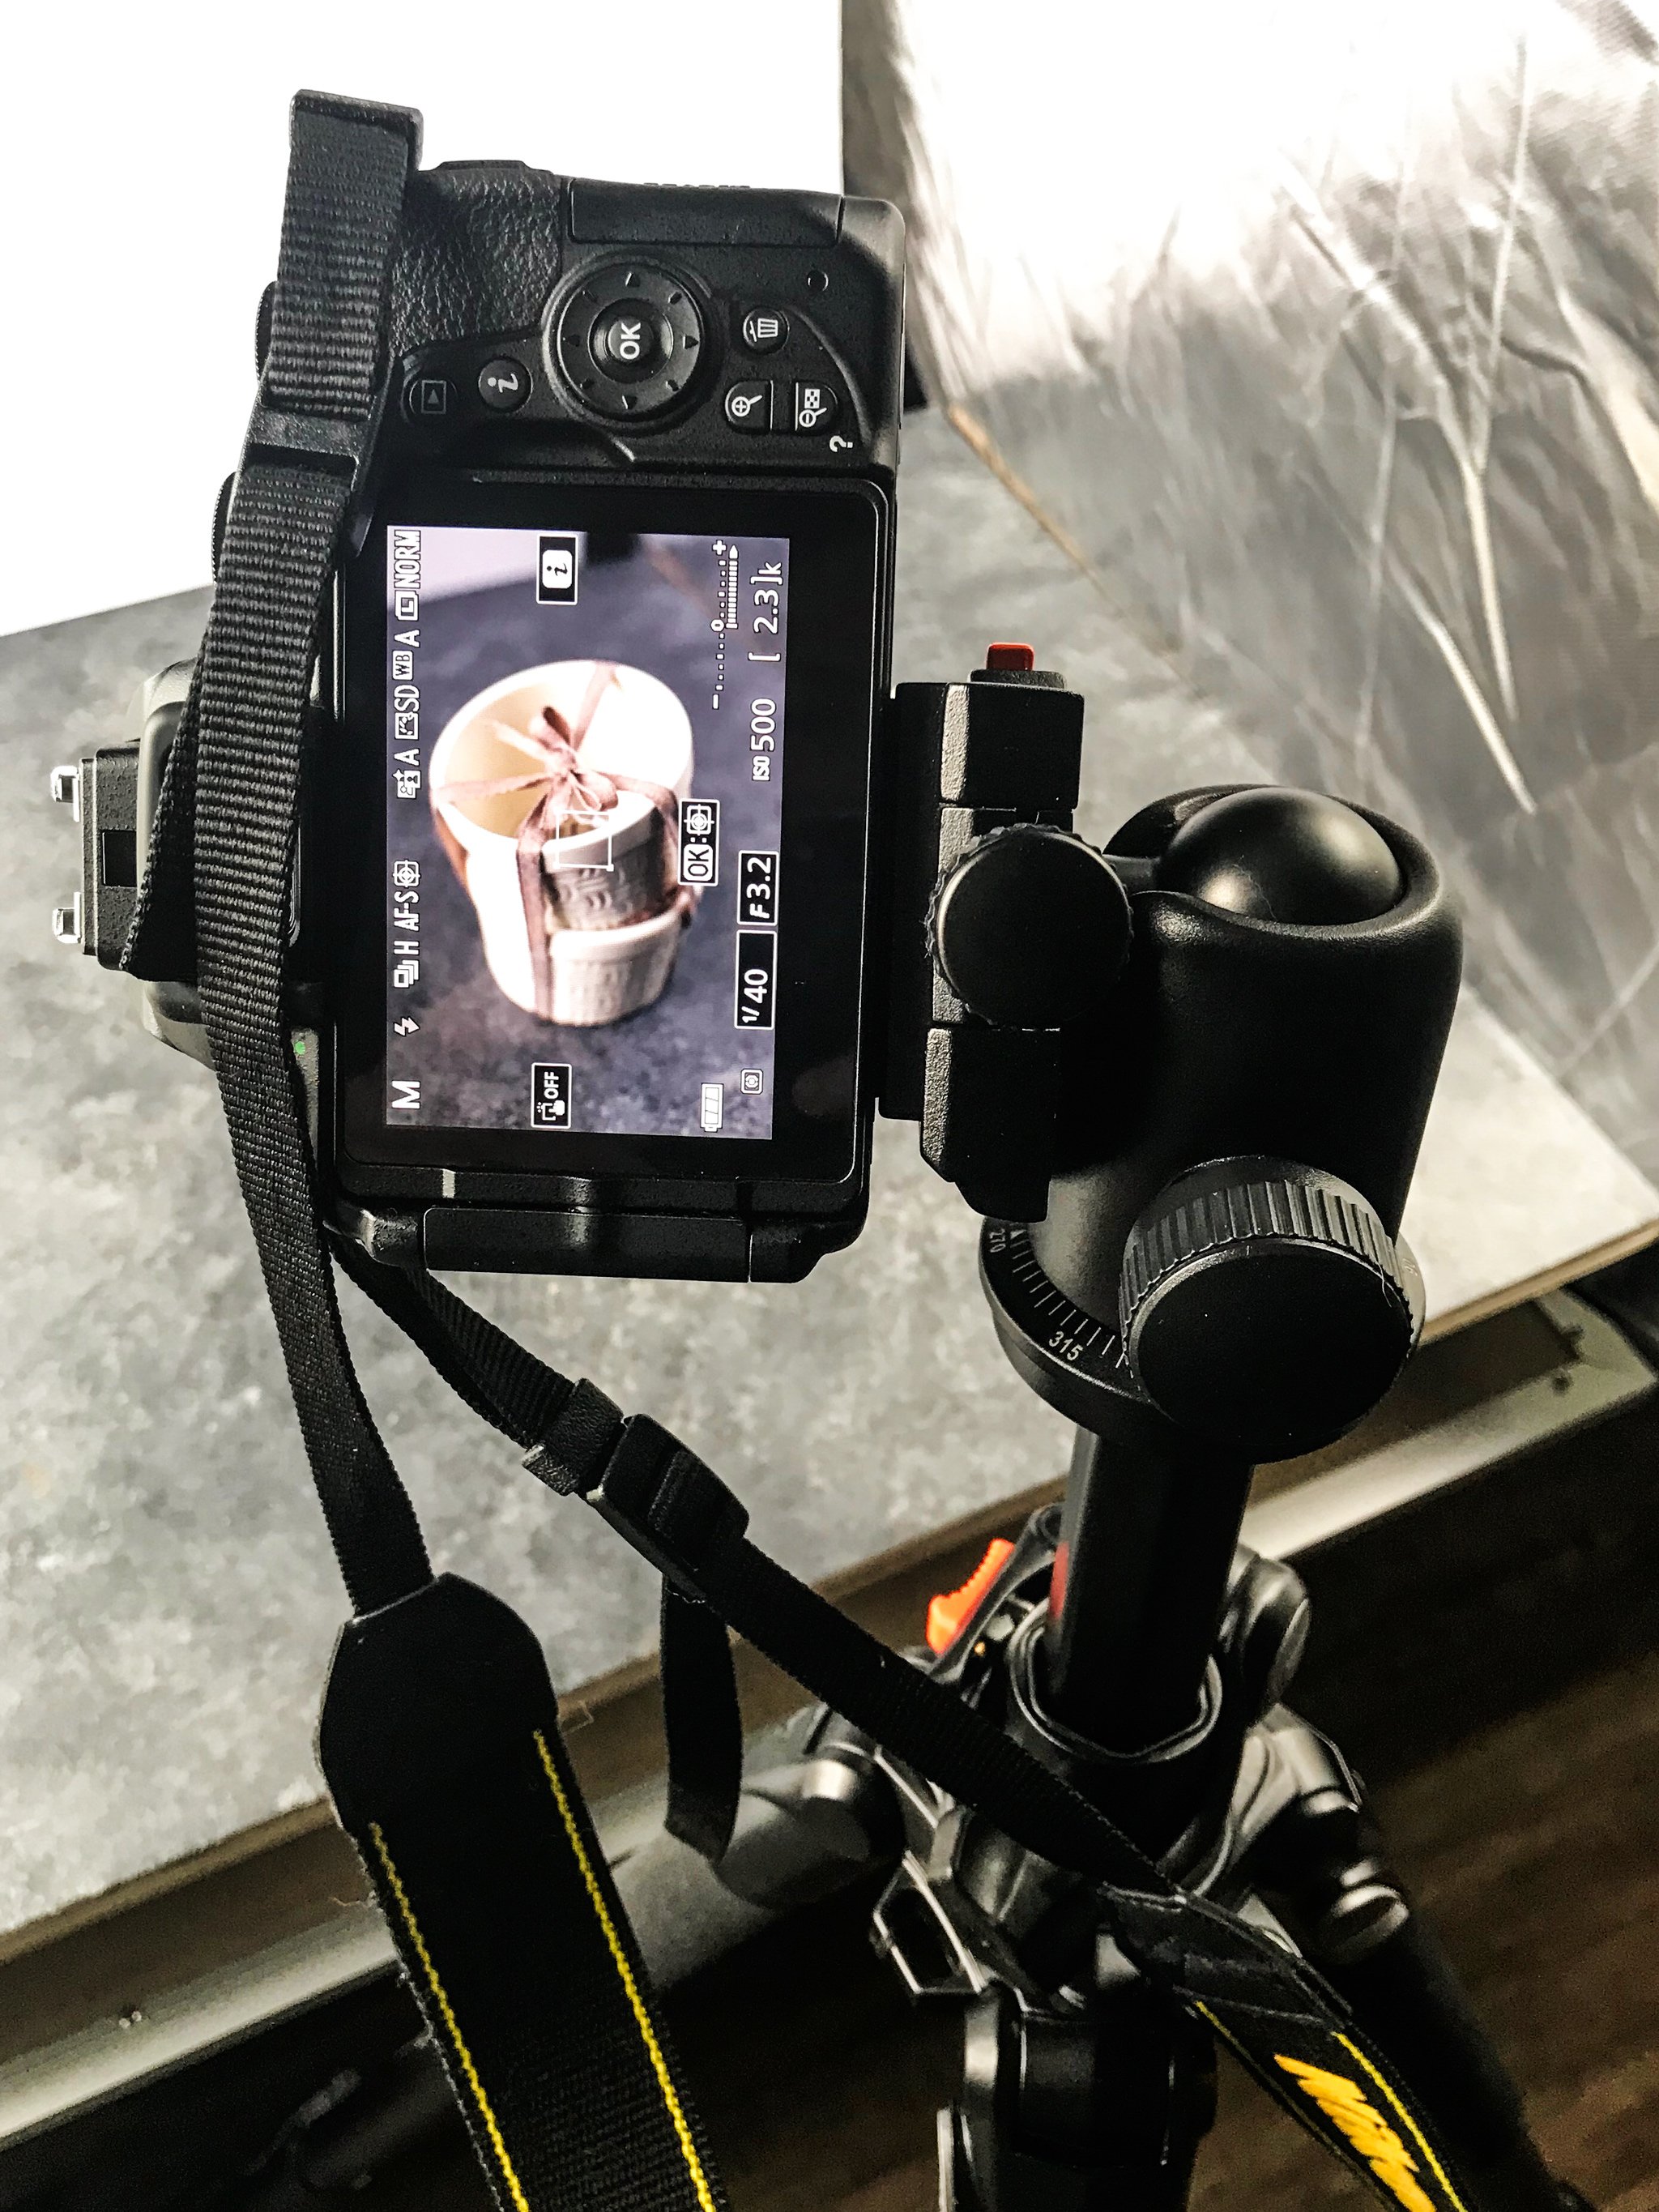
I started using a tripod.
I will never ever again hold my camera to my eye with my left hand and try to pour something with my right hand. Using a tripod revolutionized so many things about my photography – I’m annoyed with myself for not investing sooner.
I use a Vanguard Alta Pro (affiliate link – I actually bought a second one for video) and I have absolutely zero complaints. Here are the reasons I love it:
- Using a tripod eliminates the hand-shakiness that causes blur in photos. By not using a tripod, I was limiting my options for shutter speed, as anything slower than 1/80 would give me blurry photos. This caused me to rely on bumping my ISO, or settling for poorly lit photos (or both). With a tripod, I can set the shutter speed WAY slower so even on a super grey day (hello PNW life), I can still take bright photos.
- A free hand! When needed, I can set the camera timer and have a photo taken from the tripod with two hands in it. Crazy, I know.
- It works great for overheard video because you can switch the central arm anywhere from 0 to 180 degrees horizontally or vertically.
- I can make awesome GIFs, since I’m able to keep the camera in the exact same position and change small things for each shot.
- Using a tripod helped me improve my composition. I can set the camera on the tripod, arrange my items, test it out, and repeat with the exact same shot, instead of hoping for everything to turn out right and trying to repeat it by standing at the same awkward angle.
I improved my composition.
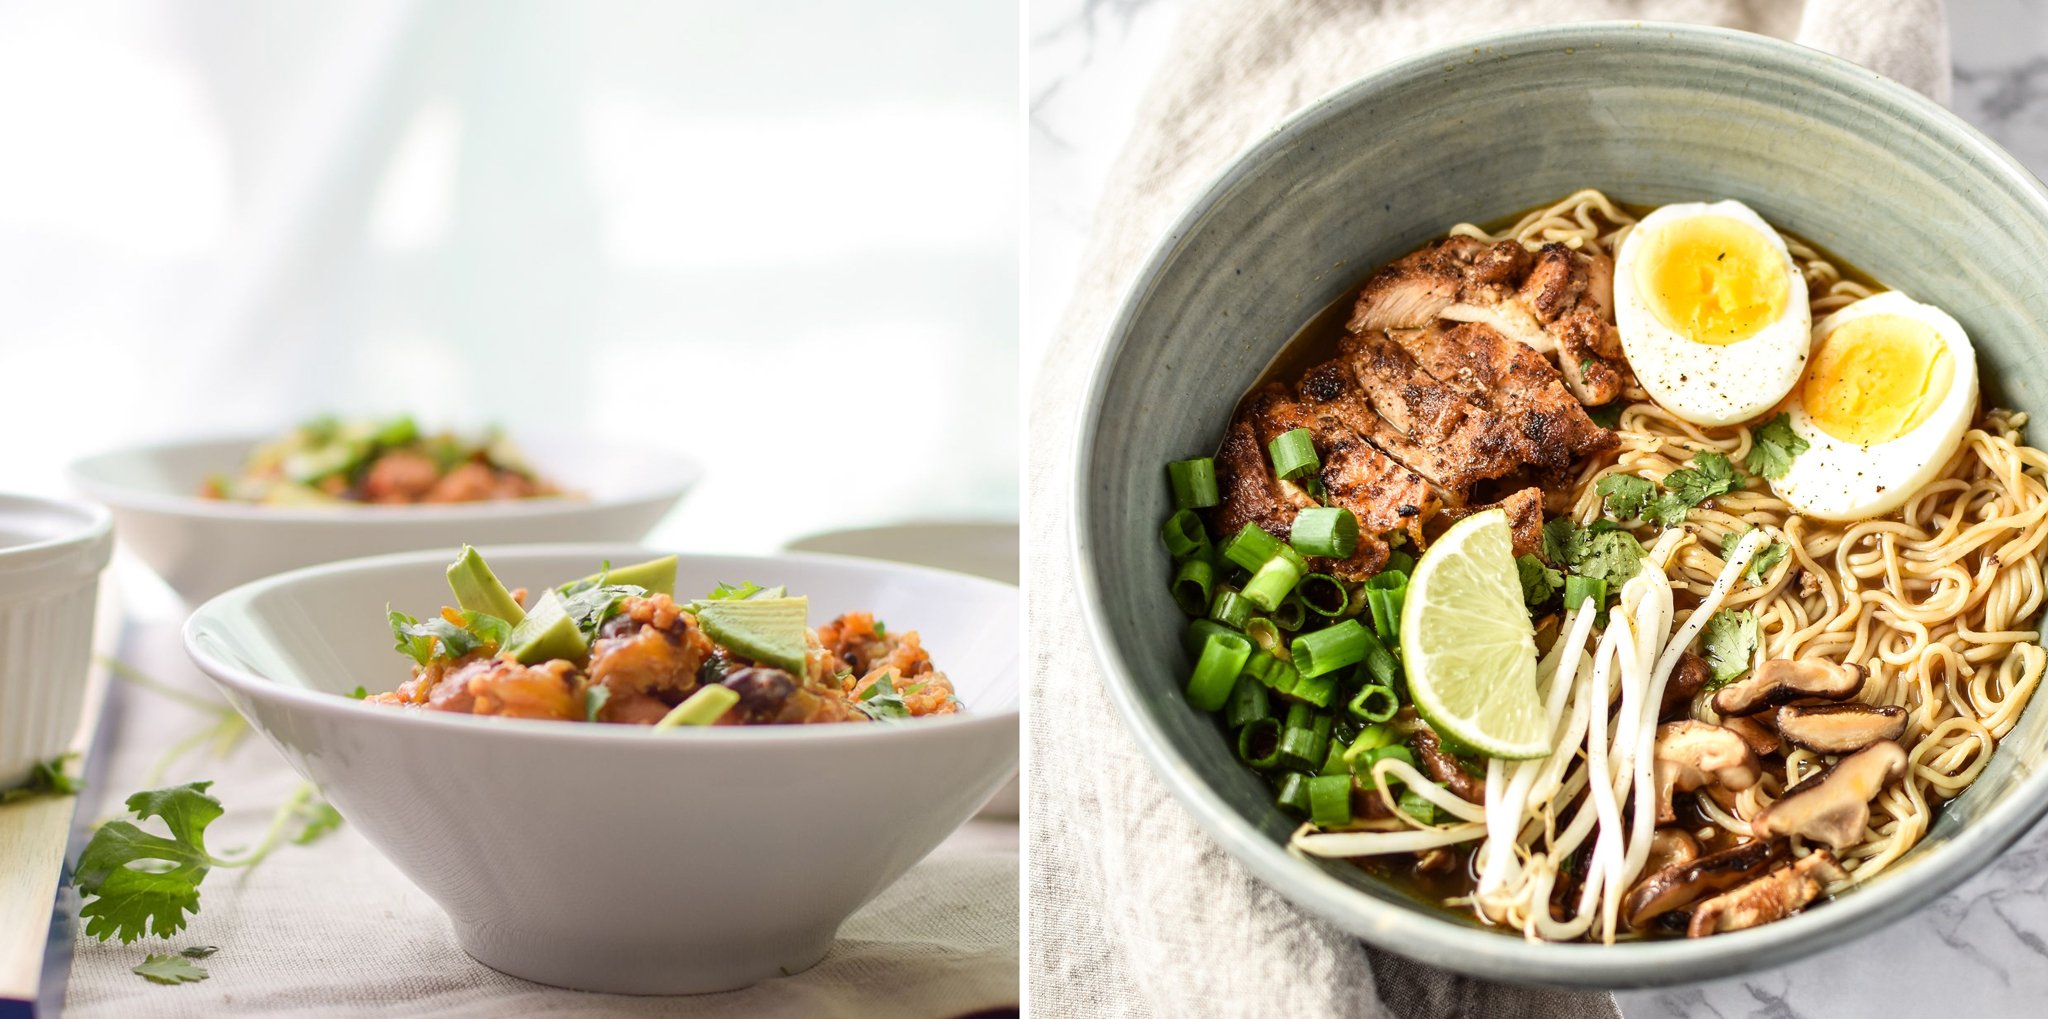
Composition is a pretty broad term here, but I’m referring to elements such as the placement of everything in my photos (props, food styling, depth), as well as the lines, patterns or textures.
- I’ve tried to create more “real” looking scenes by taking a “less is more” approach. I’ve found that when I focus on the food, it generally doesn’t fail. I used to spend time worrying about the whole table, and now I simply focus on the subject, and go from there.
- I also realized people don’t want to look at a bowl on a table. They want to SEE INSIDE THE BOWL. Durr. Again, focus on the food.
- I got a reflector. Enough said.
- After a few trips to the thrift store in the past year, I’ve found better bowls and more unique props for incredible prices. I’m going to need a new shelf soon!
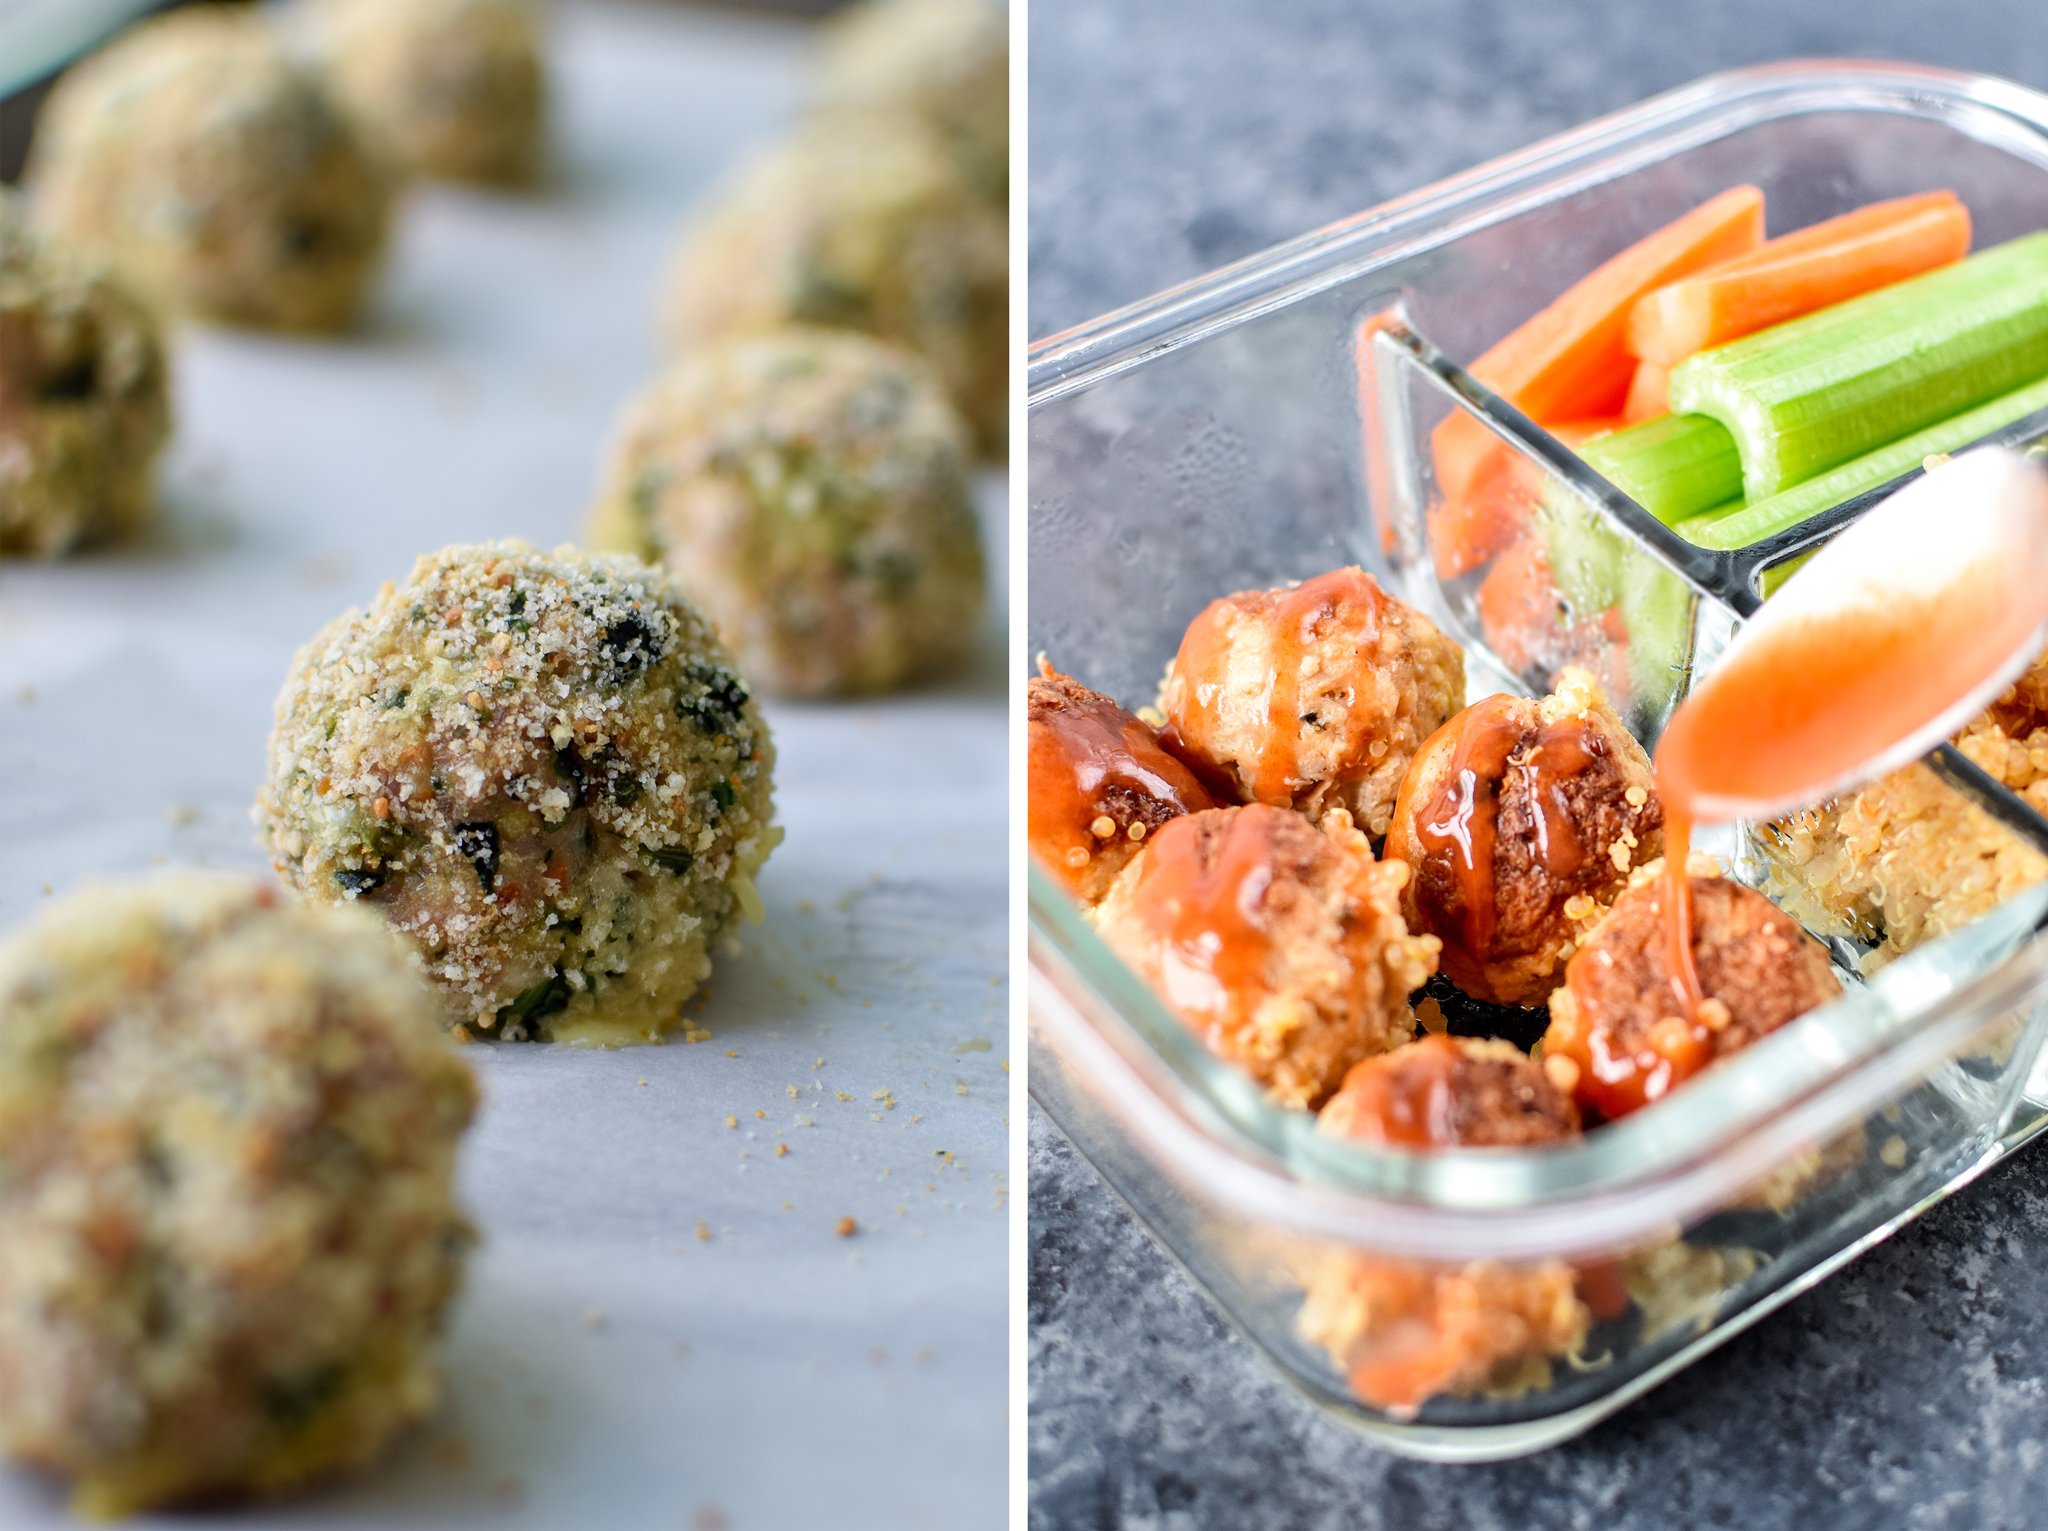
I started including real action & recipe process shots.
Back to my main theme: Focus on the food. Not just pouring syrup on pancakes action. Like, actual making-the-food action. I love these shots on other blogs, so I decided to work on including at least one in each blog post. I think it’s easier to connect with and remember the food if you’re seeing the creative process.
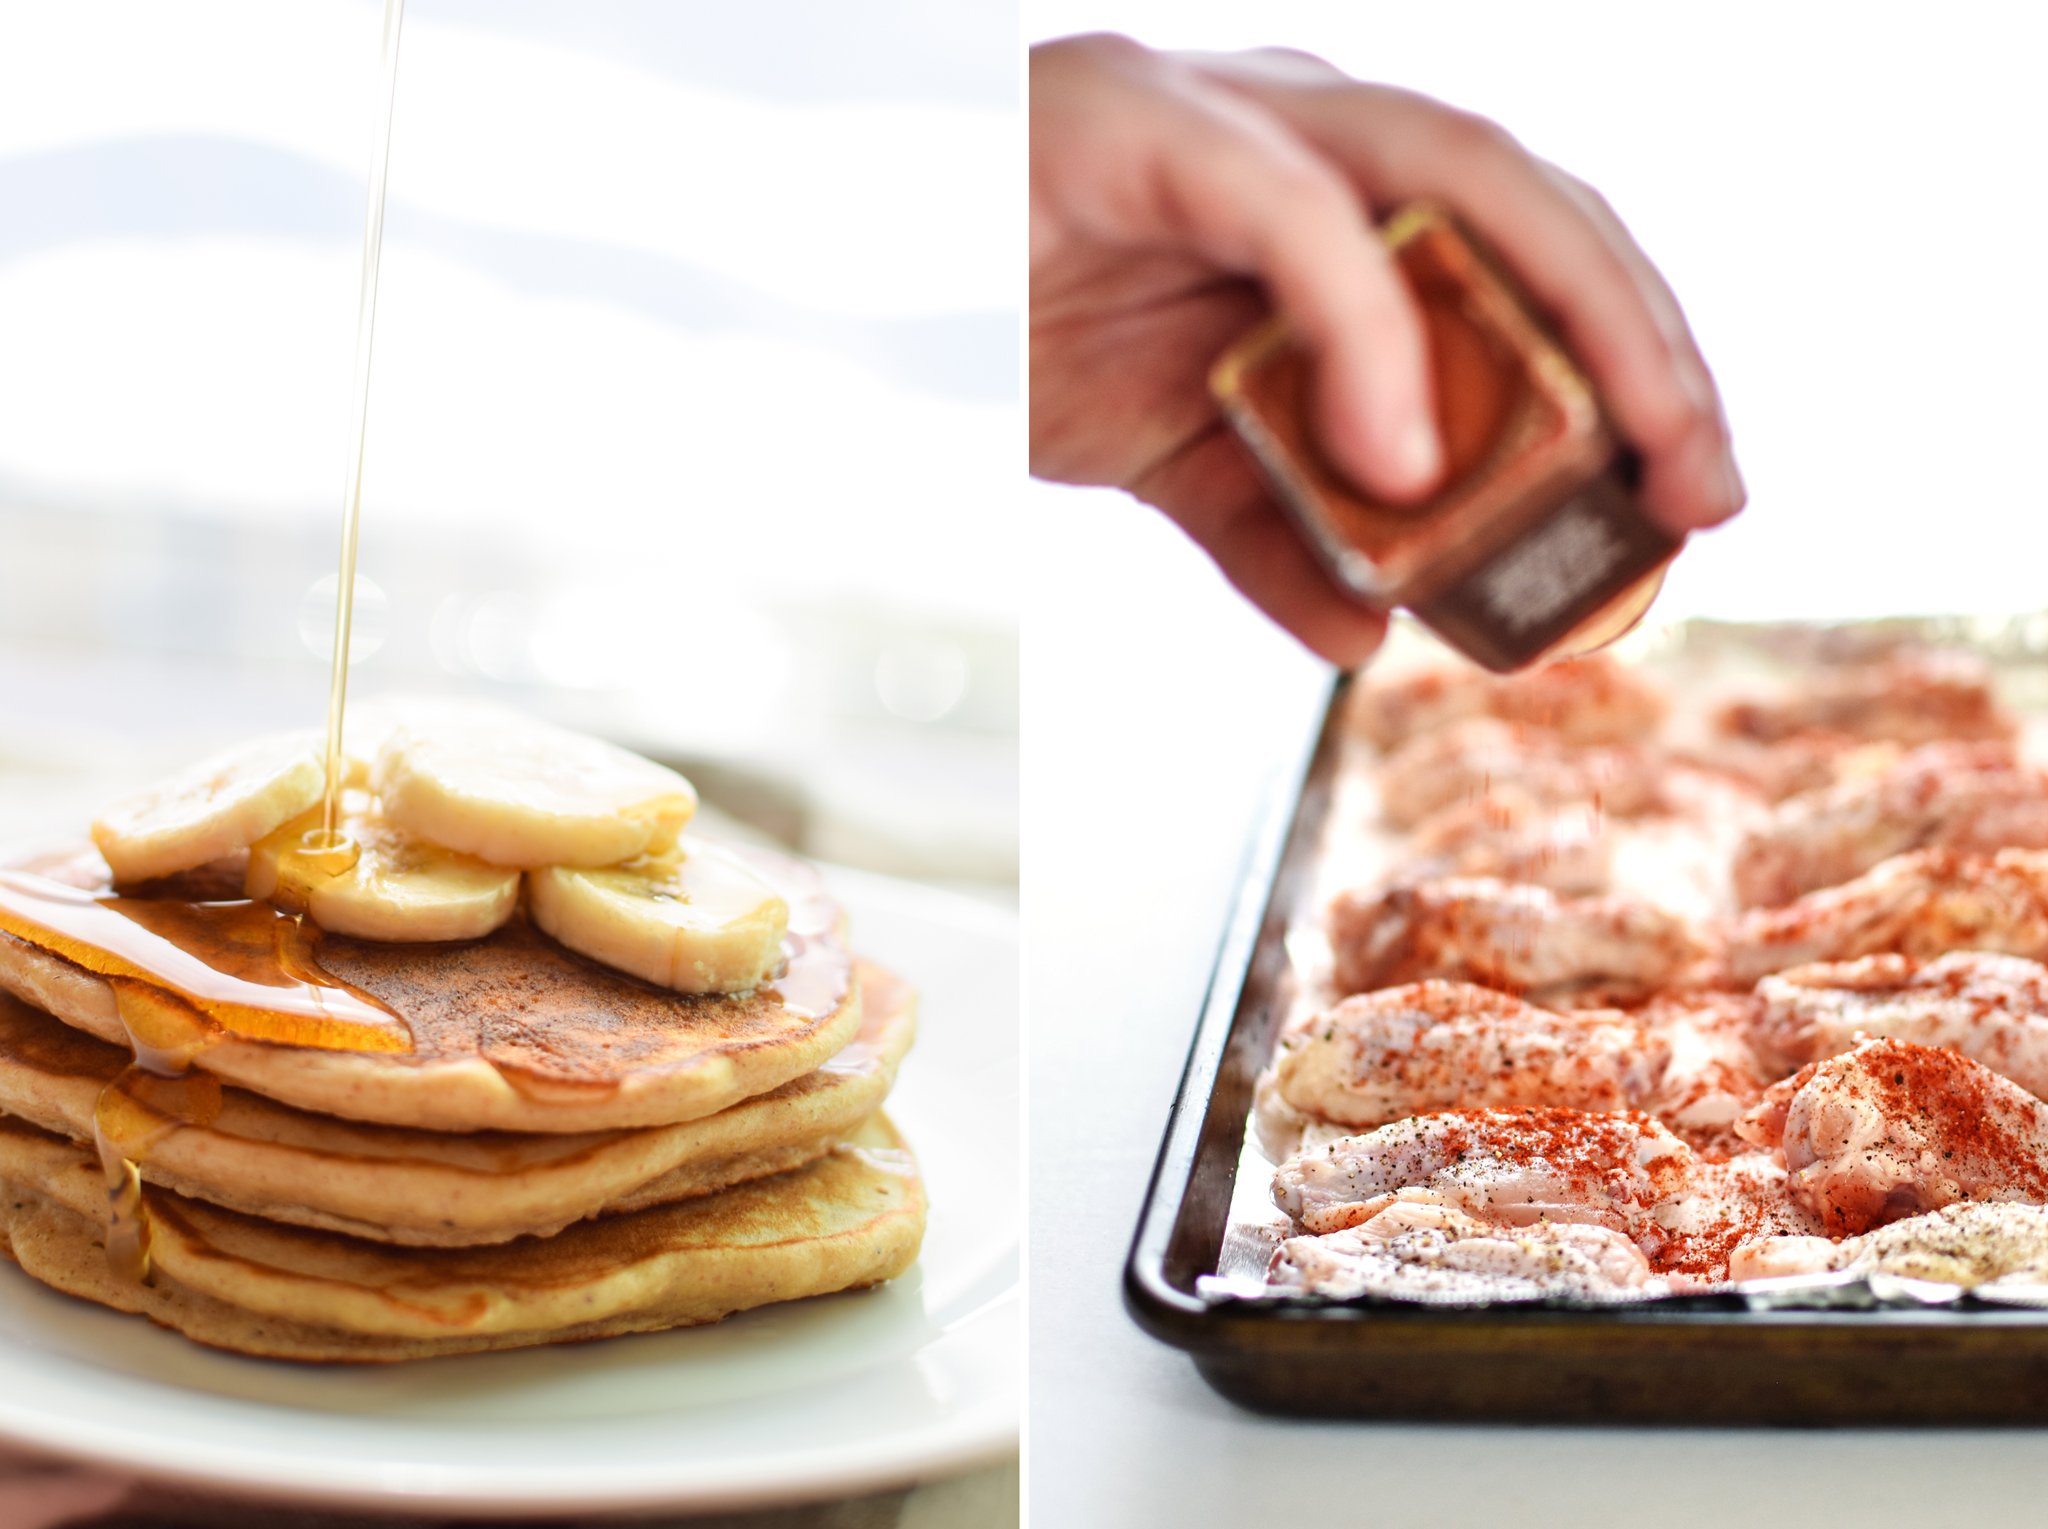
I learned some editing tricks.
I’ve become very familiar with Adobe products in the last year – maybe someday I’ll even master them all! I knew how to use Photoshop, but I didn’t know how to use Photoshop, ya know?
Now I can actually play around with a photo and navigate Photoshop somewhat intelligently. I’m embarrassed about how long I went without knowing what a ‘Layer’ was. BLUSH.
I’ve spent the last year perfecting my photo processing workflow. It starts in Lightroom, and ends in Photoshop, where I do a few final tricks to make the photos POP. Thank you to Ali from Gimme Some Oven for so wonderfully explaining the tricks of her trade in detail (see all her Photography Resources here).
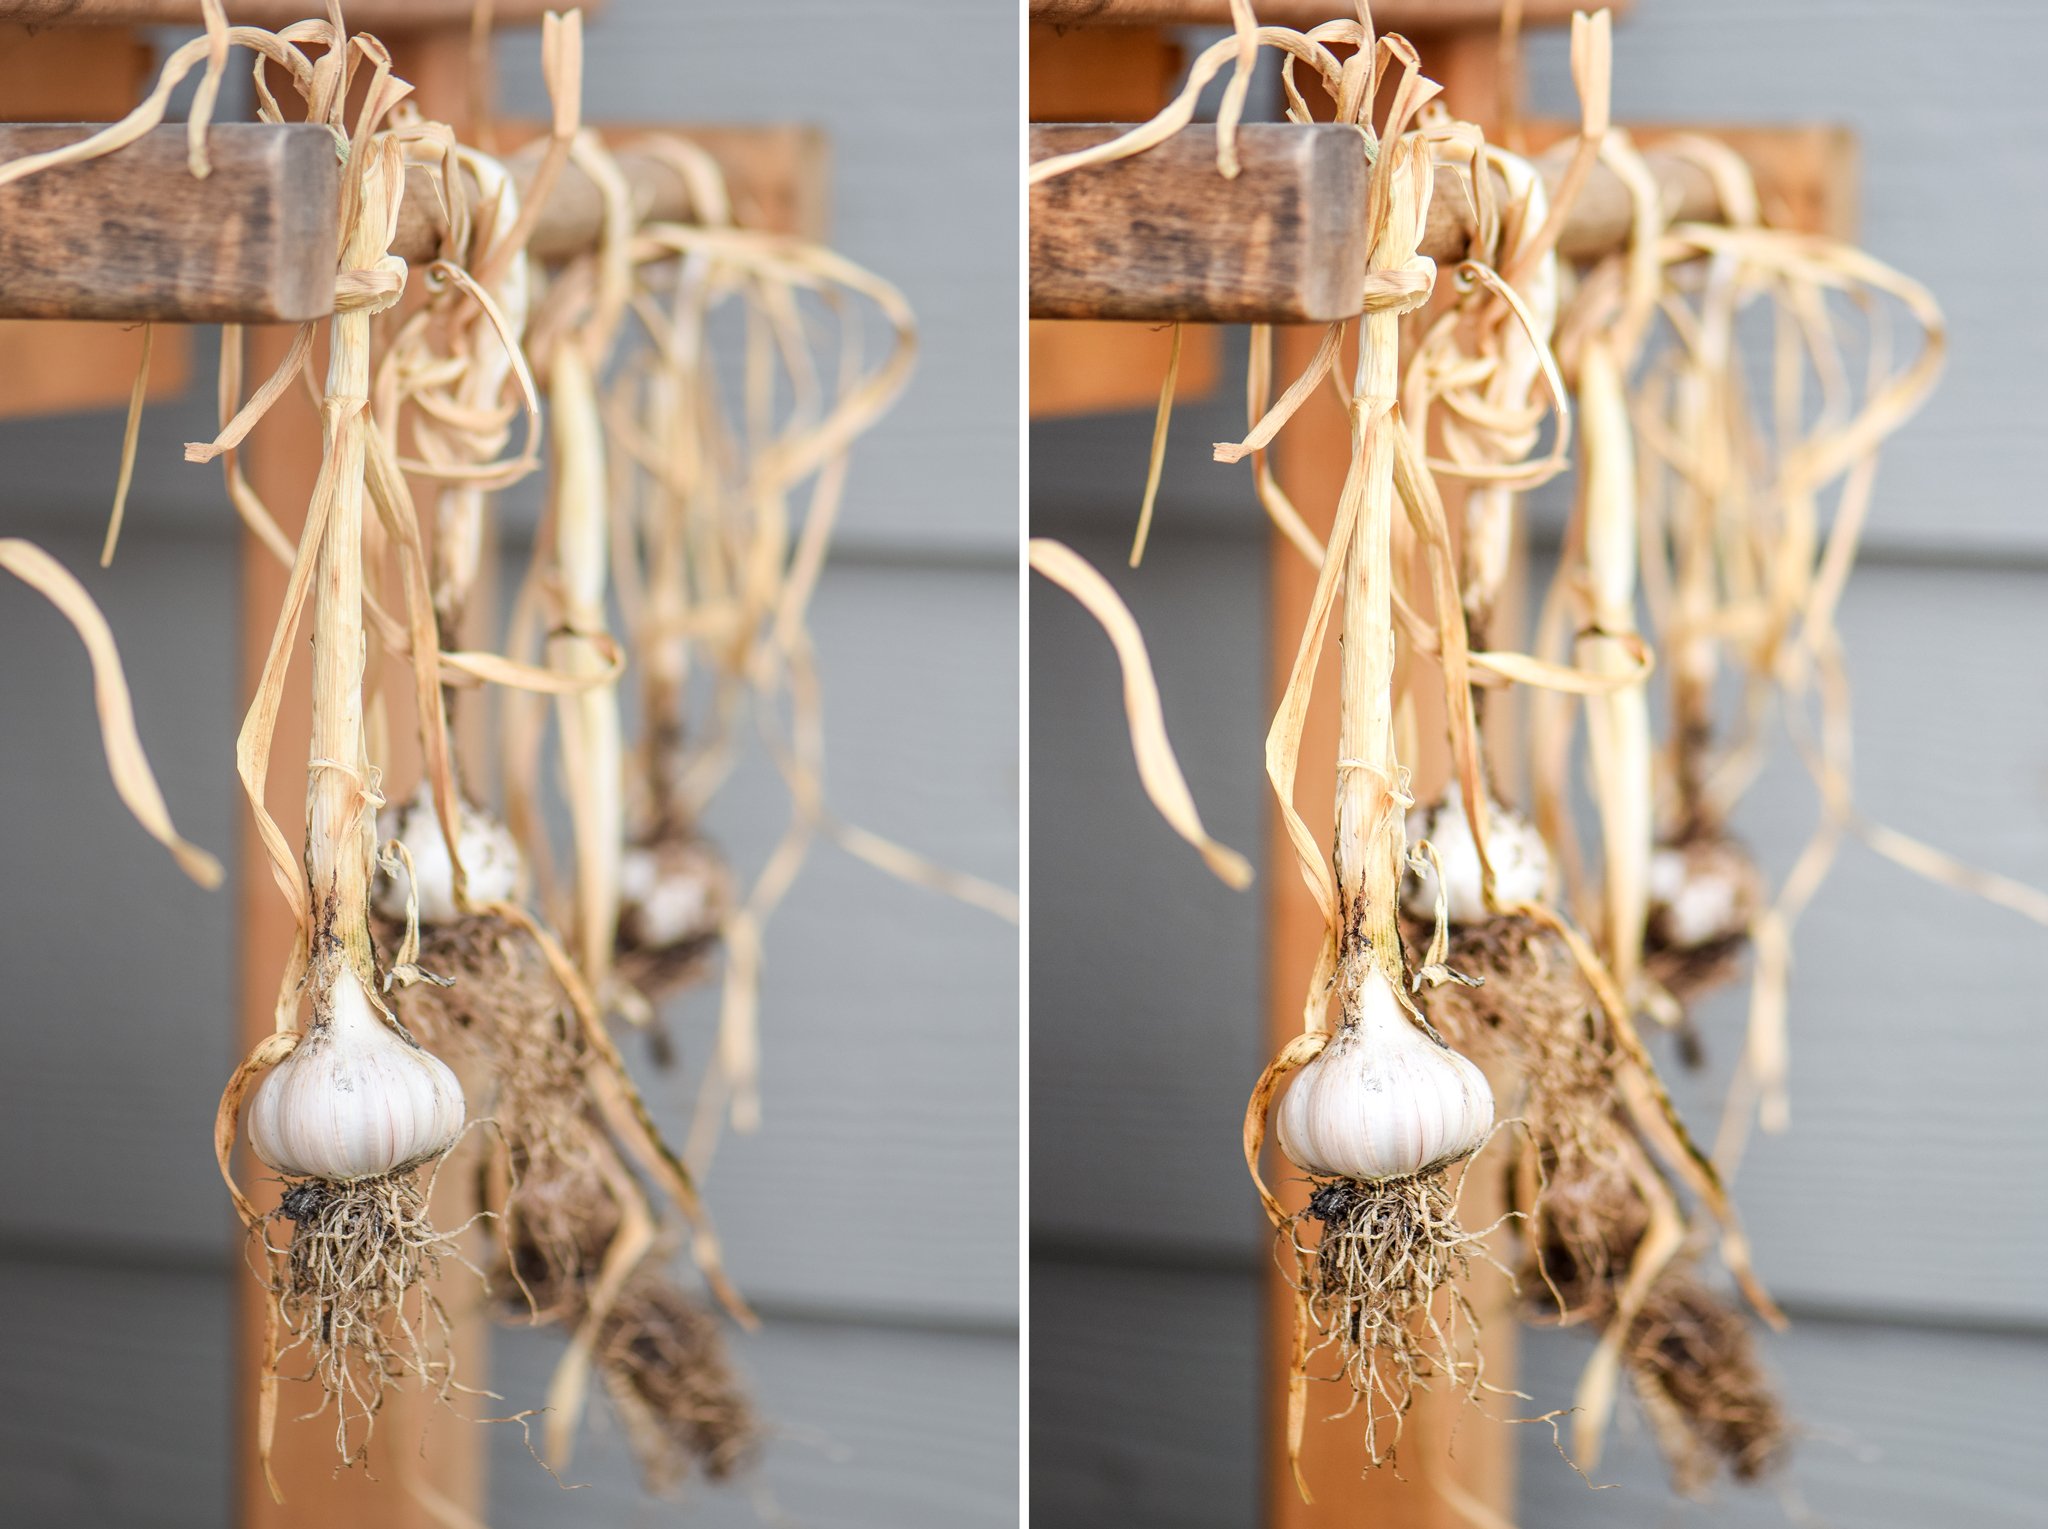
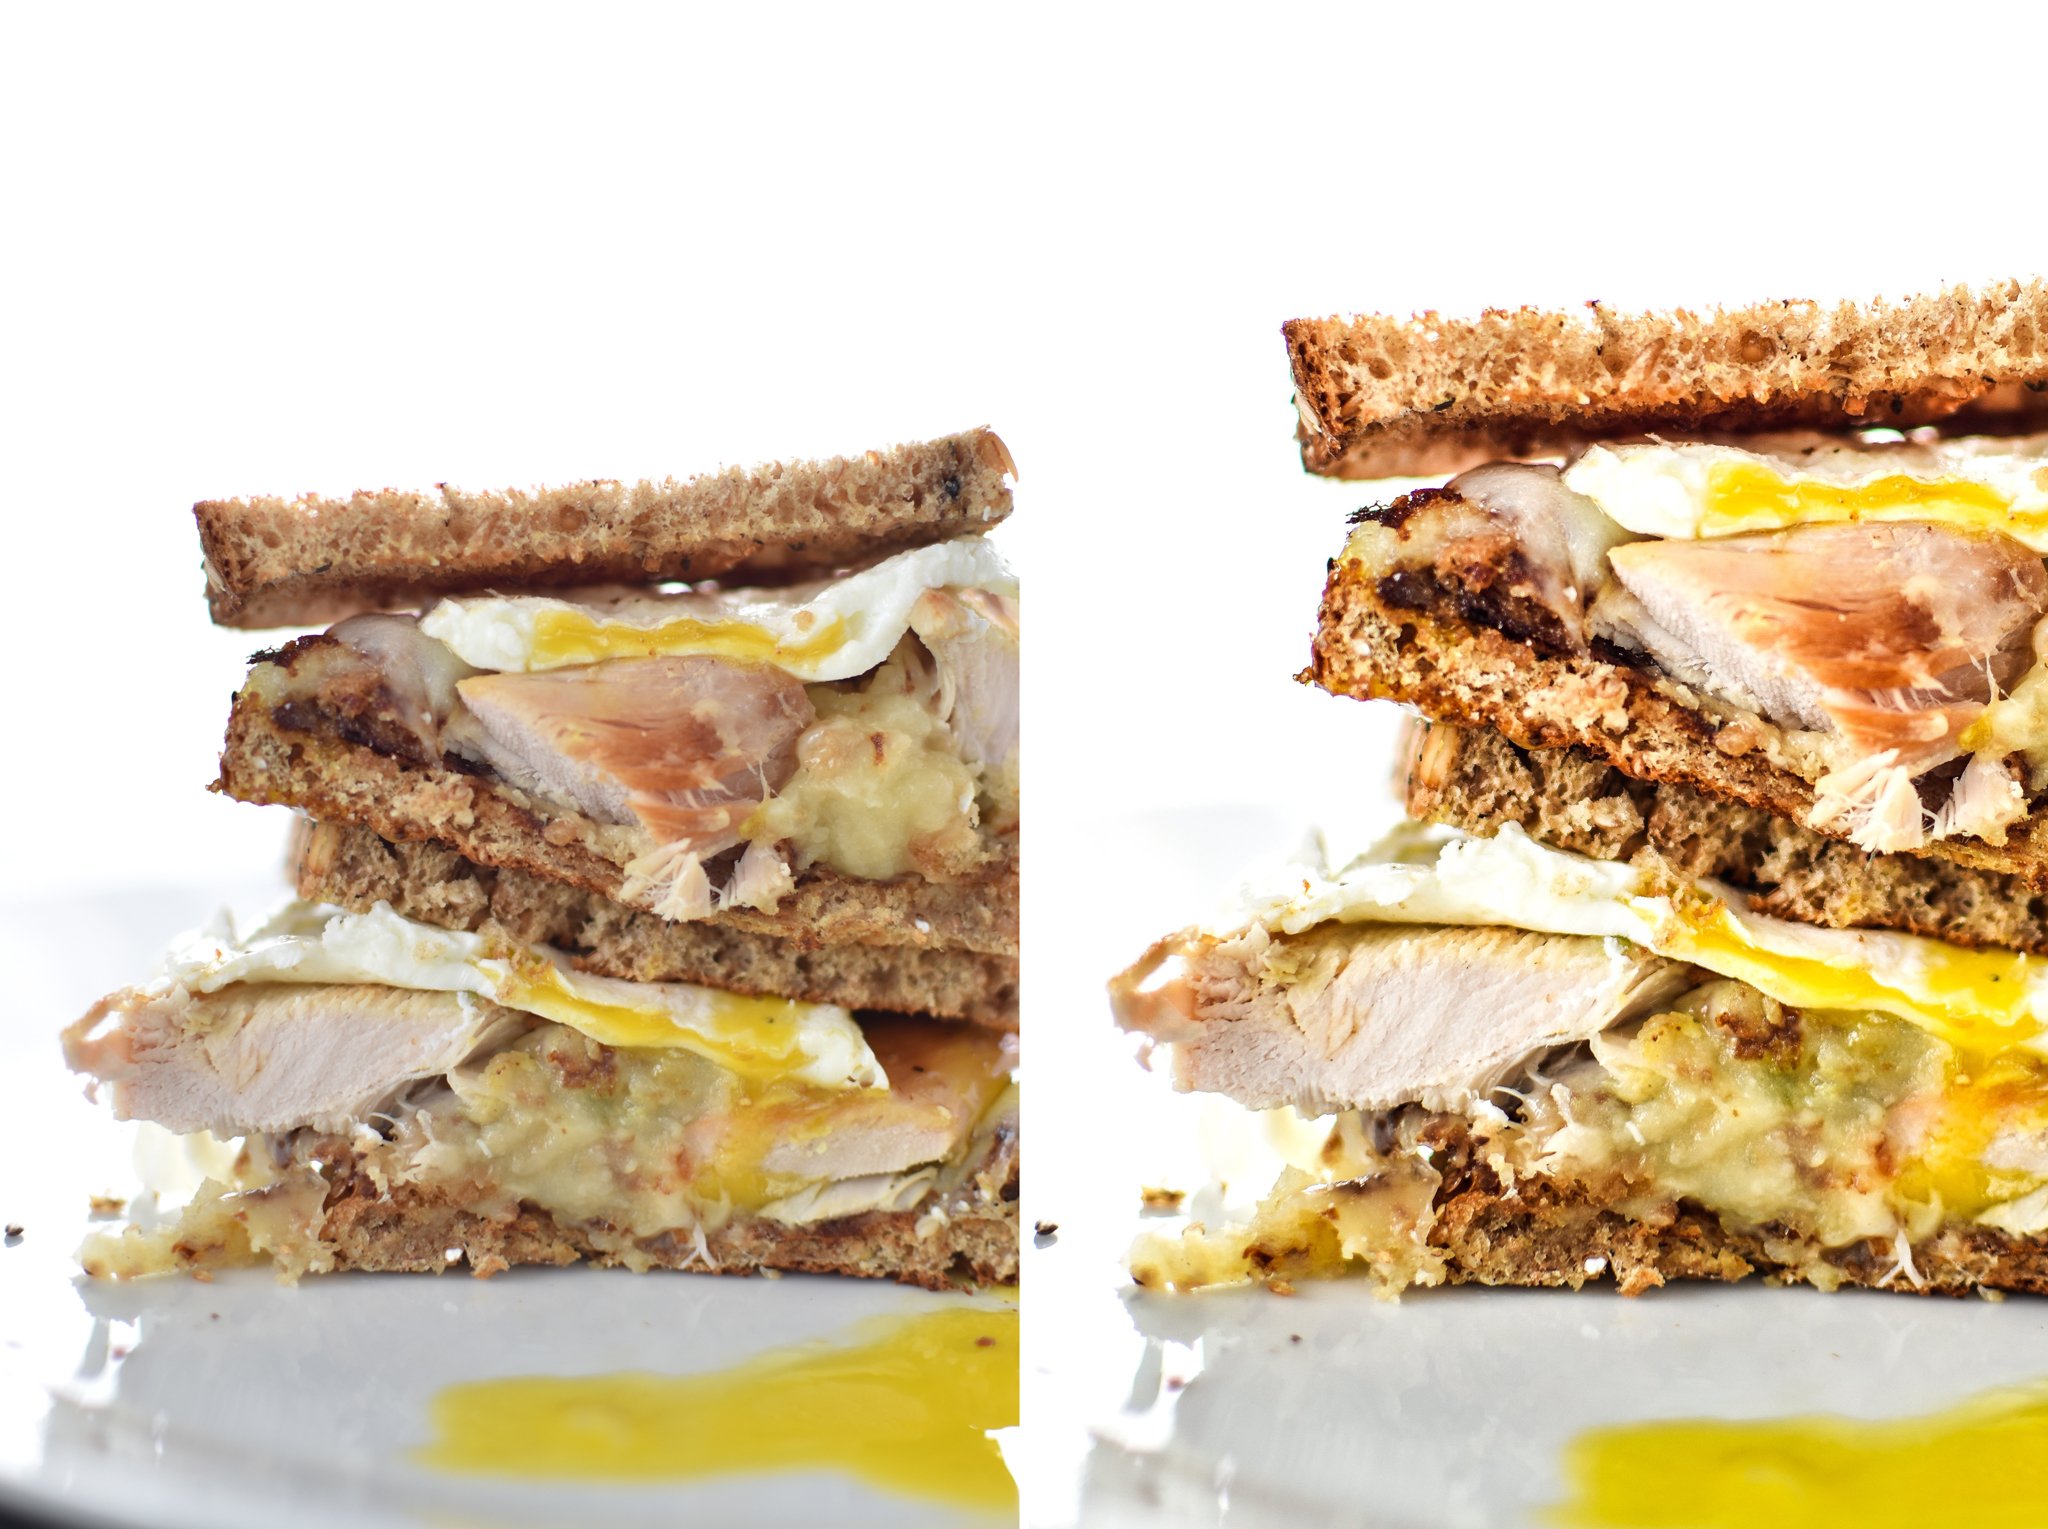
Clean White Backgrounds
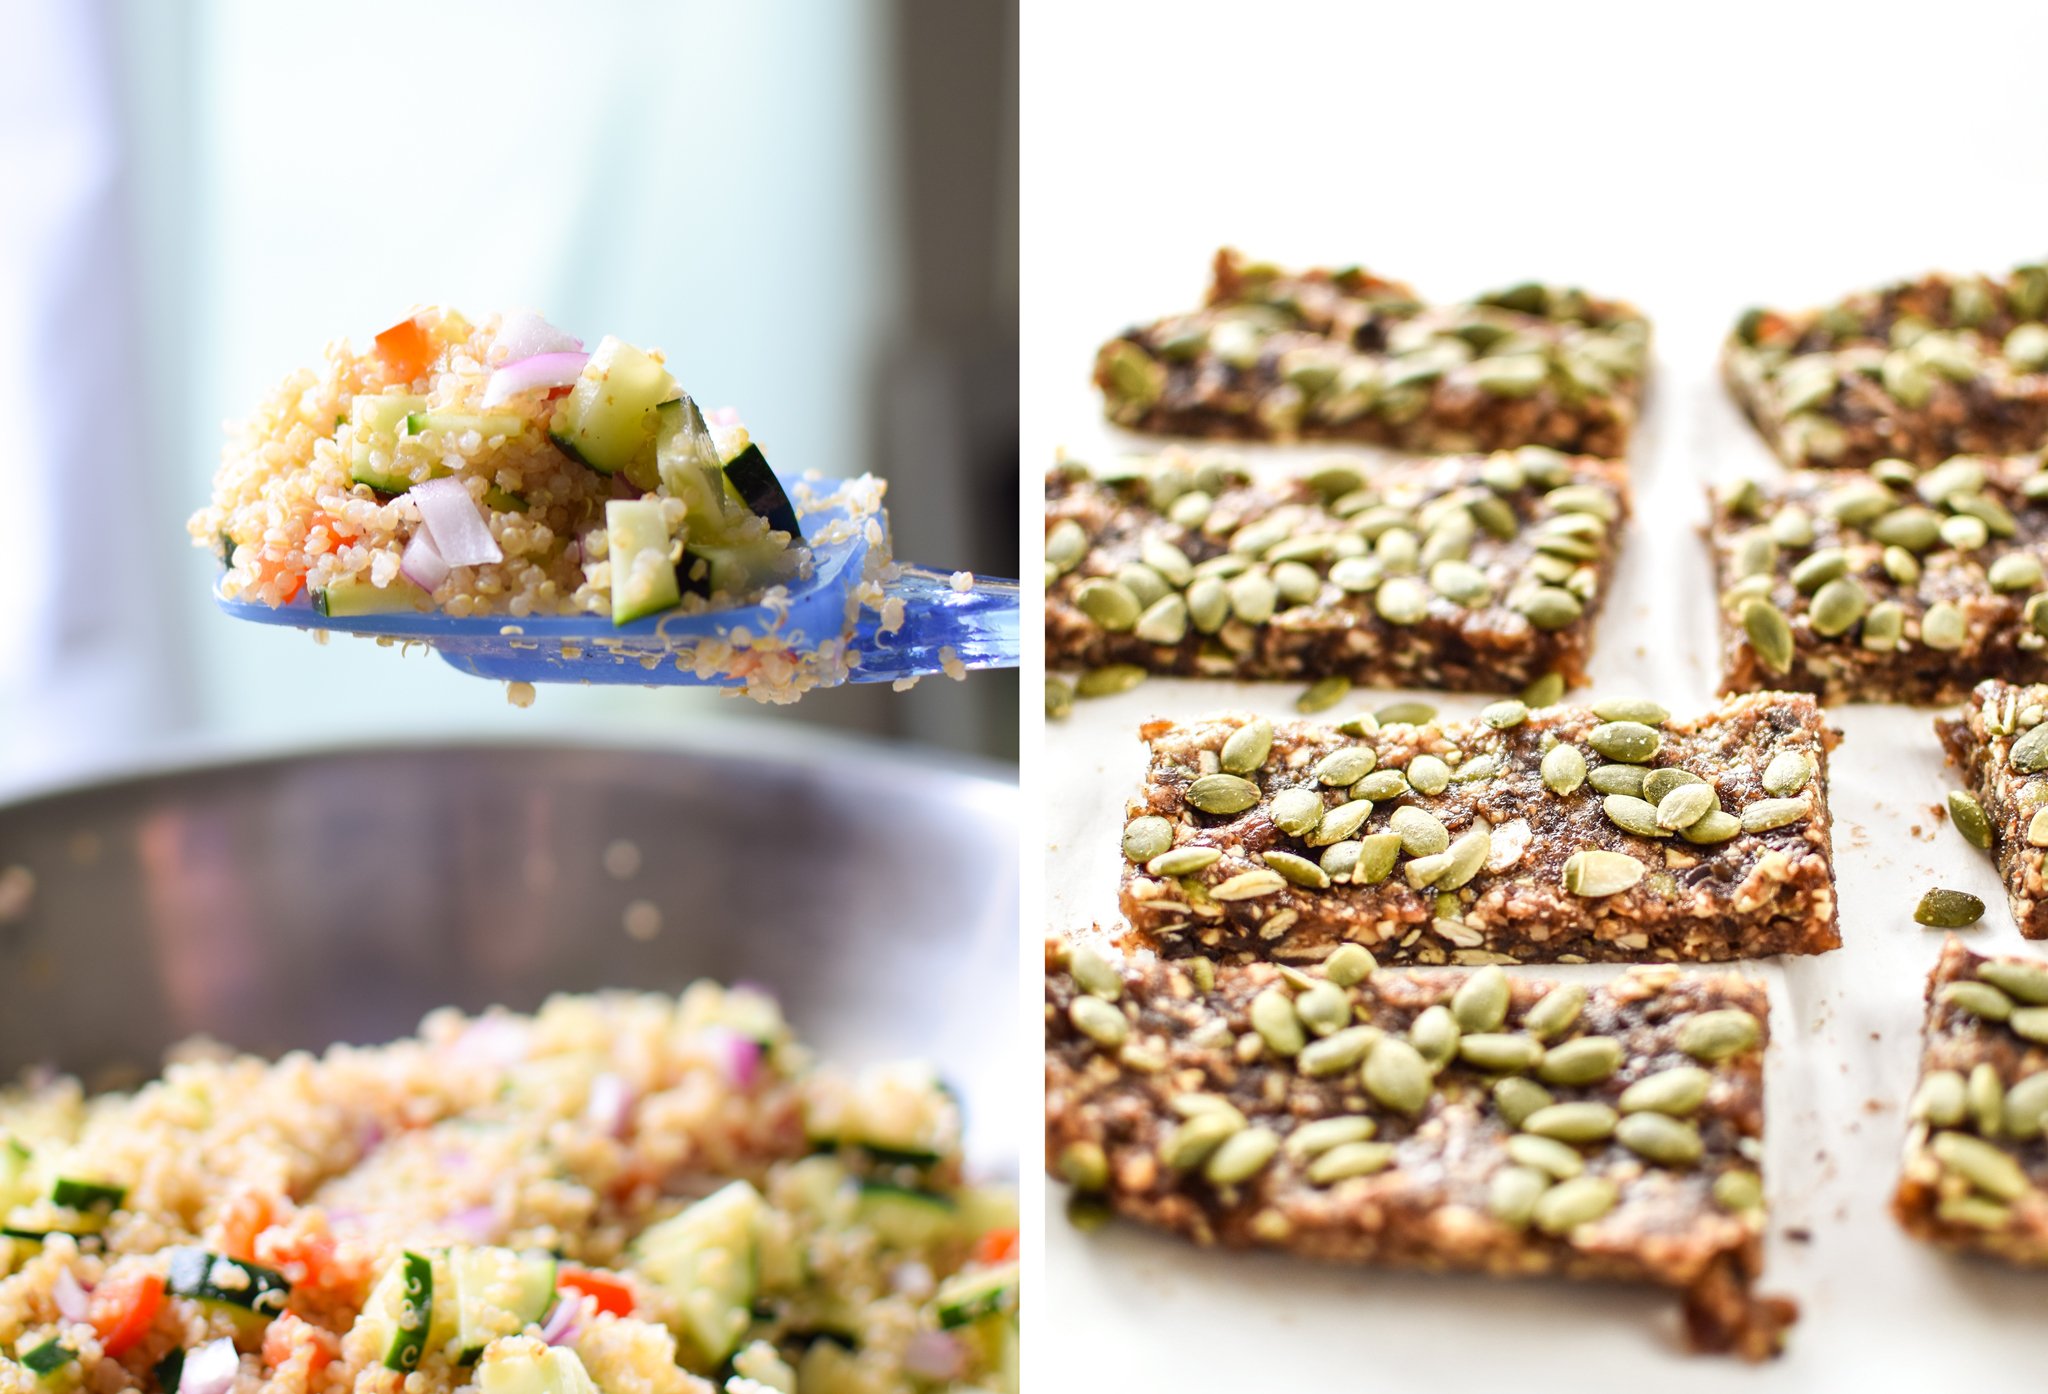
By lowering the f-number (creating a bigger aperture), I realized I was able to more easily hide imperfections in the background, since the area of focus was much smaller. This was even more true if the background was backlit (or a bright white) somehow. Then during editing, using a super simple Photoshop edit, I could quickly make the background a clean, perfect white that blends in with the blog background. You know, where you can’t really see where the photo ends and the blog background begins? My absolute favorite, and such a clean, “focus on the food” look.
Bonus! First and Last Videos Created
My videos have come so far as well! I could go on and on about this all day. I learn a new trick pretty much every time I make a video. I love that the creative process is more involved than photos – everything takes WAY more time, but I’m always so incredibly proud of the final product.
The actual first video I created does not exist anywhere on the Internet. I tried iMovie once and immediately knew I needed something more powerful (I upgraded my Abode package to include Premiere Pro right away). The second video (first on the Internet) I created was for a super simple chicken chili on April 10, 2017. Here it is:
Now that you’ve sampled the very very beginning of my videography experience, let’s try my most recent video and see how they compare.
Here’s a video for one of my favorite recent recipes, Meat Lover’s Spaghetti Squash Pizza Casserole, from November 14th, 2017:
My thoughts:
- more “tricks”
- better fonts
- no annoying music
- better transitions
- clearer, well lit
- looks yummier
So much more to come in 2018!
Thanks for checking out 5 Ways I Improved My Food Photography in Less Than a Year. I love looking back and seeing how my skills have grown. Can’t wait to compare it in another year from now! If you have any more in-depth questions about my photography gear, video making, or creative process in general, leave a comment!


Leave a Comment