This post may contain affiliate links. Please read our disclosure policy.
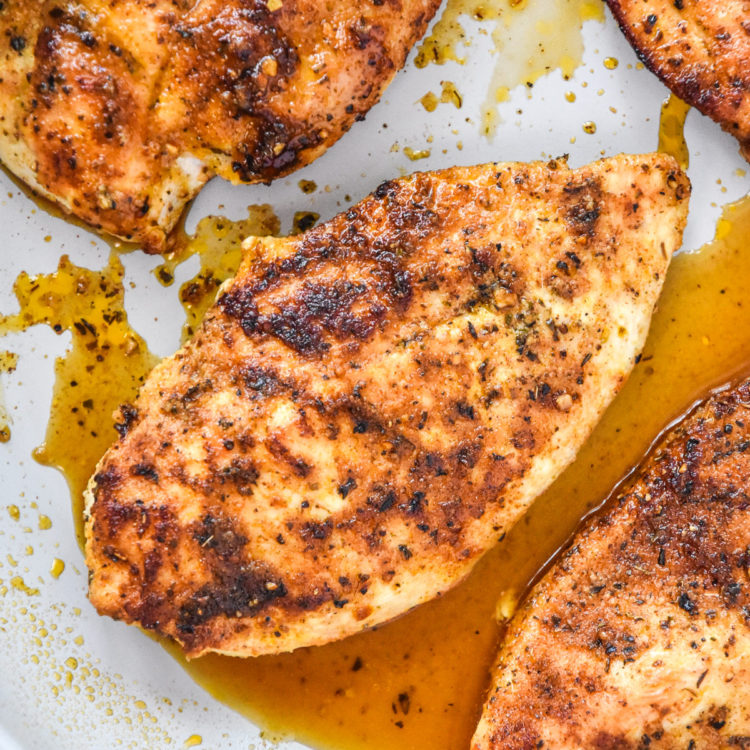
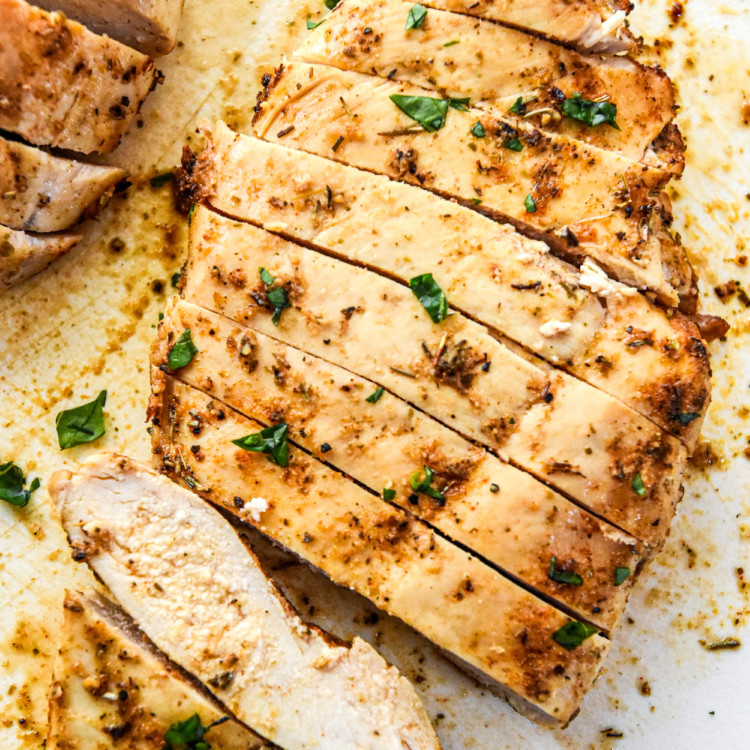
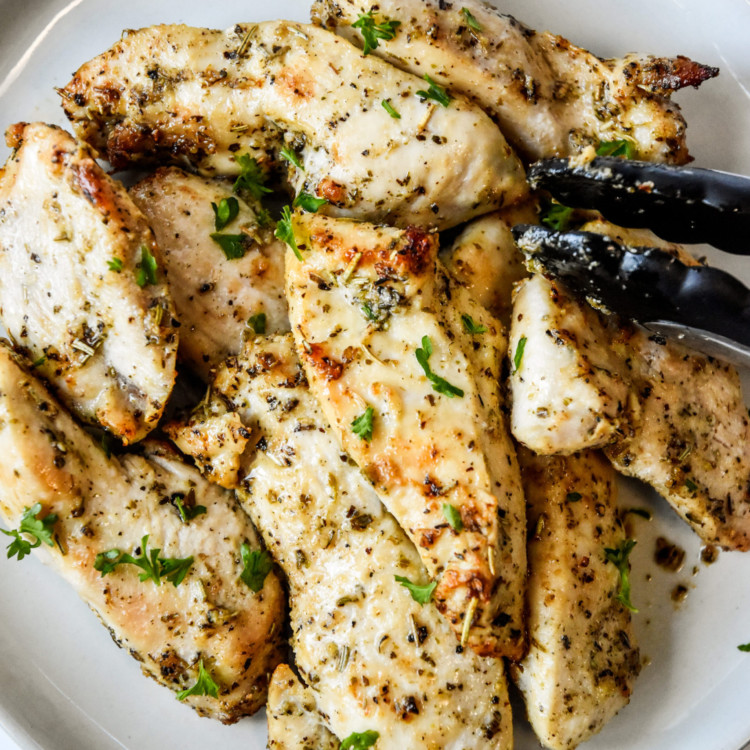
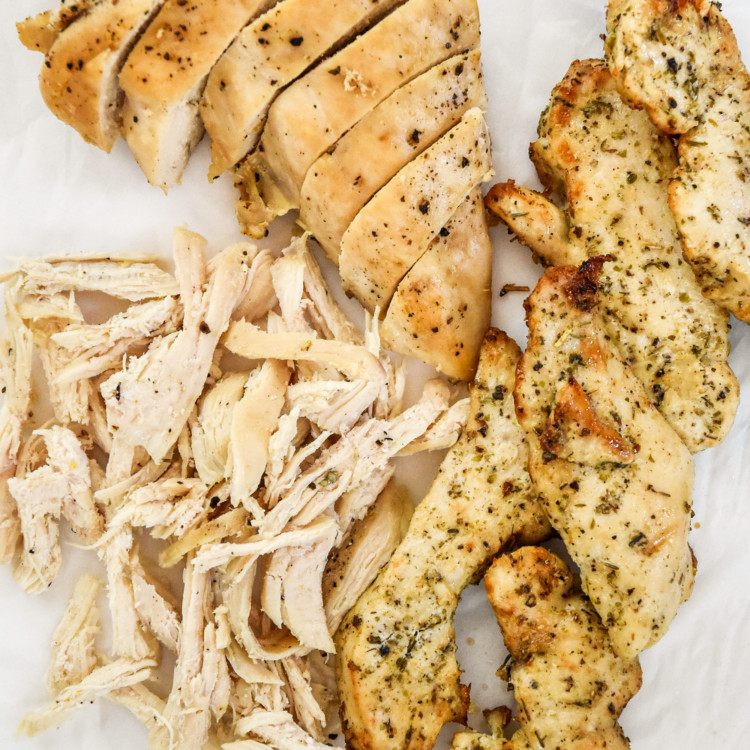
Introducing an actually delicious, multi-purpose Thin Sliced Stovetop Chicken Breasts recipe! Thin sliced chicken cooks faster, stays juicier, and impresses in all forms: sliced, diced, or whole. Perfect for meal prep and weeknight meals!
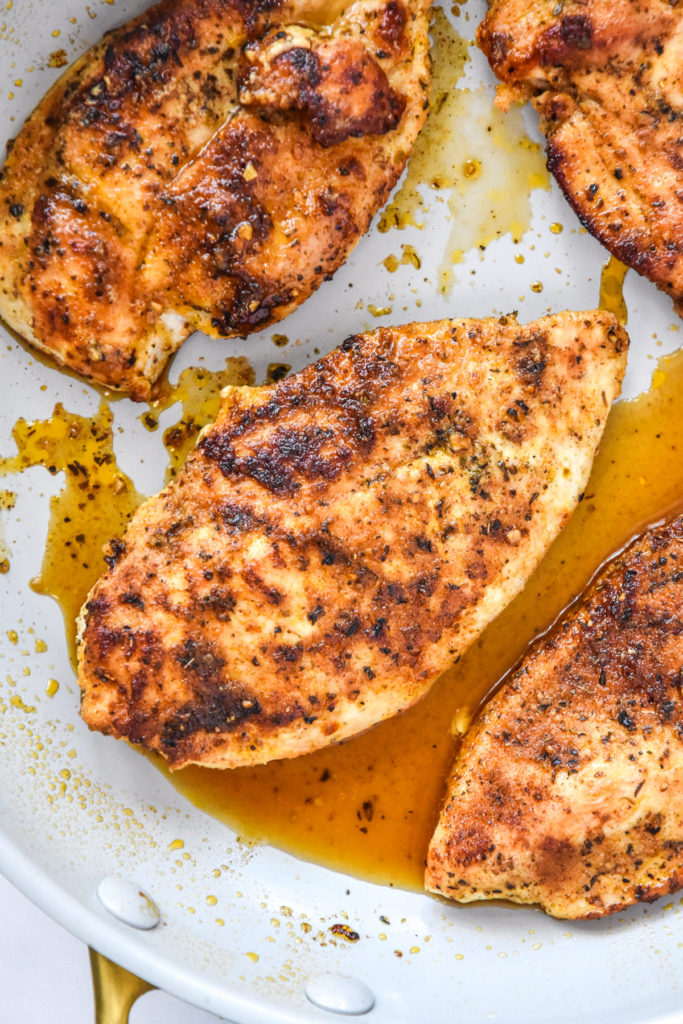
Recipe Overview
Total Time: 30 minutes
Difficulty: Easy
Method: Stovetop
Prep: Make-Ahead Friendly
What are the ingredients in this Thin Sliced Stovetop Chicken Breast?
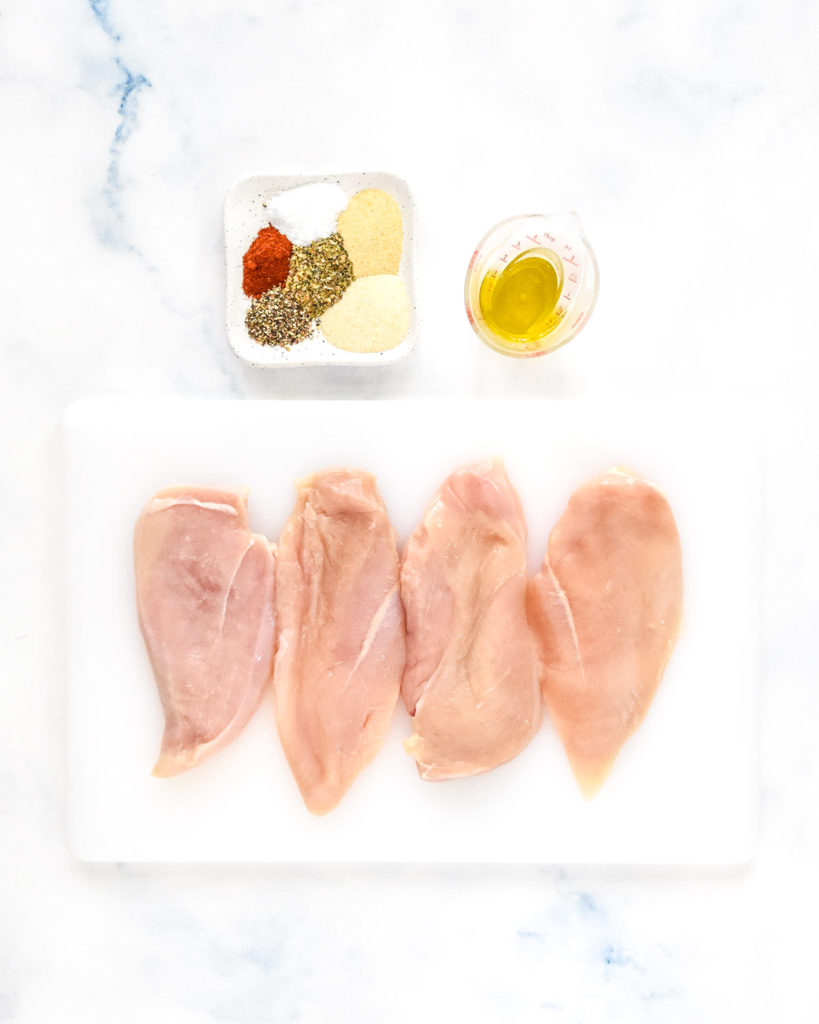
For this recipe, you’ll need minimal ingredients but do pay attention to them! Here’s a short list of what you need and if any swaps can be made:
- thin sliced boneless skinless chicken breasts – Look for thin sliced chicken breasts at the store; this will save you a step when preparing the chicken. Regular cut chicken breasts will work too, but you’ll have to slice them into cutlets for this recipe.
- garlic powder, onion powder, Italian seasoning – These seasonings are always a good place to start when looking for an all-purpose but flavorful option. I always keep these on hand!
- fine sea salt & fresh ground black pepper – Another two things to always keep on hand. I only use fresh ground black pepper rather than the pre-ground stuff.
- paprika – I love using paprika for that peppery vibe and the color it provides, but a little goes a long way! Plus it burns more easily than the other spices.
- extra virgin olive oil – Since our ingredients are few and we aren’t cooking at *too* high of heat, I decided to use olive oil for the best flavor. Avocado oil is also an option, but less flavorful.
Equipment you’ll need to make this recipe:
To make this recipe, you’ll need a few specific pieces of kitchen equipment to get the best results. Here are my recommendations:
- 10-12 inch pan with lid – I absolutely love my GreenPans (specifically the GreenPan 10-Inch Non Stick Fry Pan). However, if you prefer cooking on stainless steel or other pan, that will work too. Just make sure you have a tight fitting lid for the pan.
- plastic cutting board – When handling, trimming or cutting raw meat, I usually use a plastic cutting board that can go into the dishwasher. Save the wooden cutting boards for produce and cooked proteins.
- tongs – Flipping and moving the chicken is best done with some tongs. To avoid scratching any of the nonstick pan surfaces, I almost always use silicone tipped tongs, like these OXO 9-Inch Silicone Head Tongs (affiliate link!).
- timer – This recipe gives the best results if you actually use a kitchen timer when cooking the chicken. This can be anything from a timer on your phone to an old fashioned kitchen timer if you have one!
How to make Thin Sliced Stovetop Chicken Breasts:
I’ve tried to create detailed instructions while also keeping it relatively short and simple. Yes it’s just chicken breasts, but you do need to do a few specific things to make them actually good 🙂
Remove all the packaging from chicken breasts, and place them on a plate or cutting board. Plate works if you have no trimming or cutting to do, otherwise a plastic cutting board works for all the prep steps.
If your chicken is not thin-sliced, that’s okay. It’s just one more step to cut them yourself. Use a sharp chef’s knife to carefully slice each chicken breast into cutlets, and remove any fatty pieces you don’t want. If any pieces are over 1/2 inch thick, use the heel of your palm to flatten.
Let the chicken sit on the counter at room temperature for at least 10 minutes while you mix the seasonings. This helps increase the temperature of the chicken, which ultimately helps it cook faster.
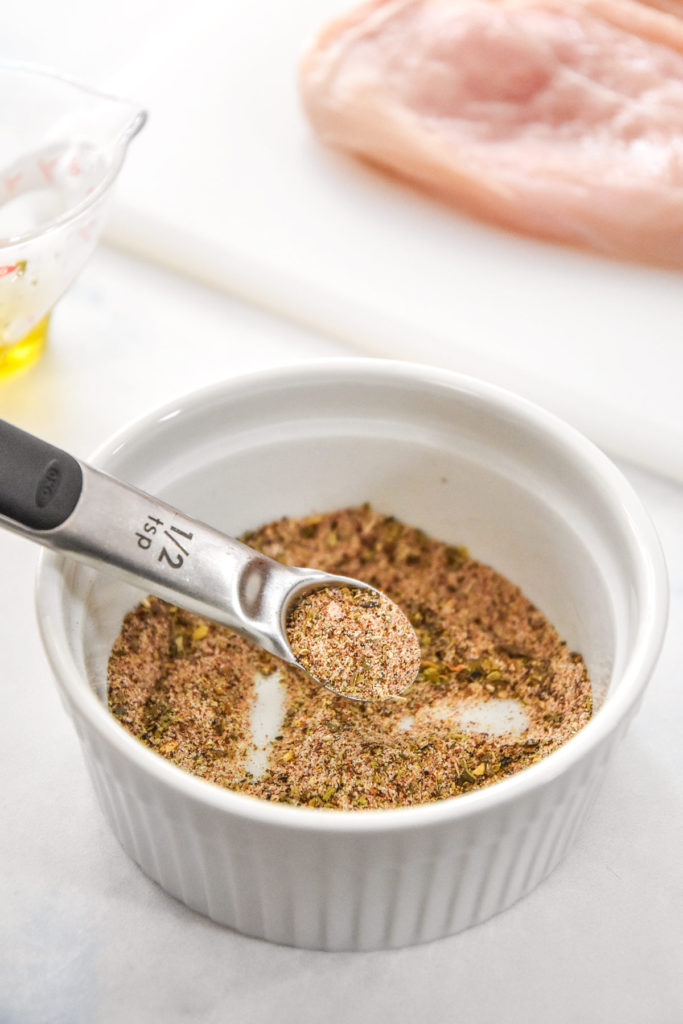
In a small bowl, combine the garlic powder, onion powder, Italian seasoning, salt, paprika, and fresh ground black pepper. I like to use the 1/2 teaspoon to stir and then sprinkle the seasonings on the chicken as well.
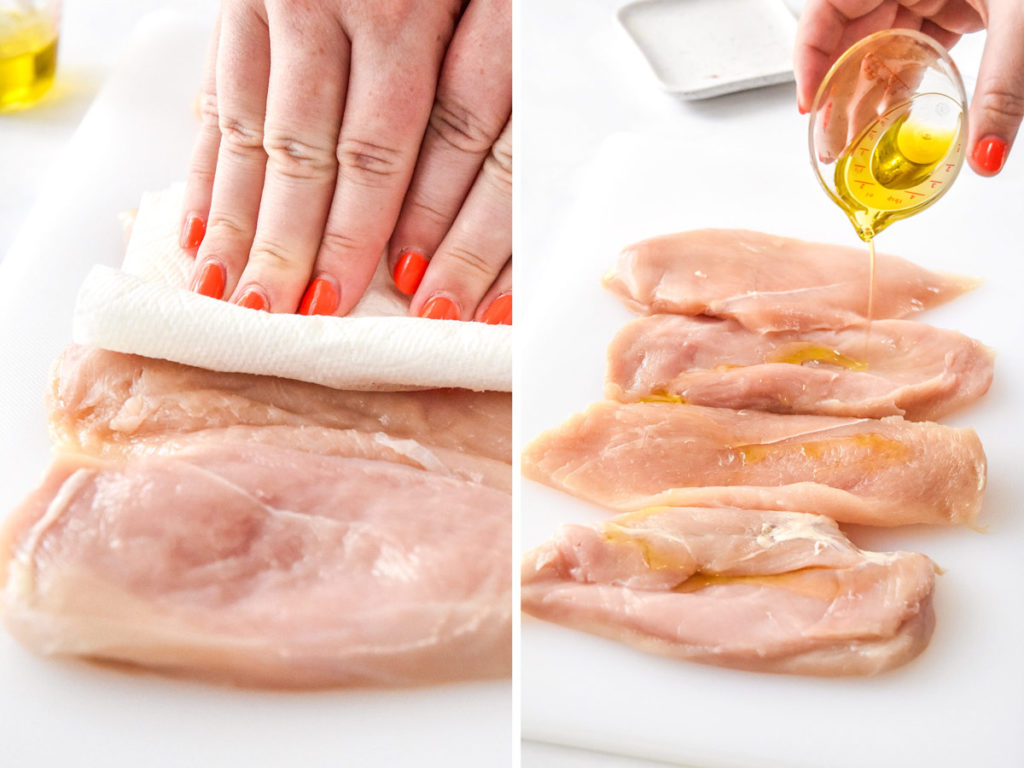
Use a folded paper towel to blot the chicken breast cutlets and remove as much excess moisture as you can from both sides. Reducing moisture reduces steam when you cook the chicken. After patting dry, drizzle a small amount of olive oil over the chicken, followed by the seasoning.
Season each side of all chicken pieces with about 1/2 teaspoon of the seasoning mix. Use your hands (or gloves) to rub the oil and seasoning all over each piece of chicken until it’s completely and evenly coated in spices and oil.
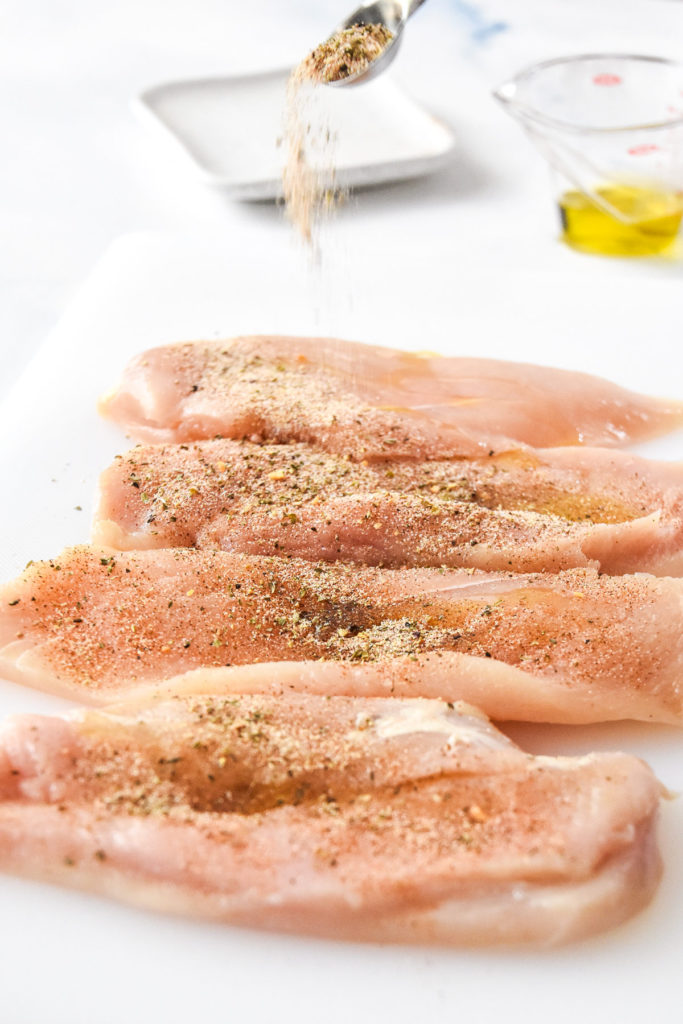
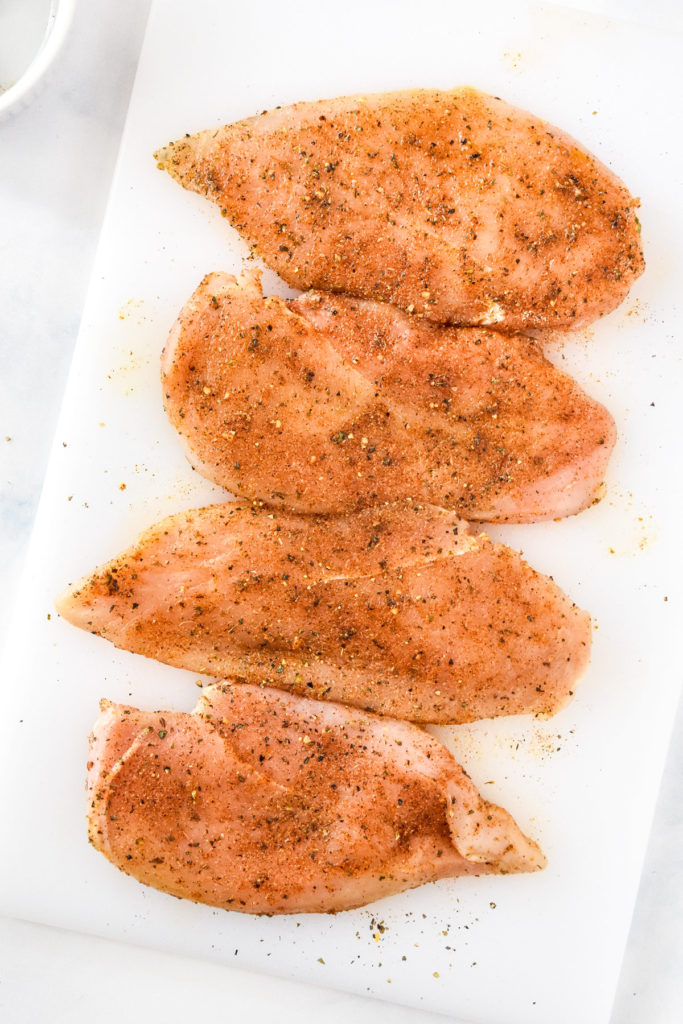
Heat a large nonstick pan with a tight fitting lid over medium heat. Once the pan is hot, add about 1/2 tablespoon olive oil and let it heat until shimmering in the pan. Place the seasoned chicken into the pan in a single layer (it’s okay if they touch a little bit) and set a timer for 5 minutes. I use my phone and keep a timer open so I can easily start it. Do not touch the chicken during this time. This is important to get some color on the chicken.
When the timer goes off, first flip the chicken, and then put the lid on. Turn the heat down to the lowest setting and again, set a timer for 5 minutes. Do not take the lid off or touch the chicken at all during this time.
When the timer goes off this time, remove the pan from the hot burner, but still do not take the lid off or touch the chicken. Keeping the steam inside is important. Set a timer for 5 minutes once again.
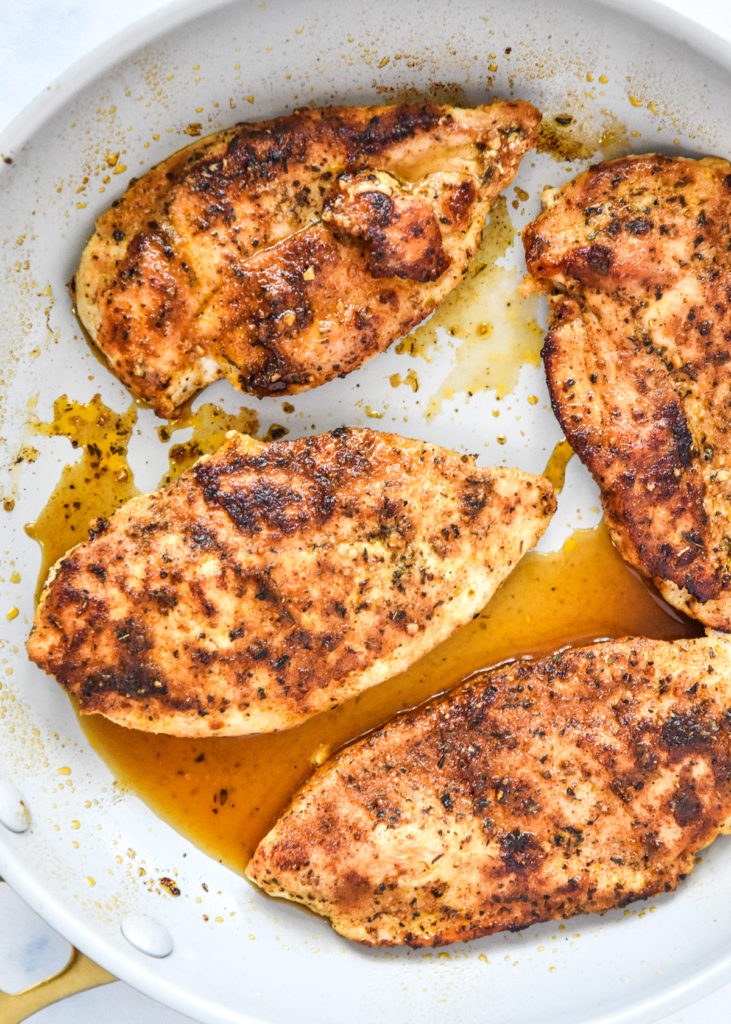
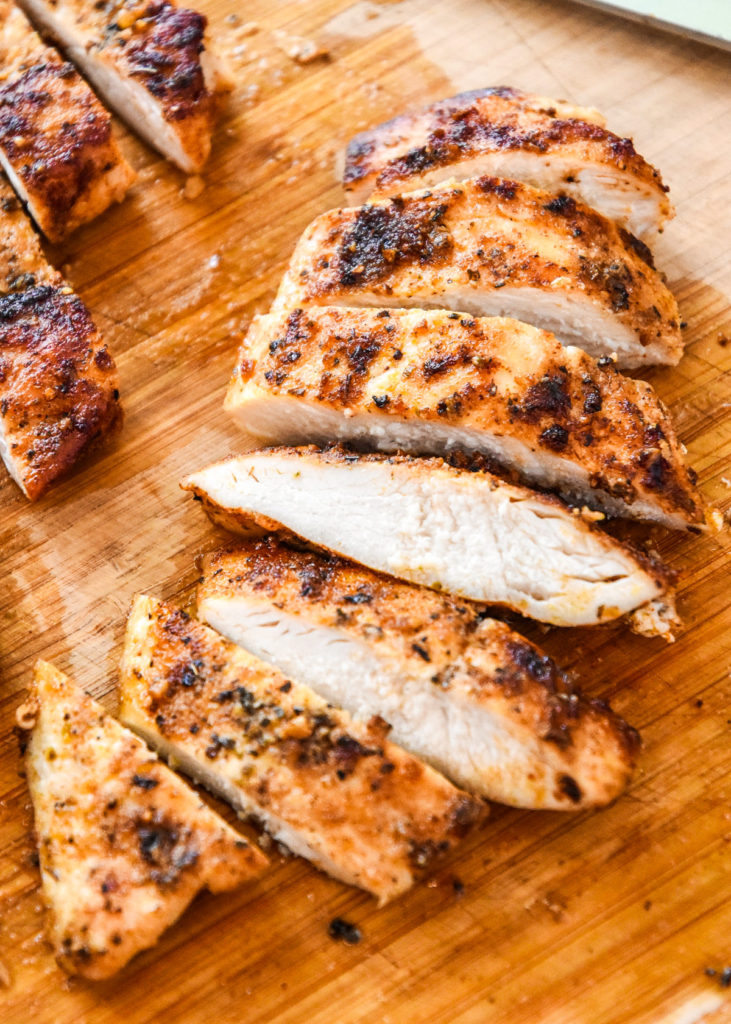
When the timer goes off this time, the chicken is done cooking and the internal temperature should read 160-165F. Let the chicken rest on a cutting board for at least 5 minutes before slicing, dicing, or using in recipes. Sometimes I eat it directly from the cutting board!
Best tips for making Thin Sliced Stovetop Chicken Breast:
Follow these tips closely! While it may sound like I’m just reiterating the instructions, I’m doing that because each step is super important, and here I can explain why.
- Don’t skip the first 10 minutes of letting the chicken breasts sit out. This helps them get a little closer to room temperature. If the chicken is too cold, it will take longer to cook.
- Don’t lift the lid when the recipe says to leave the lid on!! Even a quick peek will let out all the steam and heat that’s needed for cooking the chicken perfectly.
- Don’t skip letting the chicken rest, either. All of these steps are crucial for juicy & delicious chicken, but perhaps this one most of all. Letting the chicken rest after cooking helps the moisture move back into the meat fibers. This keeps the liquid and moisture in the chicken breast instead of all over your cutting board when you cut into the chicken.
- Pound or tenderize any chicken pieces thicker than 1/2 inch with your palm or meat tenderizer. It’s important that all the chicken is thinned out so it cooks in the allotted time of the recipe.
How to thin slice chicken breasts at home:
If you can’t find thin sliced boneless skinless chicken breasts, that’s okay – you can do this step at home if needed. While I do like to skip this step when possible, thin slicing the chicken is the key to this recipe.
Start by placing your chicken breast on a stable cutting board. Use your palm to press down and hold the chicken breast in place while you use a sharp chef’s knife to slice through the chicken horizontally, creating two thinner halves of chicken.
If it helps you to visualize this process, check out the photos in this article from Serious Eats, How to Cut Chicken Breasts Into Cutlets.
Ways to customize these Thin Sliced Chicken Breasts:
The best way to put your own spin on this recipe is to change up the seasonings – don’t change anything about the cooking process or you might get under/overcooked chicken!
Do try the original seasoning combo first, but then give one of these ideas a try if you’re looking for some different flavors:
- lemon pepper – Some stores sell lemon pepper seasoning itself; if so, skip the onion powder, Italian seasoning, and paprika, then add 2 teaspoons lemon pepper seasoning. Fresh ground black pepper and lemon zest create a nice flavor too.
- dried oregano, basil & parsley – Skip the paprika and onion powder, then add the same amounts of dried oregano, basil & parsley for a more earthy vibe
- smoked paprika – Swap the basic paprika for a smoky or sweet version! Just note that this spice is more prone to burning and may start to char or add more color than other spices.
- any premade rub, chicken or steak seasoning – This will vary of course depending on what you’re using, but a good place to start is with just 2 teaspoons of your seasoning, salt and pepper.
- cumin & chili powder – Making chicken for tacos or burritos? Swap the Italian seasoning for some cumin and chili powder.
How to serve this Thin Sliced Stovetop Chicken Breasts recipe:
This Thin Sliced Stovetop Chicken Breasts recipe is super multi-purpose and can be used in so many ways, both for make-ahead meals or not. The seasonings are flavorful but also go with so many other savory dishes (which is what makes it perfect for meal prep!). Here are some ideas on what to do with this chicken:
- diced up and used in a pasta salad (like this Herby Lemon Chicken Pasta Salad)
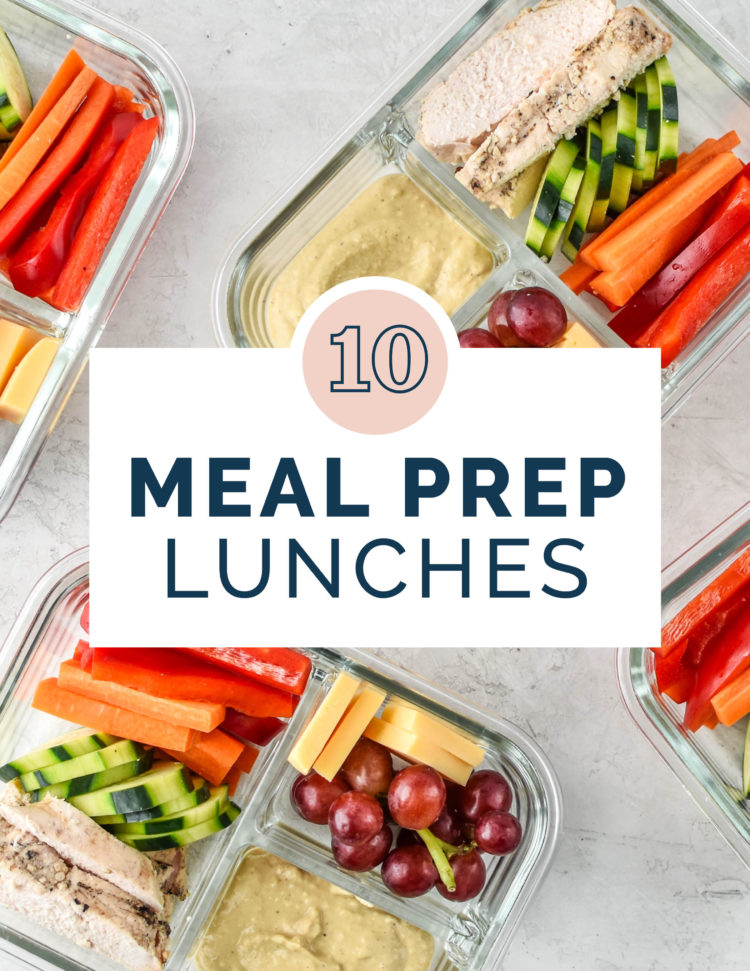
- use for a lunch meal prep like Chicken & Hummus Plate Lunch
- diced up and used in quesadillas (like these BBQ Chicken Quesadillas)
- add on top of a green salad with all the goods (like this Chicken Bacon Ranch Salad)
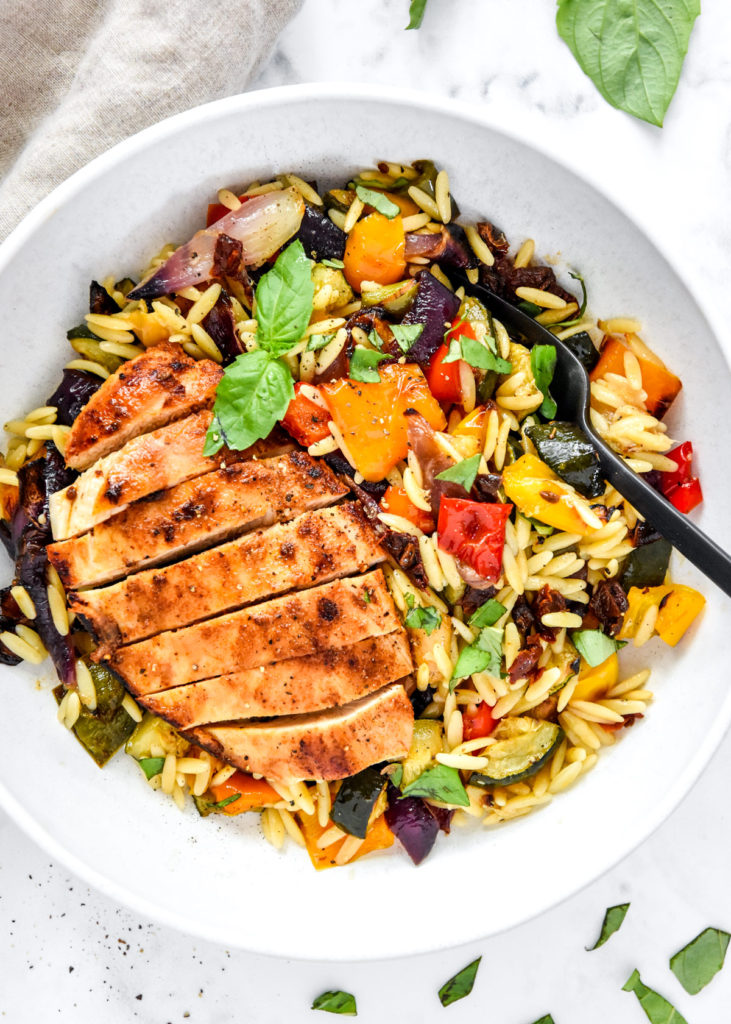
- sliced up and served with roasted veggies and orzo (like this Roasted Veggie Orzo Salad) ⬇️⬇️⬇️
How to store Thin Sliced Stovetop Chicken Breasts:
Store leftover chicken in an airtight container in the fridge for up to 4 days.
How to freeze Thin Sliced Stovetop Chicken Breasts:
Cut the chicken into slices or dice it up and store in a freezer safe, airtight container (or use a FoodSaver to remove the air and store in a freezer bag) for 3-6 months for best quality. Use in recipes as needed, thawed or from frozen.
How to reheat Thin Sliced Stovetop Chicken Breasts:
Leftovers are actually very delicious cold straight from the fridge (like for a salad meal prep), or you can reheat in one of the following methods:
- Air fryer at 350F for 5-6 minutes until steaming hot
- Microwave may dry it out if reheated alone, so be sure to add 1 tablespoon of water for steam, and reheat in 30 seconds blasts until steaming hot.
- Stovetop is another good method. Keep the heat low and add some olive oil, reheating in a similar method to original cooking but quicker.
Did you make this? I want to see how it turned out! Tag me in your social media post @projectmealplan and use #projectmealplan when you share!
Thin Sliced Stovetop Chicken Breast
Introducing an actually delicious, multi-purpose Thin Sliced Stovetop Chicken Breasts recipe! Thin sliced chicken cooks faster, stays juicier, and is delicious in all forms: sliced, diced, or whole. Perfect for meal prep and weeknight meals!
Ingredients
- 1 pound thin sliced boneless skinless chicken breasts, or about 3-4 thin sliced pieces
- 1 teaspoon garlic powder
- 1 teaspoon onion powder
- 1 teaspoon Italian seasoning
- 1 teaspoon fine sea salt or kosher salt
- 1/2 teaspoon paprika
- 1/2 teaspoon fresh ground black pepper
- 1–2 tablespoons extra virgin olive oil
Instructions
- Prepare chicken: Remove packaging from chicken breasts (1 pound or 3-4 thin slices), and place them on a plate or cutting board. If your chicken is not thin-sliced, use a sharp chef’s knife to carefully slice each chicken breast into cutlets. Slice off any additional fatty pieces as well. If any pieces are over 1/2 inch thick, use the heel of your palm or a meat tenderizer to flatten. Let the chicken sit out at room temperature for at least 10 minutes while you mix the seasonings.
- Mix seasoning: In a small bowl, combine the garlic powder (1 teaspoon), onion powder (1 teaspoon), Italian seasoning (1 teaspoon), salt (1 teaspoon), paprika (1/2 teaspoon), and fresh ground black pepper (1/2 teaspoon).
- Season chicken: Use a paper towel to blot the chicken breast cutlets and remove as much excess moisture as possible from both sides, then drizzle a small amount of olive oil over the chicken. Next, season each side of all pieces with about 1/2 teaspoon of the seasoning mix. Use your hands (or gloves) to rub the oil and seasoning all over each piece of chicken.
- Sear chicken: Heat a large pan with a tight fitting lid over medium heat. I prefer nonstick, but stainless steel will work too; just make sure you have a tight fitting lid. Once the pan is hot, add about 1/2 tablespoon olive oil and let it heat until shimmering. Place the seasoned chicken into the pan in a single layer and set a timer for 5 minutes. Do not adjust the chicken during this time while it is searing.
- Put the lid on: When the timer goes off, flip the chicken and immediately put the lid on. Turn the heat down to the lowest setting and again, set a timer for 5 minutes. Do not take the lid off or touch the chicken at all during this time.
- Rest chicken: When the timer goes off this time, remove the pan from heat, but still do not take the lid off or touch the chicken. Set a timer for 5 minutes once again. When the timer goes off this time, the chicken is done cooking and the internal temperature should read 160-165F. Let the chicken rest on a cutting board for at least 5 minutes.
- Serve & store: Serve the chicken as a main dish, sliced, or diced up and added to another recipe. Keep leftovers in an airtight container in the fridge for up to 4 days.
Equipment
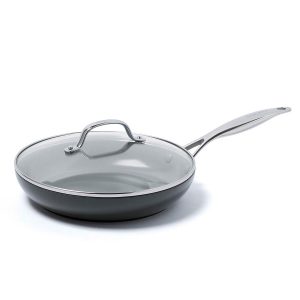
GreenPan 10-Inch Non Stick Fry Pan
Buy Now →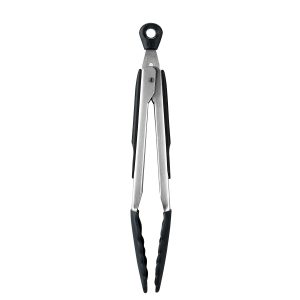
OXO 9-Inch Silicone Head Tongs
Buy Now →(affiliate link!)
Notes
I originally learned how to make stovetop chicken breasts following this Idiotproof Chicken recipe from Serena Wolf. This is my adapted version for seasoned thin sliced chicken. Nutrition information estimated with My Fitness Pal.
Nutrition Information
- Serving Size: 3-4 ounces
- Calories: 164
- Fat: 8g
- Carbohydrates: 2g
- Protein: 23g
Frequently Asked Questions
Can I use chicken thighs instead of chicken breasts?
This recipe was specifically written for boneless skinless chicken breasts. I would not recommend swapping for chicken thighs here. For boneless skinless thigh recipes, try my Air Fryer Boneless BBQ Chicken Thighs, or these Simple Salsa Baked Chicken Thighs.



Tracey Lange says
I purchased thin sliced chicken breast by mistake. I don’t buy it because I figure it will be dry. But this is the best recipe. So delicious. I will definitely be making this again. The timing and the lid make it so easy. Served it with mushrooms that I sautéed in the pan before and roasted cauliflower and then put the vegetables in the pan for the last five minutes while the chicken sat. Stirred it all together and couldn’t get enough. Thank you!
Danielle says
Hi Tracey – Your feedback has made my day! I’m so glad to hear this changed your opinion on thin sliced chicken breasts. And your additions of sauteed mushrooms and roasted cauliflower sounds perfect. Thank you again, I appreciate it very much! -Danielle
Debbie says
My husband said this was a keeper! Your cooking directions were spot on and my chicken came out perfect. The only thing I did differently was to brine the chicken breasts in buttermilk to tenderize. Thank you for sharing this recipe!!
Danielle says
Buttermilk to tenderize sounds like a great addition to the recipe. So glad you and your husband loved this chicken! Thank you for your feedback and rating. I appreciate it 🙂 -Danielle
Debbie says
I snuck a corner off before the last 5 minutes of resting took place. Now I’m counting down the minutes before it’s served. 5 stars for sure. I loved the flavor.
Danielle says
Sometimes I do the same thing, Debbie! So glad you love it 🙂 Thank you for your comment, it made my day! -Danielle