This post may contain affiliate links. Please read our disclosure policy.
Reheating food and leftovers is an important part of meal prep, reducing food waste, and saving money in the kitchen. If you don’t have a microwave, you can still successfully reheat food and leftovers with other kitchen appliances. Let’s chat about How to Reheat Food Without a Microwave!
 Over the course of my lifetime, I’ve heard things like, “Don’t put your face too close to the microwave!” or, “The microwave is the Devil’s oven!” Woah, okay, that’s quite a leap for a kitchen appliance but the imagery is fabulous.
Willingness to reheat food and leftovers is vital to enjoying a variety of meals that were cooked before now. I’m talking leftover breakfast, lunch and dinner. Leftover meal preps. Leftover potluck food. Leftover anything.
If you are someone who says you don’t like leftovers, maybe it’s because you’ve been reheating them in a microwave! Reheating food in different ways will give you very different results.
Enjoying leftover food helps you save money, reduce food waste, and save time. But what if you don’t have a microwave?! And a reasonable next question…
What’s the best way to reheat all these leftovers?!
Well the answer is – it varies. Some leftovers are better reheated in the oven. Some leftovers are better heated up on the stovetop. Some leftovers should be reheated the way they were cooked. This post will give you all the details you need!
You’ll find my recommendations are in two different sections below; general reheating instructions by appliance, and more specific reheating instructions based on the type of food.
All of this information is based on my personal experience with reheating food at home without a microwave. If you have anything to add, or if you think I missed something, please leave a comment below!
Why Don’t You Have a Microwave?
Last year, my microwave broke. Just stopped working randomly. This microwave was installed above the oven, in a rental home, which I was about to move out of in a couple months.
So I did the very adult thing and ignored it. At the same time, I quickly learned through trial and error how to reheat all my food without a microwave.
Furthermore, the house I was moving into did not have a microwave. Purchasing one would have taken up valuable counter space. So, I made the executive decision to live without.
To this day, I still do not have a microwave. I’ve found I just don’t need it.
I’m not anti-microwave, and I do not blame you for owning a microwave. However, there are reasons to skip them, too!
How to Transition Away From Using a Microwave
Are you thinking, “This is great for you, but I could not live without my microwave!”?
Here’s my best advice for how to transition away from using a microwave:
Go cold turkey. Unplug your microwave. Pretend it doesn’t exist.
This method will force you to get creative and use any other appliance in your home to reheat food. And who knows, maybe it’ll be way easier than you think!
Yeah, you’ll accidentally try to cook things in there out of habit for a couple days, but that will subside soon (this is funnier when it’s off or broken).
Benefits of Not Having a Microwave
Personally, I think the pros of not owning a microwave outweigh the cons by far. Here are the benefits of not having a microwave, according to me:
- Leaves more counter space available – If you have a microwave above your oven, that’s space-saving and wonderful, but for me, the microwave would have gone on the counter, taking up valuable space.
- No microwave ‘hot spots’ in your food – Microwaves have infamous cold and hot spots. Other methods of reheating are not so dramatic.
- Learn other ways of cooking – After my microwave broke, I quickly learned how to reheat food in my oven through some trial and error, but now I’m a pro. I’ve also gotten better at reheating food on the stovetop and in my air fryer. After a while, you just learn which ways you personally like to reheat different foods, and it’s not such a bother anymore.
- Leftovers are better quality – Microwaves can really kill the vibe on some leftovers. Some people claim microwaving chicken makes it taste like rubber. I’m not sure I fully agree with that, but I do see the point. Certain foods just taste better out of the oven or fresh from the stovetop.
- Microwave meals are not an option – This may be a con for some, but this has helped me get away from any kind of ready-to-eat microwave meals. It can change the way you purchase and cook meals!
- Saves money (if you don’t buy one) – To get a microwave into my home, I would have had to buy one. So that’s a saved expense right there. If you don’t want to purchase or replace, you can skip it completely to save some money upfront.
Cons of Not Having a Microwave
Here are the cons of not having a microwave, based on my personal experience.
- Can’t reheat coffee or melt chocolate very easily.
- Have to slightly plan ahead for meals.
- Other reheating methods take longer (but most are just as easy).
Food Safety Note
Safe handling of food leftovers is super important to your safety. There are three notes on food safety that I NEED you to be aware of:
- Make sure your food is cooked to a safe temperature when cooked for the first time, and leftovers are refrigerated promptly.
- Reheat all leftovers to 165F, measured with a food thermometer. Sauces, soups and liquids should be reheated to a rolling boil.
- Leftovers last up to 3 to 4 days in the refrigerator, and indefinitely in the freezer, however they will start to lose quality after 3 to 4 months.
Reheating Rules of Thumb
- Most food can be reheated in the same method it was cooked. If I air fried some chicken, I will air fry to reheat it. If I made a soup or stew on the stove, I will reheat it the same way. It doesn’t work for everything, but it’s a good place to start.
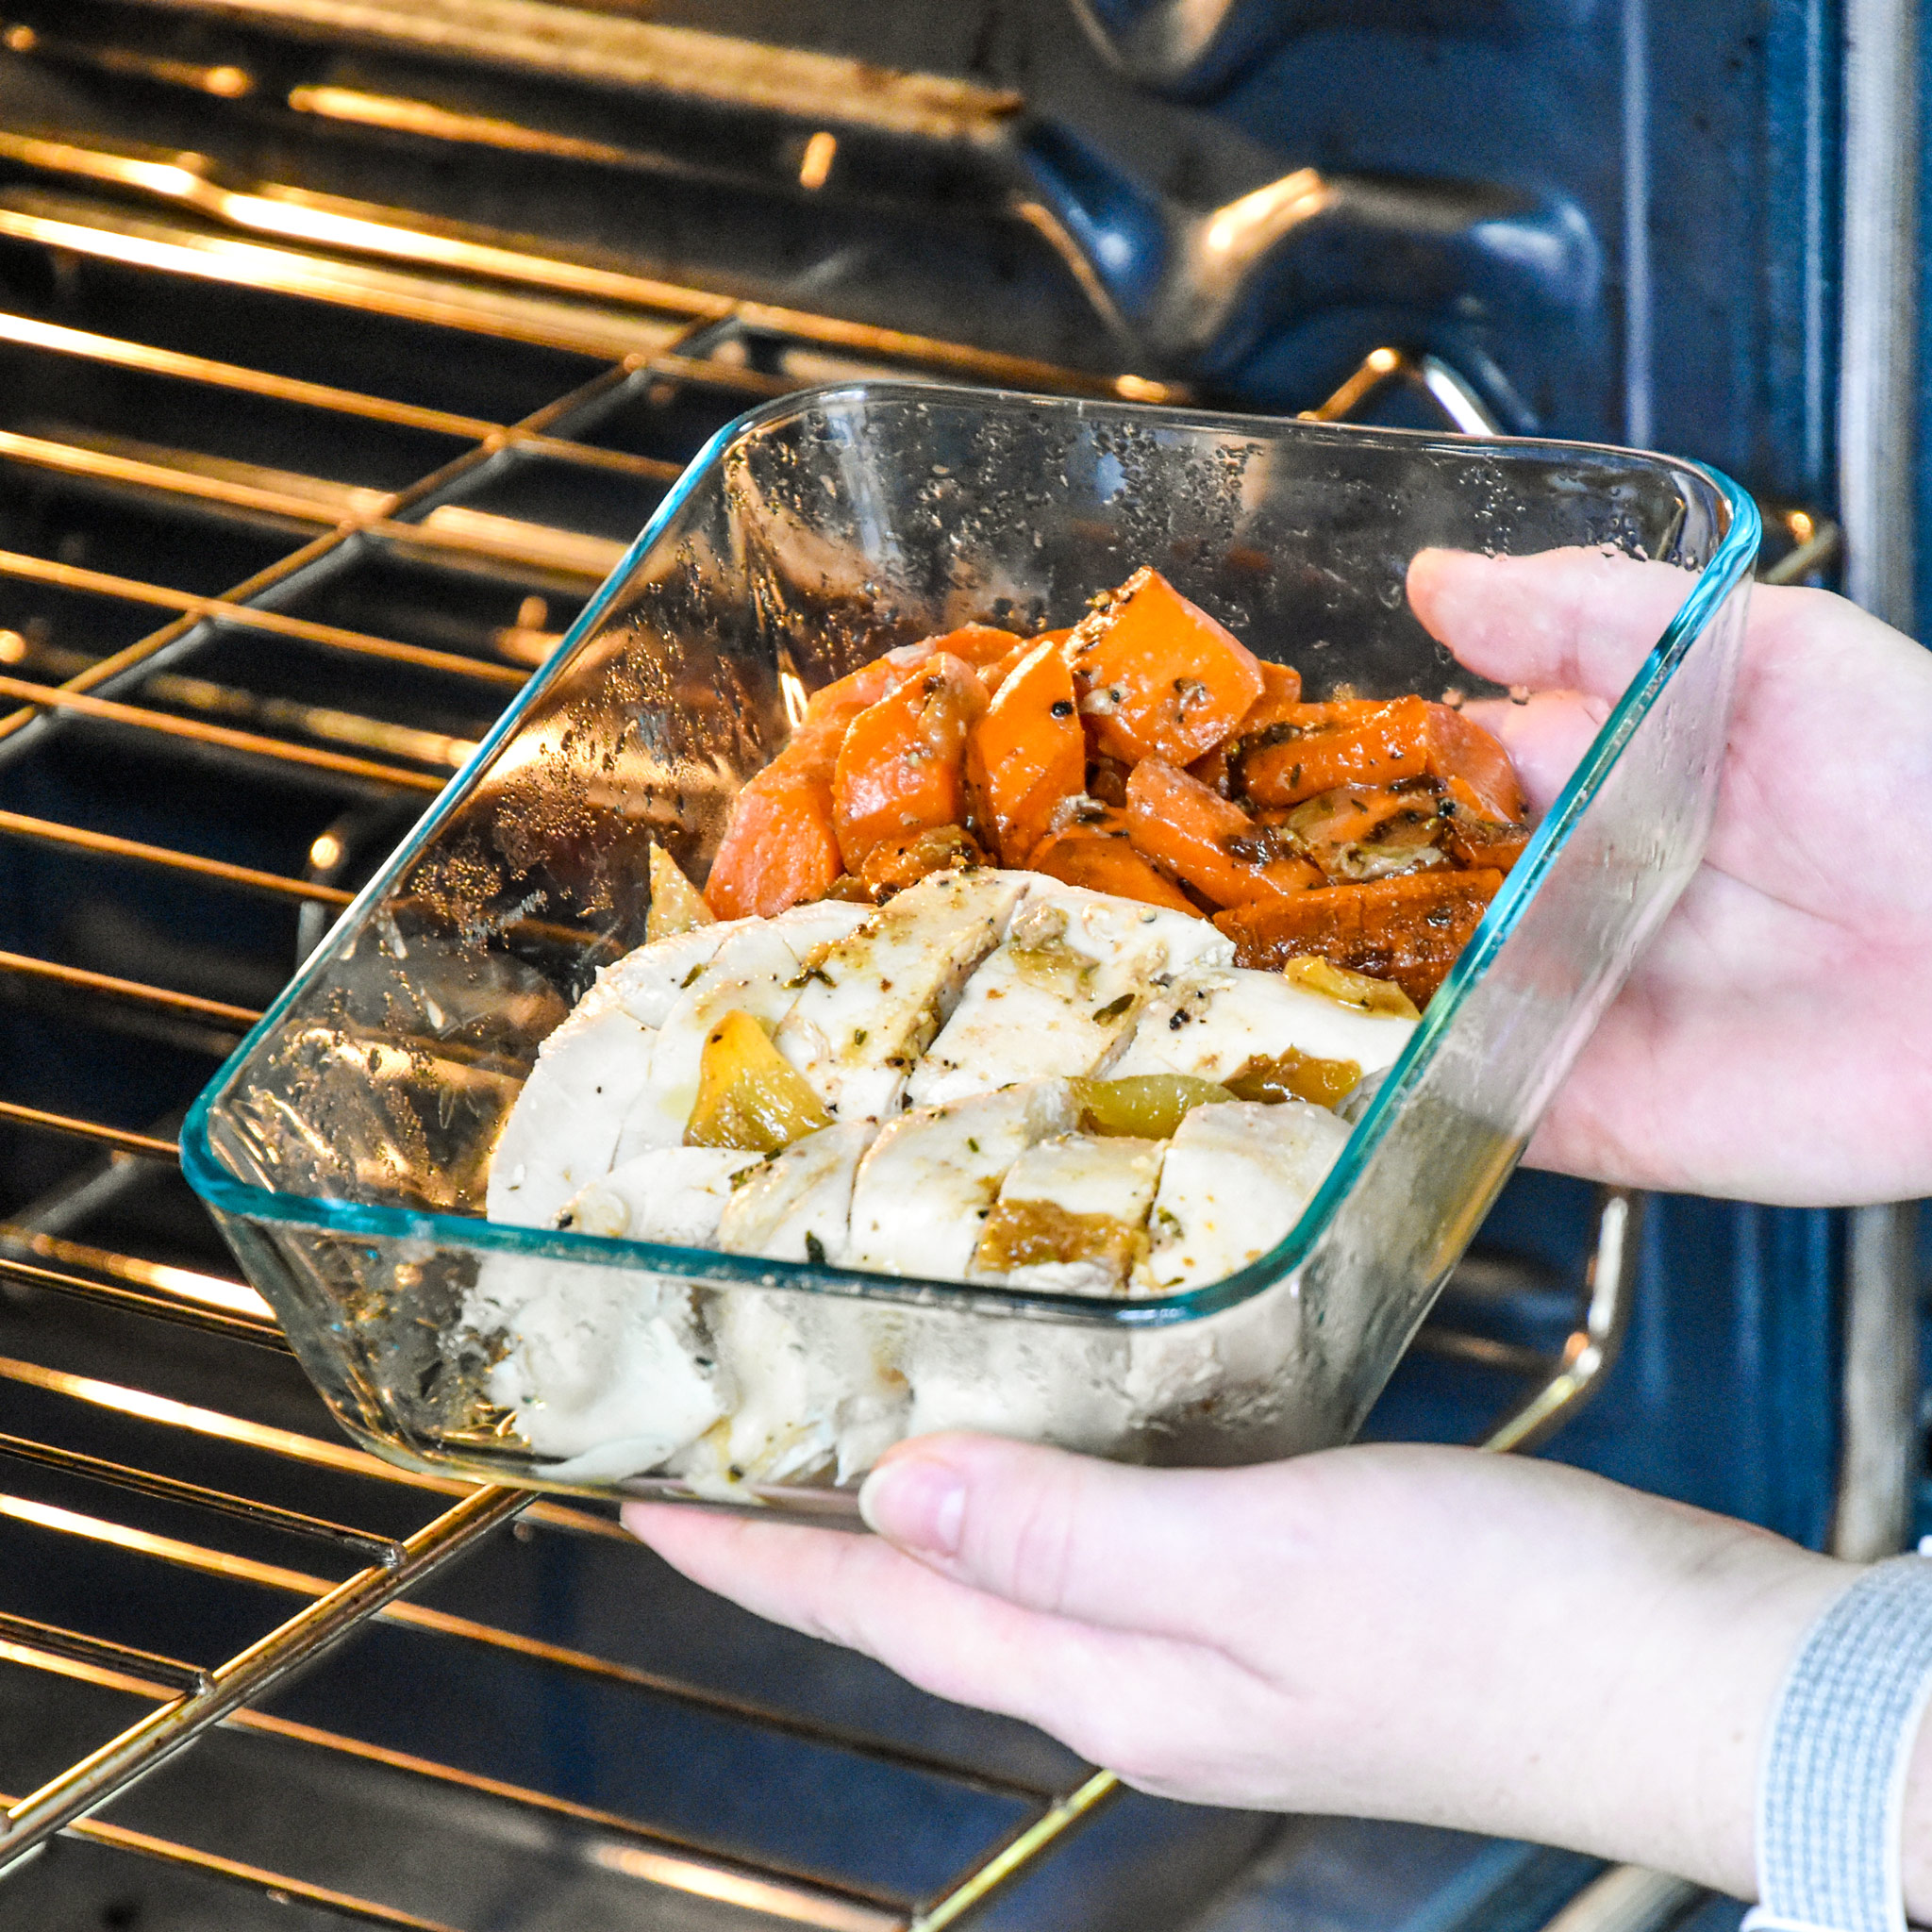
- If possible, put food away in the dish in which it will be reheated. Make sure those dishes are oven safe! My recommendations below (and a master list of my meal prep container recommendations found here!).
- Most foods (especially uncovered) lose moisture as they are reheated, so add a couple tablespoons of water to the dish (especially for oven and stove top reheating).
- If dishes have multiple parts, you can store and reheat leftovers separately according to category (such as biscuits & gravy or burger and fries – yes you can reheat fries!).
- Your appliances are different that my appliances, your food is different than my food, and times will vary. Reheat enough food without a microwave at home, and you’ll quickly learn your favorite methods.
How to Reheat Food Without a Microwave By Appliance
These are going to be general instructions for reheating food in each appliance.
Times will vary depending on what you are reheating, but the general methods are going to be pretty similar.
APPLIANCES:
Oven
Great for casseroles, bakes, lasagnas, pizzas, flatbreads, and whole meals.
From the refrigerator:
- Place leftovers in an oven safe container. Make sure the food is spread in an even layer if possible.
- Cover loosely with foil if there is concern about losing moisture. Add a tablespoon of water if you think it’s necessary (good for less saucy dishes).
- Place food into the cold oven. Turn the oven on and set to 350F. Set a timer for 15-30 minutes, depending on the type, amount, and thickness of the food. Use your best judgement. You got this!
- After 15-20 minutes, check temperature, stir leftovers, and add more time if needed. Leftovers should be heated to 165F.
From the freezer:
- Place leftovers in an oven safe container. Make sure the food is spread in an even layer, if possible.
- Cover lightly with foil if you’d like – this can keep the top from drying out or burning while the inside continues to cook.
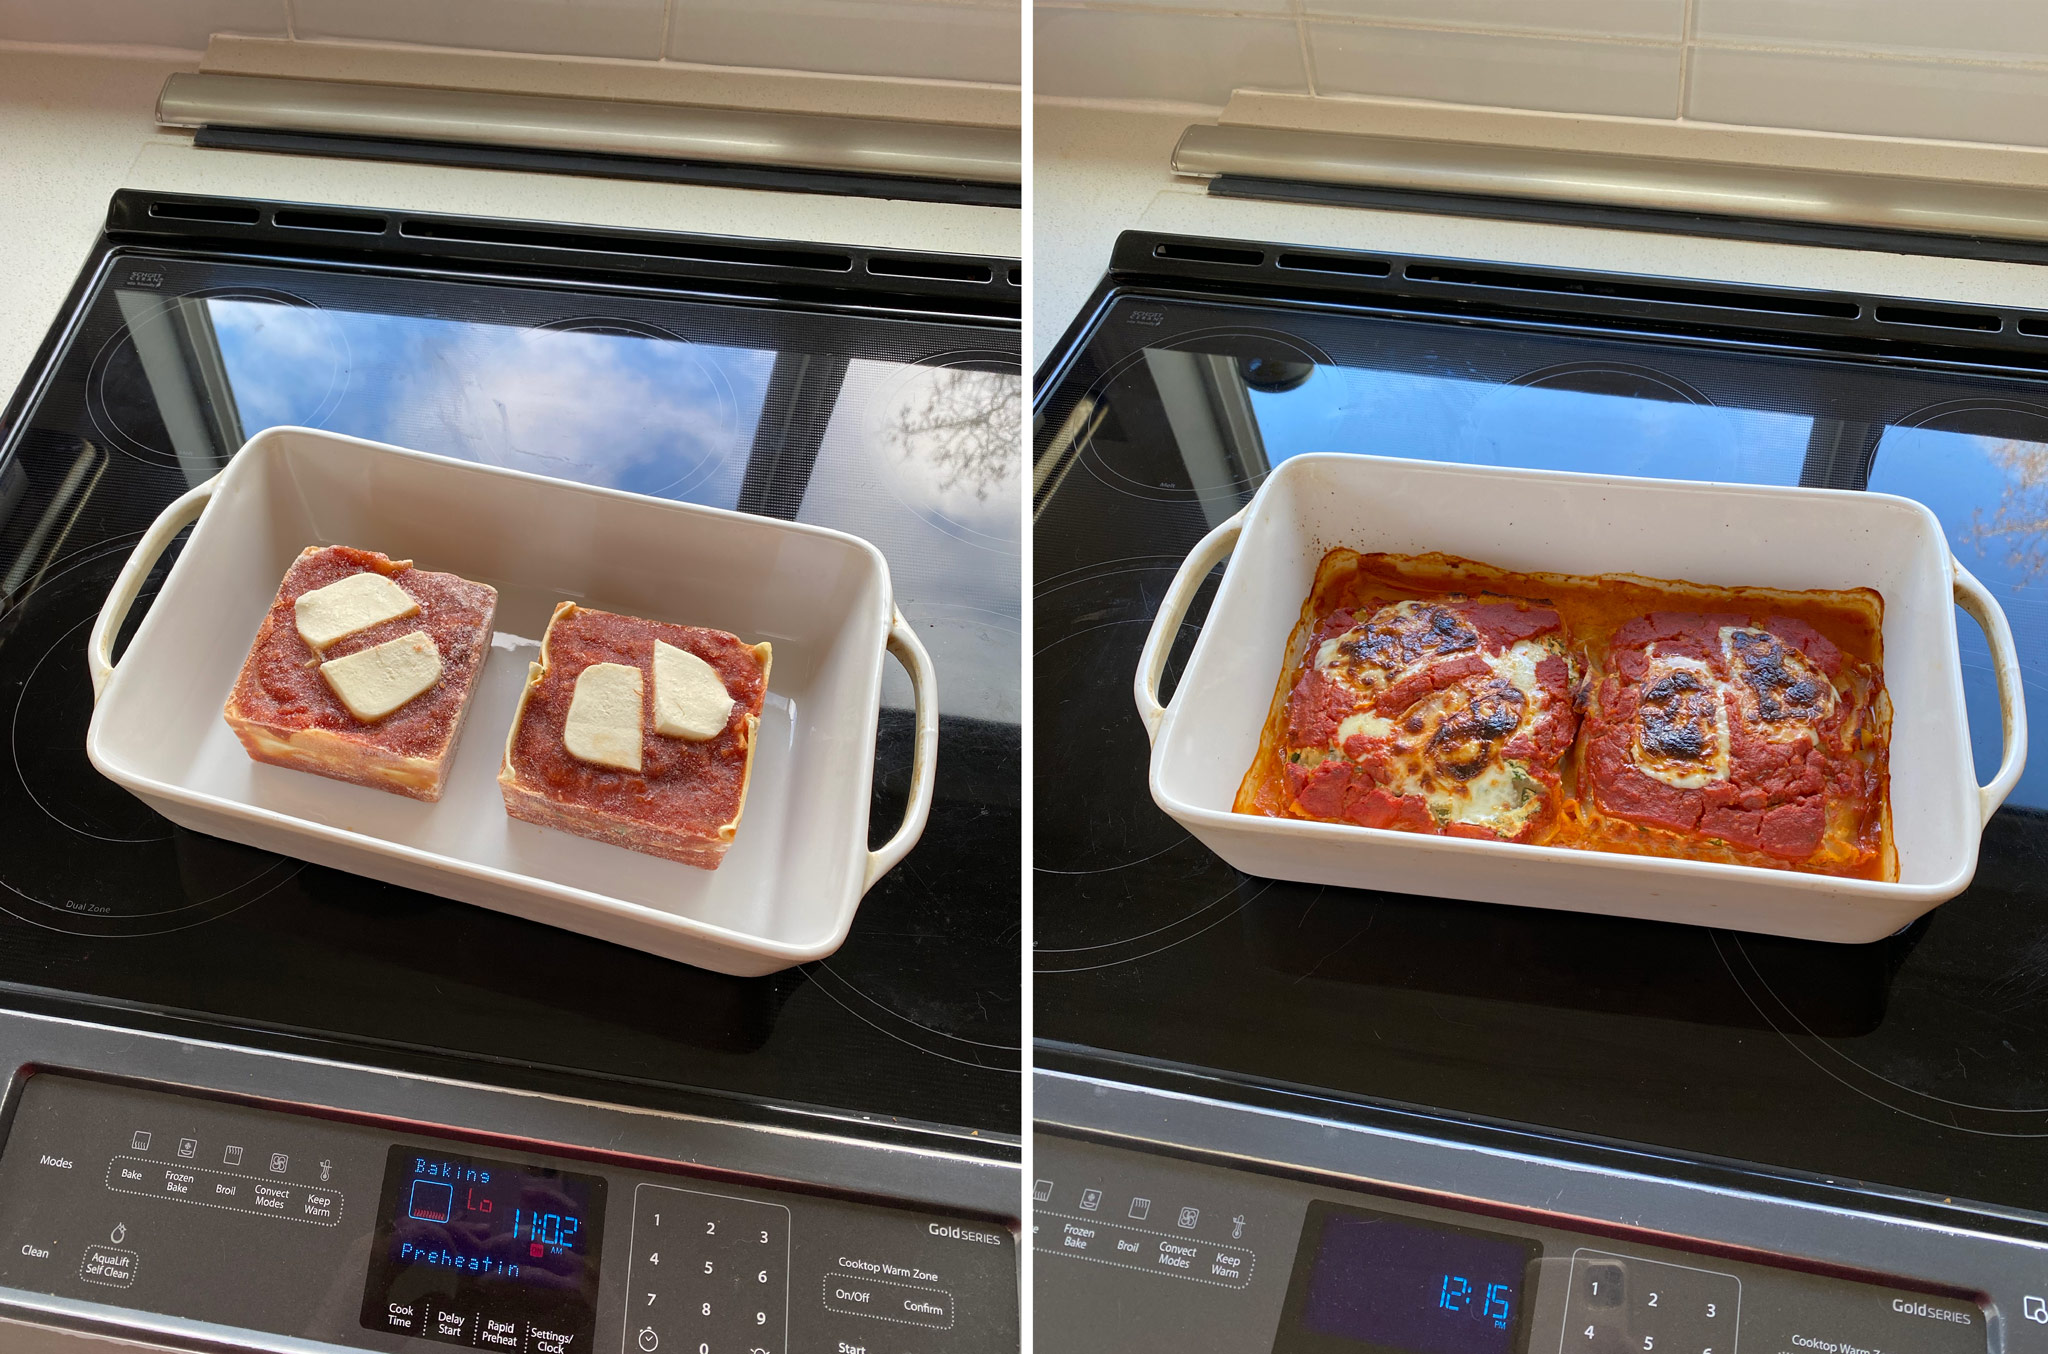
- Place food into the cold oven. Turn the oven on and set to 375F. Set a timer for 45-60 minutes, depending on the amount and thickness of the food (for example, the completely frozen lasagnas below take about 60-65 minutes to cook).
- After 45 minutes, check temperature, stir leftovers (if possible), and add more time if needed, in 10 minute increments. Leftovers should be heated to 165F.
Stovetop
Great for soups, stews, chilis, stir fry dishes, and saucy pastas.
From the refrigerator:
- Place leftovers in an appropriately sized saucepan.
- For liquids, cook over medium heat until a brief rolling boil is achieved. For stir fry dishes, heat oil in a non-stick skillet over medium heat. Once hot, add leftovers and sauté, stirring occasionally, until visibly steaming and browning.
From the freezer (liquid based):
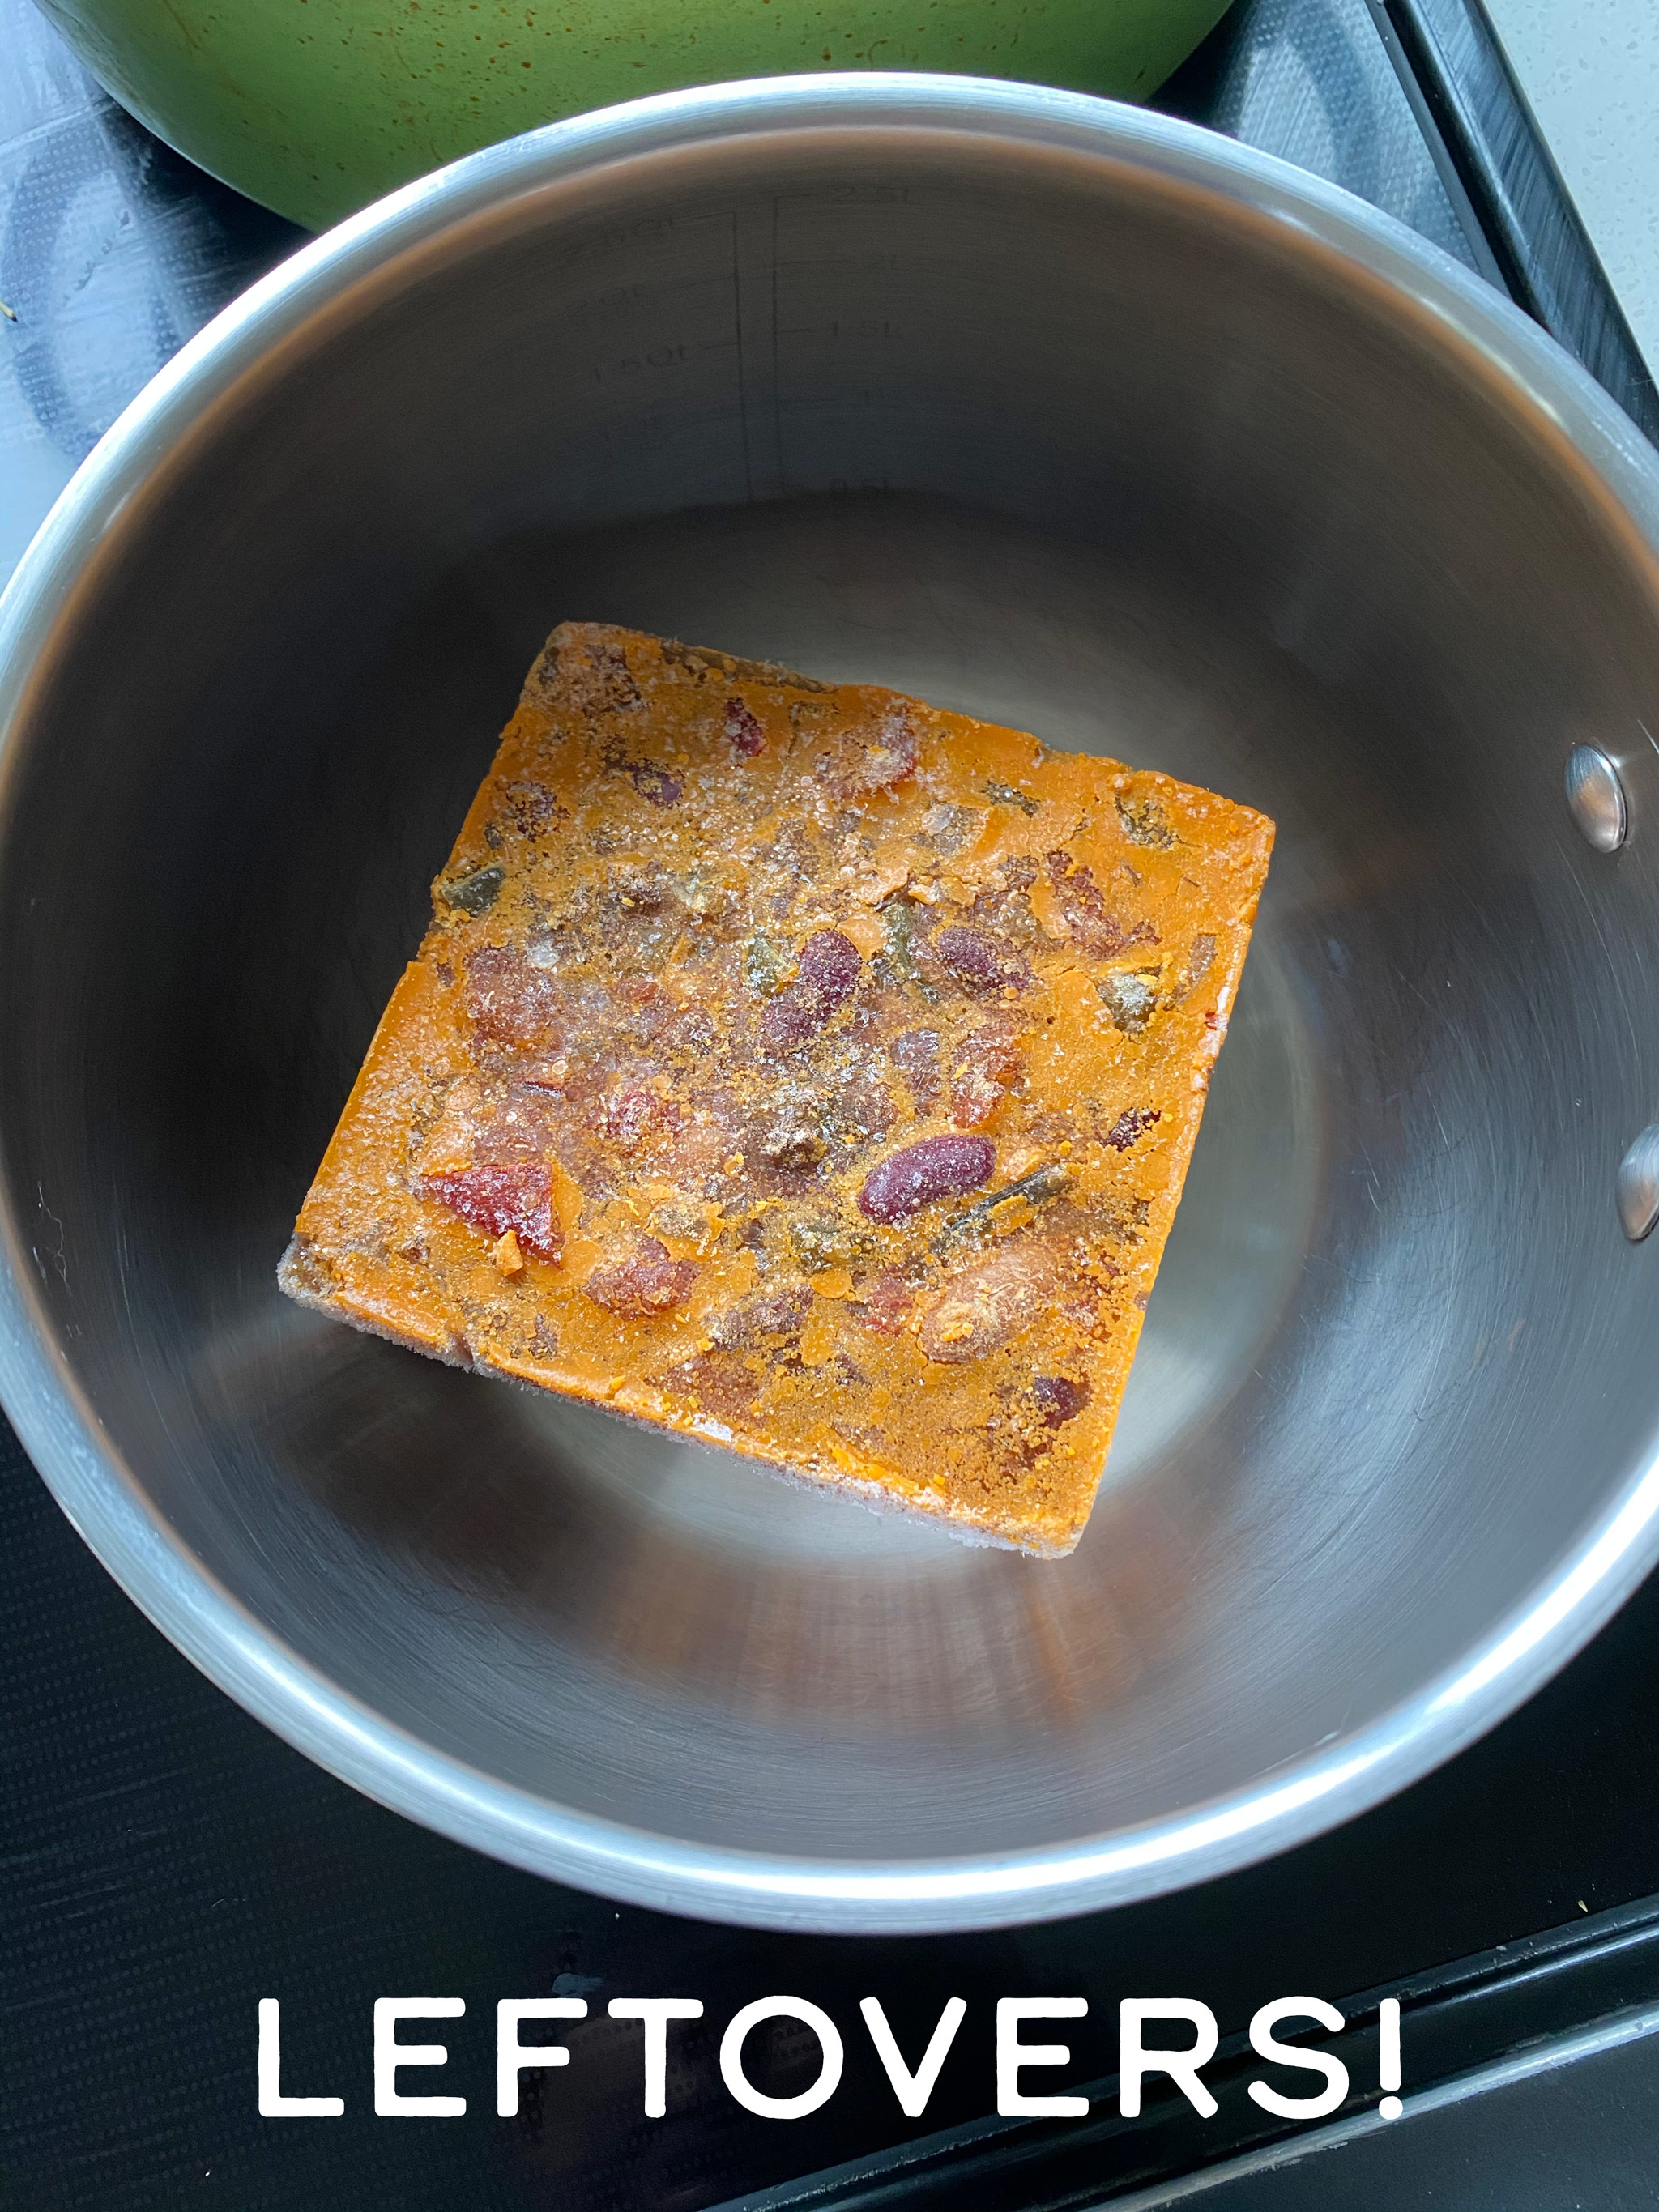
- Place leftovers in an appropriately sized saucepan. If it’s thick, add some broth to the pan.
- Cook over low heat, covered, for about 5 minutes, or until there’s a bit of thawed liquid in the pan.
- Increase heat to medium, and continue to cook, covered, for another 8-12 minutes, or until a rolling boil is achieved. Stir half way through cooking.
Air Fryer
Great for any crispy food, meats, and pizza.
From the refrigerator and freezer:
- Place leftovers into the air fryer basket in single layer.
- Air fry at 350F for 3-30 minutes, very much depending on the thickness and style of the leftovers. Thinner, refrigerated leftovers will take much less time than thicker, frozen leftovers. For example, reheating fries takes 3-6 minutes while reheating pizza would take 5-8 minutes, and so on.
- Shake halfway and check progress.
Toaster Oven
Great for warming breads, sandwiches and wraps.
From the refrigerator and freezer:
- Wrap or cover food in foil (unless you want it toasted – use your best judgement). Place food into the toaster oven.
- Set toaster oven to 350F (if possible) and heat for 5-15 minutes. If the food is thicker and/or frozen, it will take longer.
- Check the internal temperature and add more time if necessary.
Instant Pot
Great for liquid based dishes and whole meals.
Confession: I never use my Instant Pot to reheat food. However, it is a totally viable option. I just don’t feel qualified to tell you about it. Check out this super helpful article from Traditional Cooking School on how to use the Steam function (and other methods) to reheat food in your Instant Pot.
How to Reheat Food Without a Microwave by Type of Food
Different foods can turn out better or worse depending on how you reheat them. Here are my preferences for reheating foods without a microwave.
All leftovers should be reheated to 165F, and liquids reheated to a rolling boil.
All instructions are for reheating leftovers from the refrigerator unless otherwise noted. Refer to the appliance above for basic heating from frozen instructions.
LEFTOVERS:
Soups, Stews, Chilis & Saucy Dishes
Example recipes: Instant Pot Ginger Chicken & Rice Soup, Slow Cooker 4 Bean Turkey Chili, Chicken Chili with Corn, Favorite Ground Turkey Sloppy Joes.
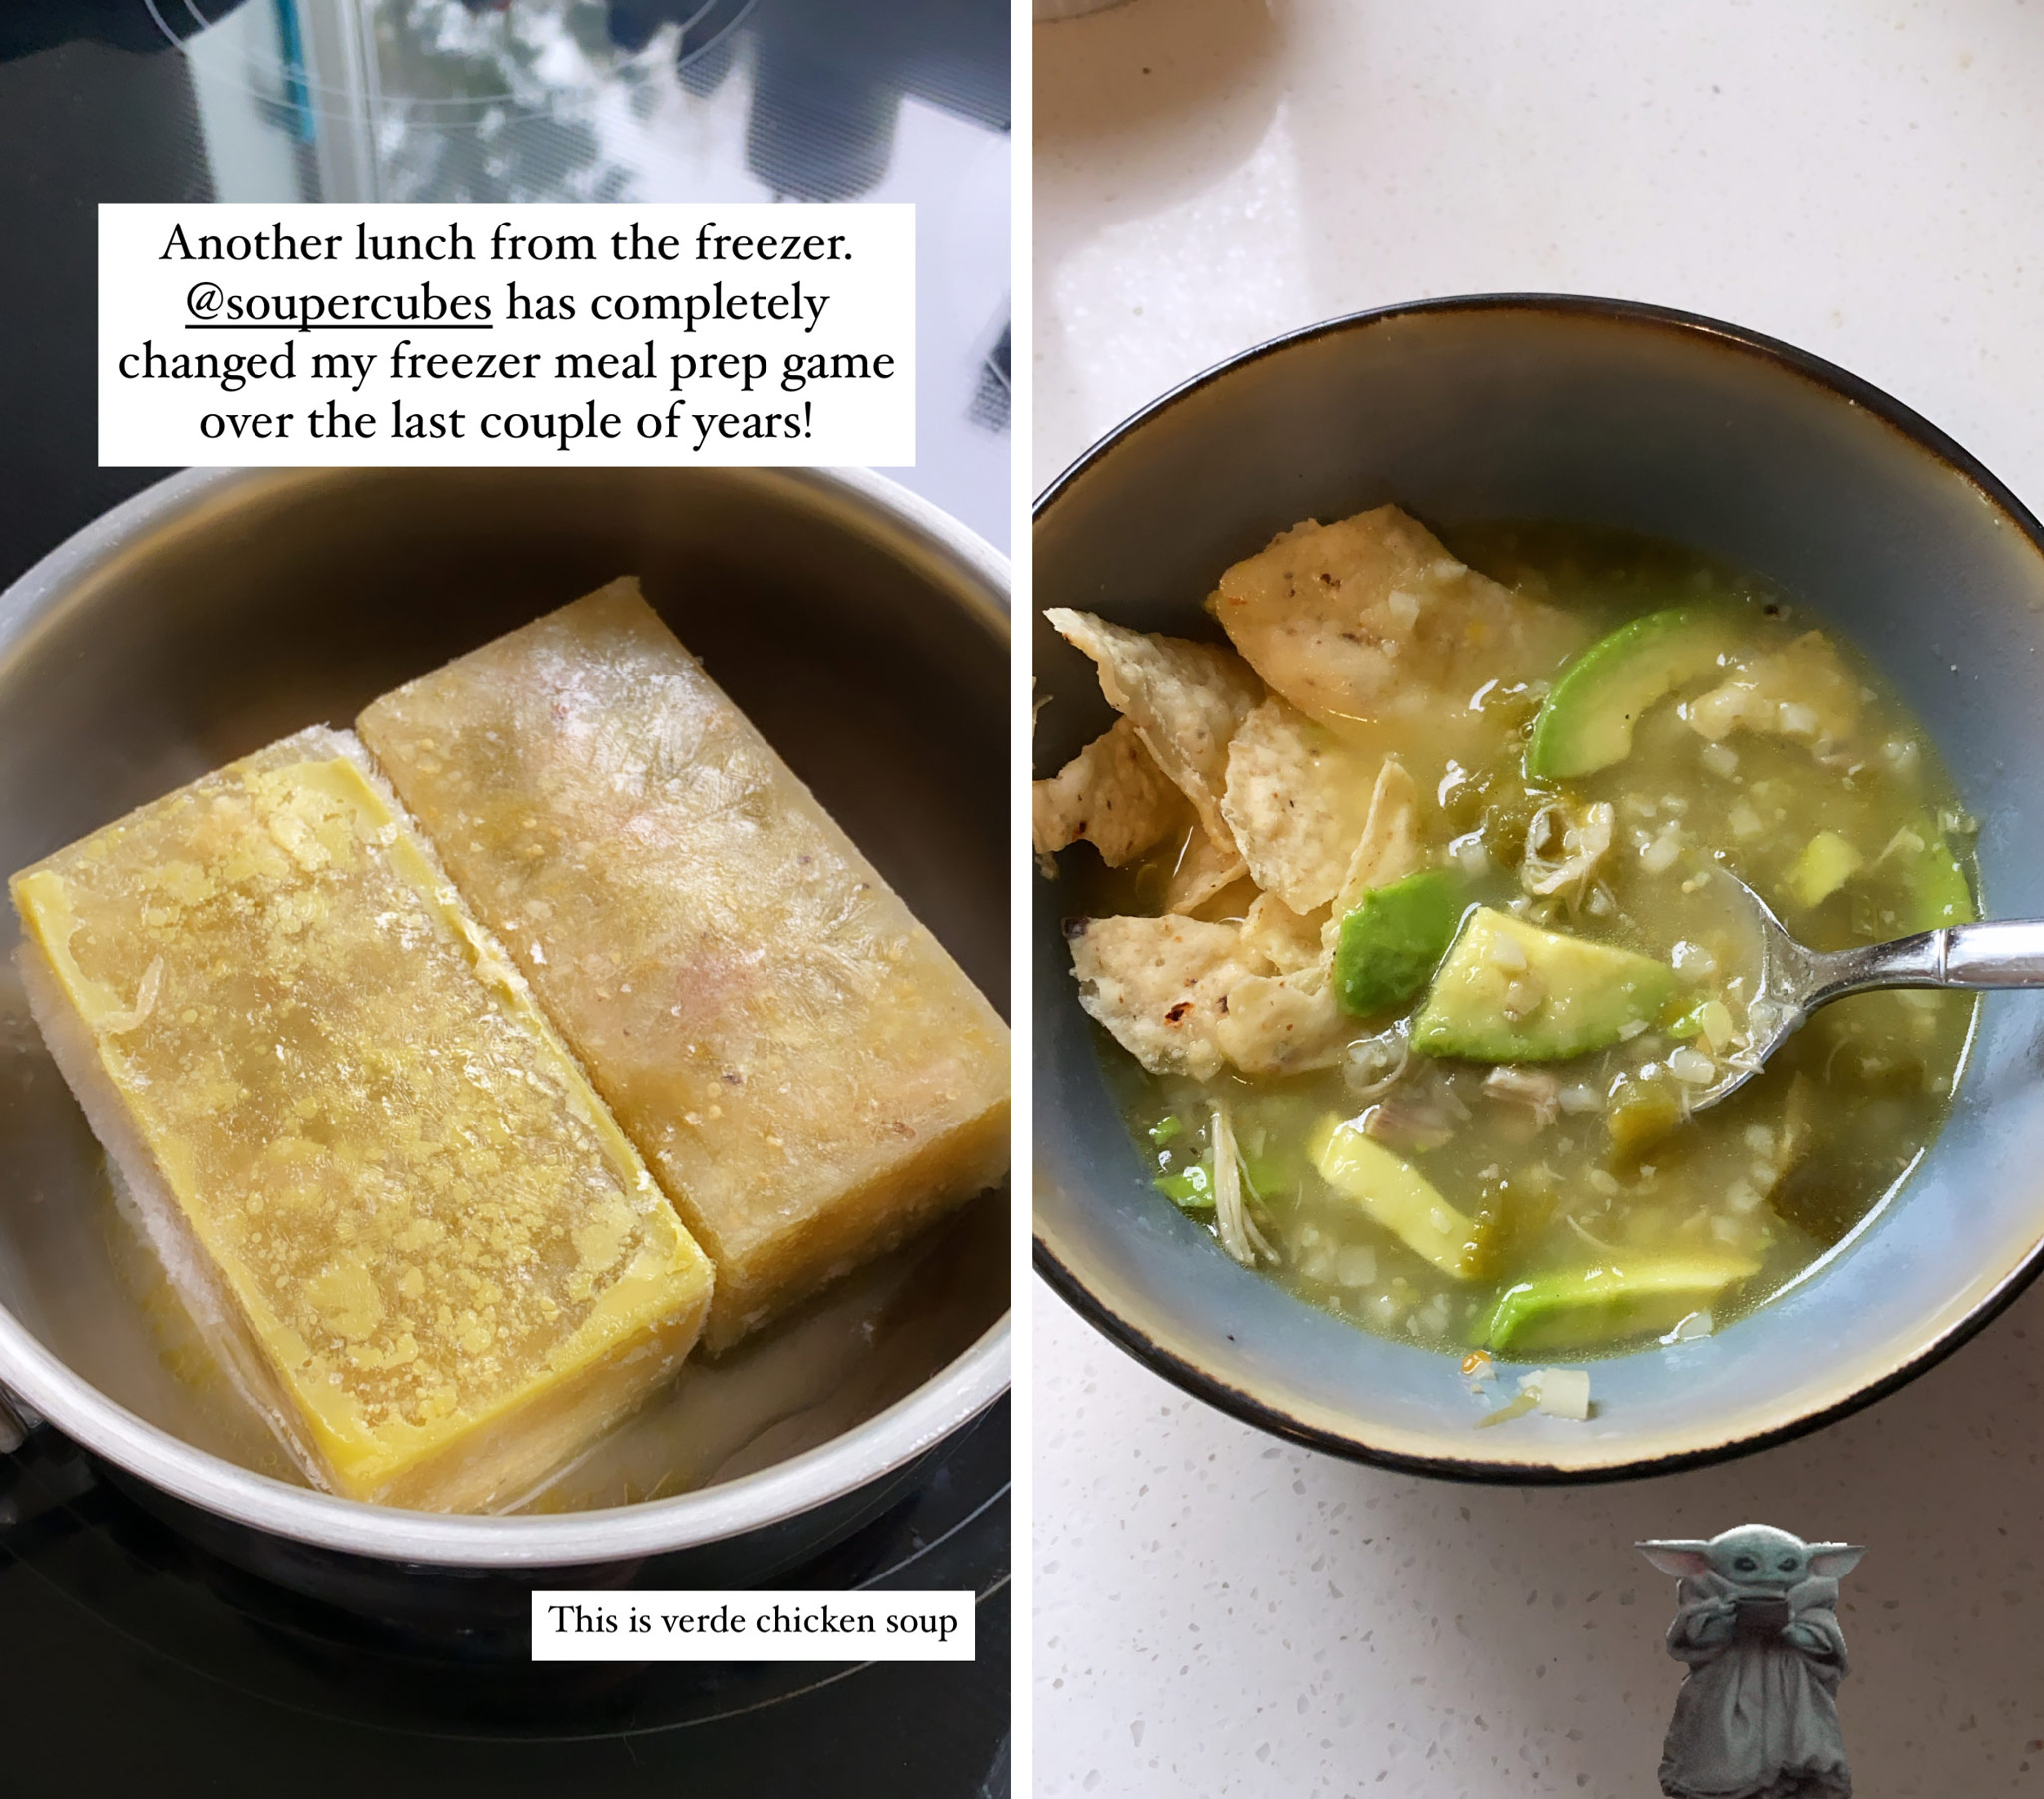
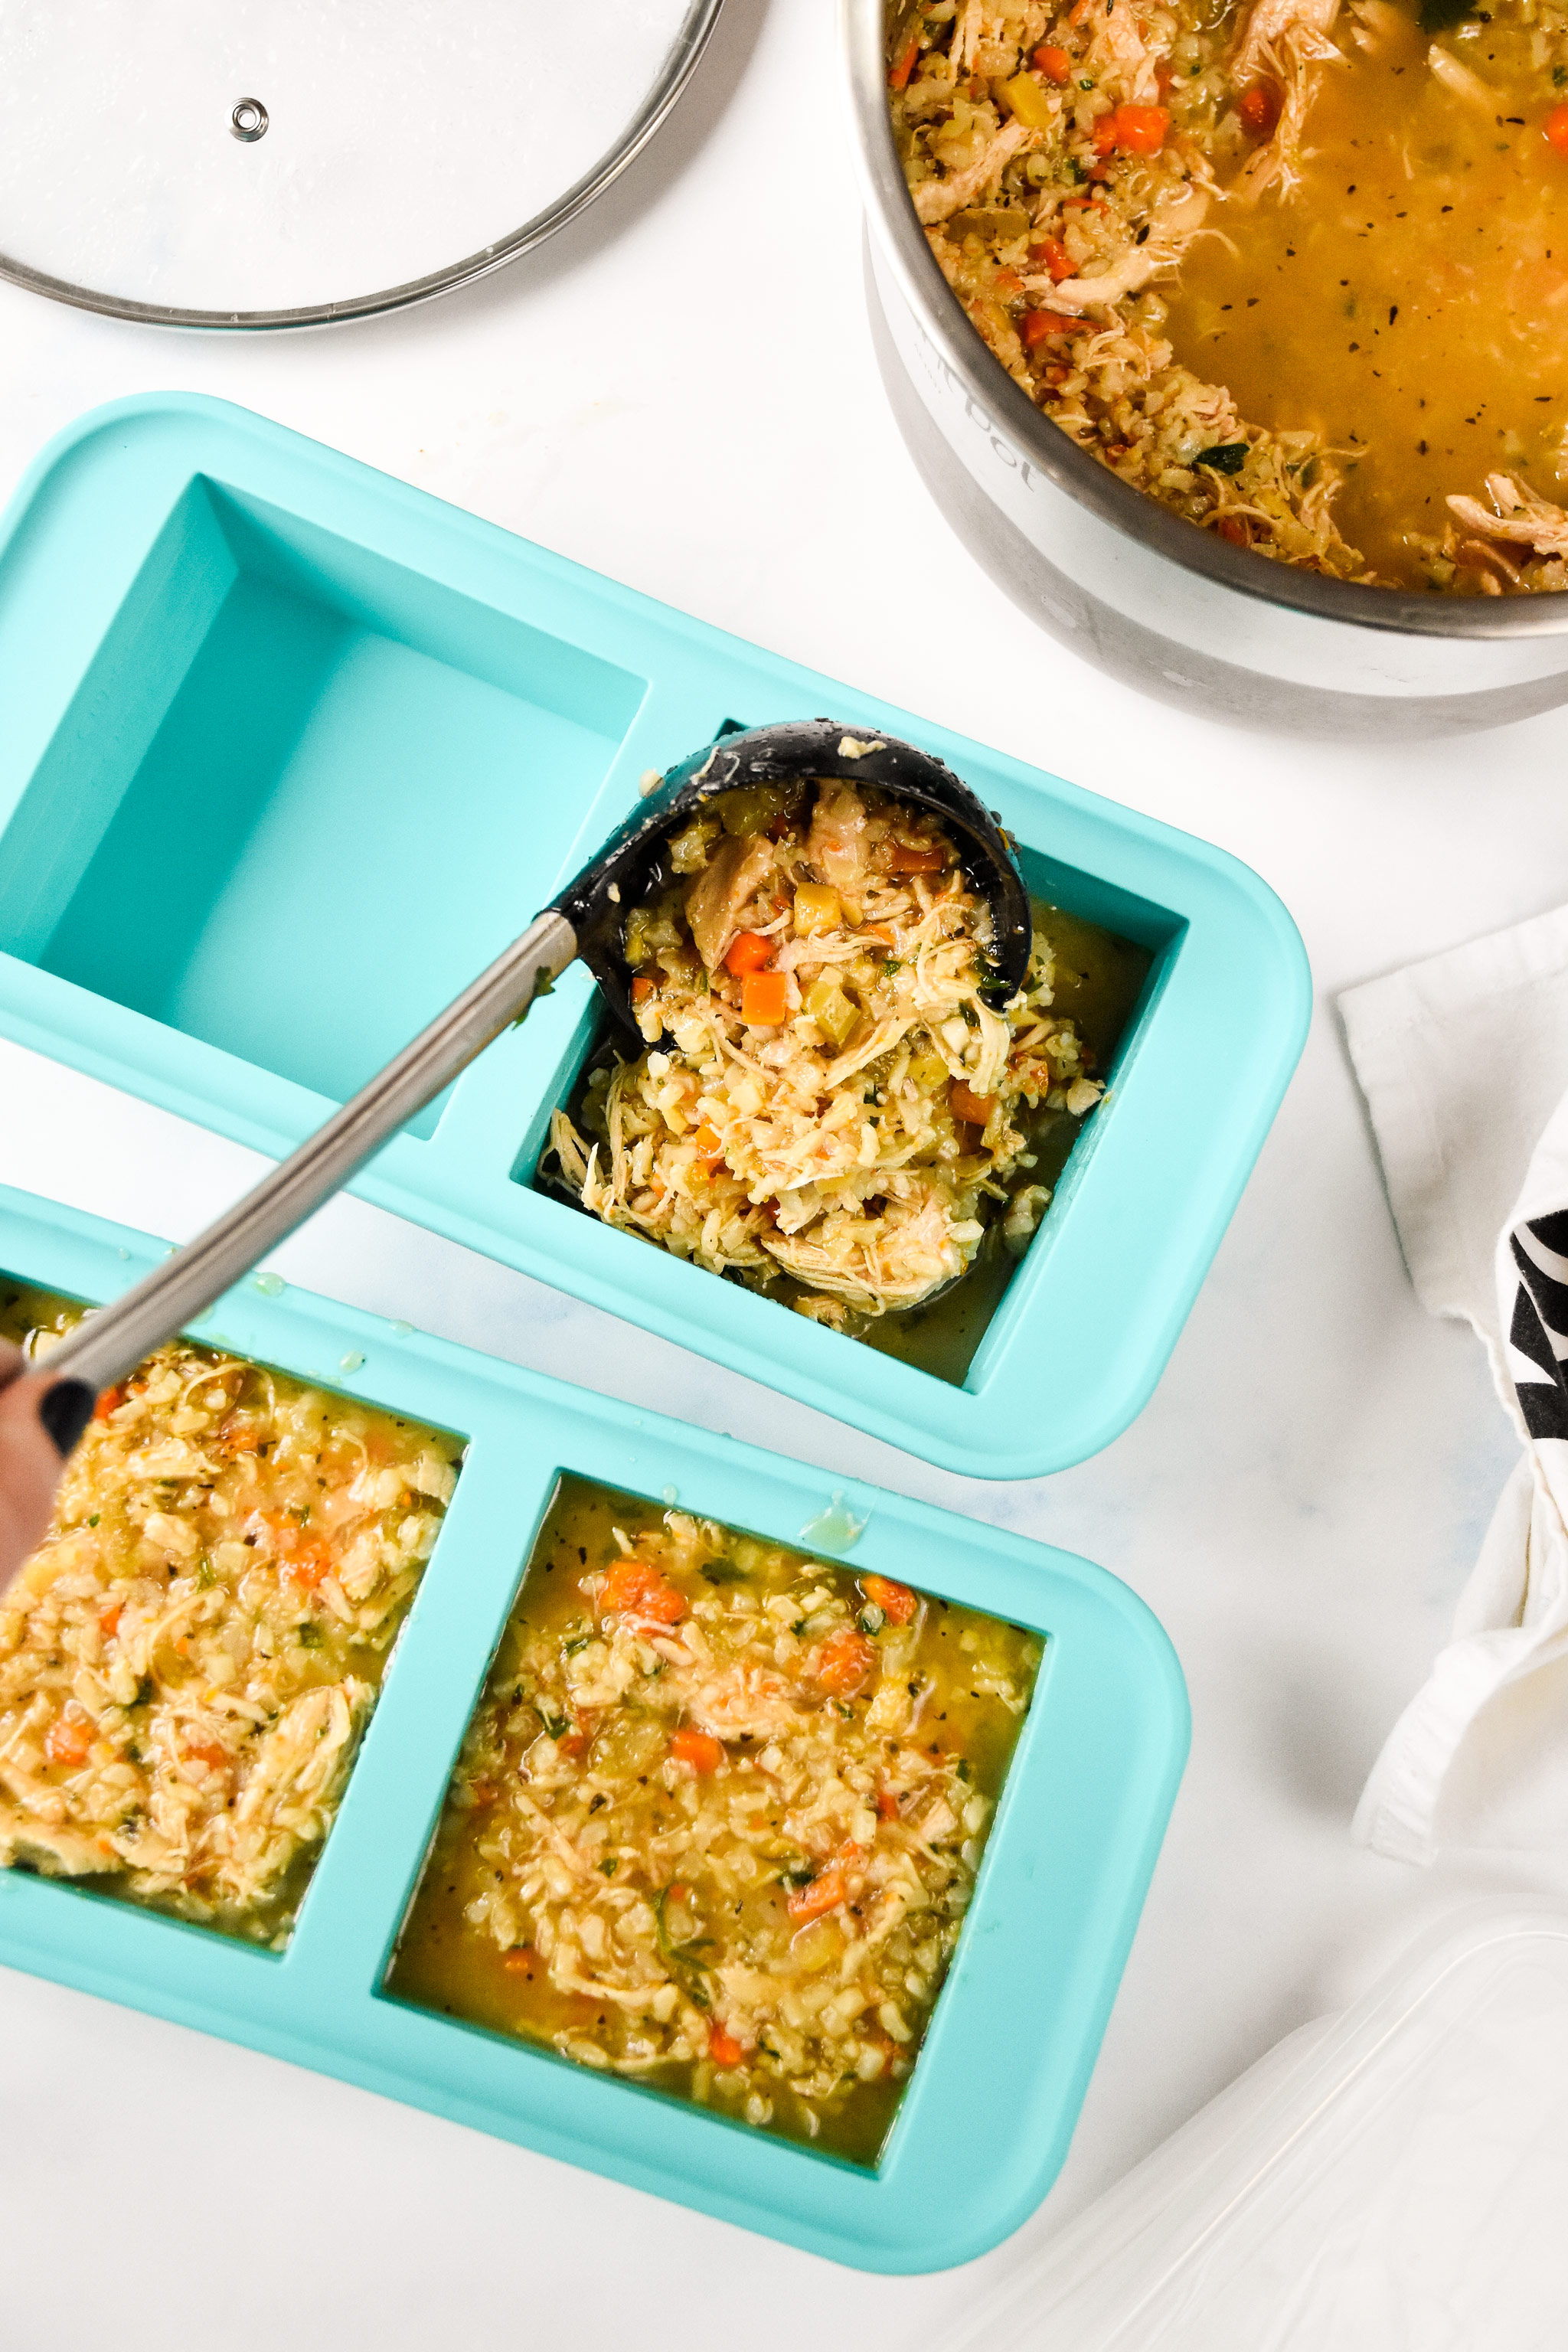
Stovetop: Heat leftovers in an appropriate sized saucepan over medium heat until a rolling boil is achieved. If reheating from frozen, start on low, and then increase heat once there is some liquid in the bottom of the pan. I use 1-Cup Souper Cubes Trays (affiliate link!) and 2-Cup Souper Cubes Trays for this purpose.
Pizzas, Flatbreads & Melts
Example Recipes: Sausage Pepper Personal Pizzas, Low Carb Tuna Melt Cups, Roasted Vegetable Flatbread.
Air fryer: Place leftovers into the air fryer. Air fry at 350F for 4-10 minutes, depending on thickness. Check progress after 5 minutes.
Oven: Place leftovers on a sheet pan lined with foil and put it into a cold oven. Turn oven on to 350F and set a timer for 15-20 minutes, depending on thickness. For a crisper top, broil for last 2-3 minutes if desired.
Toaster Oven: Place leftovers directly into toaster oven. Turn to 350F and cook for 6-12 minutes, depending on thickness.
Stir Fry & Rice Dishes
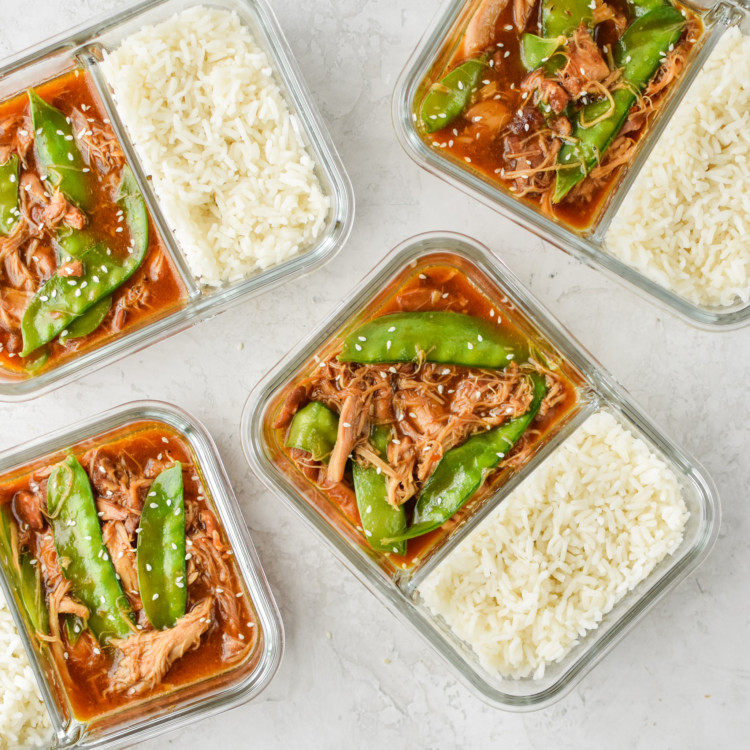
Example Recipes: Spicy Chicken & Asparagus Rice Bowls, Chipotle Ground Turkey Skillet Meal Prep, Chicken Quinoa “Fried Rice” Meal Prep, Philly Cheesesteak Meal Prep.
Stovetop: Heat oil in a non-stick skillet over medium heat. Once hot, add leftovers and sauté, stirring occasionally, until visibly steaming, and beginning to brown (around 5-10 minutes, depending on quantity). Depending on the dish, brown it a little more or a little less.
Oven: Place leftovers in an oven safe dish. Drizzle a tablespoon of water over the leftovers, then cover with foil. Place into the cold oven, then set the temperature to 350F. After 20-25 minutes, remove foil, stir dish, and add another 10-20 minutes, depending on the current temperature.
Sandwiches & Wraps
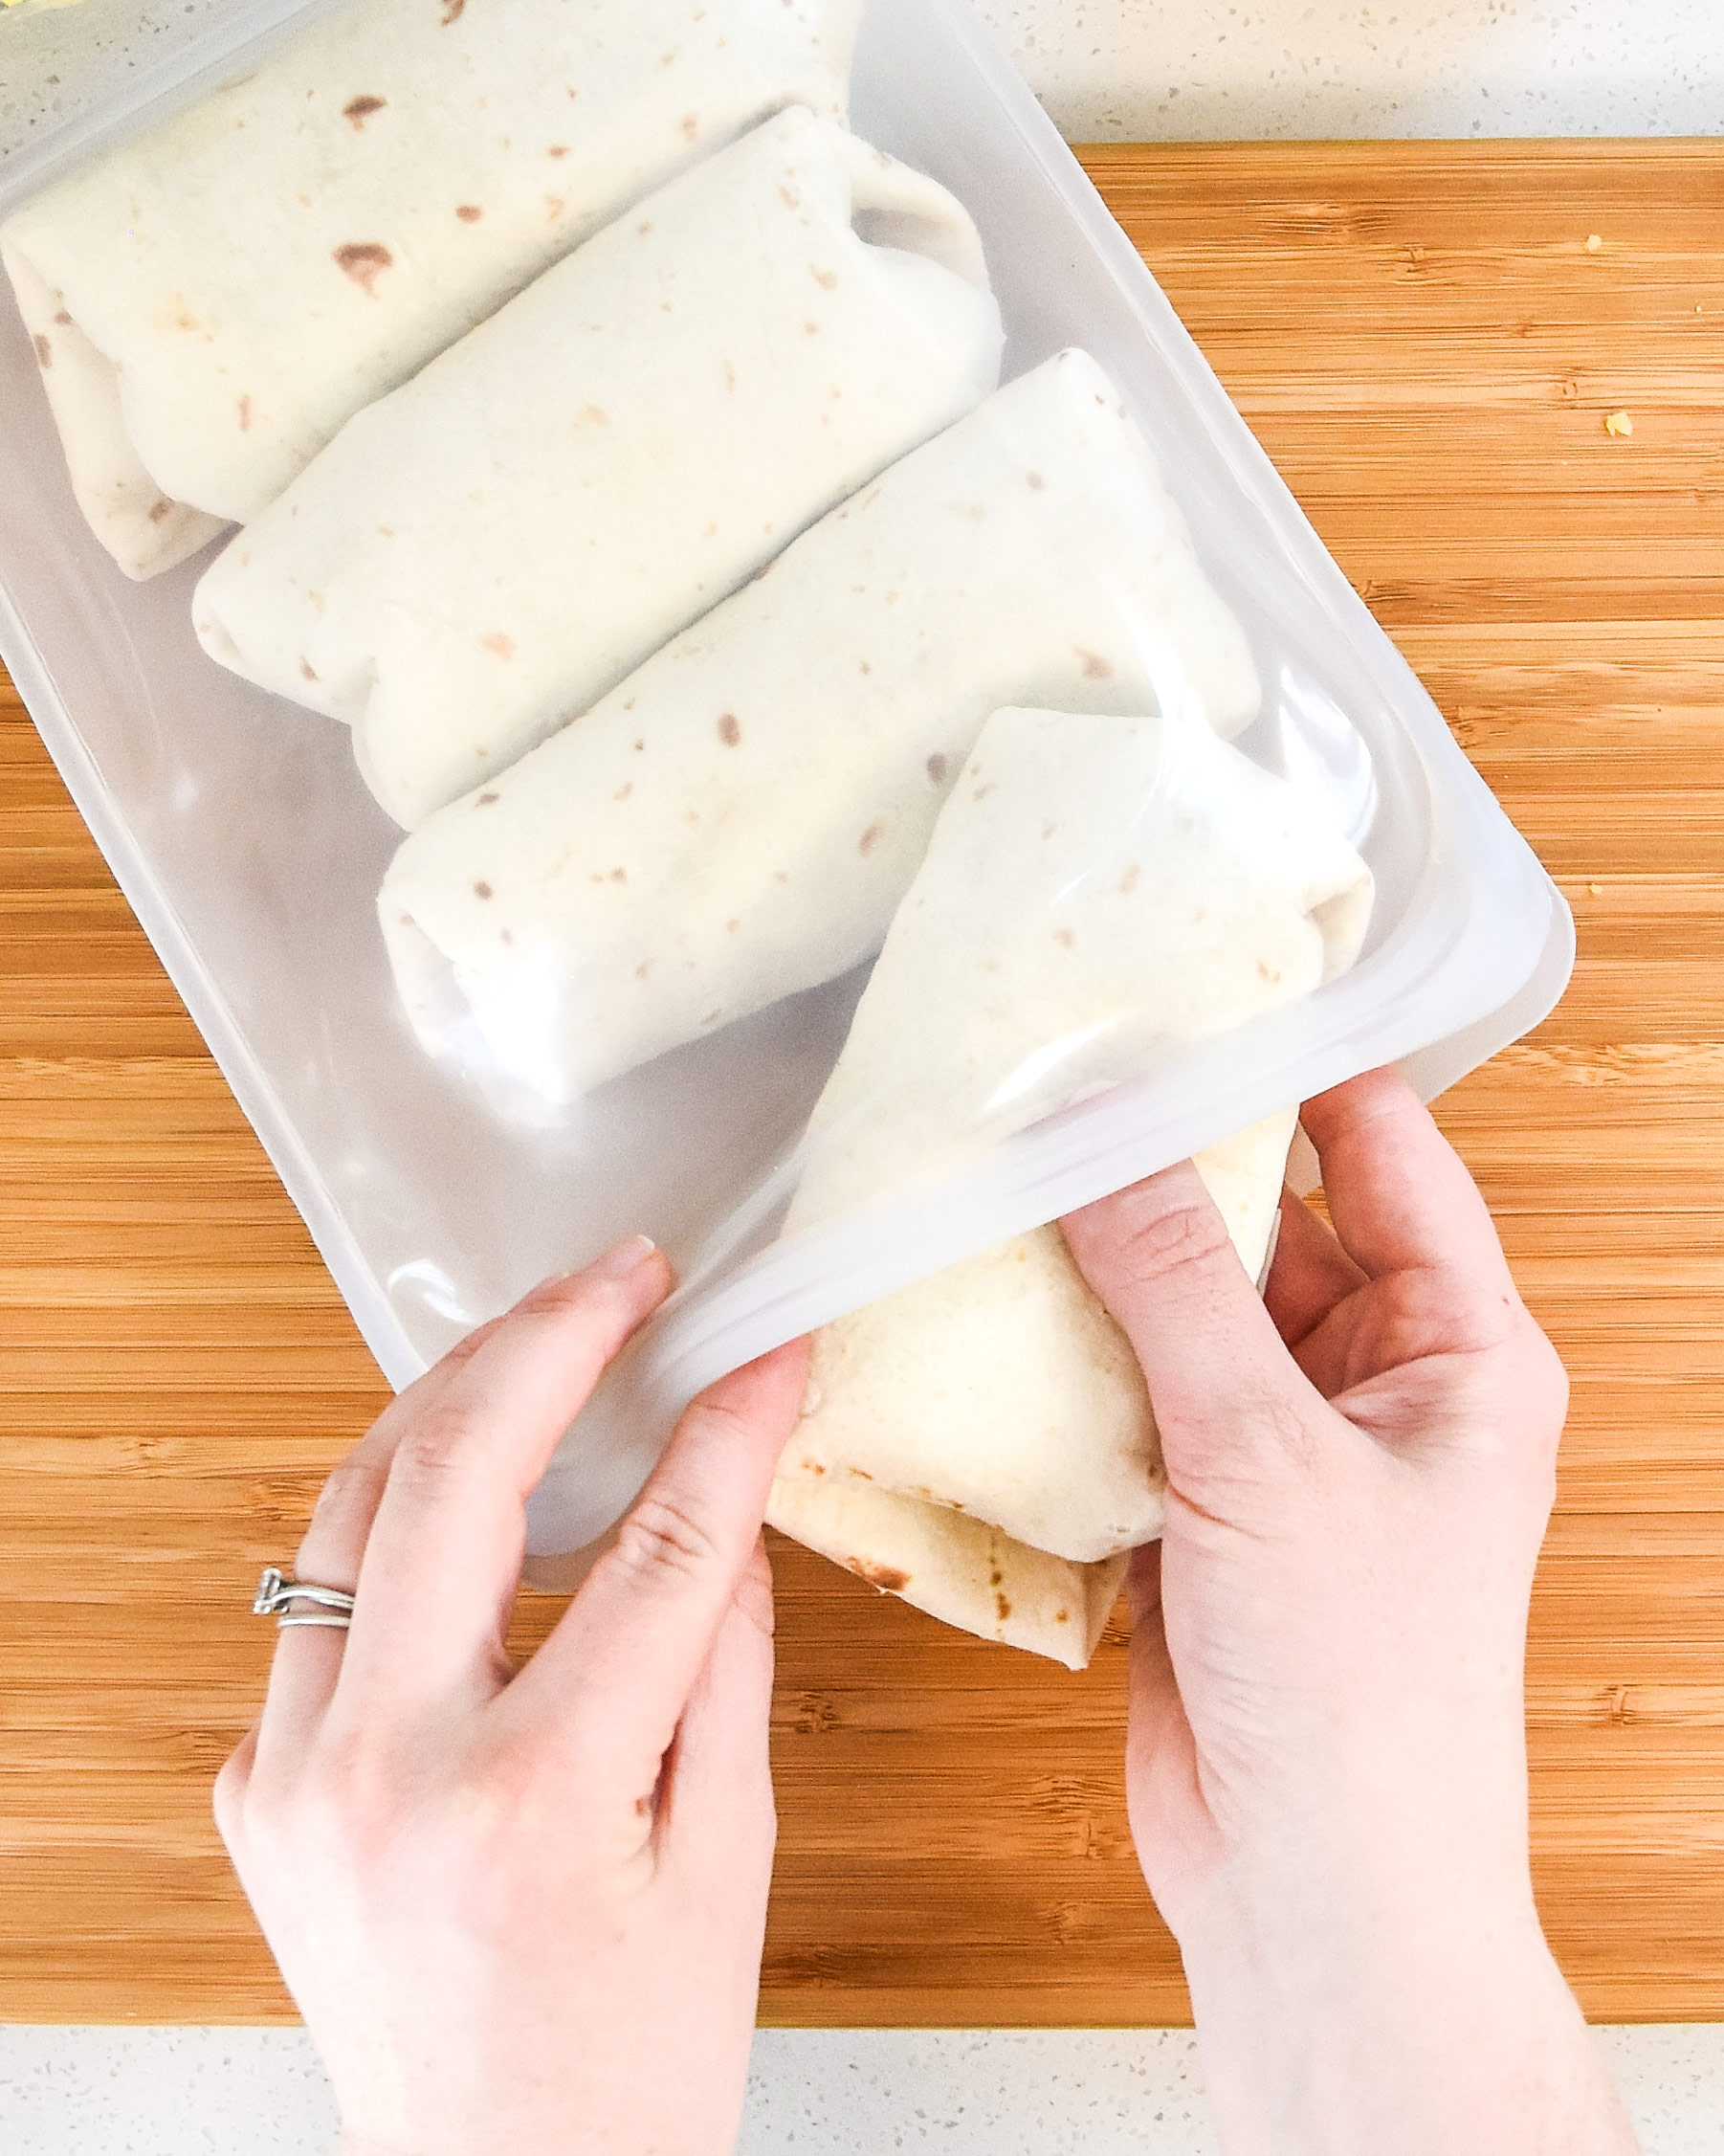
Example Recipes: Tuna Melt Pita Sandwiches, Make-Ahead Bacon Breakfast Sandwiches, Make-Ahead Breakfast Burritos.
Air Fryer: Place leftovers into the air fryer and spritz with avocado oil spray if necessary. Air fry at 350F until crispy and golden brown.
Oven: Place leftovers into the cold oven (use a lined sheet pan to reduce mess if necessary) and set to 350F. Set a timer for 15-20 minutes (depending on thickness), then flip the sandwich or wrap and heat for another 10-15 minutes until heated through.
Toaster Oven: Place leftovers into the toaster oven (use a lined sheet pan to reduce mess if necessary) and set to 350F. Set a timer for 10 minutes, then flip the sandwich or wrap and heat for another 5 minutes until heated through.
Casseroles, Lasagnas, Bakes & Other
Example Recipes: Veggie Loaded Rotisserie Chicken Casserole, Spaghetti Squash Spaghetti Bake, Chicken Bacon Ranch Potato Bake.
Oven: Place leftovers in an oven safe dish. Drizzle a tablespoon of water over the leftovers if there is concern of drying out, then cover with foil if desired (covering will reduce dry out, but will make reheating take longer). Place into the cold oven, then set the temperature to 350F. After 20-25 minutes, remove foil, stir or flip if possible, and add another 10-20 minutes, depending on the current temperature.
Pasta Dishes (Saucy & Not Saucy)
Example Recipes: One Pot Italian Sausage Pasta, Instant Pot Jalapeno Bacon Mac & Cheese, Instant Pot Chicken Parm Pasta.
Stovetop (for saucy): Heat leftovers in an appropriate sized saucepan over low-medium heat just until a rolling boil is achieved. If reheating from frozen, start on low, and then increase heat once there is some liquid in the bottom of the pan.
Oven (for not saucy): Place leftovers in an oven safe dish. Drizzle a tablespoon of water over the leftovers if there is concern of drying out, then cover loosely with foil. Place into the cold oven, then set the temperature to 350F. After 20-25 minutes, remove foil, stir if possible, and add another 10-20 minutes, depending on the current temperature.
Pancakes, French Toast, Warm Breads
Example Recipes: Peanut Butter & Jelly Baked Pancakes, Banana Protein Pancakes, Lemon Poppy Seed Blueberry Protein Pancakes (I usually eat these kinds of items cold but they can be reheated).
Oven: Place leftovers in an oven safe dish and then cover with foil. Place into the cold oven, then set the temperature to 350F. After 15-20 minutes, remove foil, flip, and check temperature. Add more time in 10 minute increments until hot.
Air Fryer: Place leftovers into the air fryer basket and air fry at 350F for 4-10 minutes, depending on thickness. Shake or flip halfway through if necessary.
Breakfast Meats, Sides & Bakes
Example Recipes: Basic Oven Breakfast Potatoes, Best Ground Turkey Breakfast Sausage Patties, Baked Cottage Cheese Egg Muffins.
Oven: Place leftovers on a sheet pan lined with foil and put it into a cold oven. Turn oven on to 350F and set a timer for 15-20 minutes, depending on thickness. For a crisper top (depends on dish), broil for last 2-3 minutes if desired.
Air Fryer: Place leftovers into the air fryer. Air fry at 350F for 4-10 minutes, depending on thickness. Shake and check progress after 5 minutes.
Stovetop: Heat a small amount of oil over medium heat, then add food to be reheated. Cook for 5-8 minutes, flipping/stirring occasionally, until cooked through.
Oatmeal
Example Recipes: Maple Brown Sugar Oatmeal, Cinnamon Apple Steel Cut Oats, Pumpkin Spice Oatmeal.
Stovetop: Place leftovers into an small or medium saucepan and heat over medium until hot (5-10 minutes). Add splashes of your choice milk as needed while cooking if the oatmeal is super thick.
Other things that don’t fit into categories:
There are a few kinds of recipes that don’t quite fit into the categories above but are still important to point out.
- Just add hot water meals such as Mason Jar Instant Noodle Cups, Just Add Water Chicken Soup
- Reheating with other small kitchen appliances (Foreman grills, rice cookers, etc).
Equipment to Help You Reheat Food Without A Microwave
Oven-Safe Containers – If you plan to reheat leftovers in the oven, I recommend storing the leftovers in a container that is oven-safe and ready to be heated directly from the fridge (or freezer!). Pyrex is a great brand to use for this purpose. I suggest the 6-piece Pyrex Rectangular Container Set (affiliate link!) or the 8-Piece Pyrex Sculptured Mixing Bowl Set (affiliate link!).
Souper Cubes – I absolutely love Souper Cubes for freezing perfect portions of food. If there’s a secret to meal prep, it’s these! They come in various useful sizes, but the best for freezing whole meals (including soups, rice bowl meals, lasagnas, and more) are the 1-Cup Souper Cubes Trays (affiliate link!) and the 2-Cup Souper Cubes Trays.
Food Thermometer – Food safety is super important, especially with leftovers. Using a food thermometer in your kitchen will help you know exactly when your food is done and safe to eat. Any instant read food thermometer will work – I especially recommend this ThermoPro Waterproof Thermometer.
How to Reheat Food Without a Microwave at Work
I’m currently testing out the Hot Logic Mini Portable Oven for this exact purpose. I promise I will write a full review ASAP!
How do YOU reheat food without a microwave?
All of these methods described above are my personal preferences based on all my experience in the kitchen reheating food without a microwave.
If you have alternative methods or an idea that I didn’t think of, please let me know in the comments below! I’m sure it could be useful for others as well!

Davis says
All methods to reheat food without microwaves are discussed in detail. Thanks for sharing informative content.