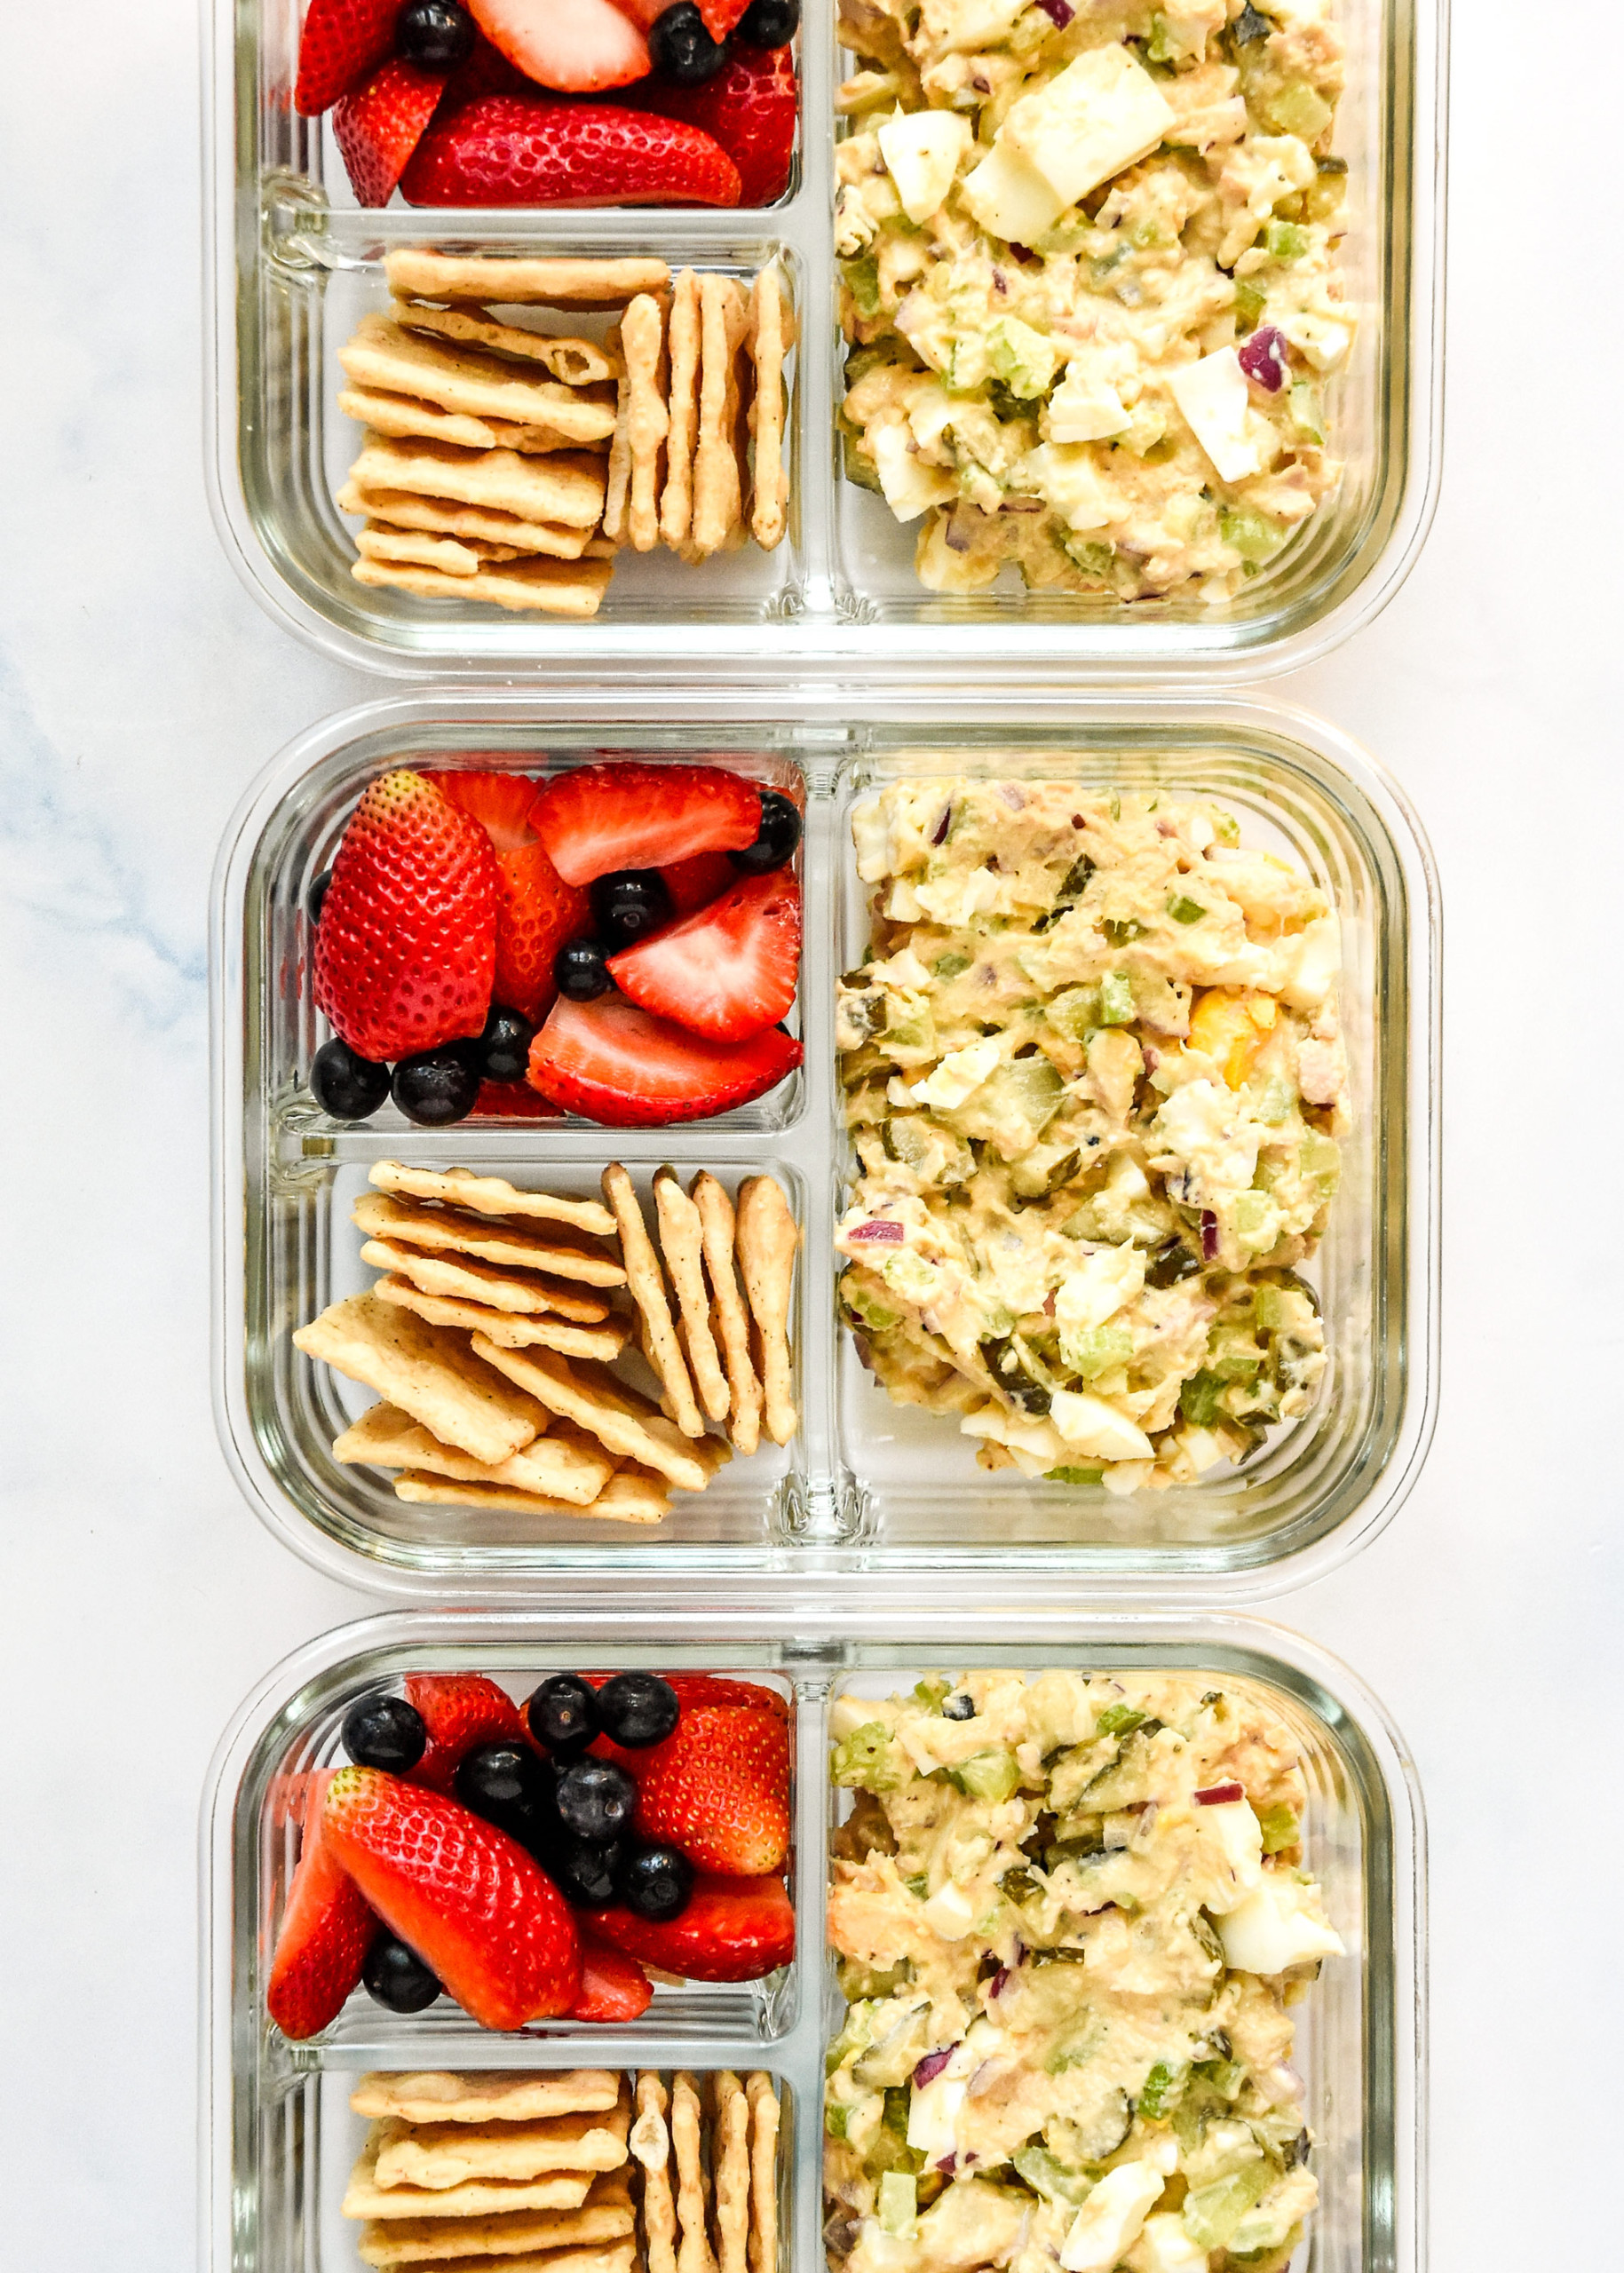
Turn your favorite classy appetizer into a meal prepped lunch! Pick a protein, your favorite cheeses, add some produce, fiber, crackers, and voila! Here are easy tips and so many ideas on how to turn cheese and crackers into DIY Adult Lunchables.

Note from Danielle
When I first published DIY Adult Lunchables all the way back in August 2017, I’ll admit I was still throwing darts to see what recipes you really wanted from me. But this simple cold lunch idea was a hit right away.
Every summer, I find myself craving them again, but the look has evolved from the 2017 pictures. New containers, more options, and a lunch I still look forward to every time. It’s all the flavors, textures, and the lil treat, I swear!
Today, I’ve updated this post with all kind of new lunchable ideas, helpful tips, container info, new photos, and more. The goal is to make this non-recipe recipe as helpful as possible for you!

👉 Here in the post, you’ll find detailed info and helpful tips based on my personal experience with this recipe.
🖨️ For the printable recipe card with ingredients list and concise instructions, keep scrolling or hit the ‘Jump to Recipe’ button at the top of the page.
🙋♀️ Frequently asked questions about this recipe are located after the recipe card.
Recipe Overview
Total Time: 10 minutes
Difficulty: Easy
Method: No-Heat
Prep: Make-Ahead Friendly
How to turn cheese and crackers into DIY Adult Lunchables:
While you could totally just eat cheese and crackers for lunch (no judgement here), that isn’t quite what I would call a full meal. Also it will simultaneously hurt my stomach and make me hungry again in about 35 minutes.
To turn cheese and crackers into an adult approved lunch, you’ve got to add:
- protein
- fiber
- a fruit or veggie
- and a lil treat!!
There are unlimited combinations and themes you could do within these parameters, and I’ve got several examples further on in this post.
What exactly to include in an adult lunchable:
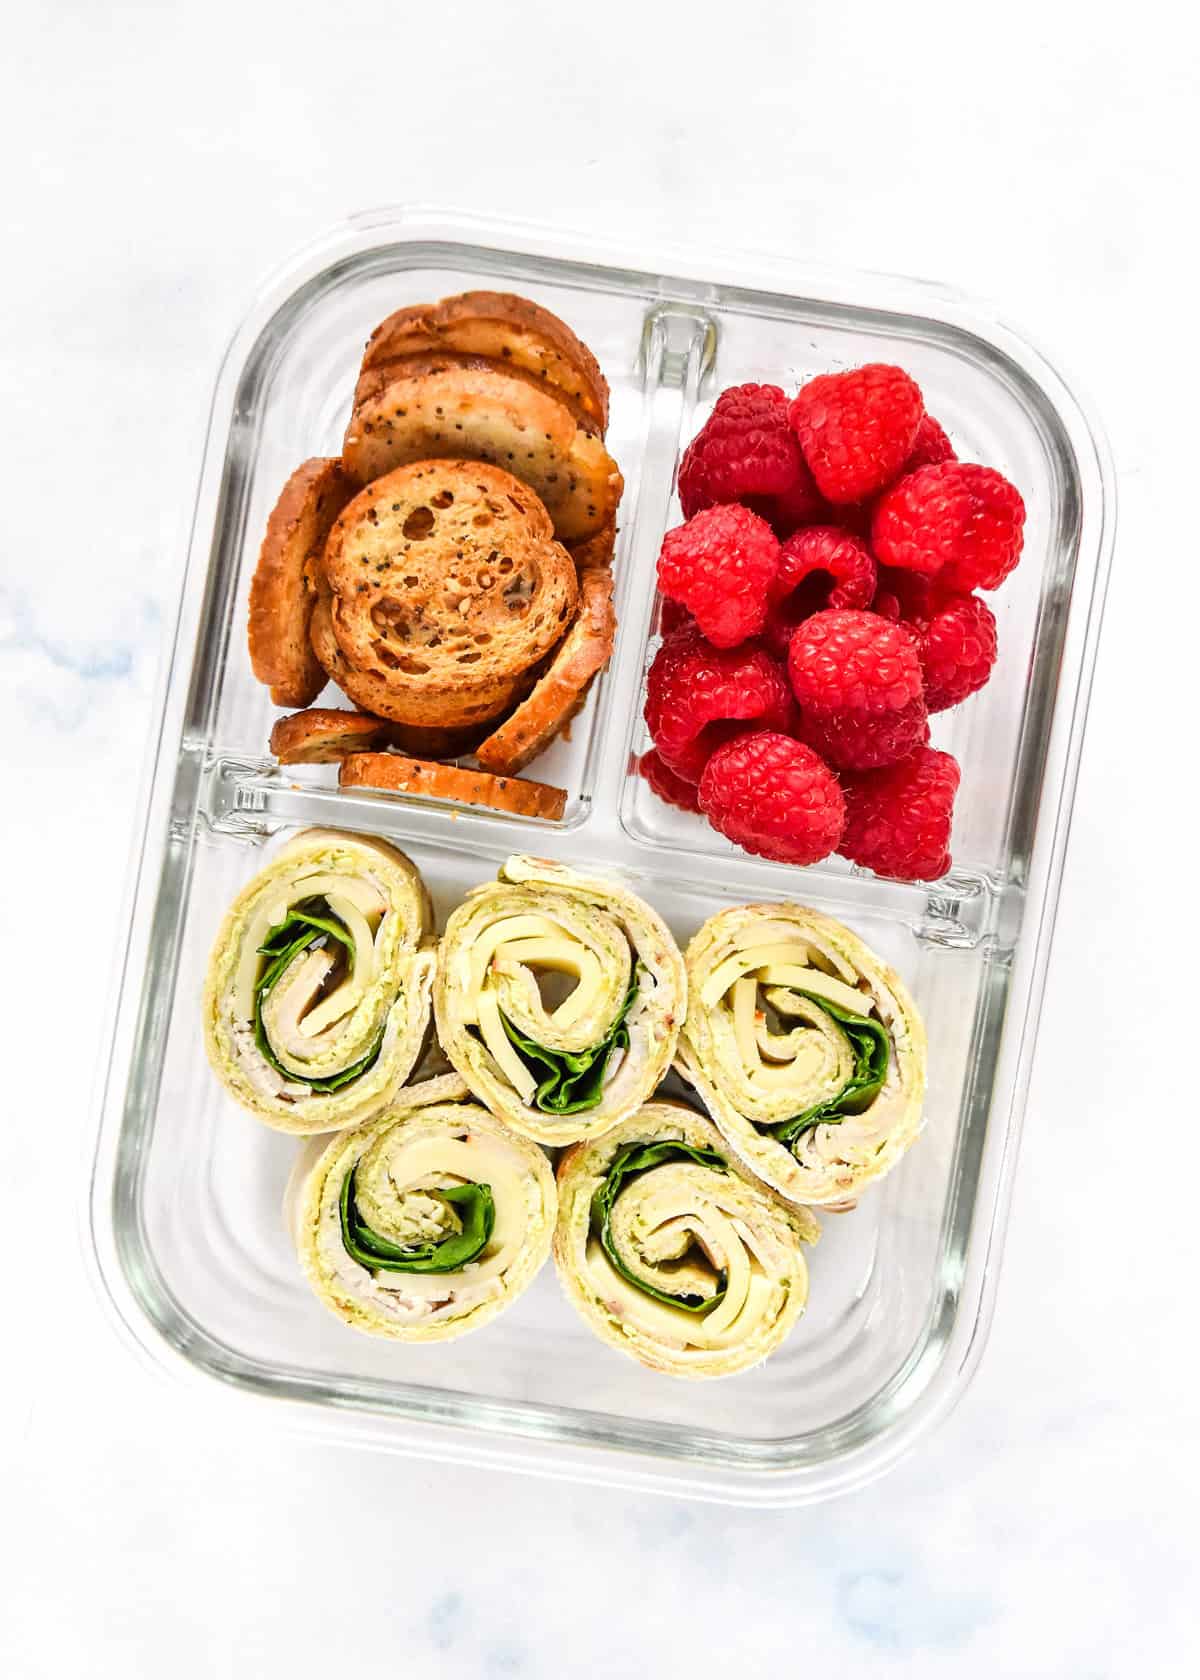
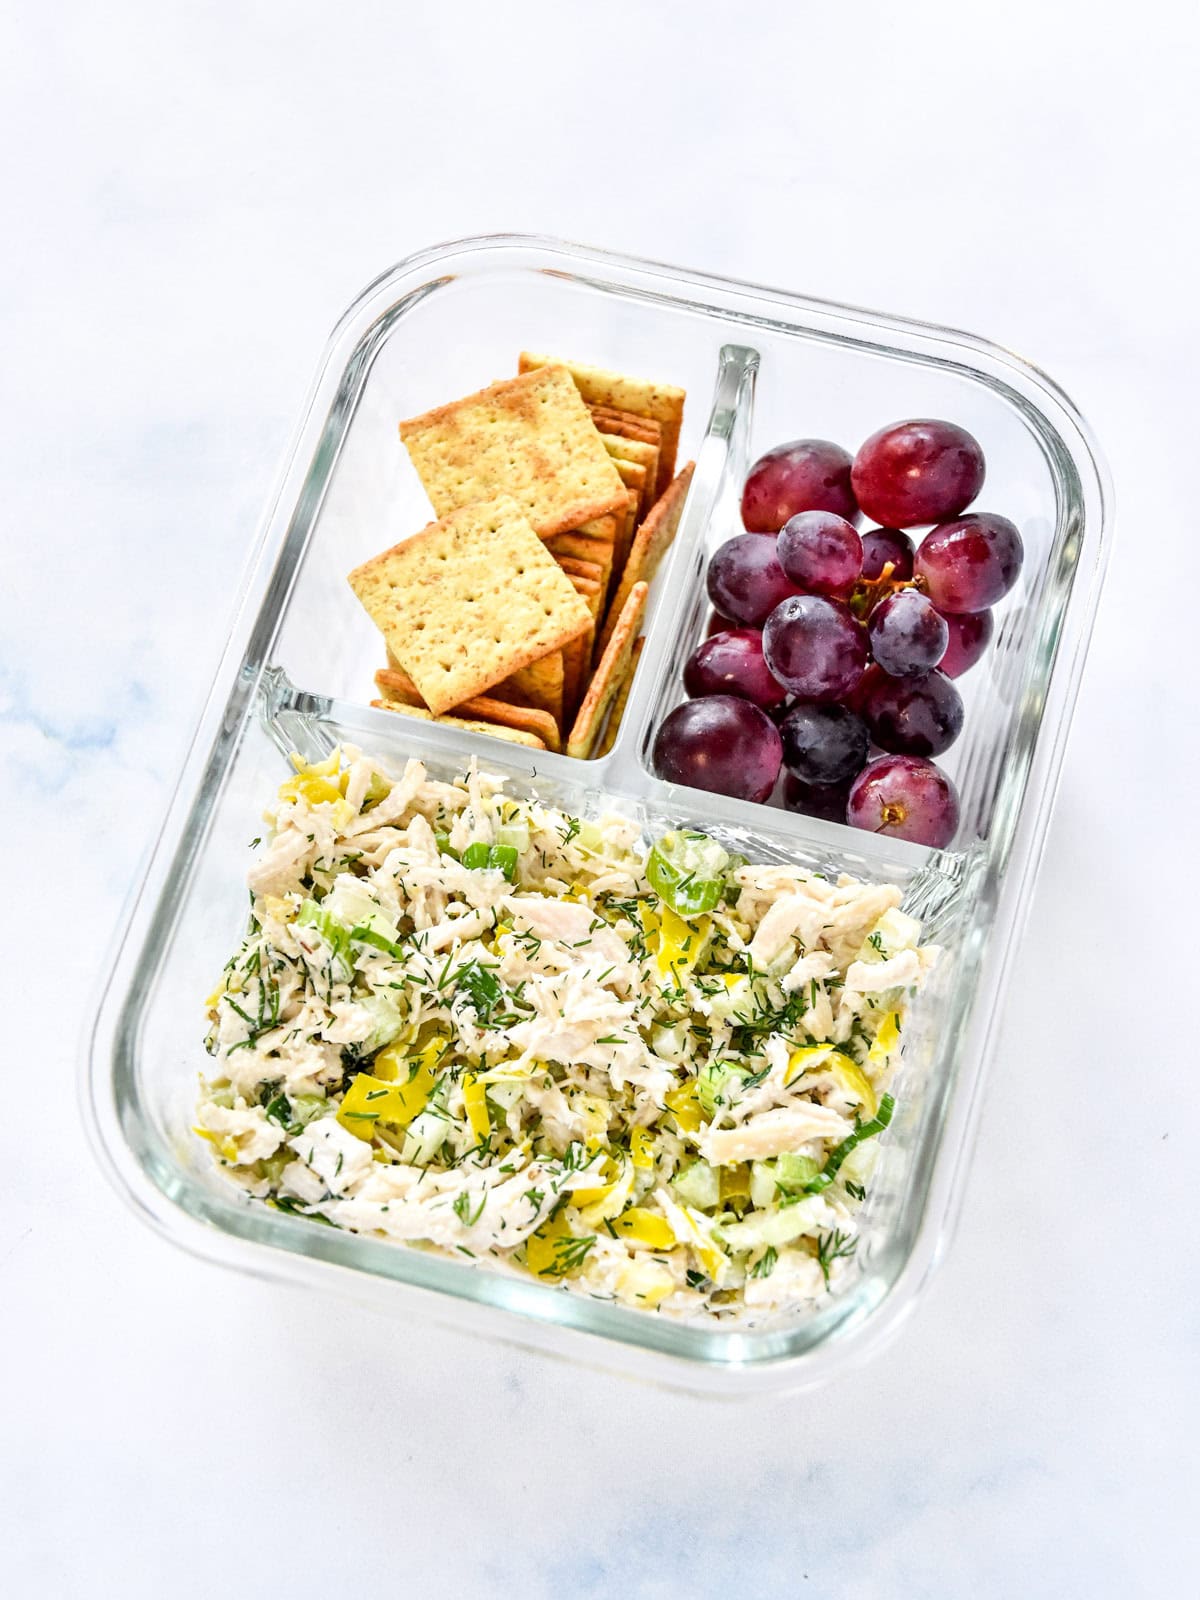
Elevating cheese and crackers into a delicious and filling lunch is an art form you too can master. The key is to include a variety of textures, some produce, and a lil treat to bring everything together.
Here are my guidelines for making DIY Adult Lunchables, with suggestions for each:
- some cheese – cheese slices, spreadable cheese, cream cheese, cottage cheese, fancy cheese, soft cheese, ANY cheese to match your cracker
- something crunchy – pita chips, pretzels, bagel chips, most sturdy crackers, skip the soft kinds like Ritz as they’ll absorb moisture
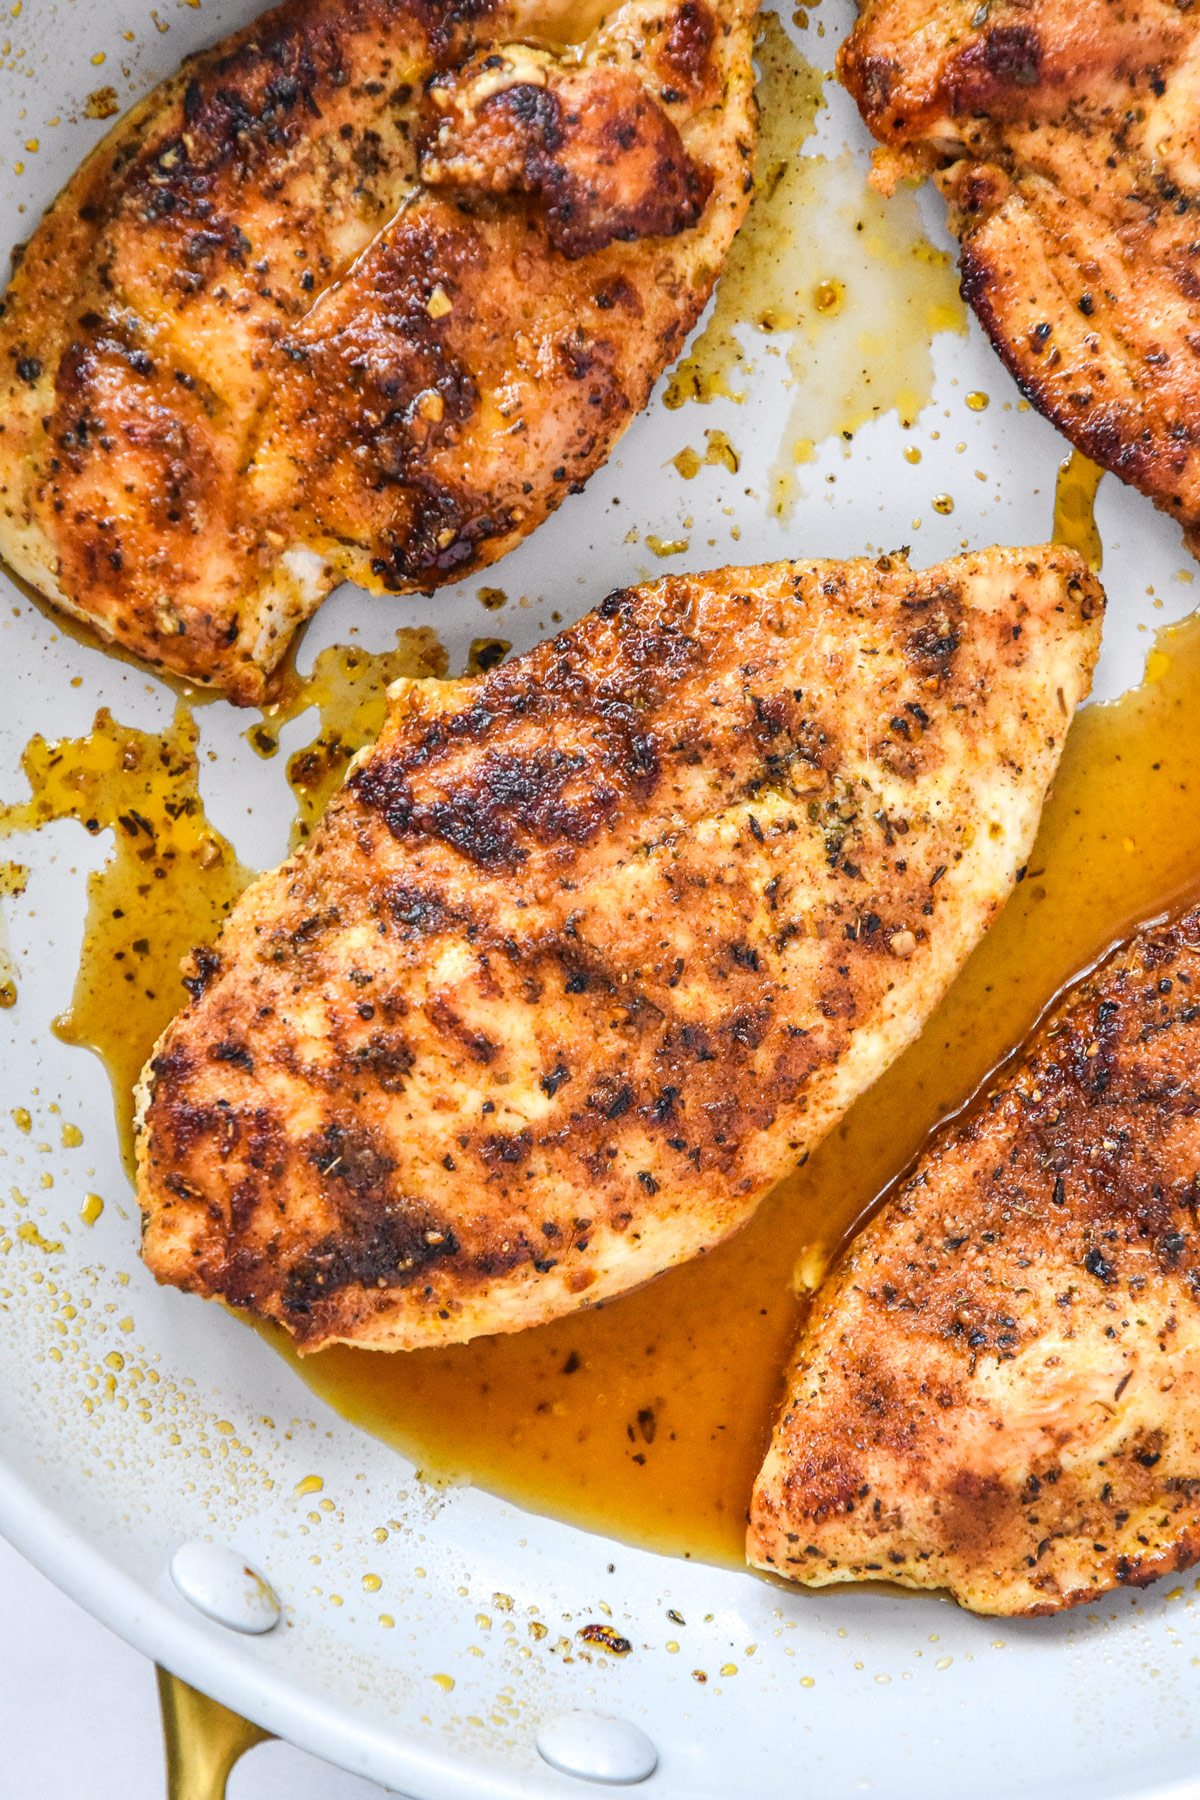
- a quick protein – Whatever you like, it can probably fit into the adult lunchable. Examples include hard-boiled eggs, turkey pepperoni, meat sticks (love Chomps!), summer sausage, deli meat, cooked sliced chicken breast, etc.
- a fruit or veggie – There can totally be some overlap with other categories (like fiber). For example, adding raspberries gives you a fruit and a fiber source! If it’s anything with moisture, keep it in a separate compartment. Baby carrots, cucumbers, snap peas, mandarin, kiwis, are just a few examples.
- a fiber source – Now in my 35th year, I’m learning that fiber is very important. Some examples for easy to add fiber sources are berries, kiwi, almonds, pistachios, crispy chickpeas, snap peas, avocado, pear, sunflower kernels or popcorn! Here’s a full list of high-fiber foods.
- A lil treat – chocolate chips, mini Greek yogurt bars, Fruit Roll-Up, whatever helps get you through the day 💗

Related: Looking for more lunch? PMP is here to help. Browse my list of 16 Make-Ahead Cold Lunch Ideas to Prep for work this week!
Equipment you’ll need to make DIY Adult Lunchables:
The main thing to consider with a meal prep lunchable is your container. I’ve got a suggestion below, plus some other tools you might find useful for ingredient prep:
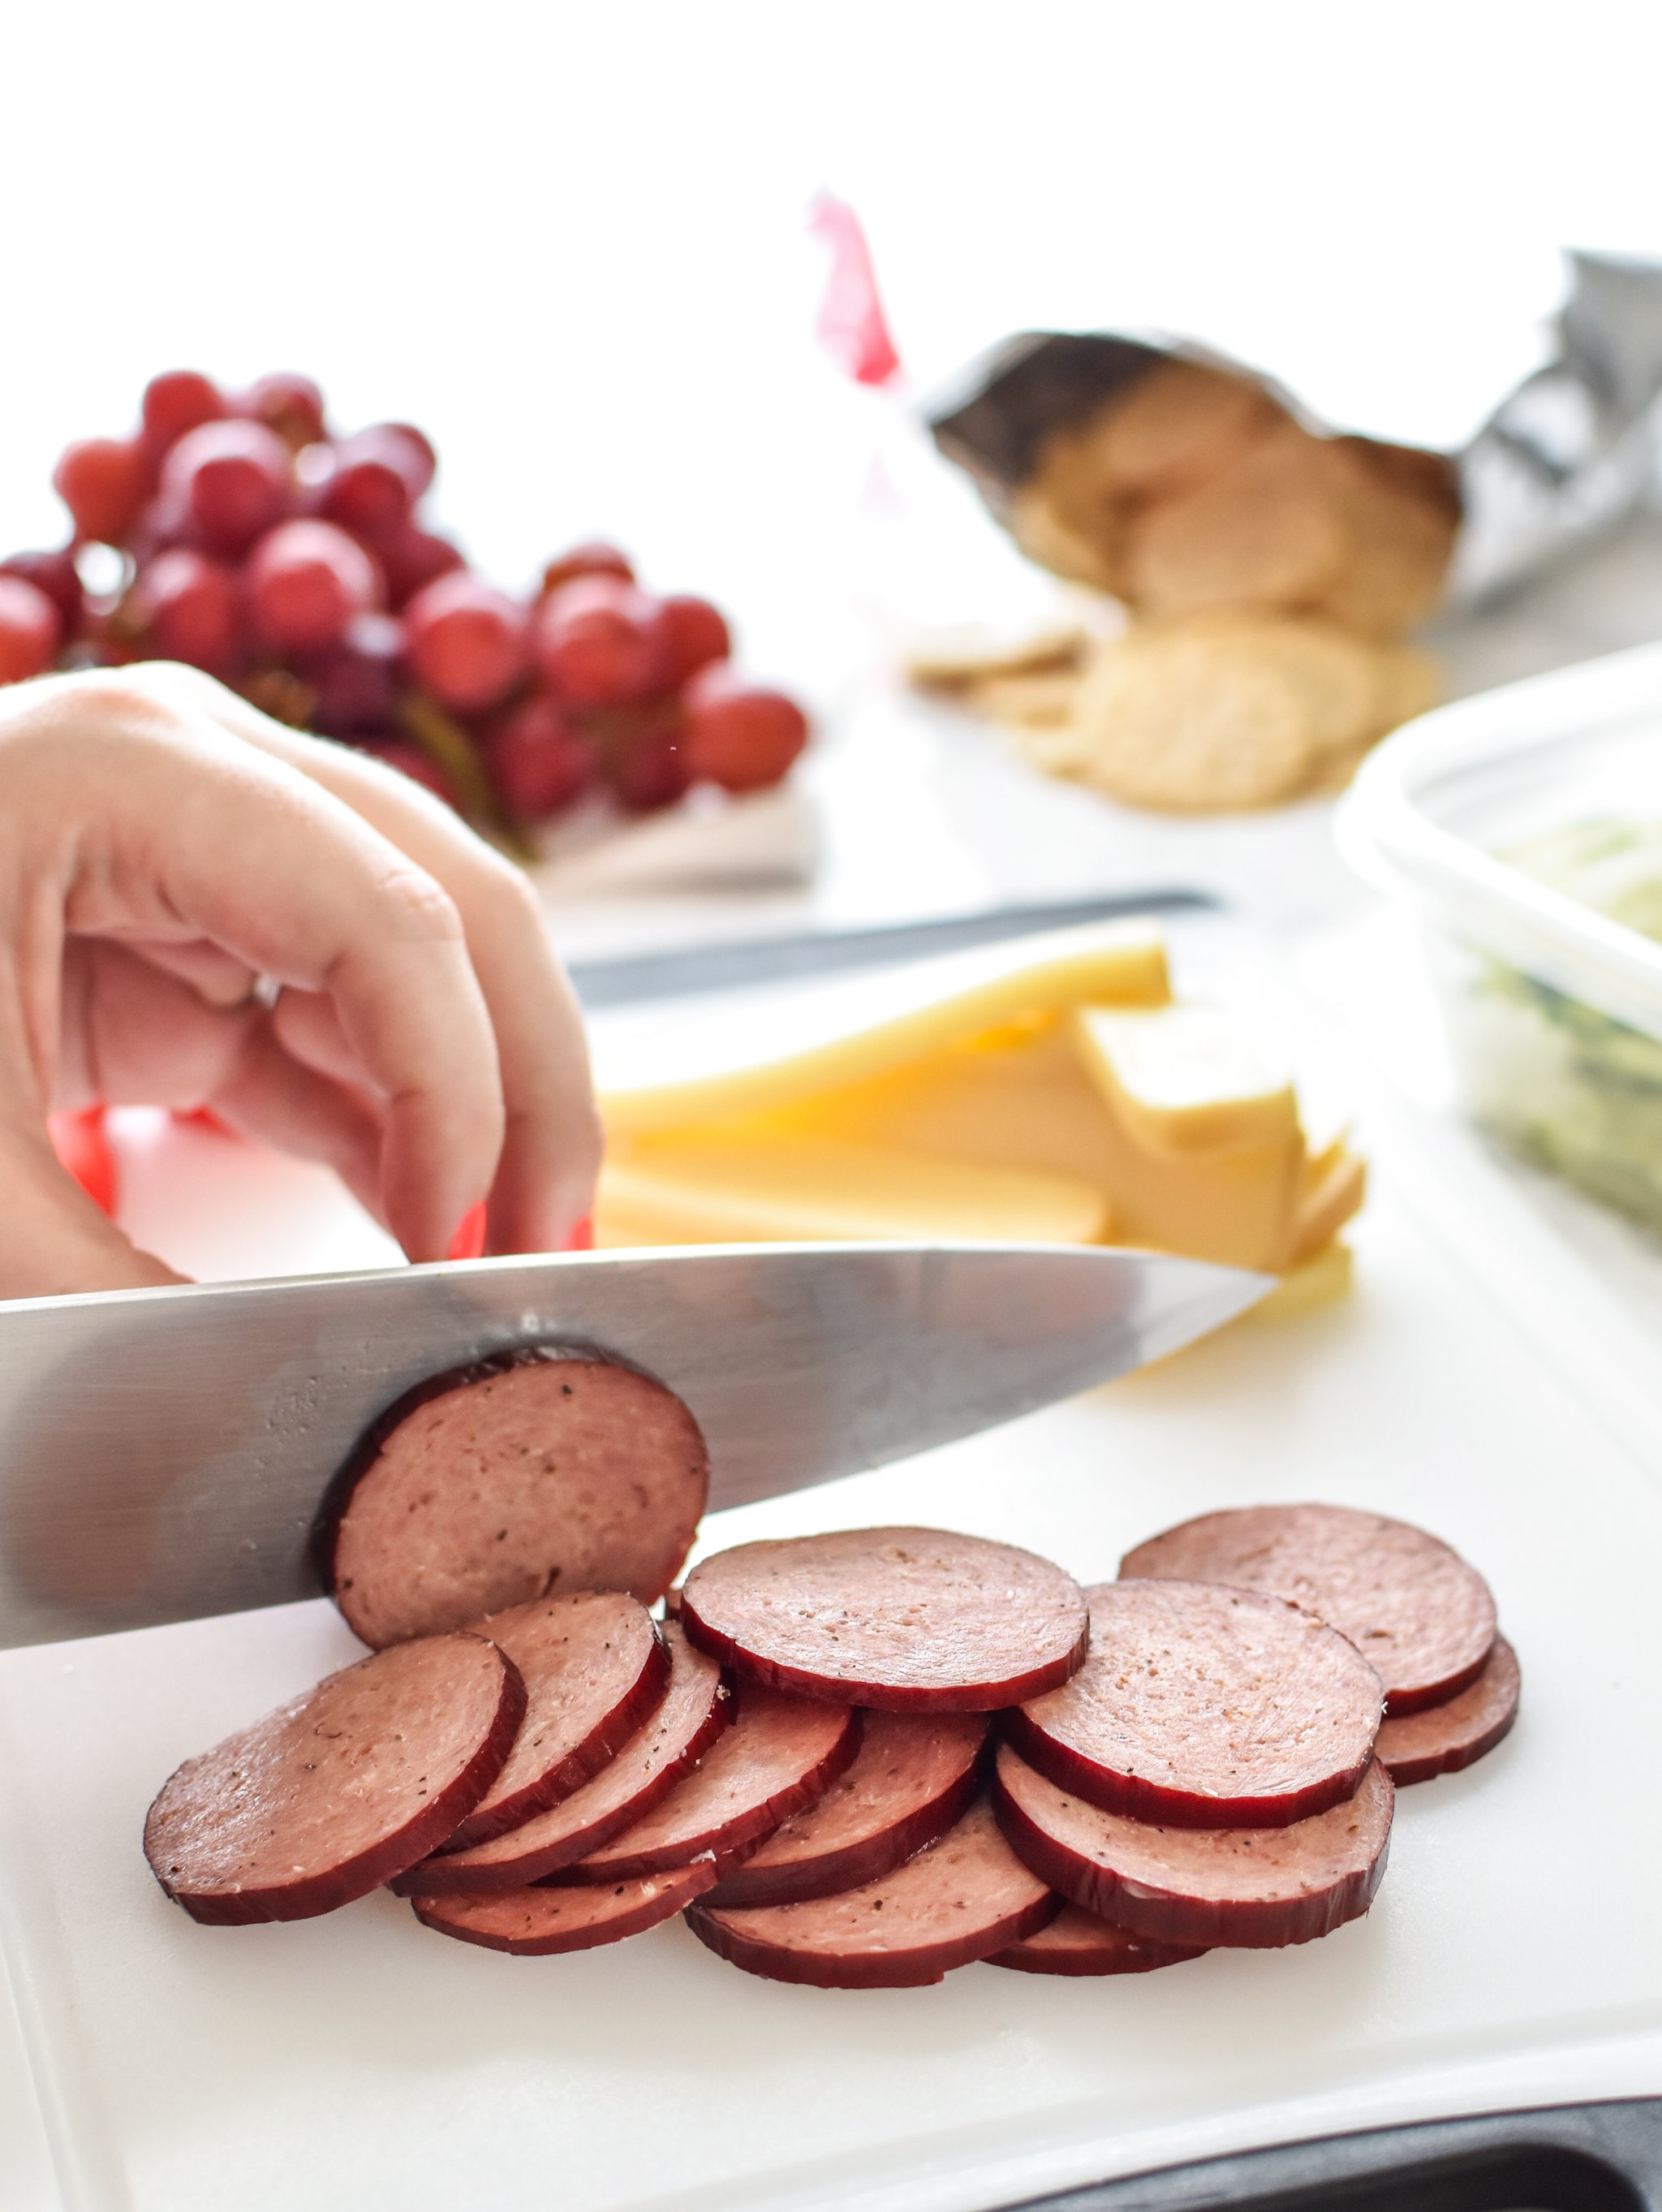
- sharp chef’s knife – If I had to pick one thing in my kitchen to use forever, it would be my Misen Chef’s Knife (affiliate link!). This knife is super high quality while being affordable. I’ve had mine for years (and there’s a lifetime guarantee!).
- wooden cutting board – For all of my prep and cooking (except raw meat), I use my Greener Chef XL Bamboo Cutting Board (affiliate link!). The XL size is perfect but not too huge. I use it for everything except cutting raw meat. Hand wash only!
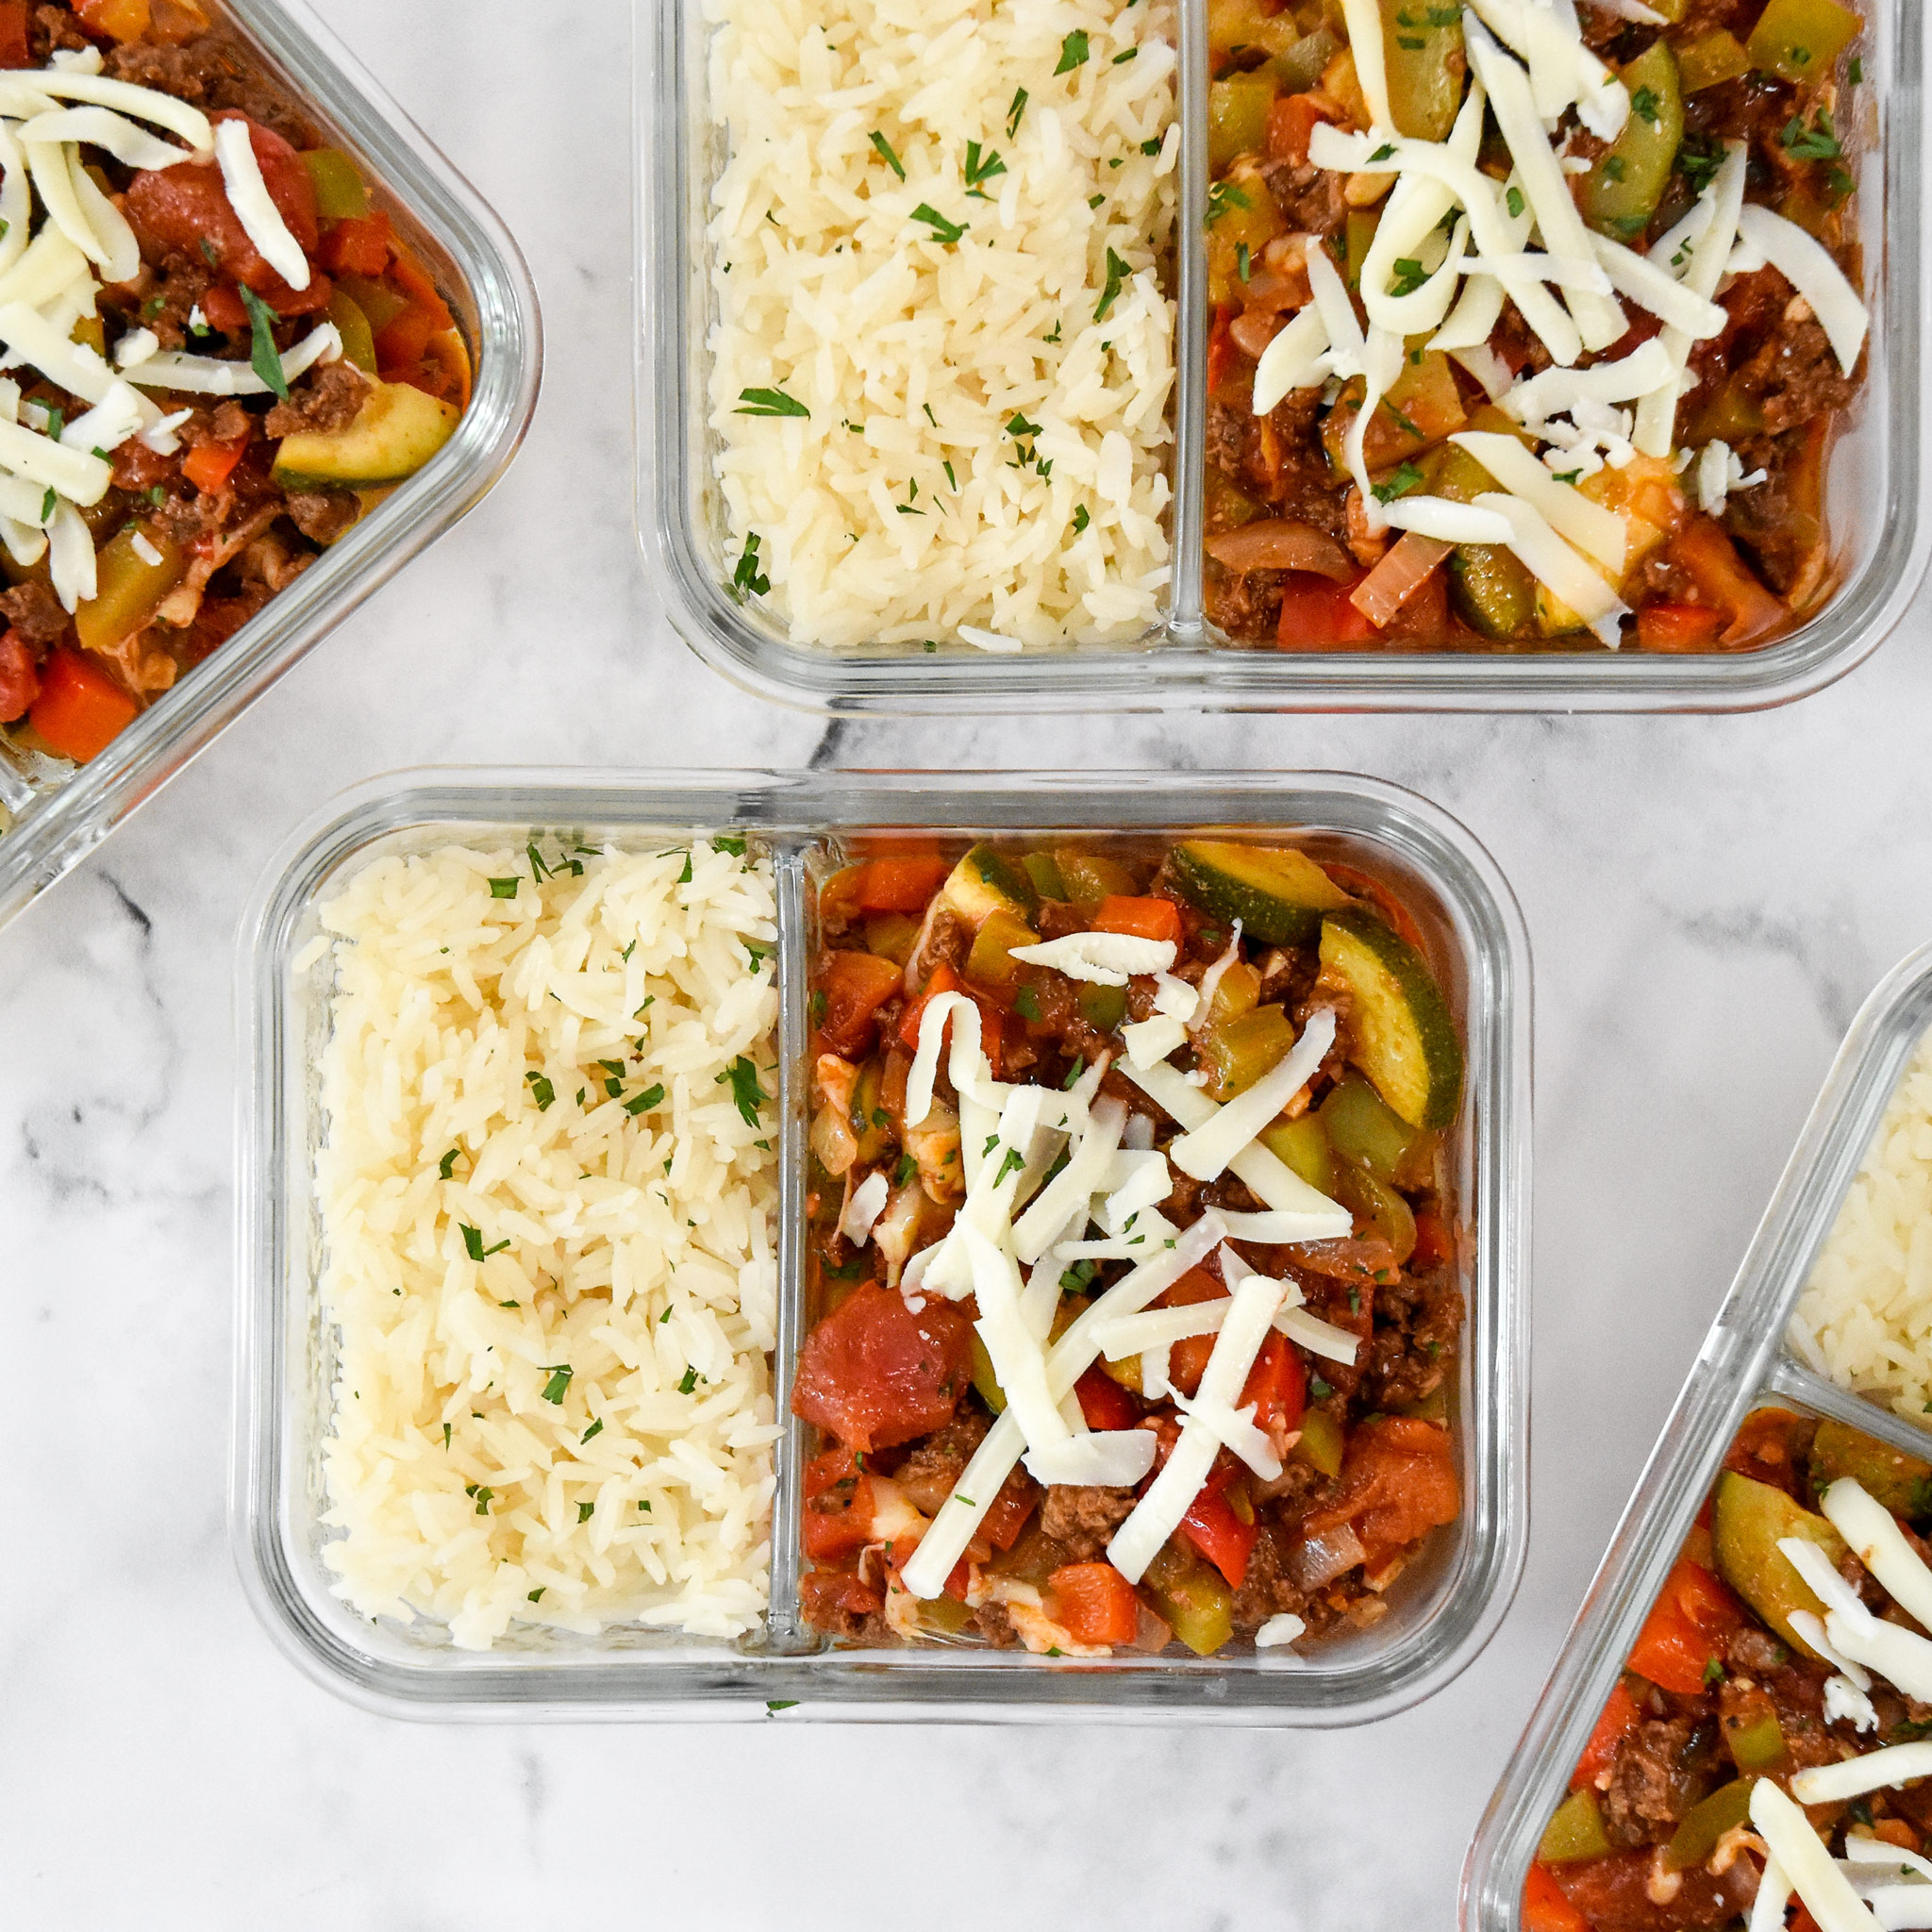
- compartment containers – You can use any container with an airtight lid, but for the full Lunchable vibe, I suggest using one of these 3 Compartment Glass Meal Prep Containers (affiliate link!). The compartments are helpful for keeping wet and dry components separate during storage.
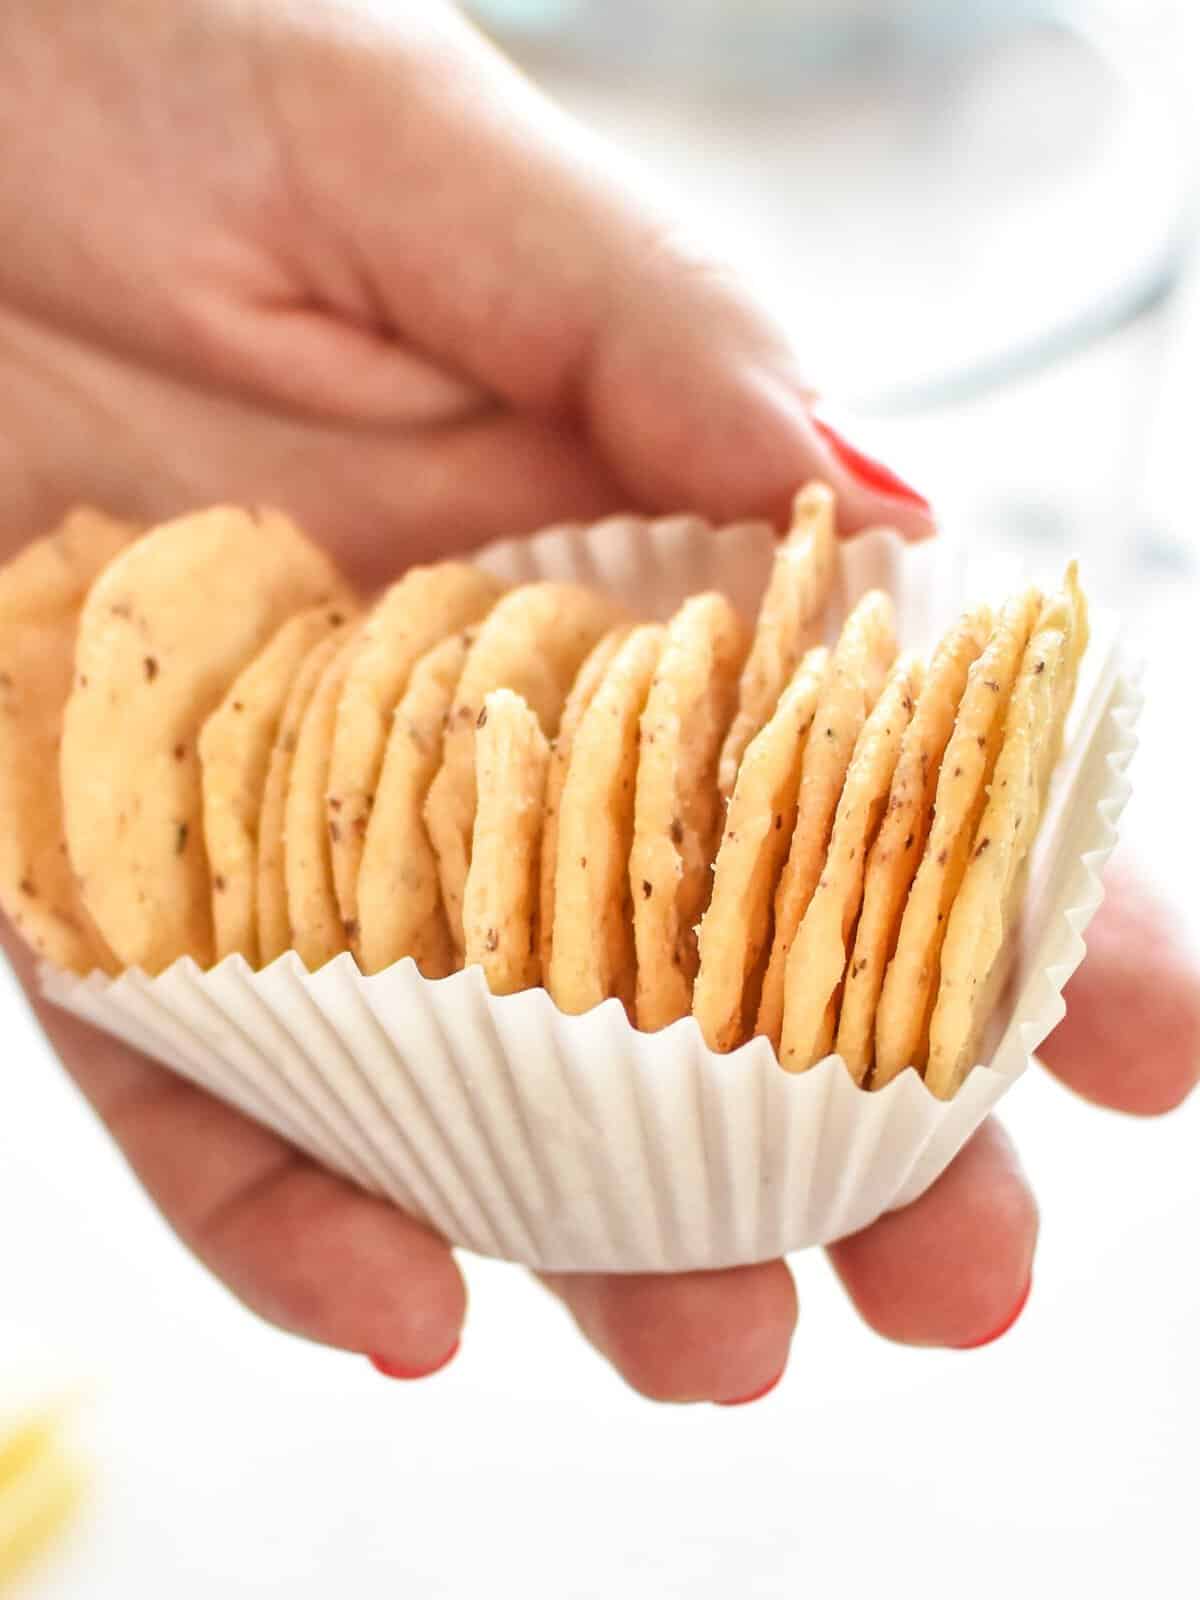
- silicone muffin liners – If you don’t have compartment containers, that’s totally okay! You can use silicone (or paper) muffin liners to act as small cups to fit within the bigger container, essentially creating your own compartments as needed.
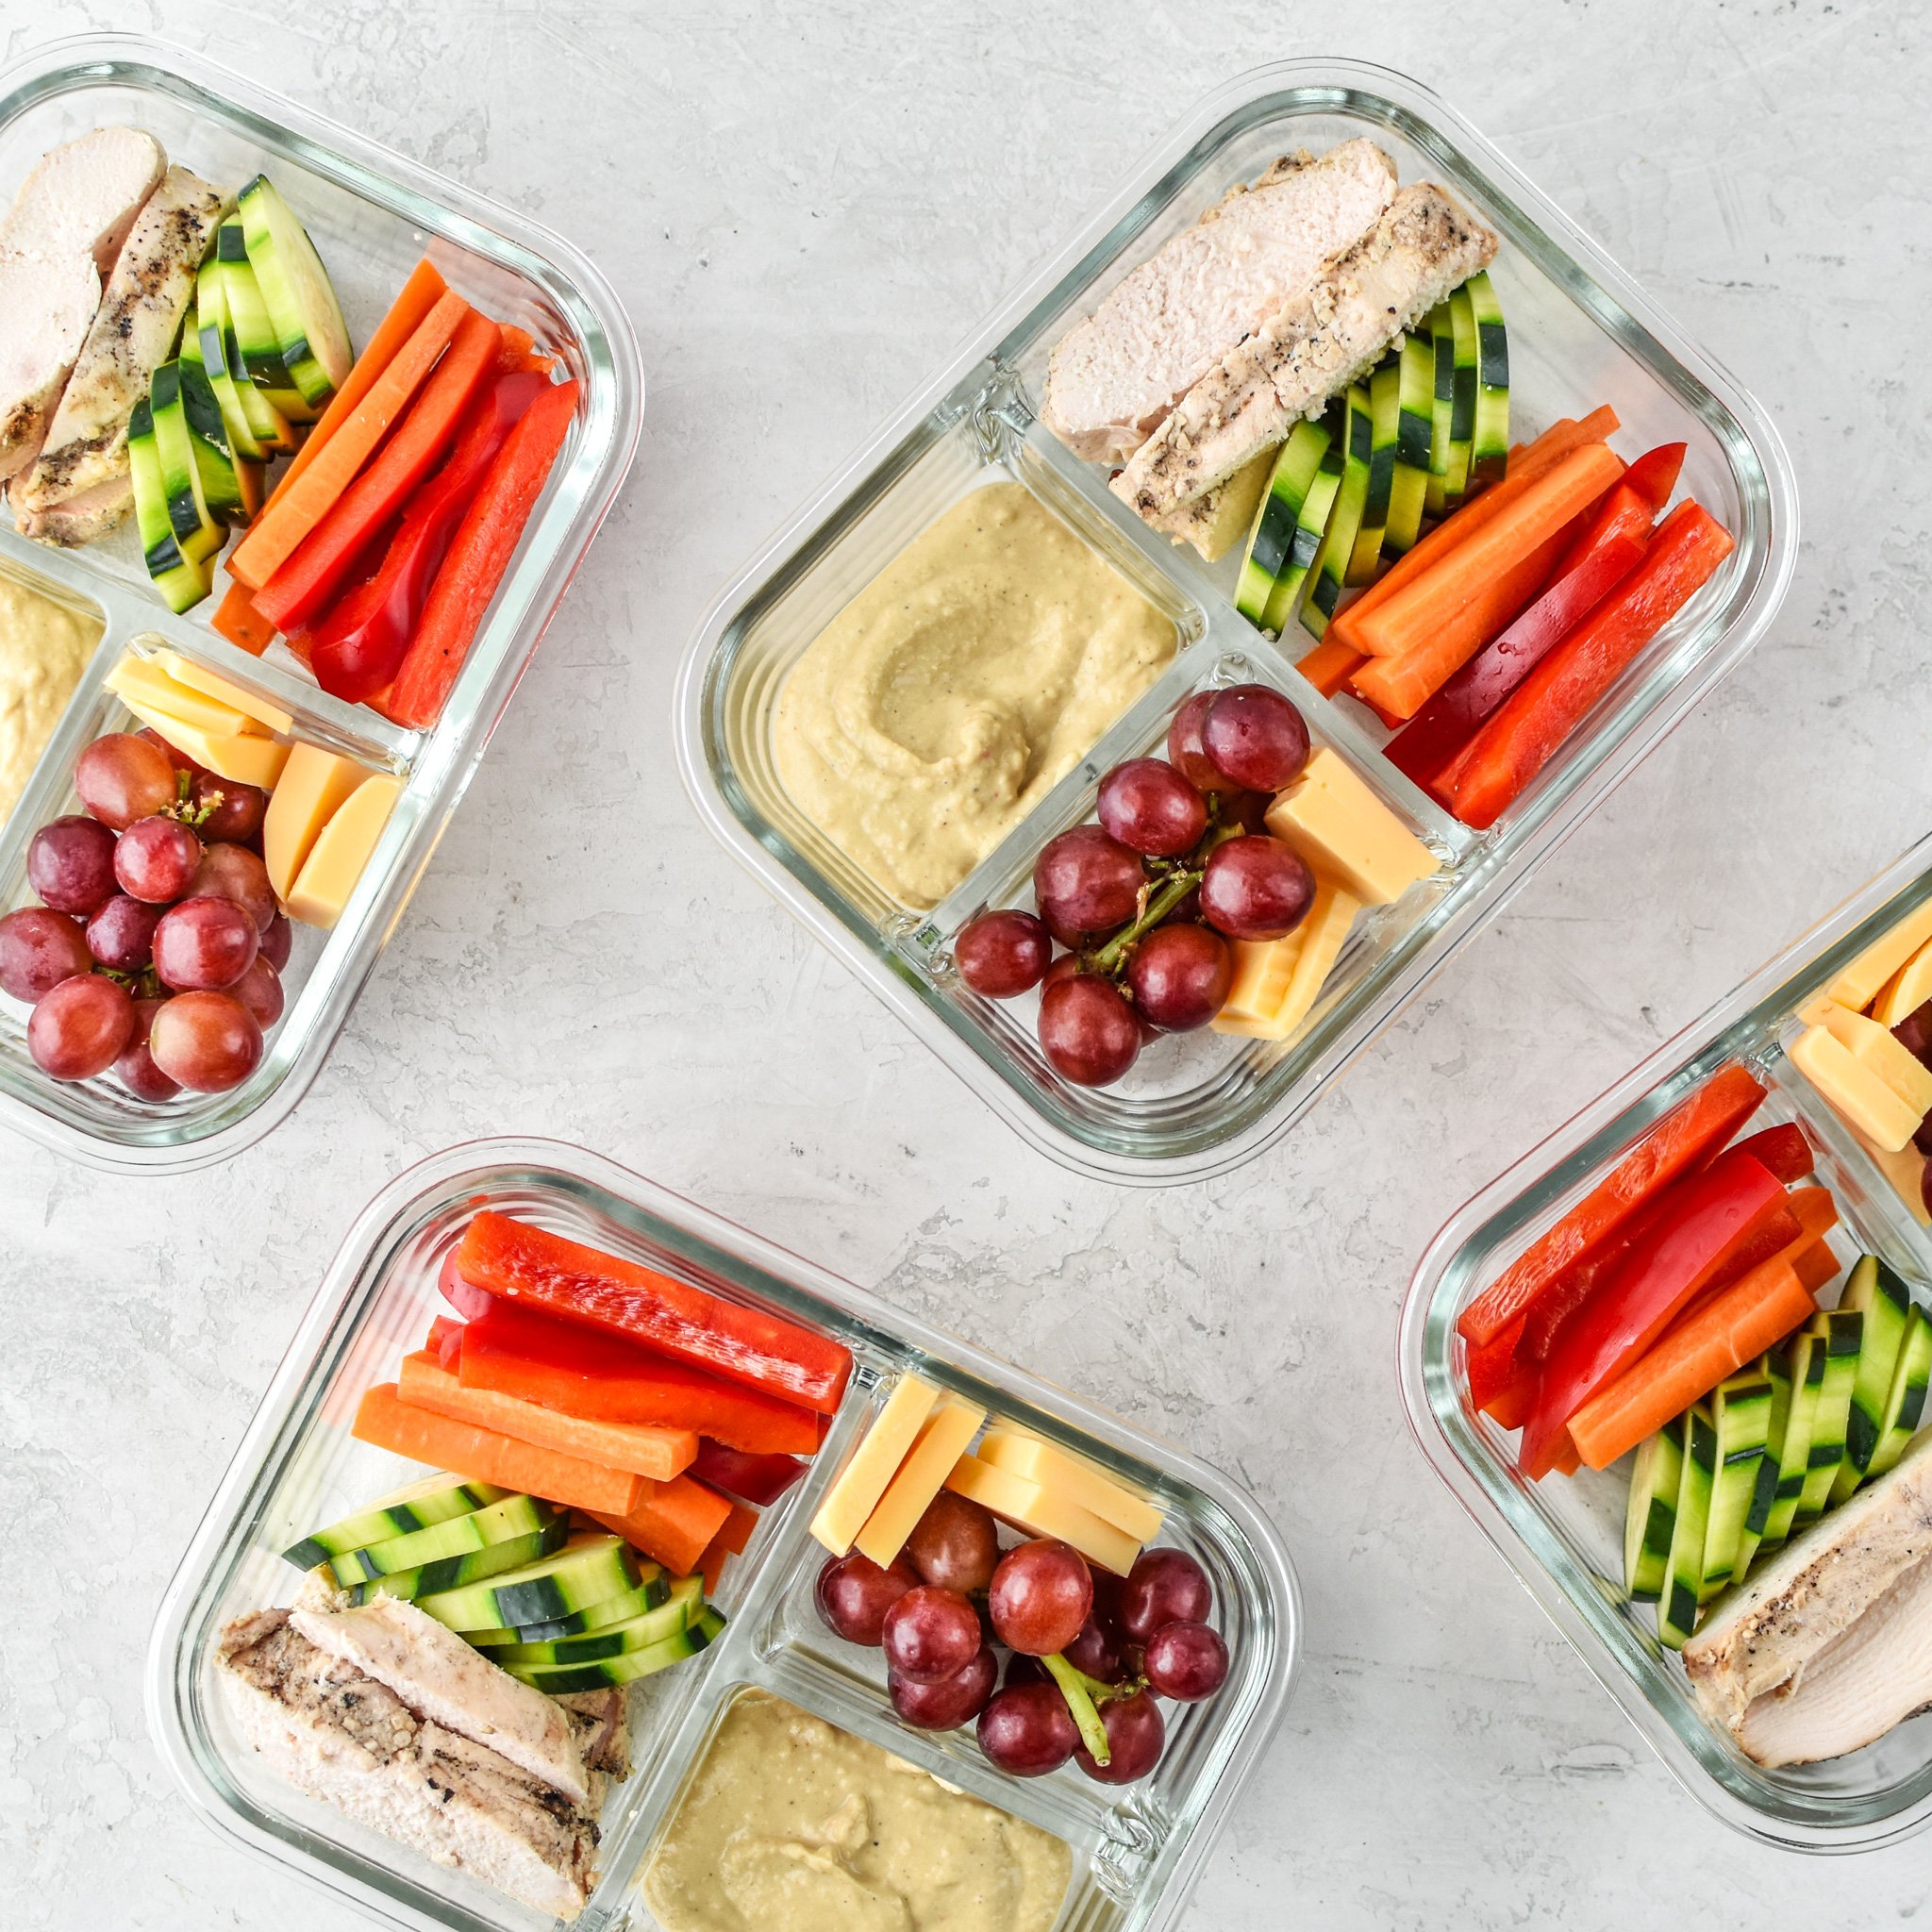
How to Pack Sauces With Your Meal Prep Lunch
Sauces and dressings are the answer to avoiding dry, bland lunches. Hummus or Ranch dip would be well in these lunches! But how do we pack them?
From specialized containers to free & sturdy options, my guide covers practical methods for packing sauce and dressing in your meal prep lunch.
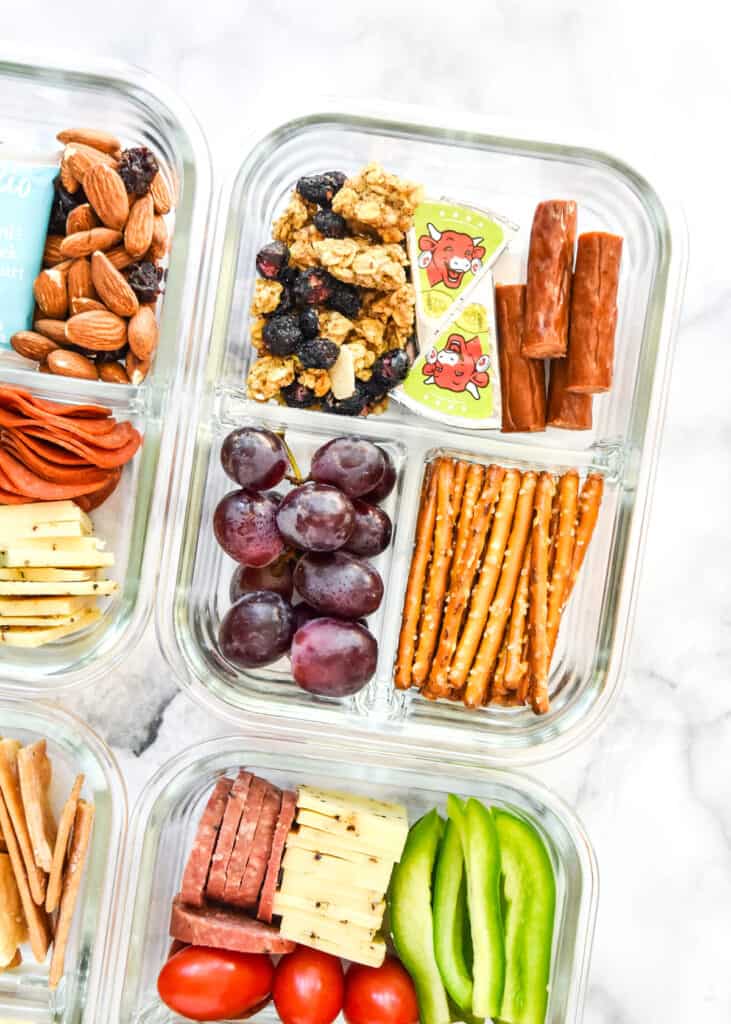
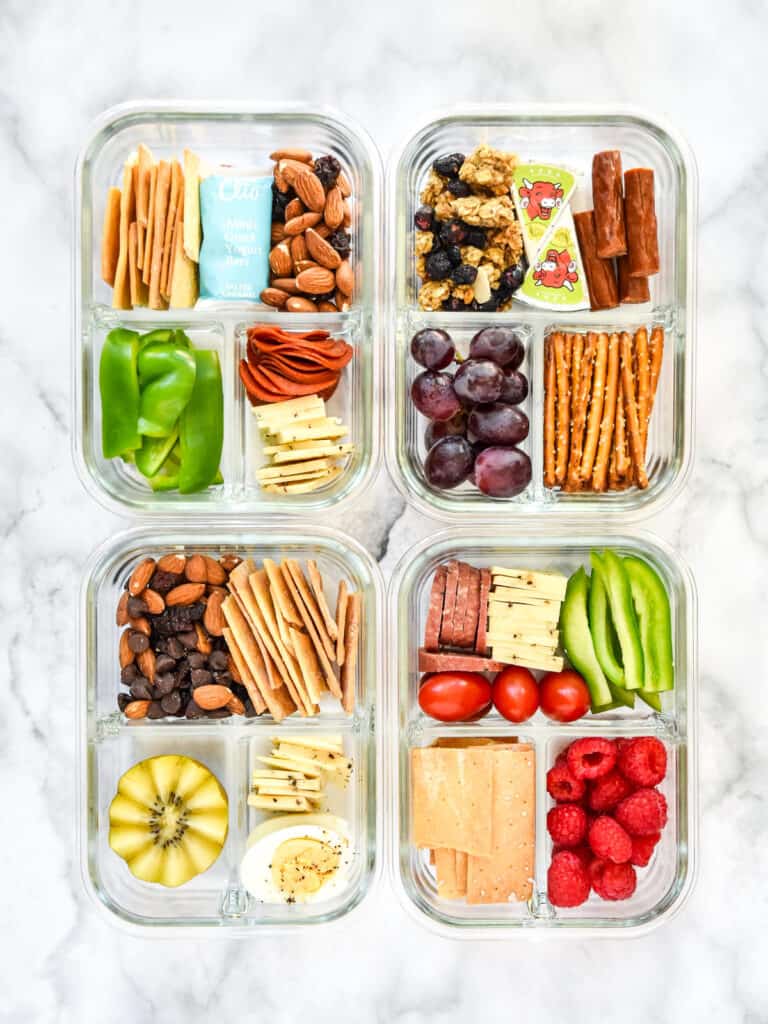
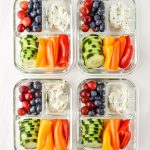
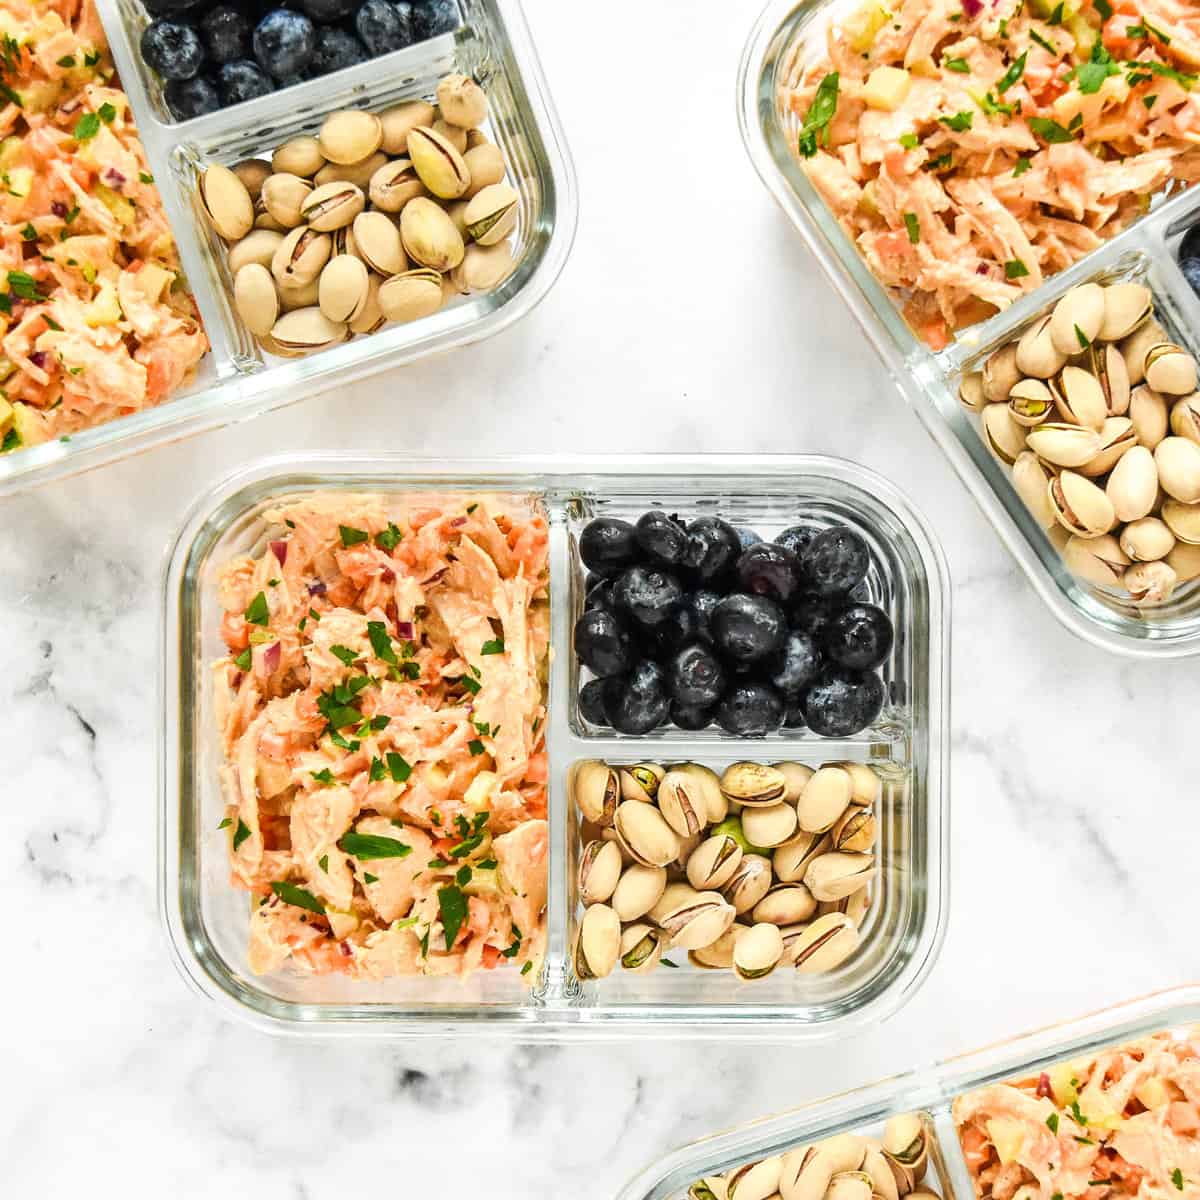
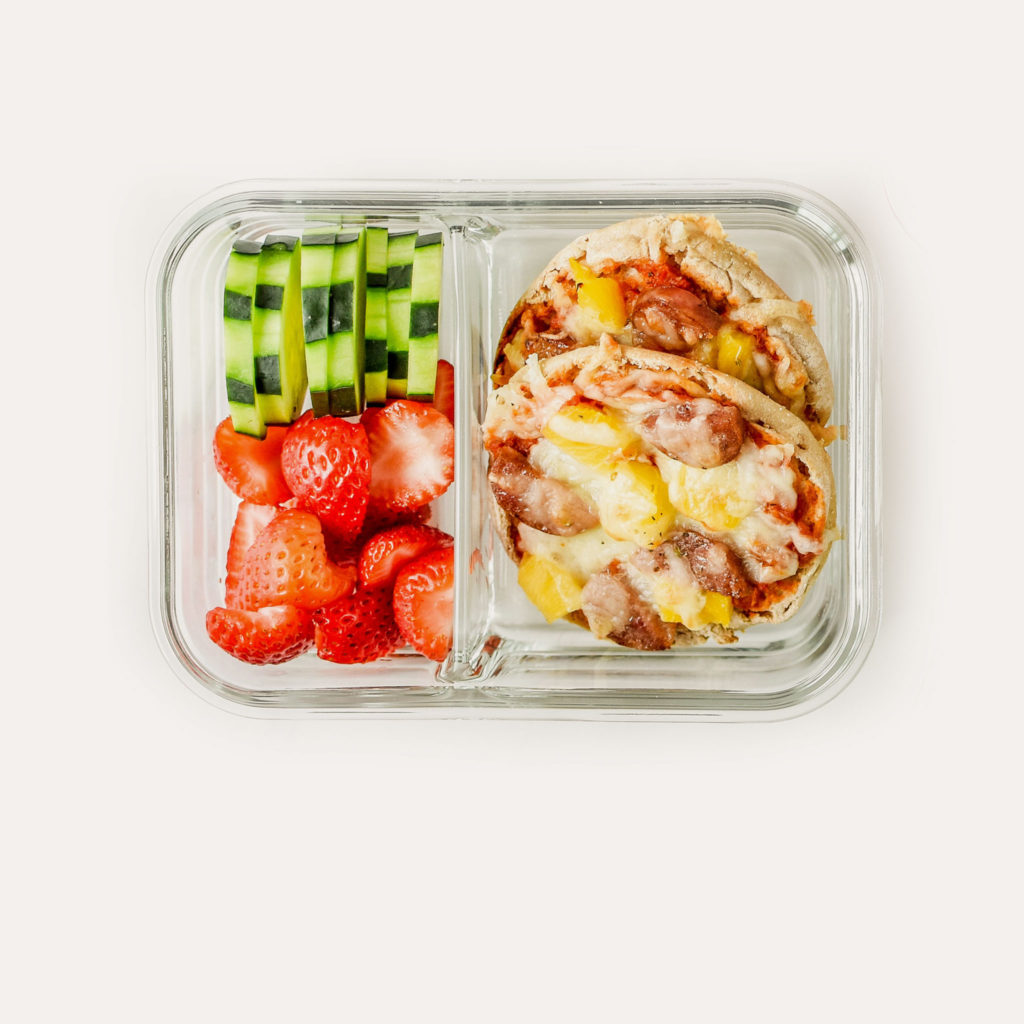
4 DIY Adult Lunchable Ideas for Inspiration
Here are four simple examples of DIY Adult Lunchables that will keep you satisfied for hours. Feel free to mix and match any of these ingredients, change the amounts, do your thang, to make the lunchable exactly how you want it.
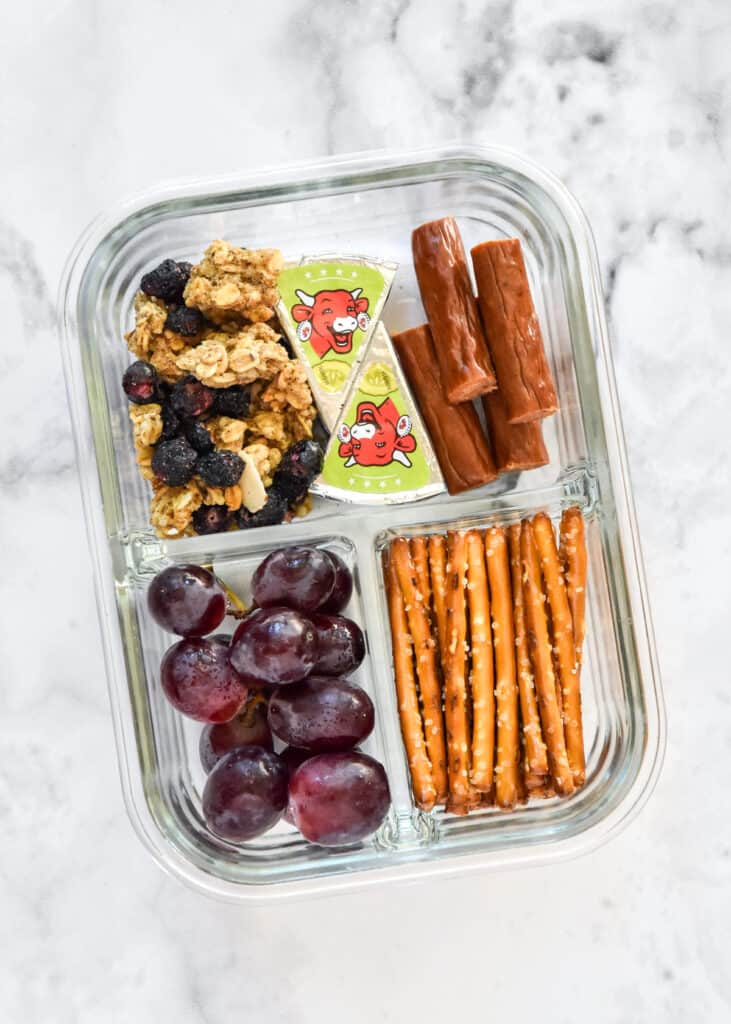
1
Meat Stick + Pretzel Combo
This lunch contains:
- 1 Chomps meat stick
- 2 Laughing Cow spreadable cheese wedges
- ~2/3 cup Kashi granola
- one handful of pretzels
- ~ 12 grapes
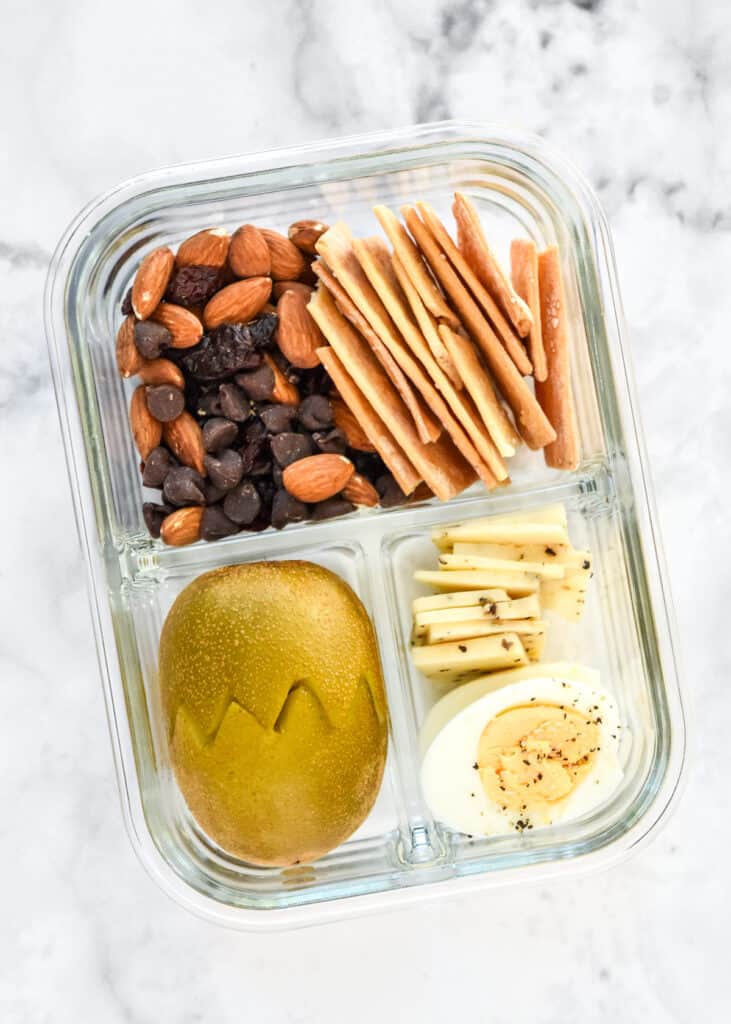
2
Vegetarian: HBE + Kiwi + Trail Mix
This lunch contains:
- 1 hard-boiled egg (cut in half)
- ~1 oz pepper jack cheese slices
- 1 golden kiwi (cut in half)
- handful of pita chips
- handful almonds, dried cherries & chocolate chips
How to make hard-boiled eggs:
There are a lot of ways to hard boil eggs, but some of them result in eggs that look like they went through the dryer instead of being peeled gently with your two very human hands. What’s that about?
My recommendation is to steam the eggs. Here’s why:
- steamed eggs (Instant Pot or stovetop) are easier to peel (science!)
- eggs are less likely to crack with gentle steaming over boiling
- overall, you’ll have smoother, blemish-free egg whites
ℹ️ For more on the science of hard-boiled eggs, read How to Make Perfect Hard-Boiled Eggs from Serious Eats’ The Food Lab.
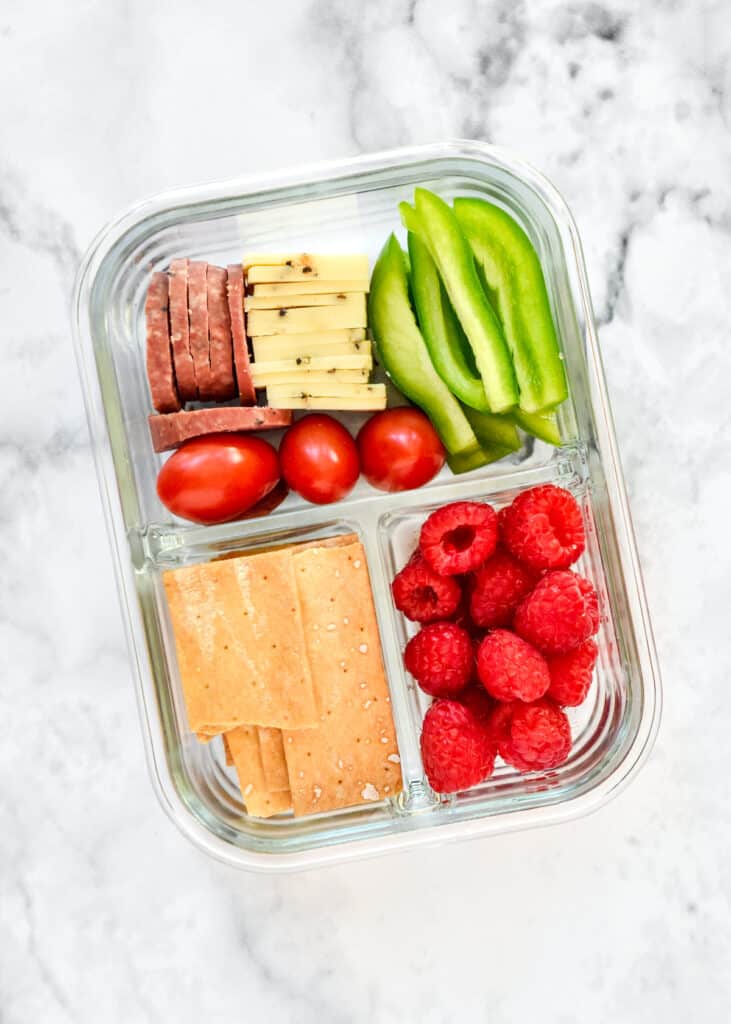
3
Sausage + Peppers Combo
This lunch contains:
- ~1 oz summer sausage slices
- ~1 oz pepper jack cheese slices
- handful of pita chips
- 1/2 green bell pepper slices
- cherry tomatoes (only 4 fit, lol)
- handful of raspberries
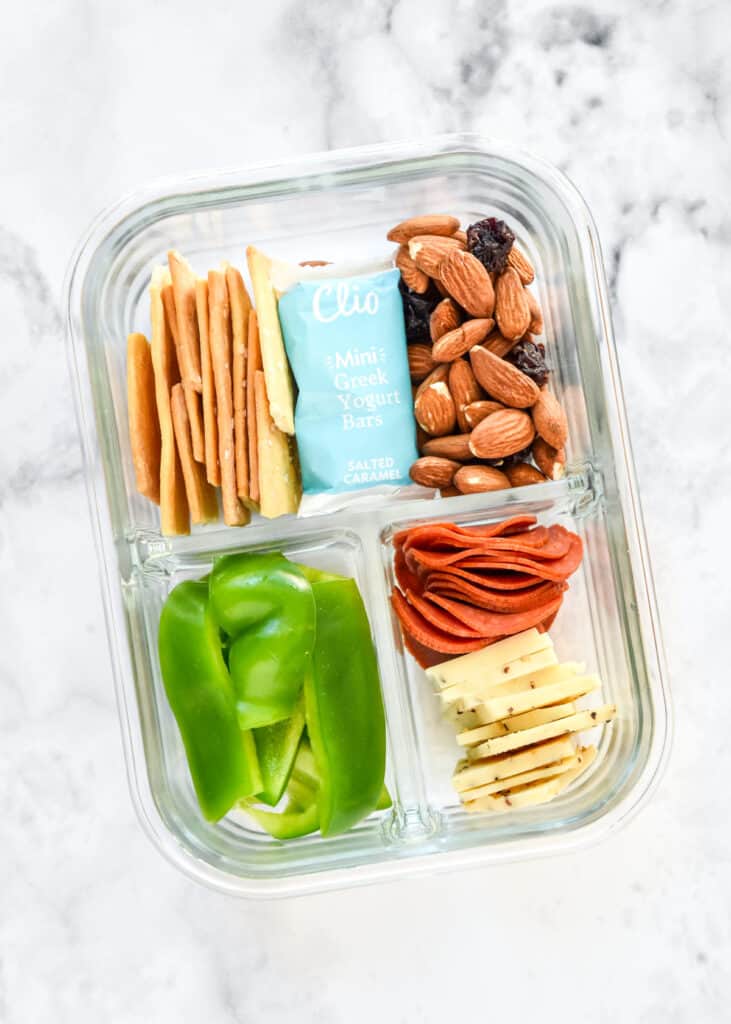
4
Pepperoni + Peppers
This lunch contains:
- handful pita chips
- Clio Mini Greek Yogurt Bar (salted caramel)
- almonds & dried cherries
- 1/2 green bell pepper slices
- ~1 oz turkey pepperoni
- ~1 oz pepper jack cheese slices
Ways to customize these meal prep lunches:
Making your own lunchables at home is all about customization! Here’s a summary of all the ideas discussed in this post:
- Swap the protein for deli meat, crispy chickpeas, pepperoni, meat sticks, cooked chicken breast, hard boiled eggs
- Any kind of cheese works for this meal, even outside the box ideas like cottage cheese, spreadable cheese, cream cheese, cheese curds. You can use whatever is already in your fridge!
- Crunchy is a requirement, but there are so many ways to go. Pita chips are super versatile, but there’s always pretzels, crackers, bagel chips. I would avoid anything brittle and soft like Ritz crackers.
- Pick your favorite fruits and veggies, ensuring moisture content is low. For example, cherry tomatoes are a better choice than sliced tomatoes!
- Add a lil treat of choice, because we all looked forward to that oreo in the lunchable!! It can be as simple or easy as some chocolate chips and peanut butter.
How I made adult lunchables in 2017:
How I made adult lunchables in 2026:
- more fiber! nuts, granola, kiwi
- more variation in textures
- more protein variation (HBE, meat stick)
MORE LUNCHABLE LUNCHES:

Best tips for making DIY Adult Lunchables at home:
Here are my best tips for making DIY Adult Lunchables you’ll actually look forward to:
- Remove as much moisture as possible from any wet ingredients, such as cucumbers or washed grapes. This will prevent things from getting soggy.
- Keep your crackers far away from the fruits and veggies. Put the meats and cheeses in between crackers and produce, or keep separate with containers or muffin liners.
- You gotta add a lil treat to the lunchable. Not only will this help you look forward to lunch, but it’s always nice to break up textures and flavors as much as possible.

How to store assembled DIY Adult Lunchables:
Any of these DIY adult lunchable ideas work well as a meal prep lunch or midday snack box. For best quality, any of your assembled lunchables should be enjoyed within 3-4 days, depending on the exact ingredients used.
Some crackers work just fine in the fridge, while others go soft after a couple days. Try one serving first to see how it holds up if you’re unsure.
Want to Save this recipe for later?
Did you make this? I want to see how it turned out! Tag me in your social media post @projectmealplan and use #projectmealplan when you share!
Print
How to Turn Cheese and Crackers into DIY Adult Lunchables
Pick a protein, your favorite cheeses, add some produce, fiber, crackers, and voila! Here are easy tips and so many ideas on how to turn cheese and crackers into DIY Adult Lunchables.
- Total Time10 minutes
- Yield4 servings 1x
Ingredients
Each DIY Adult Lunchable includes:
- a portion of fruit: grapes, kiwi, raspberries, blueberries, strawberries, pineapple
- something green/veggie: cucumber slices, green bell pepper, snap peas, carrots
- a serving of protein: 1 meat stick, 1 oz pepperoni, 1 oz summer sauce, 1-2 hard-boiled eggs
- a serving of crackers: or pita chips, pretzels, bagel chips, kept separate from produce
- some cheese: sliced cheese, spreadable cheese wedges, cream cheese, cottage cheese
- a fiber source: almonds, pistachios, kiwi, berries, avocado, whole grain crackers
- a lil treat: chocolate chips, peanut butter, trail mix, Greek yogurt bar, something homemade!
Instructions
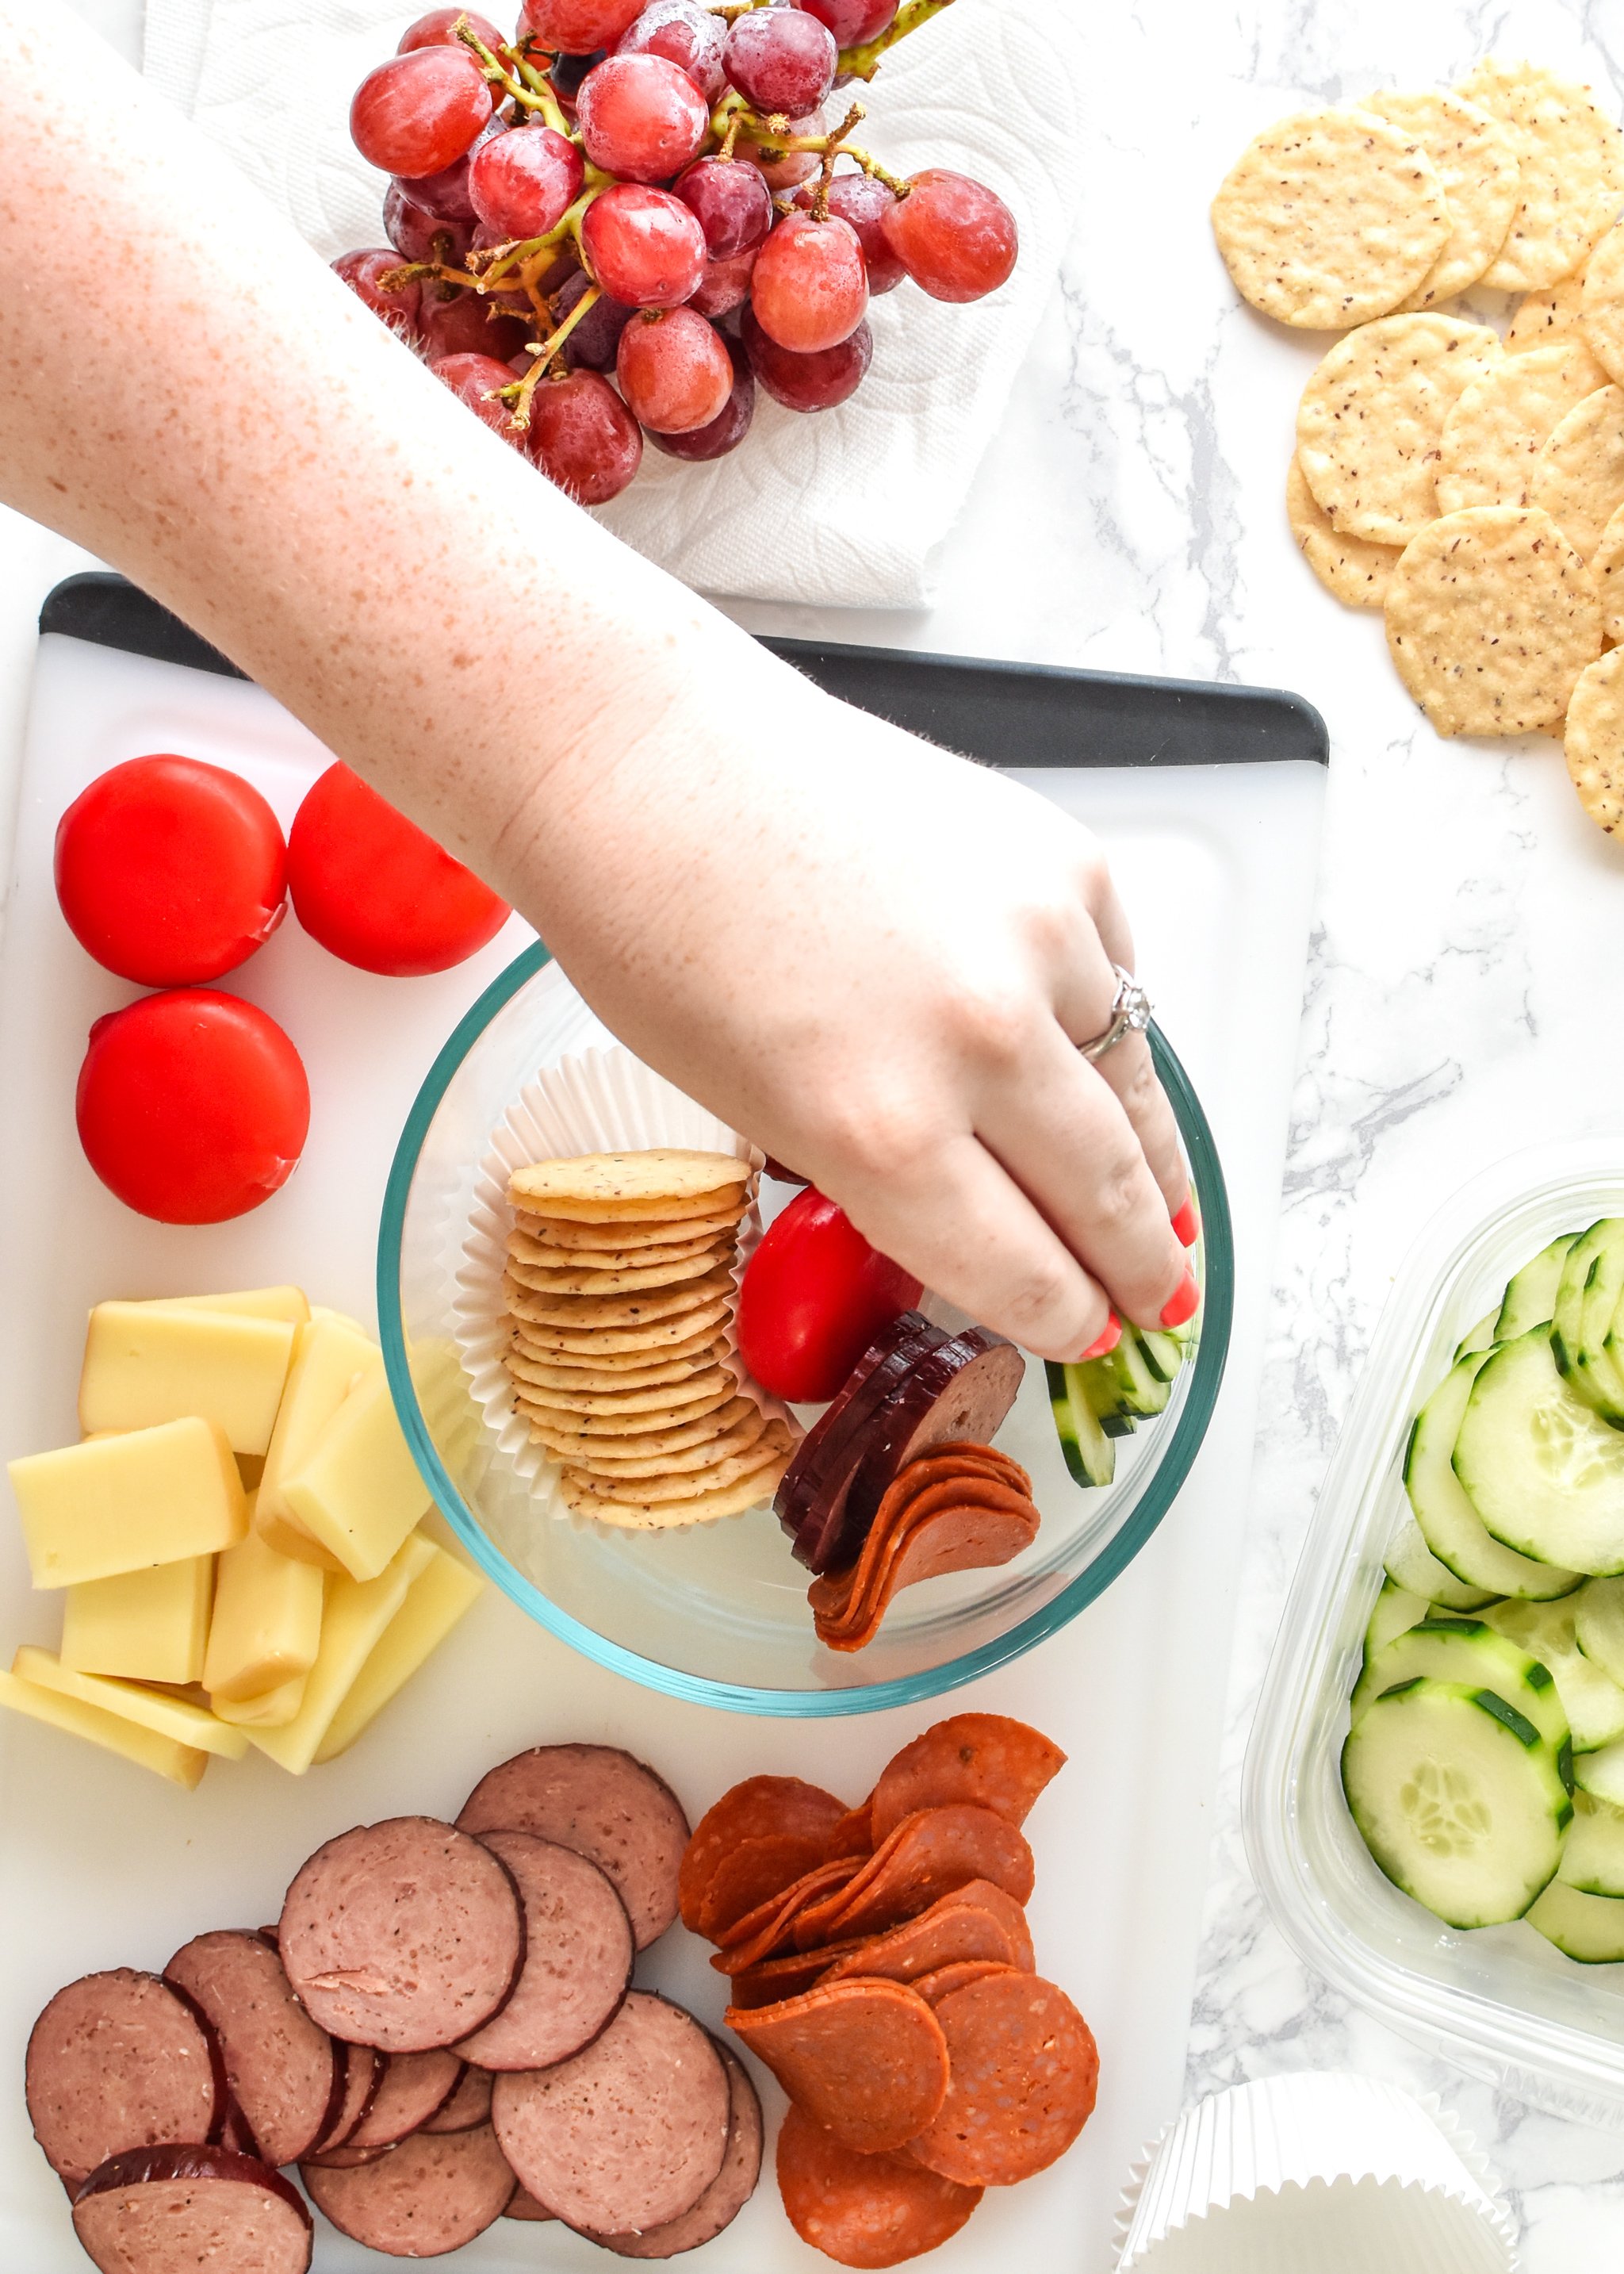
Assemble your ingredients into your containers with lids, for the number of servings you’d like to make. Remember to do the following:
- Use a compartment container, paper cups or silicone baking cups to hold the crackers. It helps absorb or block moisture that might make the crackers soggy. Keep your crackers as far away from those fruits and veggies as possible.
- Make sure your produce is clean and as dry as possible, so the excess moisture doesn’t infiltrate your crackers.
- For best quality, any of your assembled lunchables should be enjoyed within 3-4 days, depending on the exact ingredients used. Some crackers stay crisp in the fridge, while others go soft after a couple days. Try one serving first to see how it holds up if you’re unsure.
Equipment
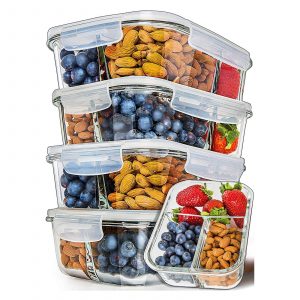
3 Compartment Glass Meal Prep Containers
Buy Now →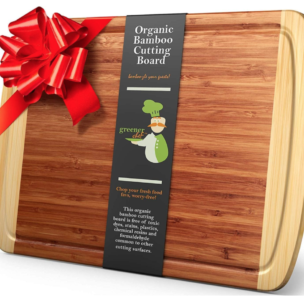
Greener Chef XL Bamboo Cutting Board
Buy Now →(affiliate link!)
Notes
Other options for your adult lunchable: Spicy mustards, jams, zesty pickles, pretzel crisps, carrot sticks, berries, or relishes. Be sure to separate any liquid items like mustards or relishes.
Nutrition information estimated with My Fitness Pal – this will vary greatly depending on what ingredients you use.
- Prep Time: 10 minutes
- Category: Lunch
- Method: No Cook
- Cuisine: American
Nutrition
- Serving Size: 1 lunchable
- Calories: 474 (estimate)
- Fat: 20g
- Carbohydrates: 43g
- Protein: 30g
Did You Make This?
I love seeing what you made! Leave a review below, and be sure to tag me at @ProjectMealPlan when you share a photo!


Ah, I love adult lunchables. I gaze at them enviously every time I pass them at the grocery store. I never thought to actually make my own. I just started doing a meat and cheese plate for my toddlers to eat occasionally at lunch and they love it. Guess I should start making my own now.
Hey Aimee! You definitely should start making your own! I couldn’t believe how much I was looking forward to lunch with these things. My favorite part is how surprisingly delicious it is without cooking a thing. Best for these hot days!
Great post! I always love your stuff and your pins!
Oh thank you Ben! I do my best 😀 Thanks for your comment!
I bought a couple of store adult lunchable and saved the containers. I also asked the store deli for a couple of new bento boxes. I have 5 each with 4 compartments. Bi just replicate what the store fixes- cheese, crackers, done type of meat and fruit. Veggies, dip, meat and cheese. Granola, fruit, yogurt and trail mix. Lots of combinations and I washed and used the containers all school year.
Hi Sharon! These are great ideas! I was just at the store today and saw exactly what you are talking about. So easy to replicate at home and so many combinations possible! I never thought to ask the store for containers. That’s awesome!
Score! I’m currently planning meals for my aging father and I already grabbed a bunch of your no-heat lunch recipes. This recipe is is perfect for lunches for my dad.