This post may contain affiliate links. Please read our disclosure policy.
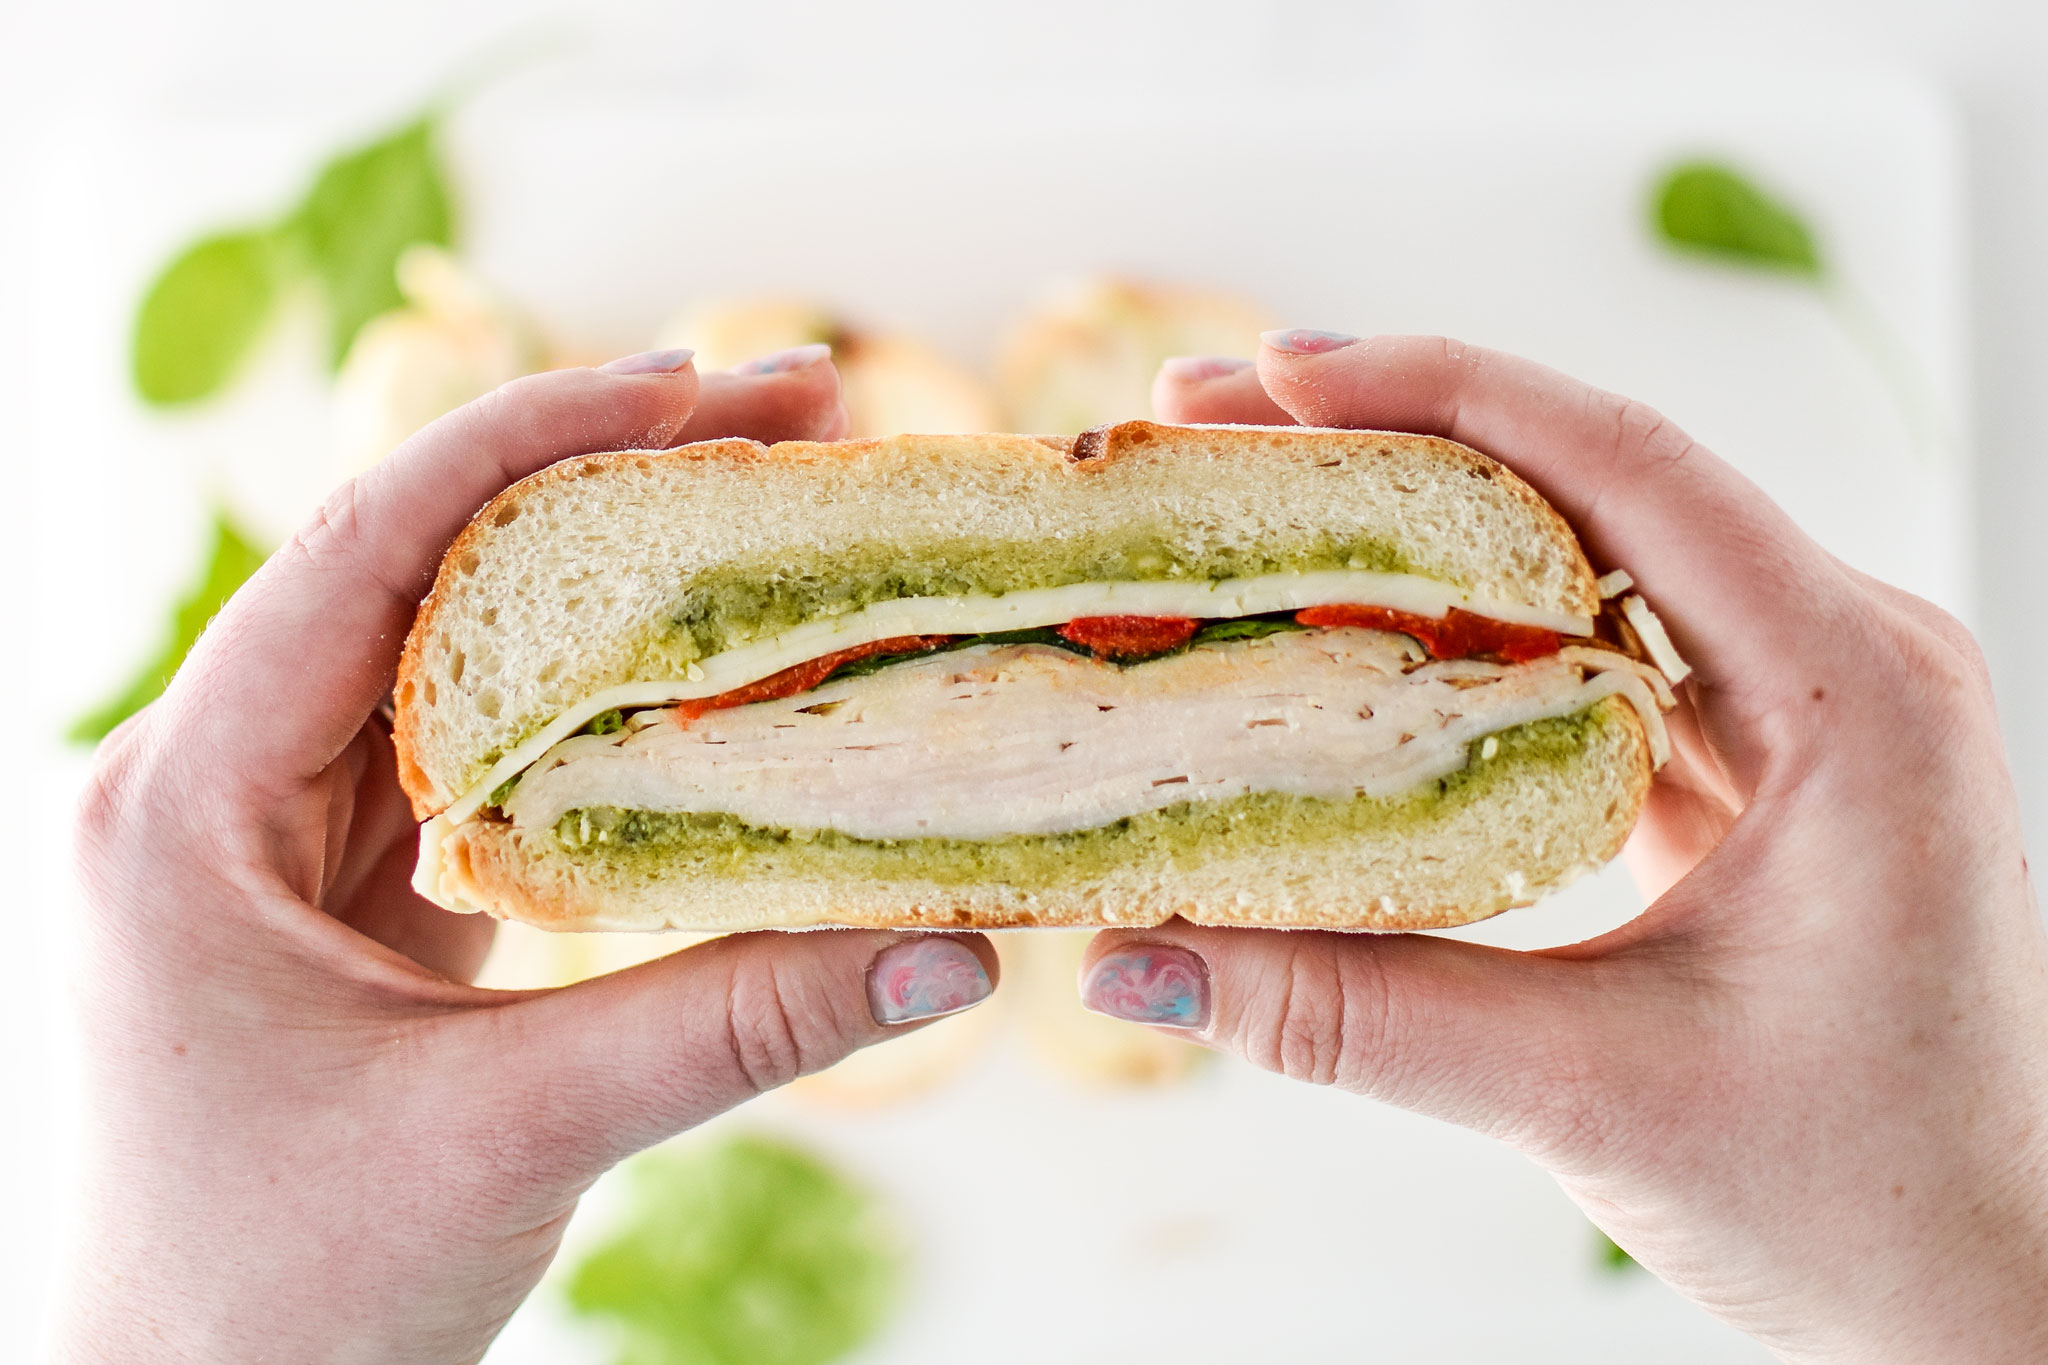
These Pesto Chicken Overnight Pressed Sandwiches are filled with thin sliced chicken breast, spinach greens, provolone cheese, and flavored with traditional pesto – perfect to make-ahead for lunch, picnics, and warm weather.
Jump to Recipe
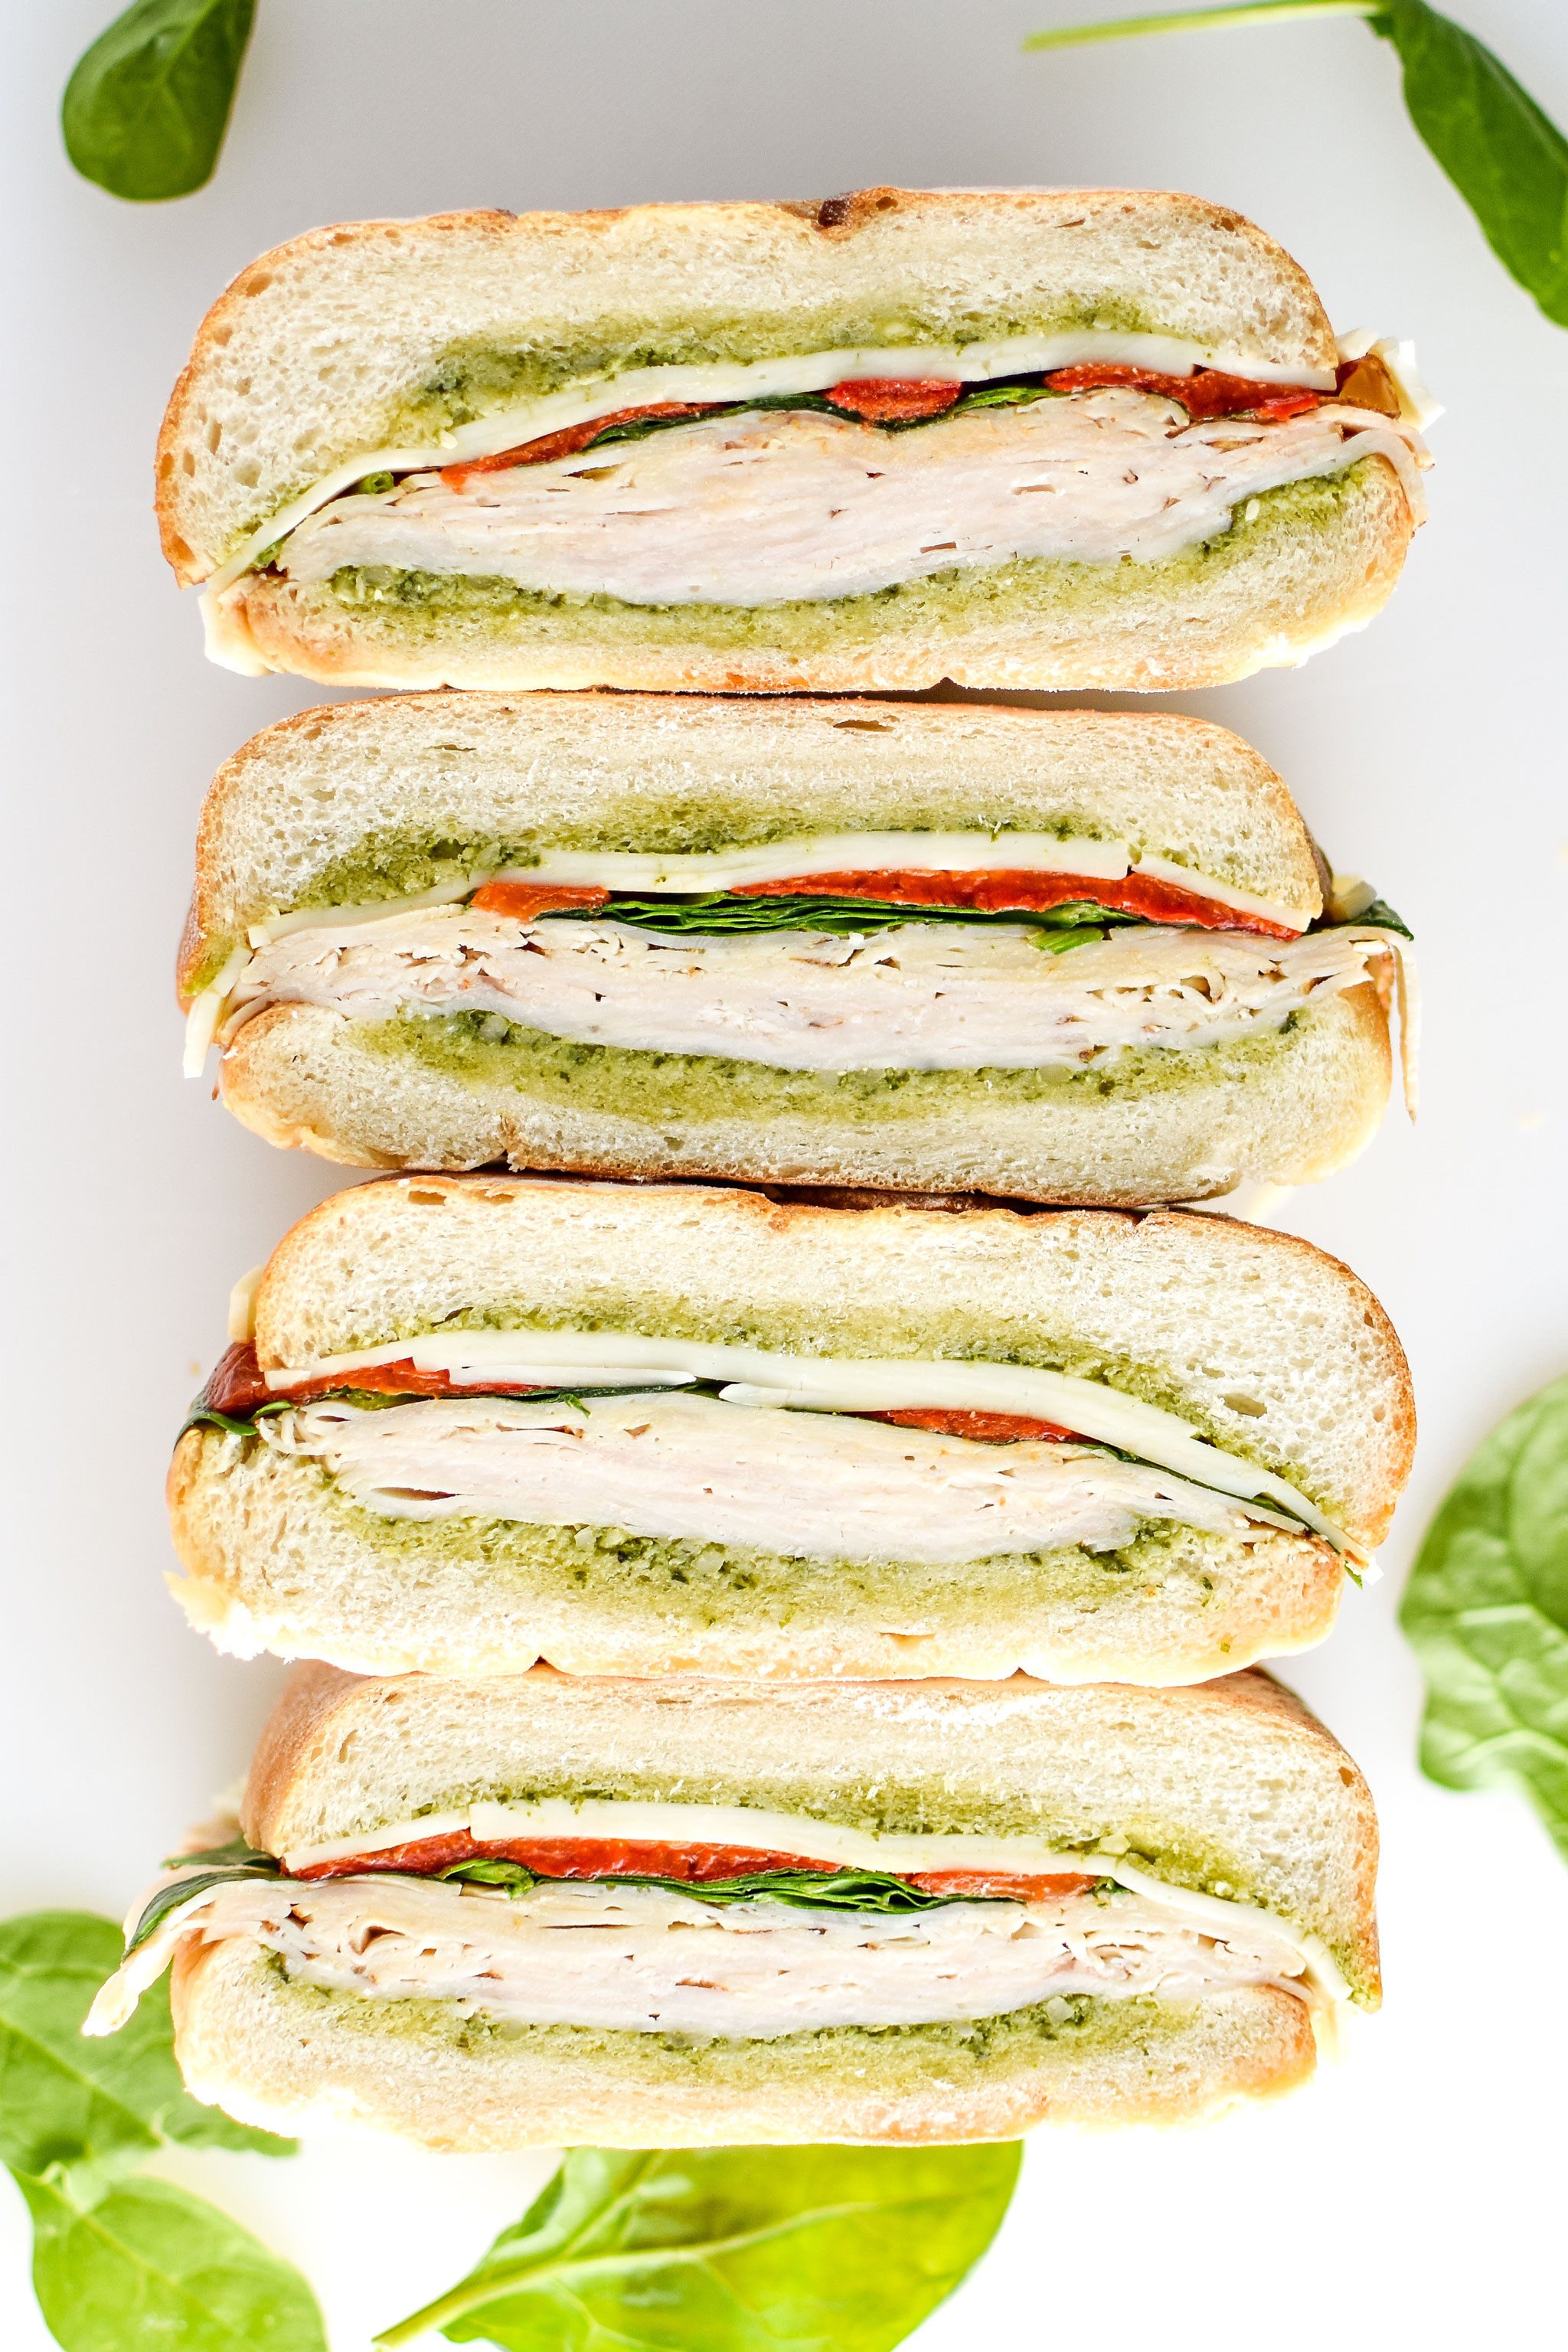 If you ever thought I was sick of pesto, think again. My pesto cravings come in waves, and this season, I’ve put it on a sandwich. You may recall my very first installment of Store-Bought vs Homemade Pesto – I compared prices of a couple different pestos and the price of making it at home. Spoiler alert: Buy pesto in bulk if you can. It’s much cheaper that way!
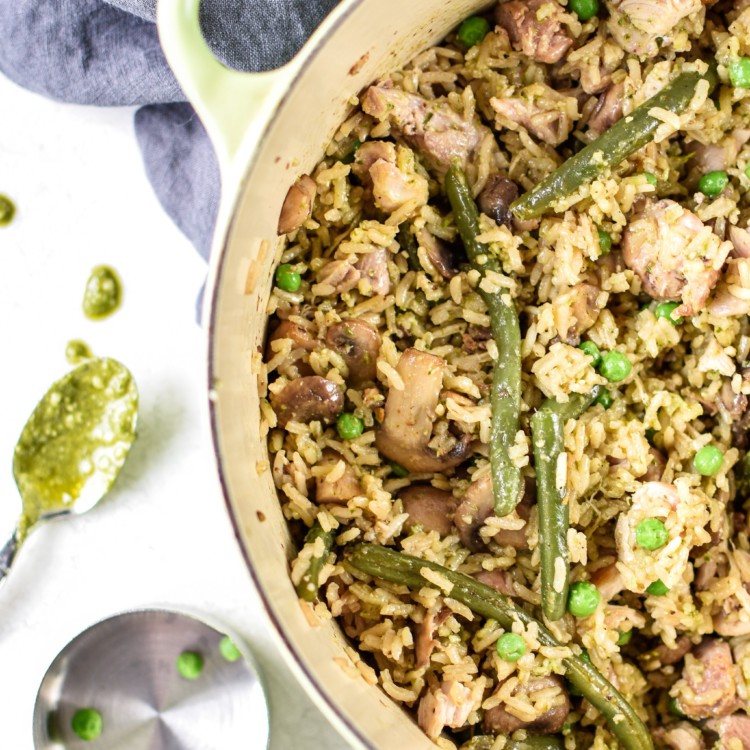
Since then, I’ve put pesto into other things: goat cheese dip, pinwheels, pasta bake, chicken and rice dinner, pasta salad… and so of course, sandwiches were overdue.
What are overnight pressed sandwiches?
Most pressed sandwiches are Italian-inspired, with salami or other meats packed on a large loaf of hearty bread. Additional toppings almost always include cheese, and a veggie or two. There’s usually some kind of pesto or oil mixture involved – this provides flavor and helps soften the inside of the sandwich without making it soggy.
The key component about a pressed sandwich is that it is not cooked or warmed in any way. It’s different than a panini or other hot sandwich. Pressing the sandwich helps everything get real snug inside – this lets the flavors mingle, and in my opinion, keeps everything from falling out of the sandwich. No heat, just time.
I originally read about pressed sandwiches in the cookbook Now & Again by Julia Turshen. Her version is made on individual rolls, stuffed with cooked broccoli rabe, a caper and olive mixture, and fresh mozzarella. Honestly, I didn’t understand the benefits of pressing the sandwich until I tried it. I’m not going to say it’s life-changing, but it’s VERY sandwich-changing.
I technically added the word ‘overnight’ to the name to be clear about the make-ahead and meal prep possibilities of the sandwich. You can make it in about 10 minutes, wrap & press overnight, then slice and pack for lunches or a picnic the next day. Even if you forget to make it the night before, you can make & press for as little as 3-4 hours – ready by lunchtime if you throw it together in the morning.
The bread:
While testing these overnight pressed sandwiches, I tried them on FIVE different kinds of bread. Here are my thoughts about each one:
- Ciabatta – My favorite way to make this sandwich! But the bread was hardest to find at regular grocery stores.
- Focaccia – This bread was flatter than the ciabatta. Overall, I liked the ciabatta more than this bread, but it would still work! I think it’s partially based on preference because I don’t like the bread super dense.
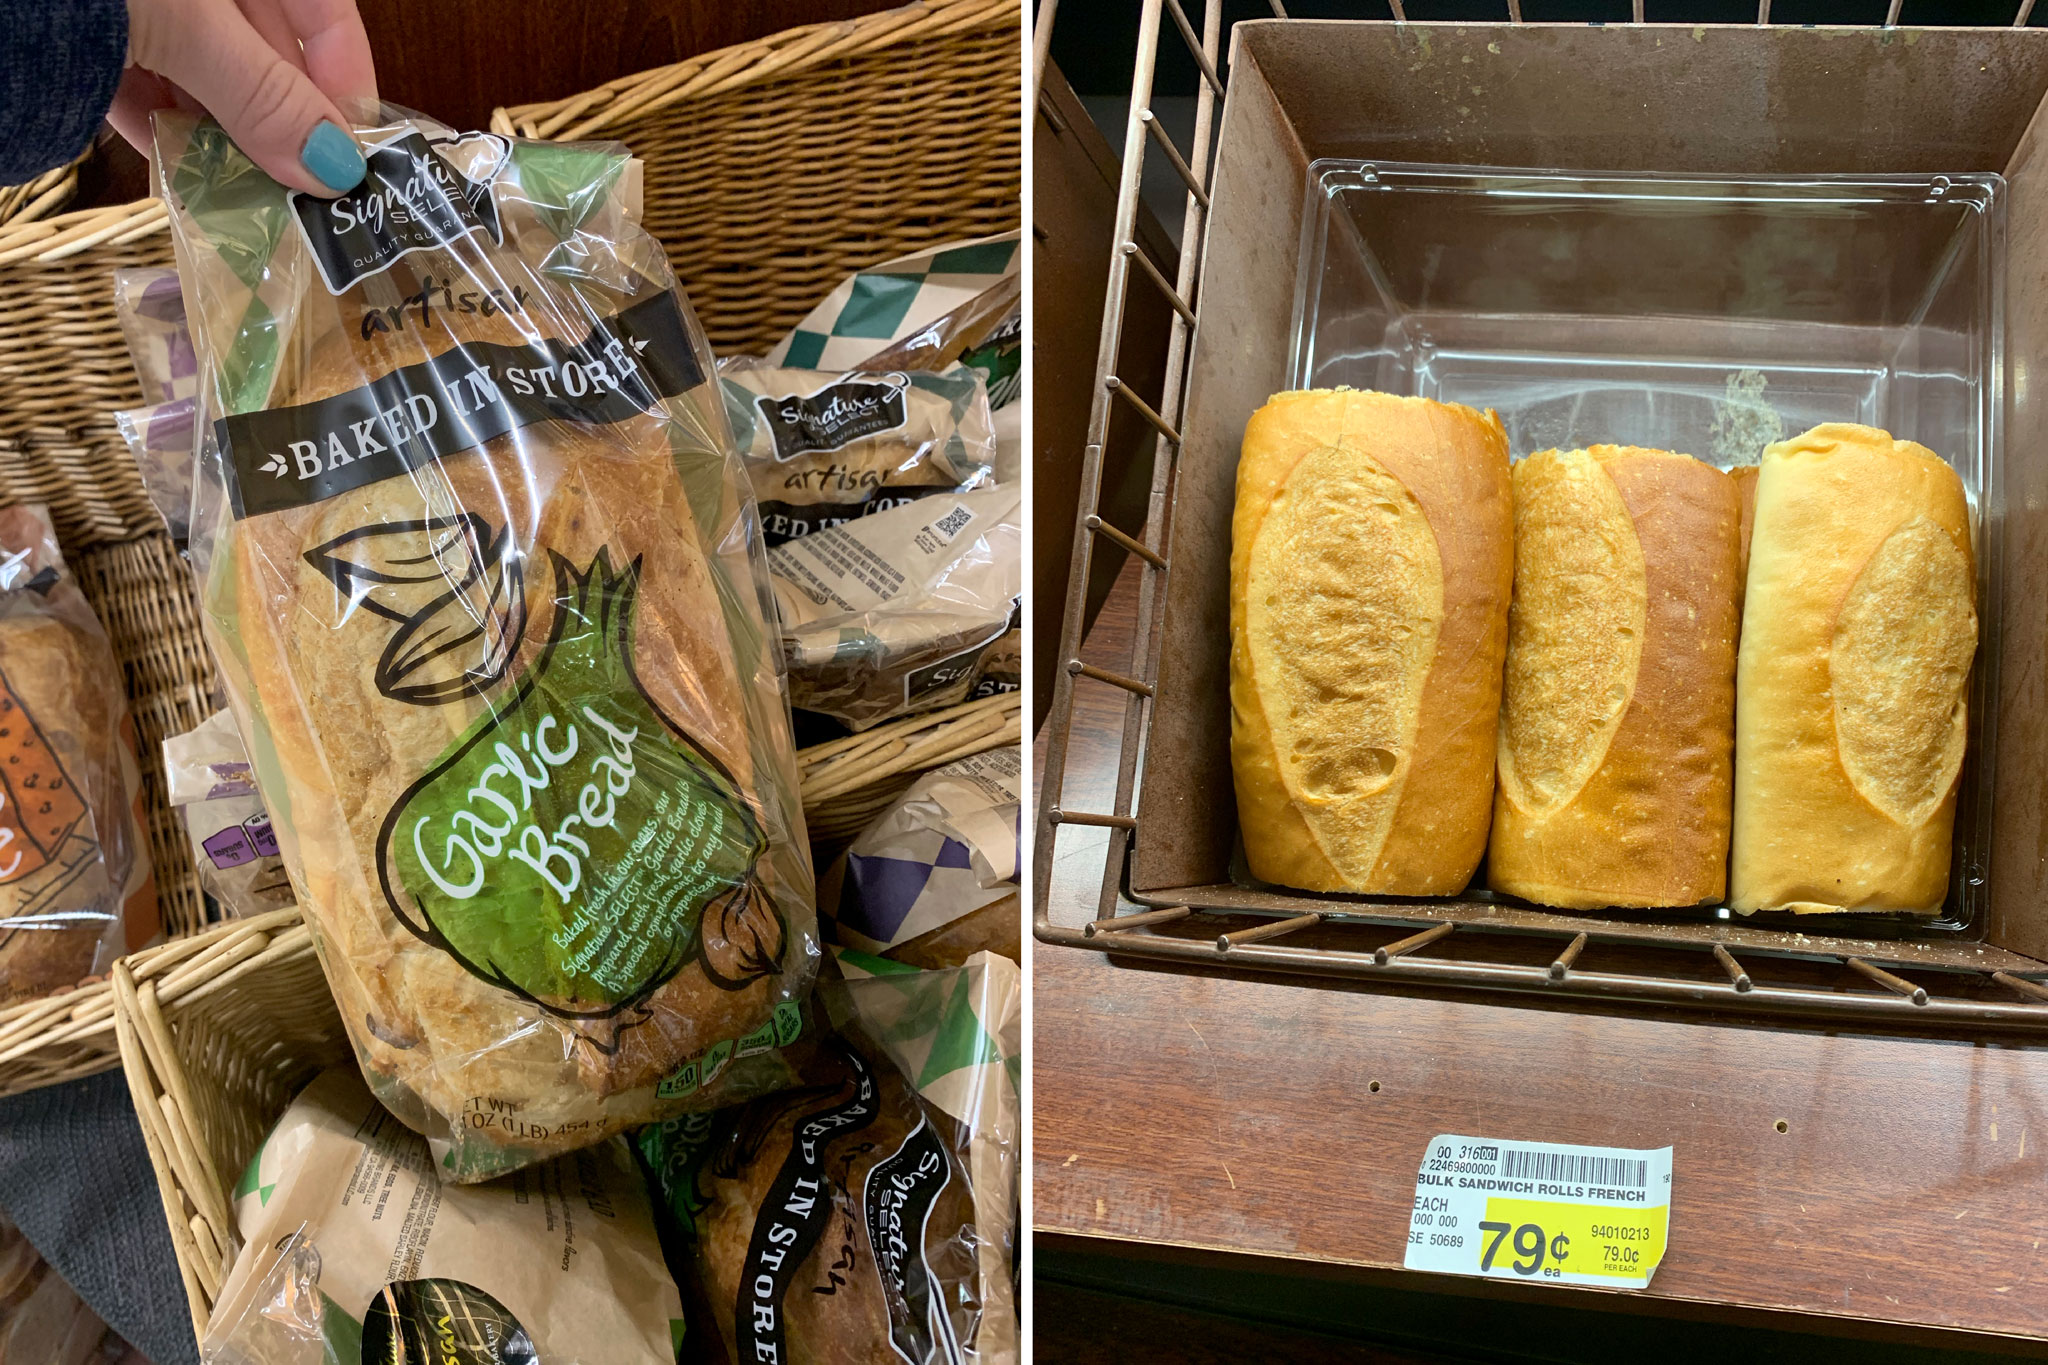
- “Take-and-Bake” par-baked French bread – I did not really enjoy this bread, and would rank it last for the sandwich. It was too tough and thick. I think this bread is more meant to be served fresh from the oven – it’s only partially baked so you have to bake it before eating.
- Costco brand Country French loaf – This was the cheapest option, and definitely worked. But this was sort of a softer bread, and had more potential to be soggy.
- Artisan bread loaf from Safeway – These worked well. A bit thick, but a nice cheap option that more stores carry.
- Individual sandwich rolls – I didn’t try this way, but the original pressed sandwich recipe from the cookbook uses individual sesame seed sandwich rolls. French rolls would work too.
The filling:
My personal preferences for toppings on these Pesto Chicken Overnight Pressed Sandwiches include the following:
- thin sliced chicken breast
- provolone cheese
- traditional pesto
- baby spinach leaves
- roasted red bell pepper
For the recipe, I’ve omitted the roasted red bell pepper because it can make your sandwich soggy if you’re not careful (more on that later). Plus, the roasted bells really jack up the price of the sandwich – more on that later too! Lots to discuss.
You should feel free to try out your own toppings or use what you have in the fridge. Be weary of ‘wetter’ toppings like tomatoes, or even the roasted red bell peppers. Anything that has liquid inside of it will have all that liquid squished out when the sandwich is pressed. If that happens, it will probably be absorbed into the bread, and you don’t want that.
How do you press the sandwich?
This is the fun part! There are three steps to pressing your sandwich. Let’s begin.
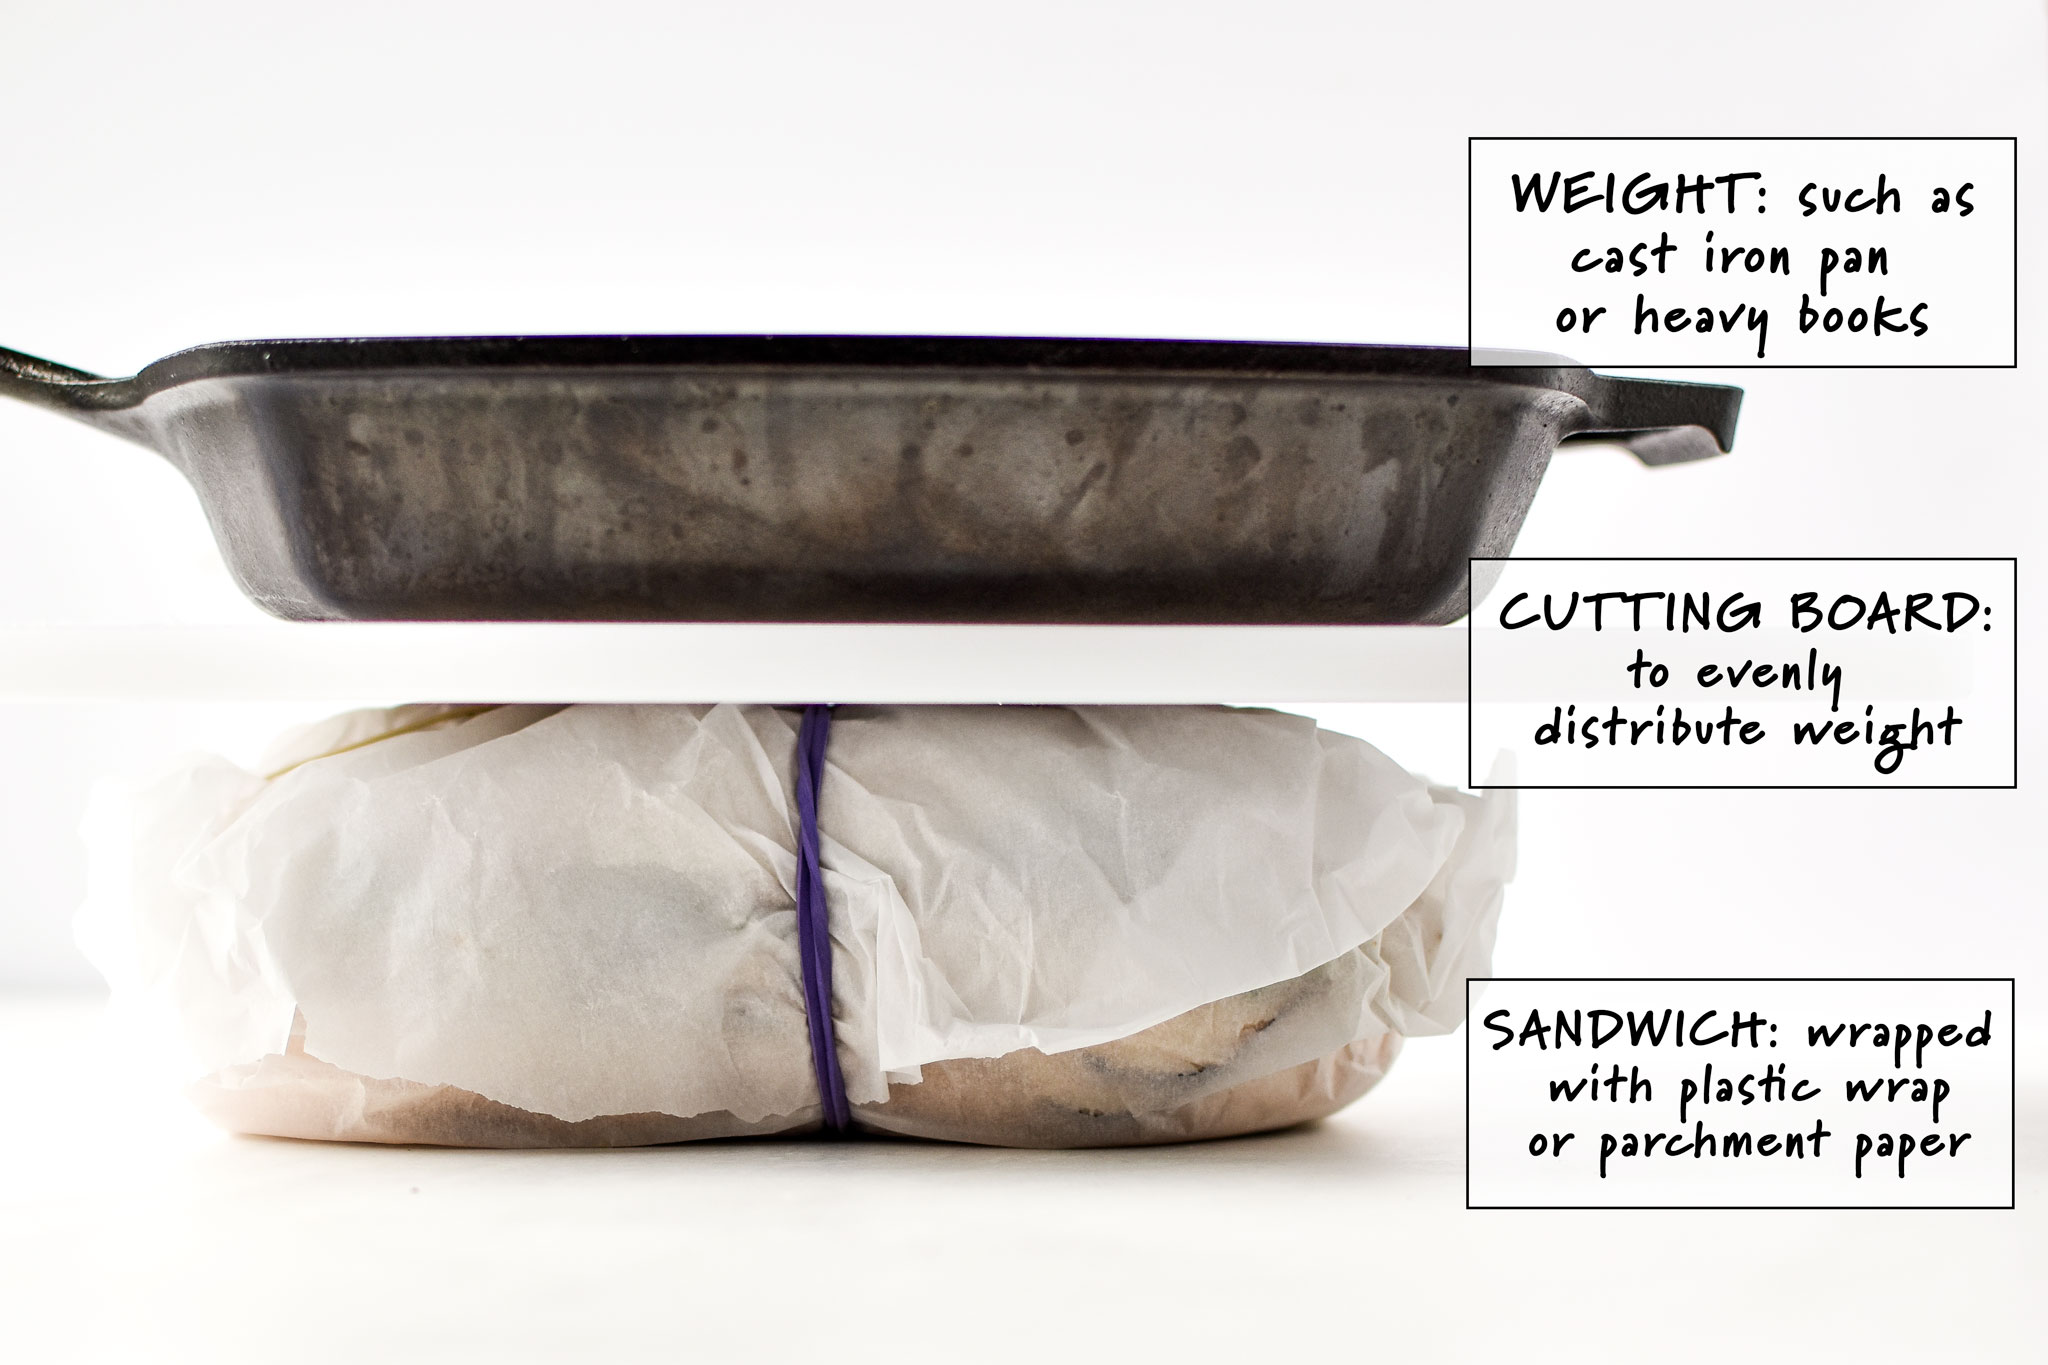
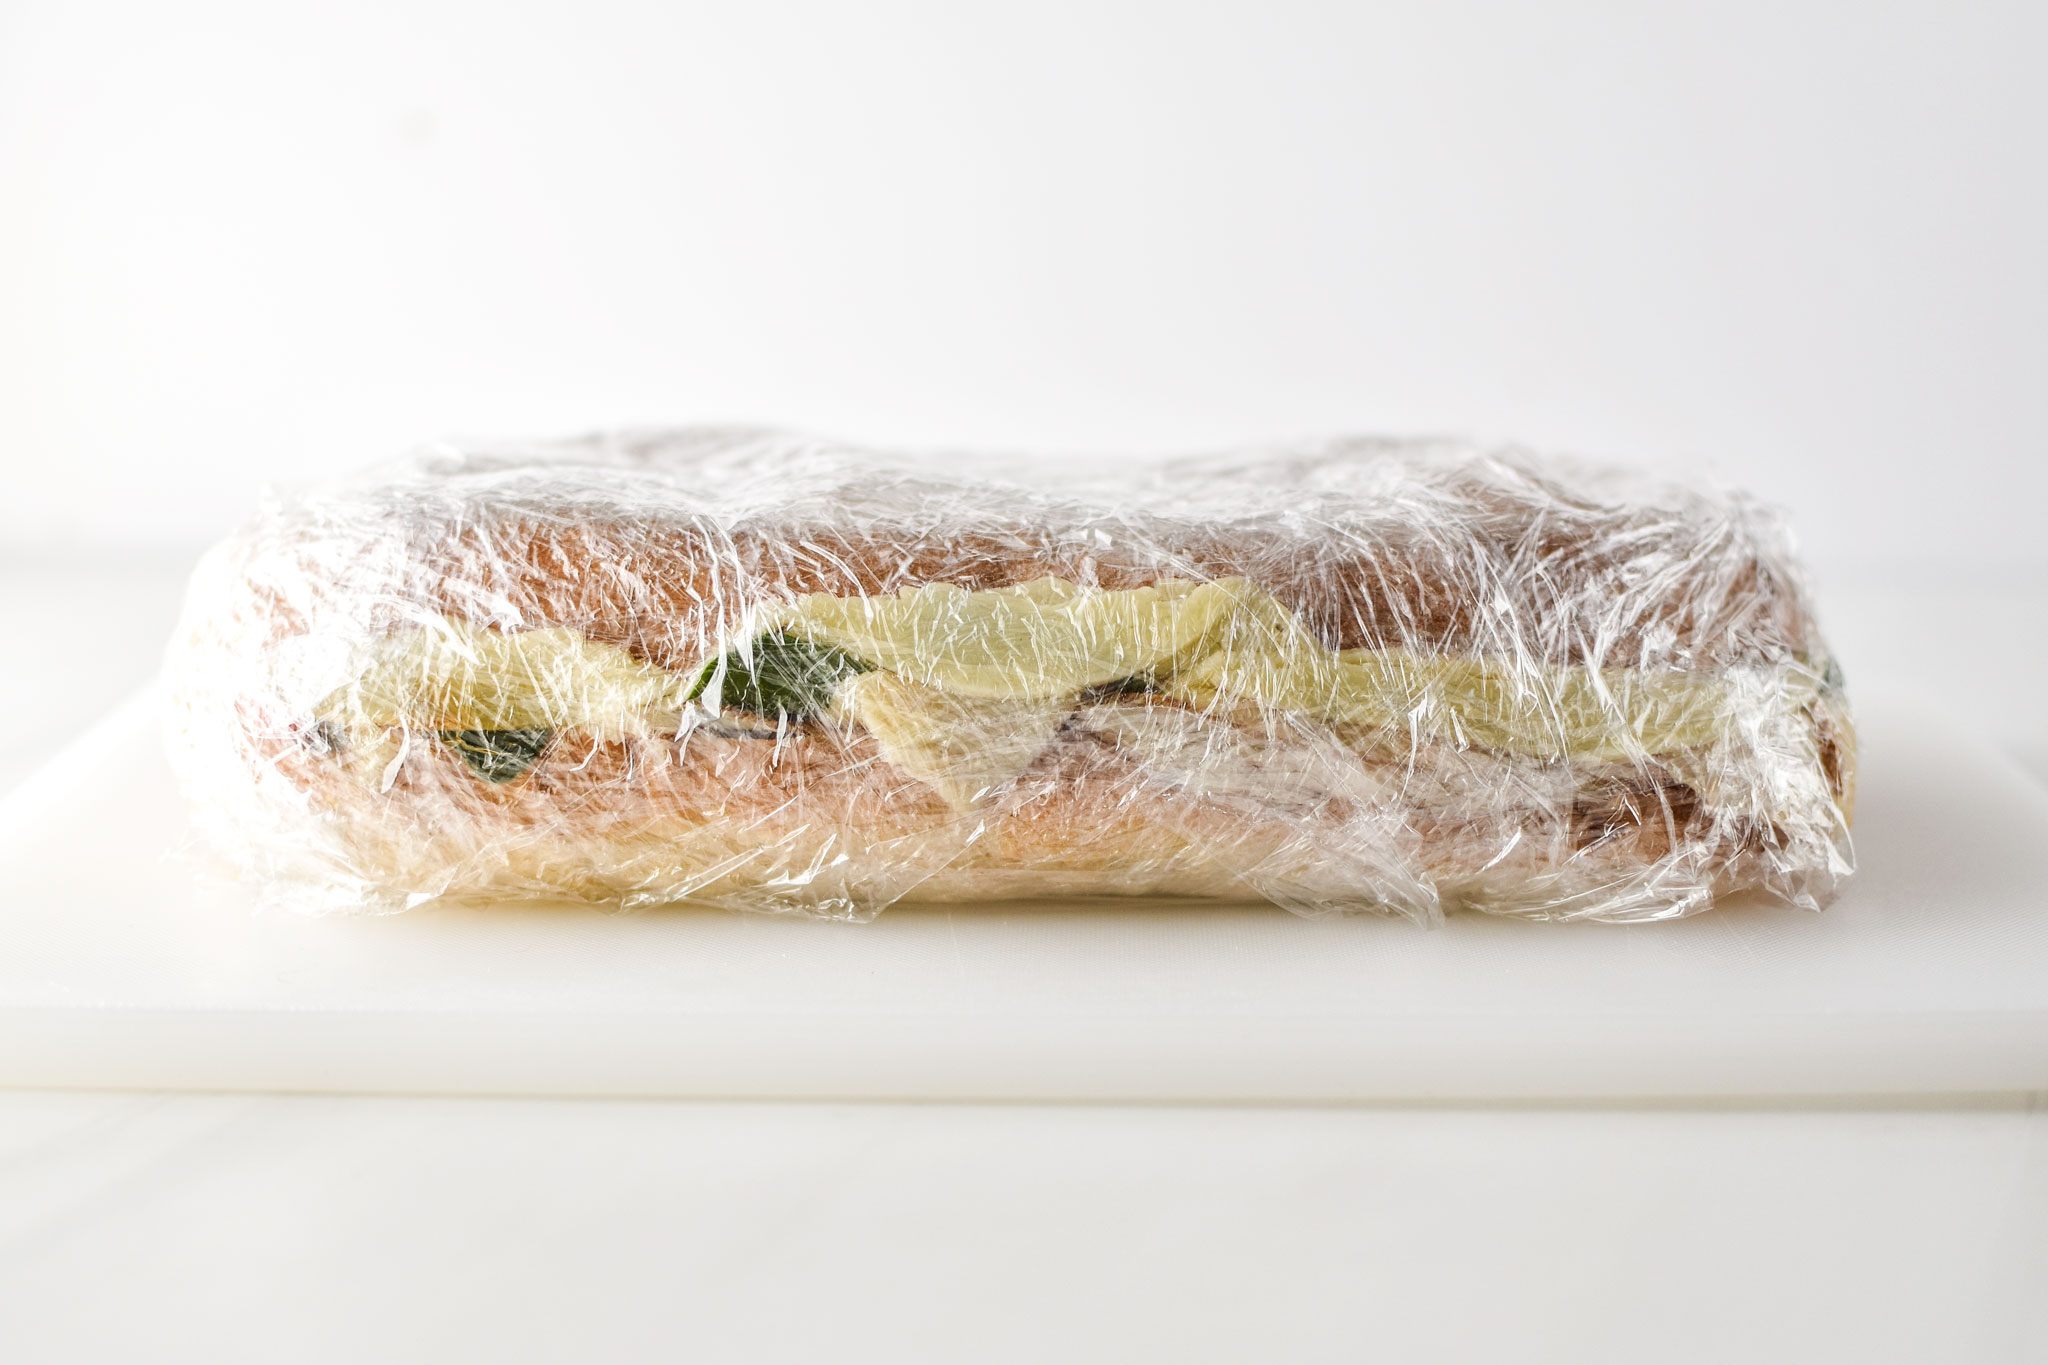
- Wrap the sandwich: I’ve personally tested plastic wrap, and parchment paper. The plastic wrap works great, but obviously uses plastic, and not just a little bit. When I did this, I reused the wrap for the individual sandwiches after I cut them. Parchment paper will also work, but you must secure it with rubber bands.
- Find a cutting board and a weight: This will help distribute the weight of the items you place on top. Find a cast iron pan, a brick, or some books to use as weight. Oh, and clear some space in your fridge!
- Press for 4 hours to overnight (12 hours): First, place the wrapped sandwich on a sturdy shelf in the fridge, then the cutting board, then the weight. I guess I should point out that you should do this safely and make sure your tower doesn’t fall out on your foot next time you open the fridge.
Wrap in parchment paper (and use rubber bands to secure) or plastic wrap. See my two different examples below!
How do you keep the overnight pressed sandwiches from getting soggy?
- Don’t press with wet or soggy toppings: Steer clear of ‘wet’ toppings like tomatoes and roasted red bell peppers when you press the sandwich. If you want these toppings, add them to the sandwich after you press, before you slice and serve.
- Don’t press for more than 12 hours: The sandwich just doesn’t need to be pressed longer than that. Things will start to soften once you hit 16-24 hours of pressing.
- Eat within two days: Fresher is going to be better! These sandwiches are no exception. They still taste good on days 2-3, but are not as fresh.
- Use thicker, denser bread: Soft, airy bread will just get even softer when you press it. Help ward off the sogginess by using a denser bread like ciabatta or focaccia.
How far in advance can I make the sandwiches?
I would eat these sandwiches within 2-3 days of making them, but preferably the day after making them. I would not freeze these sandwiches. If you’re making this monster sandwich just for yourself, make & press, then eat the first portion on the same day. The rest should be okay to eat over the next 3 days.
If you don’t want to make four sandwiches at a time, try making individual pressed sandwiches instead. You can purchase individual sandwich rolls in the bakery of most grocery stores. Apply 1 tablespoon pesto and 4 ounces sliced chicken breast on each sandwich.
How to make the overnight pressed sandwiches cost less:
When I made my very first overnight pressed sandwiches, it cost me a whopping $24 to create (including some roasted red bell peppers). WTF. I was actually shocked. Maybe it’s slightly cheaper than a gourmet restaurant lunch sandwich, but buying a sandwich like this from the store would probably cost $5-6 and probably be bigger. I didn’t feel like I saved any money at all.
To help me feel a little better, I thought about how I could make the sandwich cheaper next time. Here are a few things I realized that could lower the price of the sandwiches:
- Buy cheap bread: Don’t splurge for expensive bread. Try out the plain old artisan bakery loaves from the grocery store bakery.
- Buy pesto in bulk: Costco pesto is way cheaper than buying it at the regular grocery store. If you use pesto a lot, buying in bulk will save you some money.
- Add less cheese: I cut the amount of cheese I put on the sandwich in half from 8 to 4 pieces. We couldn’t even tell!
- Skip extra toppings: The roasted red bell peppers were expensive, so leaving those off the sandwich saves $4-5.
More make-ahead picnic lunch ideas:
- Lemon Poppyseed Couscous Arugula Salad
- 2-Ingredient Peanut Butter Cookie Balls
- Herbed Goat Cheese Rainbow Snack Boxes
Did you make this? I want to see how it turned out! Tag me in your social media post @projectmealplan and use #projectmealplan when you share!
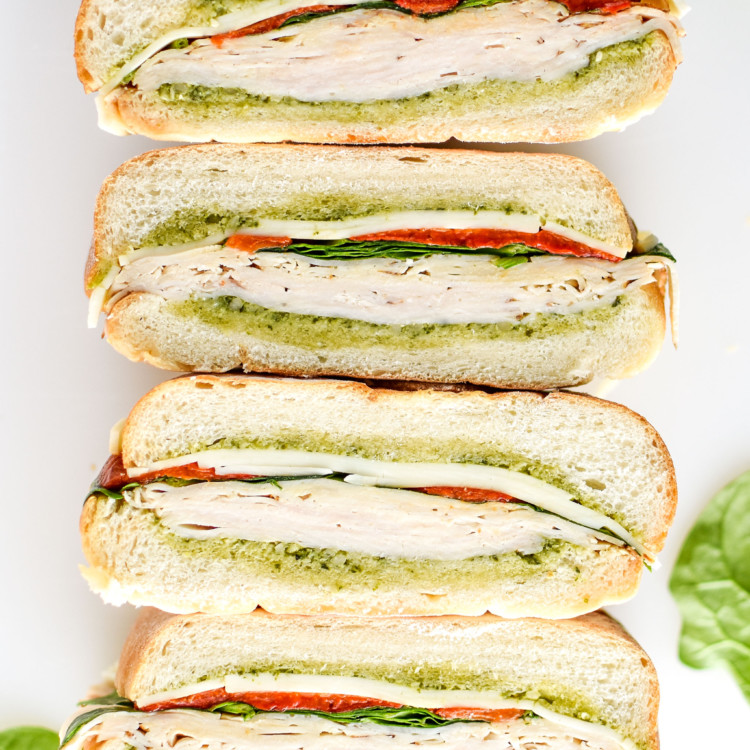
Pesto Chicken Overnight Pressed Sandwiches
These Pesto Chicken Overnight Pressed Sandwiches are filled with thin sliced chicken breast, spinach greens, provolone cheese, and flavored with traditional pesto – perfect to make-ahead for lunch, picnics, and warm weather.
Ingredients
- 1 hearty loaf of bread, about 16 oz., such as ciabatta, focaccia, or French, unsliced
- 1/4 cup traditional prepared basil pesto
- 1 pound thin/deli sliced chicken breast
- 1 handful spinach leaves
- 4–6 slices provolone cheese
- optional: additional toppings such as olives, roasted red peppers, red onions
Instructions
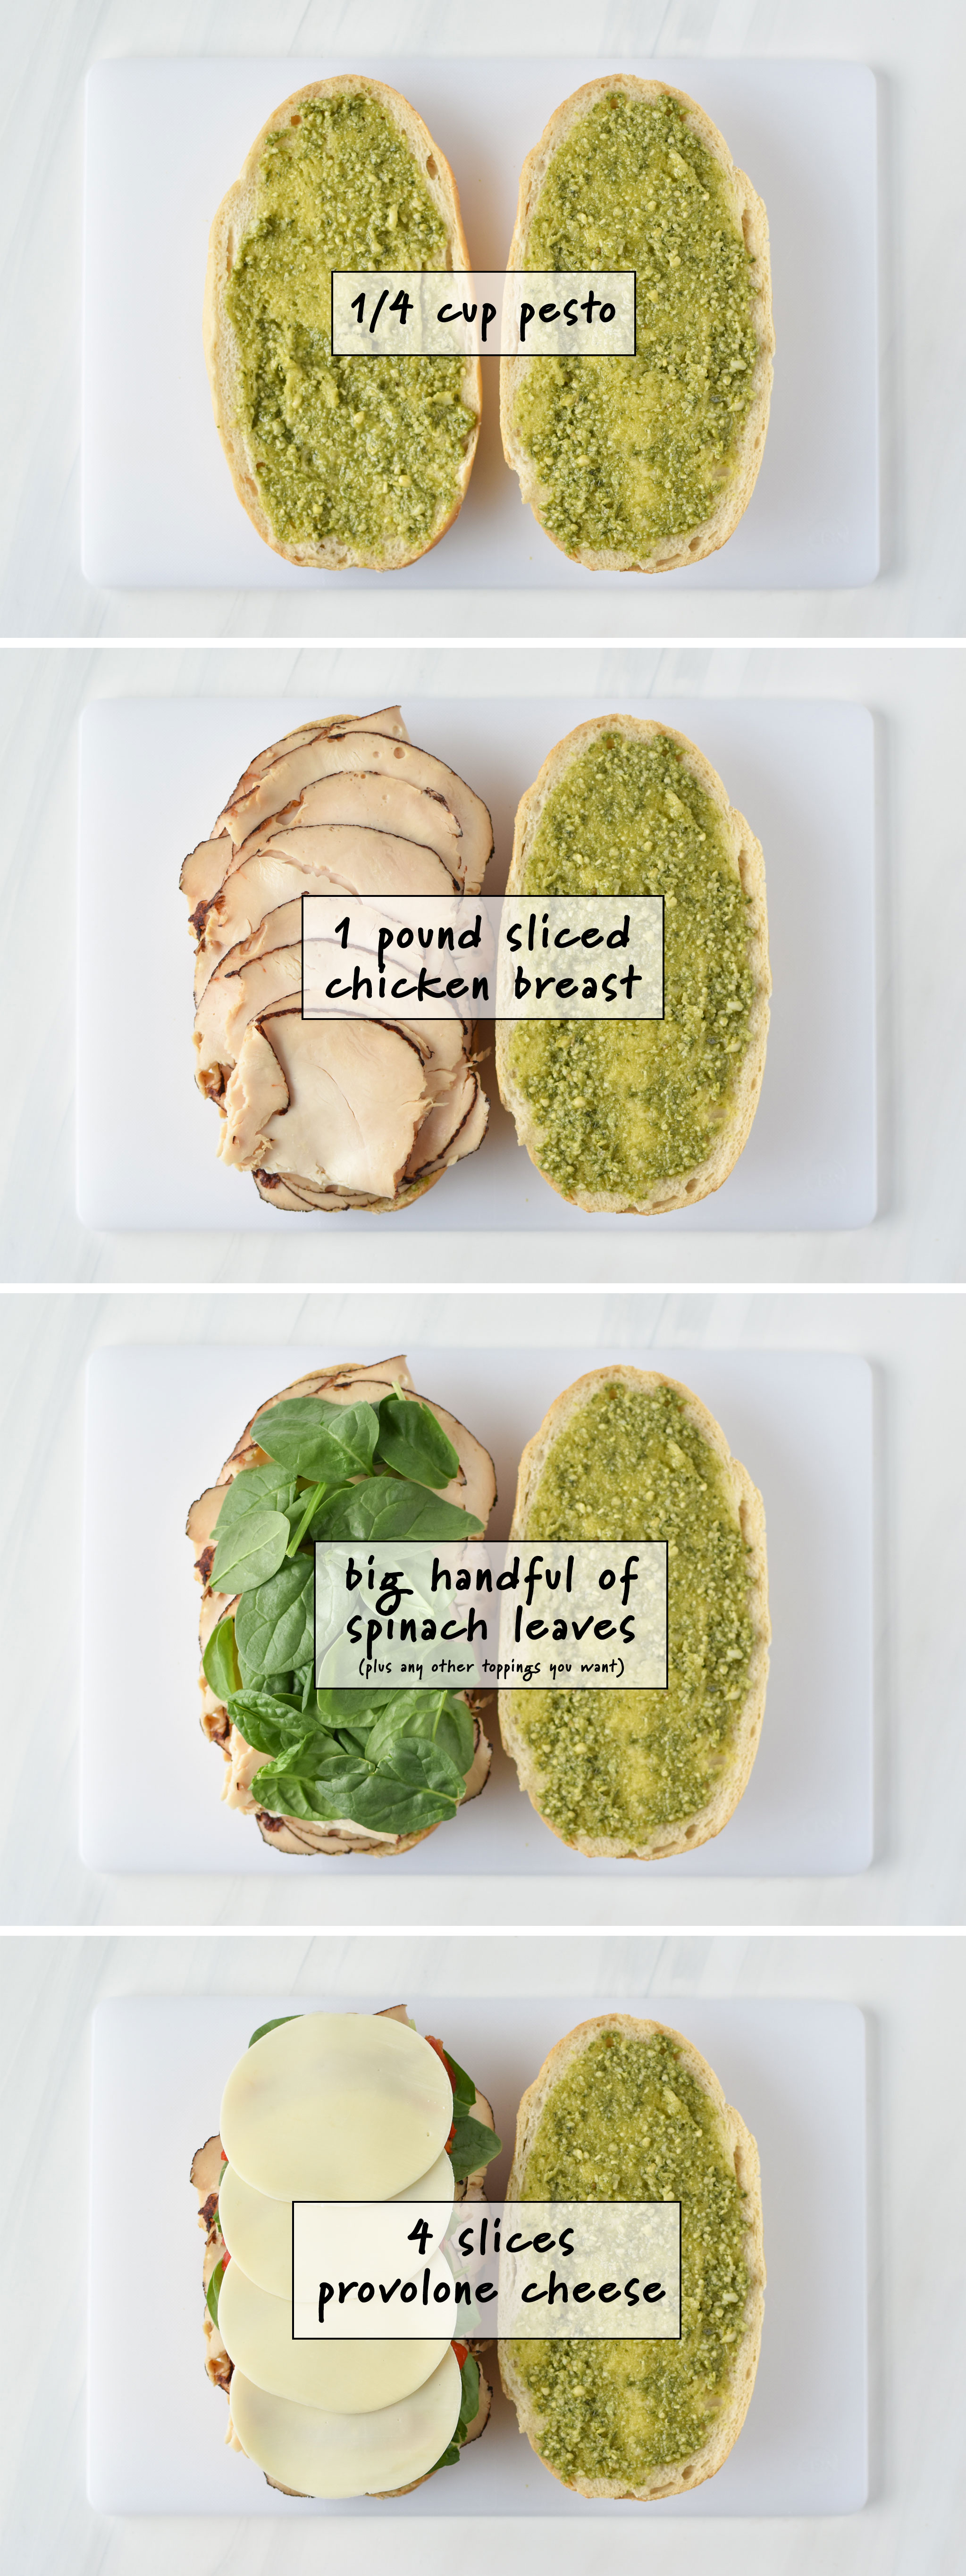
- Build the sandwich: Slice bread loaf in half horizontally. Spread half of the pesto (2 tablespoons) on each side of the bread loaf. Next, layer the sliced chicken on the bottom half of the loaf. Follow this with the spinach leaves, any optional toppings you like, and then the provolone cheese slices. Place the top of the loaf onto the sandwich. *Steer clear of ‘wet’ toppings – the juice will be pressed out and the bread will get soggy. Avoid these kinds ingredients or add them to the sandwich right before serving.
- Wrap the sandwich: Use plastic wrap or parchment paper and rubber bands to wrap the entire sandwich securely.
- Press the sandwich: Place the wrapped sandwich on a secure shelf in the fridge. Place a cutting board on top of the sandwich, and then place a heavy weight on the cutting board (helps distribute the weight). You can use a cast iron pan, a brick, books, or anything else you can find. Press for at least 4 hours, up to overnight (12 hours).
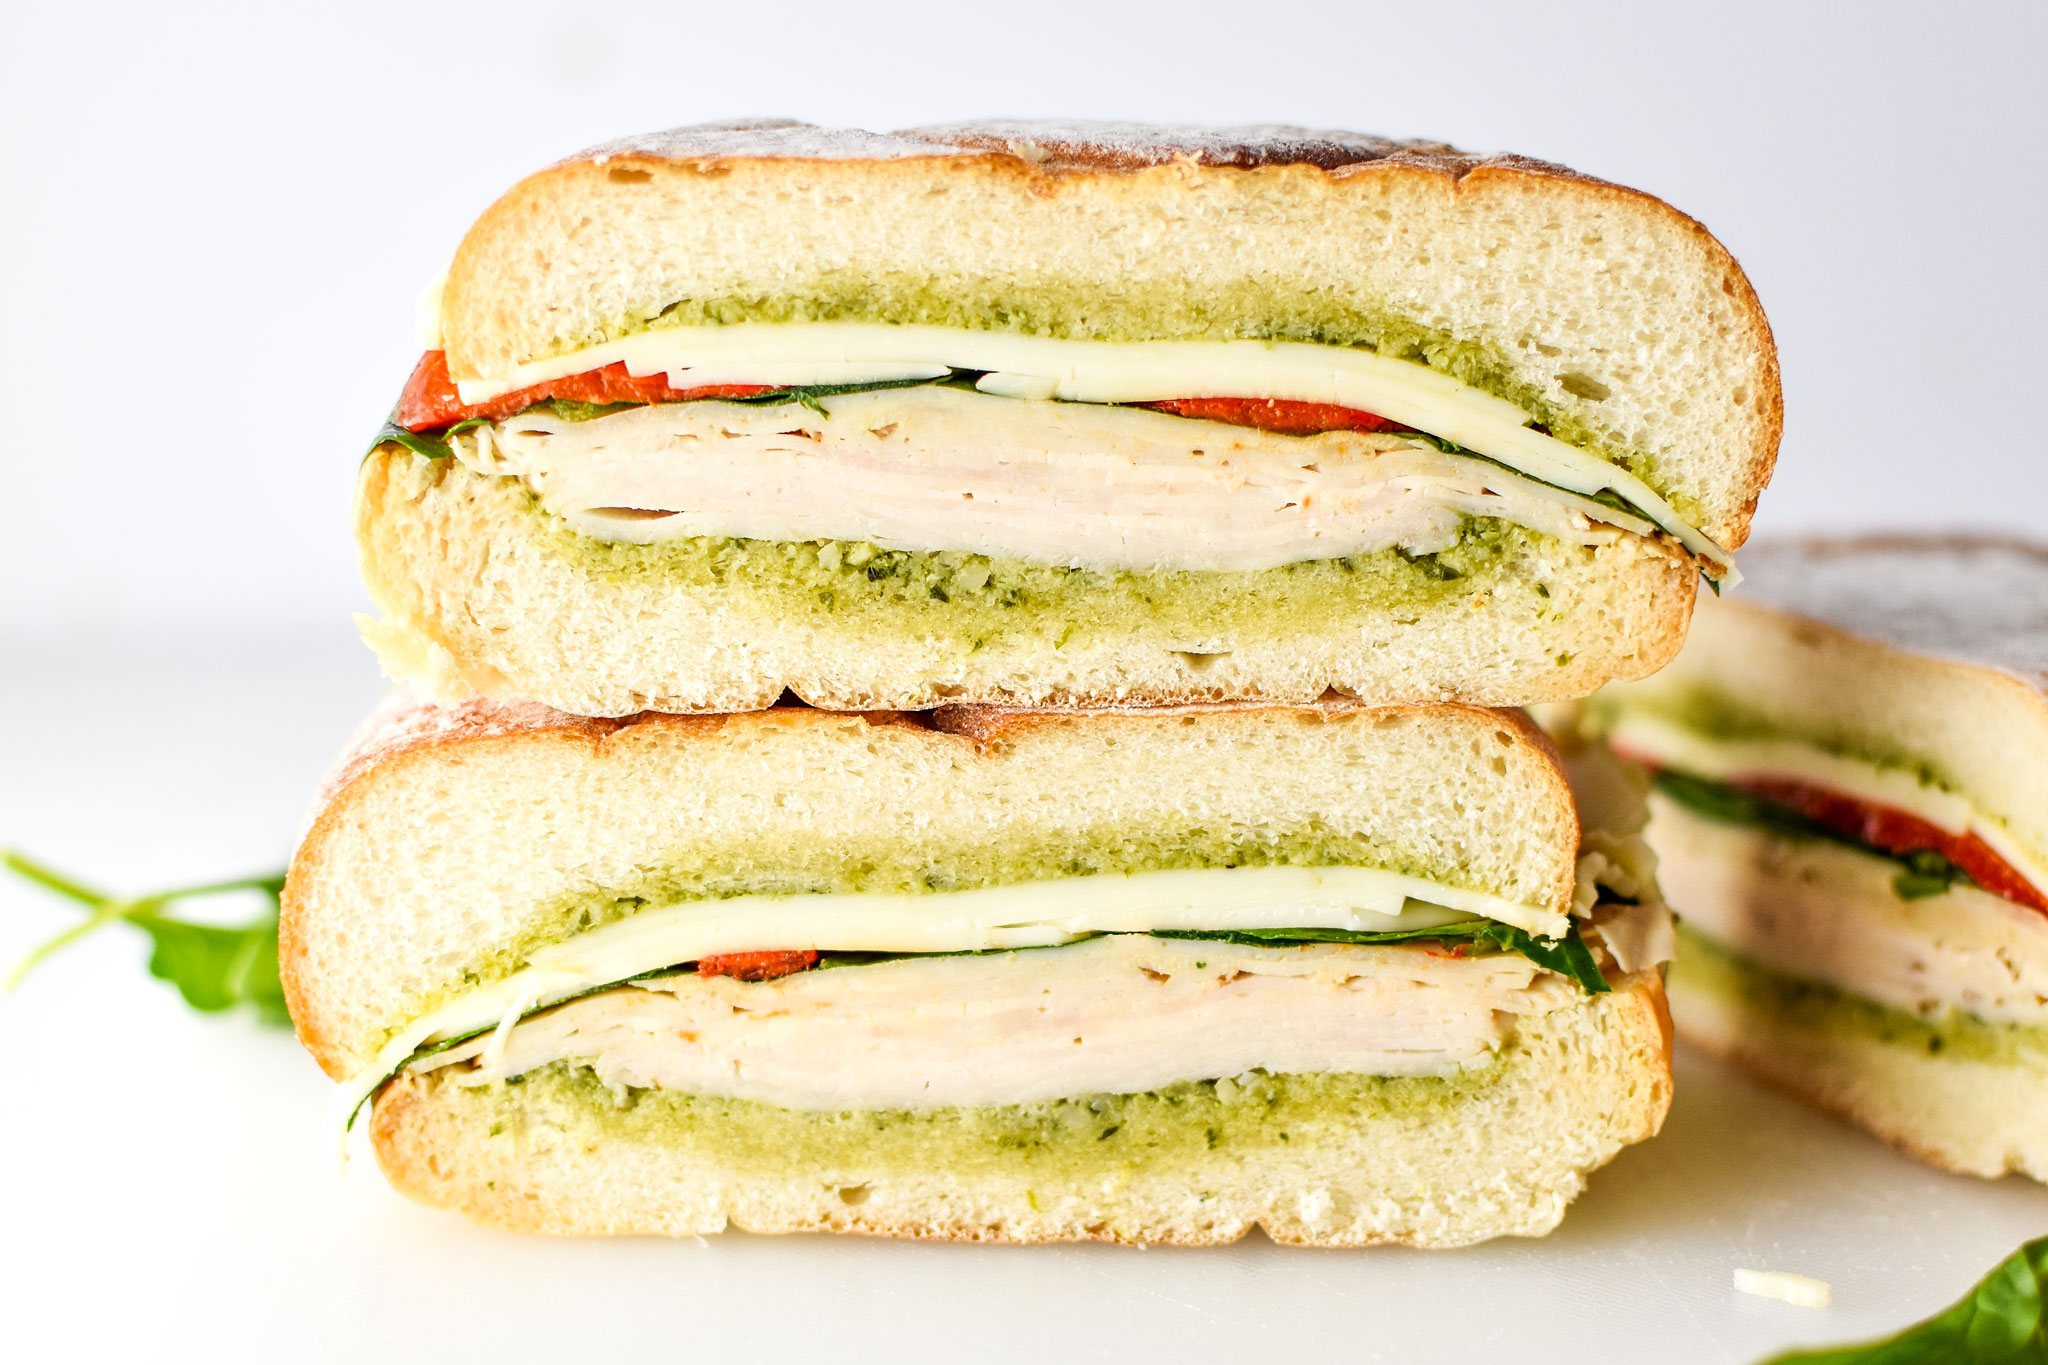
- Serve the sandwich: Once the sandwich is pressed, slice vertically into 4-6 individual sandwiches. Serve immediately or wrap up the sandwiches and save for a to-go or picnic lunch. Refrigerate and enjoy within 2-3 days.
Notes
Bread recommendations: Use a large, unsliced bakery loaf of bread, such as ciabatta or focaccia, or any hearty French loaves you can find (12-16 ounces; preferably about 12 inches long). It’s important to use a flatter loaf with a more dense crumb, rather than a light, airy loaf. I would not recommend using par-baked or “bake at home” loaves that are meant to be served warm.
If you don’t want to make four sandwiches at a time with a large loaf, try making individual pressed sandwiches instead. You can purchase individual sandwich rolls in the bakery of most grocery stores. Apply 1 tablespoon pesto and 4 ounces sliced chicken breast to each sandwich.
Inspired by Pressed Broccoli Rabe & Mozzarella Sandwiches from Now & Again by Julia Turshen (affiliate link). Nutrition information estimated with MyFitnessPal.
Nutrition Information
- Serving Size: 1/4 of loaf
- Calories: 549
- Sugar: 3g
- Fat: 17g
- Carbohydrates: 52g
- Protein: 40g
I want to see what you made! Share your version of these Pesto Chicken Overnight Pressed Sandwiches with me on social media by tagging @projectmealplan or using the hashtag #projectmealplan. I’ll be able to find your creation that way!


Julie says
Awesome for fat on the boat
Connor says
This is really good. I used a couple french bread loaves and also threw the oiled sundried tomatoes in there.
One recommendation I have is to get the spinach/arugula mix. The arugula adds great flavor to this one.