This post may contain affiliate links. Please read our disclosure policy.
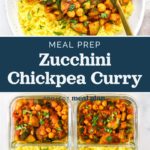
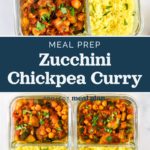
If you’re looking for more vegetarian meal prep ideas, this Indian-inspired Zucchini Chickpea Curry Meal Prep recipe will hit the spot. This make-ahead lunch is easy to cook, loaded with incredible flavors and freezer-friendly!
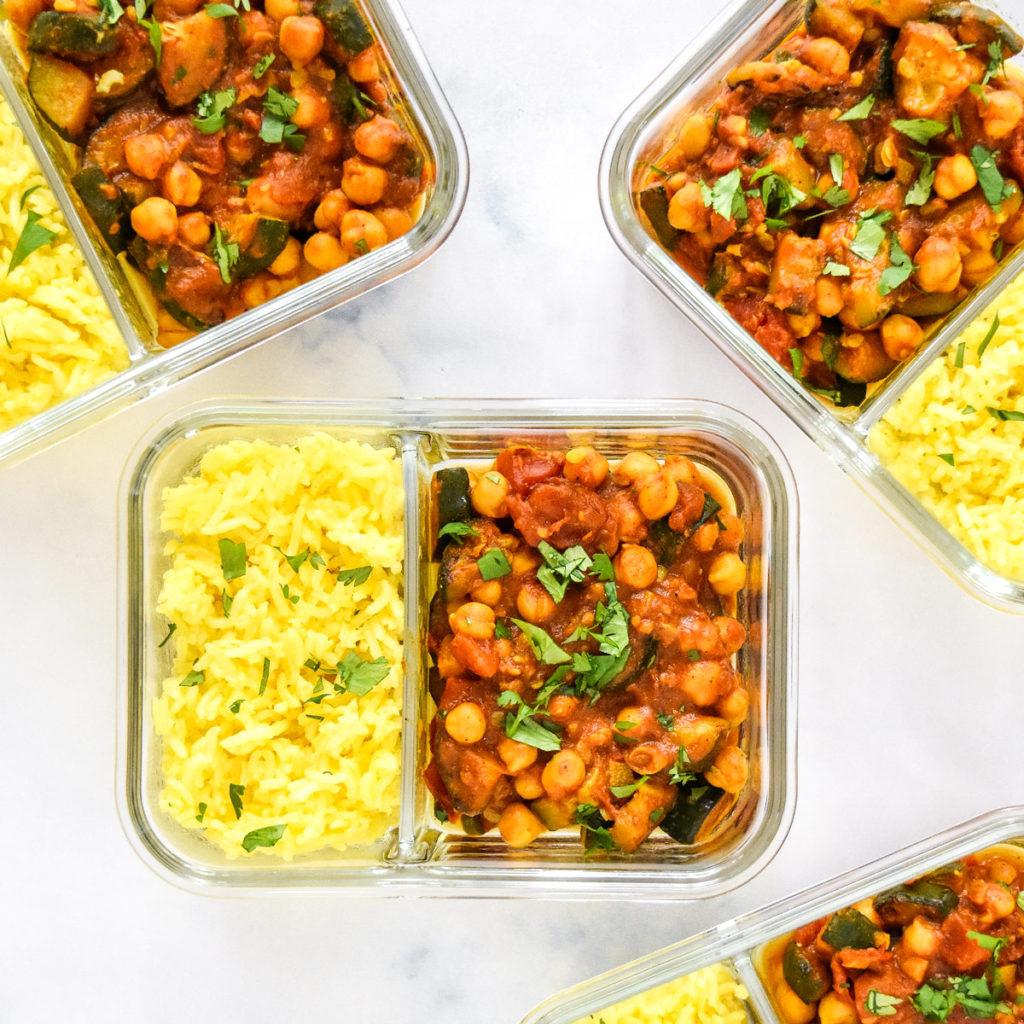
Try these authentic recipes for zucchini chickpea curry and turmeric rice:
- Indian Restaurant Style Pilau Rice from Glebe Kitchen
- Indian Zucchini Curry from Piping Hot Curry
- Chickpea Curry Recipe from Swasthi’s Recipes
Recipe Overview
Total Time: 1 hour
Difficulty: Easy
Method: Stovetop
Prep: Make-Ahead Friendly
What are the ingredients in this Zucchini Chickpea Curry Meal Prep?
To make this recipe, you’ll need a few different spices common to Indian cuisine. While not necessarily common to most kitchens in the US, these were all available at my local grocery store. Most spices last a long time, so you’ll have time to cook more recipes with them.
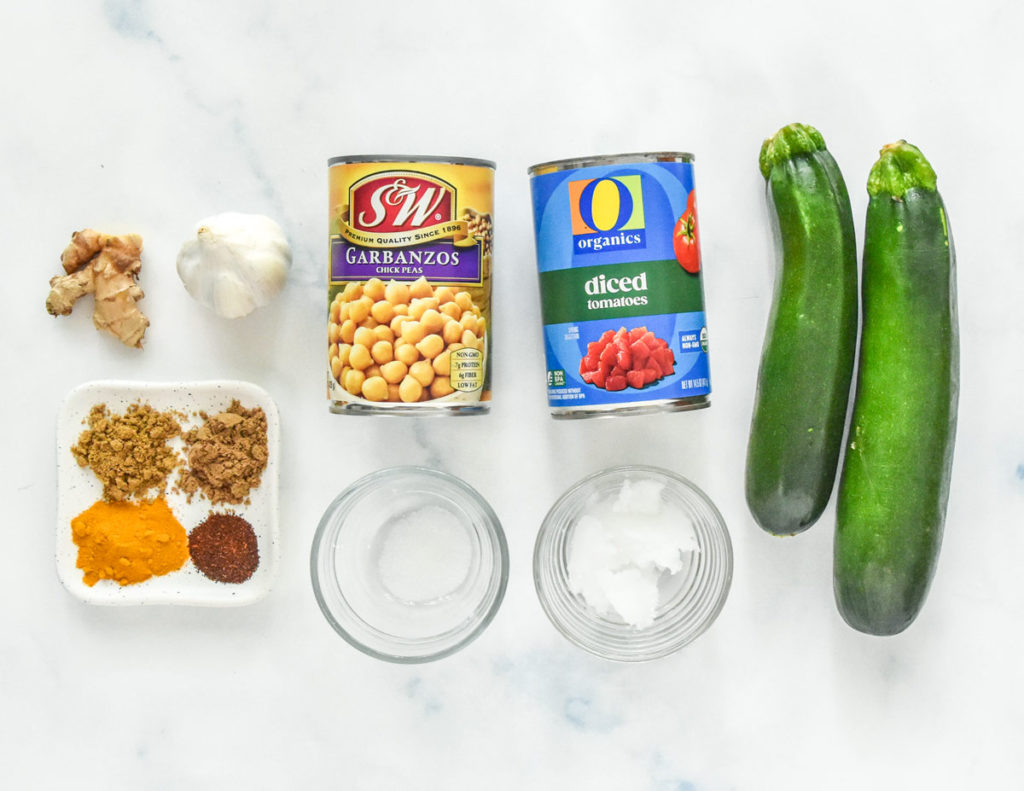
When these spices are simmered with some common produce and canned goods, a simple but delicious curry comes together. Here are the ingredients I used for the curry and the rice:
- coconut oil – When used for cooking, coconut oil provides a subtle but noticeable flavor. It has a smoke point of about 350F, which makes it work well for quick sauteing like in this recipe with the zucchini and flavoring the rice.
- zucchini – This is the star of the recipe, and honestly the perfect use of two large, freshly harvested, late Summer zucchini. This method of frying the zucchini gives you a lovely browned exterior without getting soggy.
- garlic & ginger – You’ll find these ingredients in a lot of my recipes but they’re especially important here! These aromatics give incredible flavor to the rest of the vegetables in the curry. While you should always buy fresh ginger (it’s pretty inexpensive!), ground will work here in a pinch.
- ground cumin, coriander, turmeric, & chili powder – These are the ground spices that flavor the curry. I recommend setting them out ahead of time so you don’t have to spend time measuring them all out while the curry is cooking.
- chickpeas – Also known as garbanzo beans. One can is the perfect amount for this recipe. No need to rinse either.
- tomatoes – Another whole can (love when that works in a recipe) of diced tomatoes is the perfect amount. You could even go for fire-roasted if you’re feeling adventurous.
- sugar – One little pinch of sugar works wonders to balance all the savory flavors, acid from the tomatoes, and salt. Don’t skip!
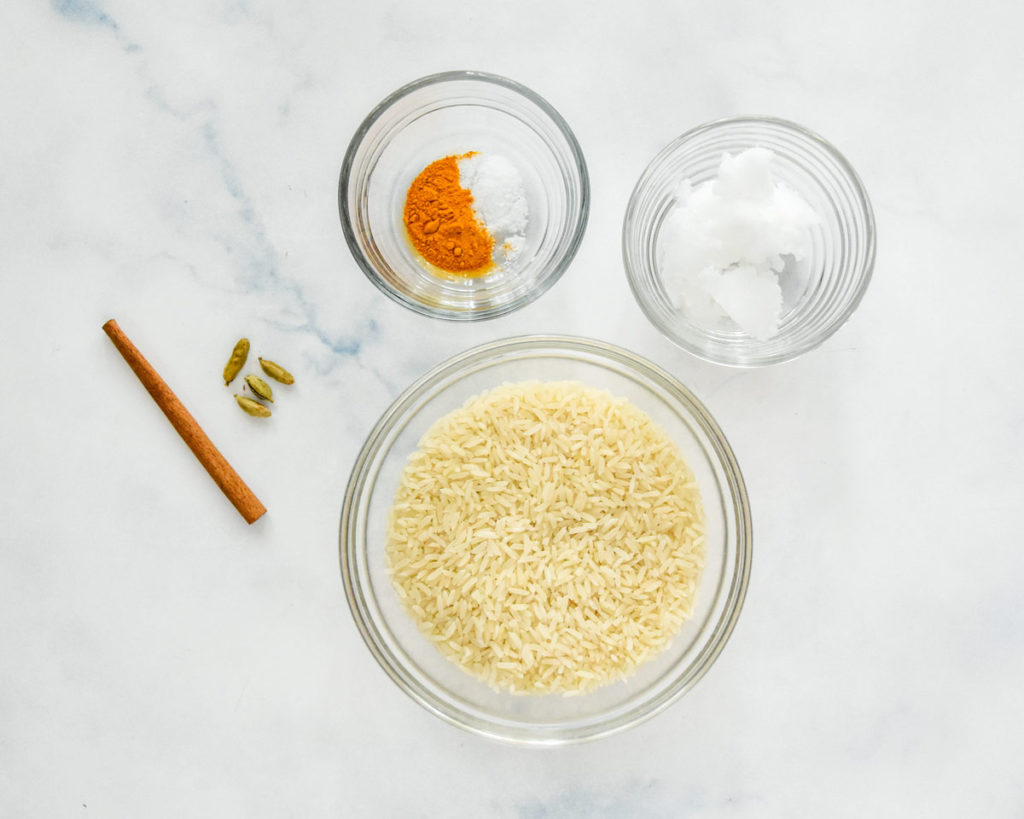
- basmati rice – This is the most traditional for the theme of this recipe, but if you have a favorite method or alternative you prefer, go for it. However, for this rice cooking method, stick with only jasmine or basmati.
- ground turmeric – I’m listing this again because it’s going in the rice too! It’s responsible for the beautiful yellow color, and gives the rice an delightful earthy yet slightly sweet flavor.
- salt – Seasoning with salt enhances the flavors of everything else, so be sure to give it a taste and add more if you think it could be a bit more flavorful. That should always be your first step!`
- optional ingredients – Each of these ingredients is optional, as the recipe still tastes delicious without them, but they enhance flavors or heat in various ways worth recommending: green chili (optional for heat), broth or coconut milk (optional to make it more saucy), cinnamon stick & cardamom pods (optional to enhance flavor of rice)
Equipment you’ll need to make this Zucchini Chickpea Curry:
No special equipment is needed besides a large cooking pot for the curry and a smaller pot for rice. A couple different utensils and quality meal prep containers can help too. Here are my recommendations:
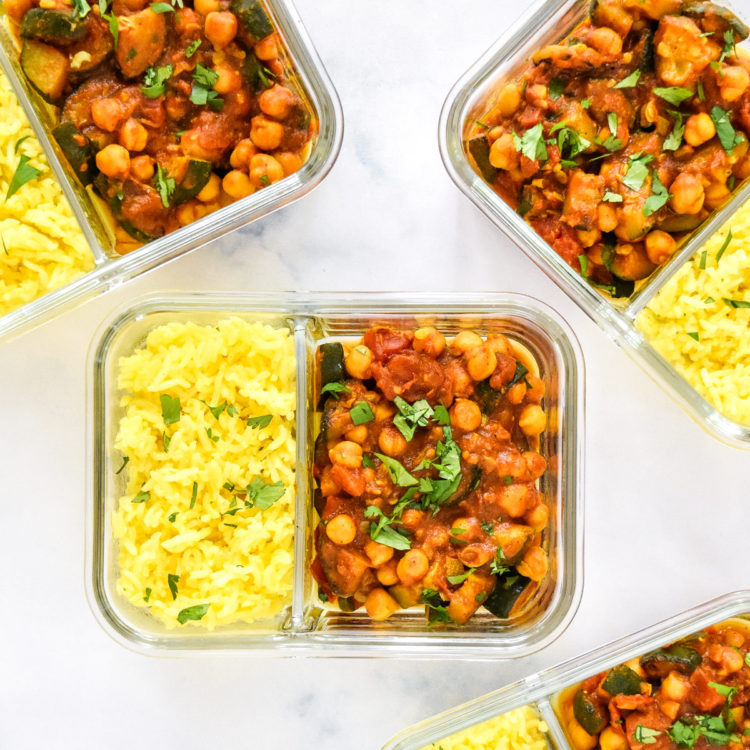
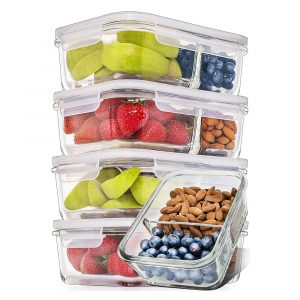
- containers – For this meal, I used my 2 Compartment Glass Meal Prep Containers made by Prep Naturals.
- silicone tongs – Tongs are always useful, but even more useful are these OXO 9-Inch Silicone Head Tongs (affiliate link!). They don’t scratch your delicate surfaces like a Dutch oven or non-stick pans.
How to make the Zucchini Chickpea Curry:
You’ll be shocked at how easily this Zucchini Chickpea Curry comes together for the amount of flavor it packs. There are three mains steps to cooking this curry all in one pan. I definitely recommend having your cans opened and your spices measuring before starting!
Begin by heating the coconut oil in a large saucepan or cooking pot over medium-high heat. Once the oil is melted and shimmering, add only half of the chopped zucchini and a good pinch of kosher salt. Cooking the zucchini in two separate batches helps keep the pan from bring overcrowded. Each batch will brown more quickly, and be less likely to get soggy.
Cook for 5-10 minutes, flipping the pieces halfway through, until the zucchini pieces have taken on some browning but are still a bit firm. How long this takes will depend on the size of your pan, how much liquid is in your zucchini, and the size of the pieces.
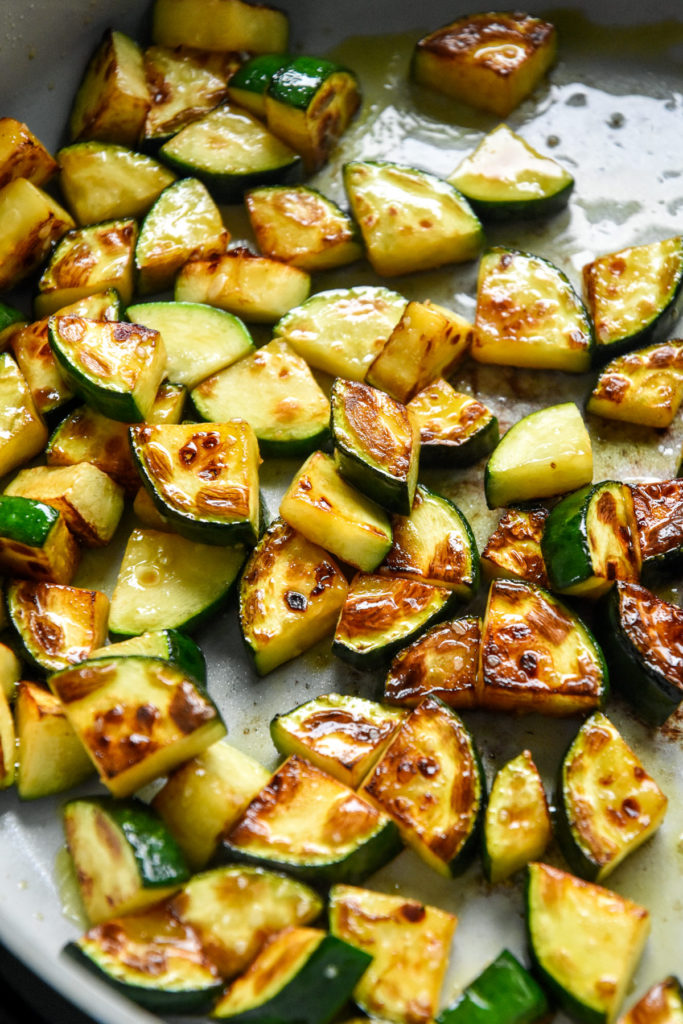
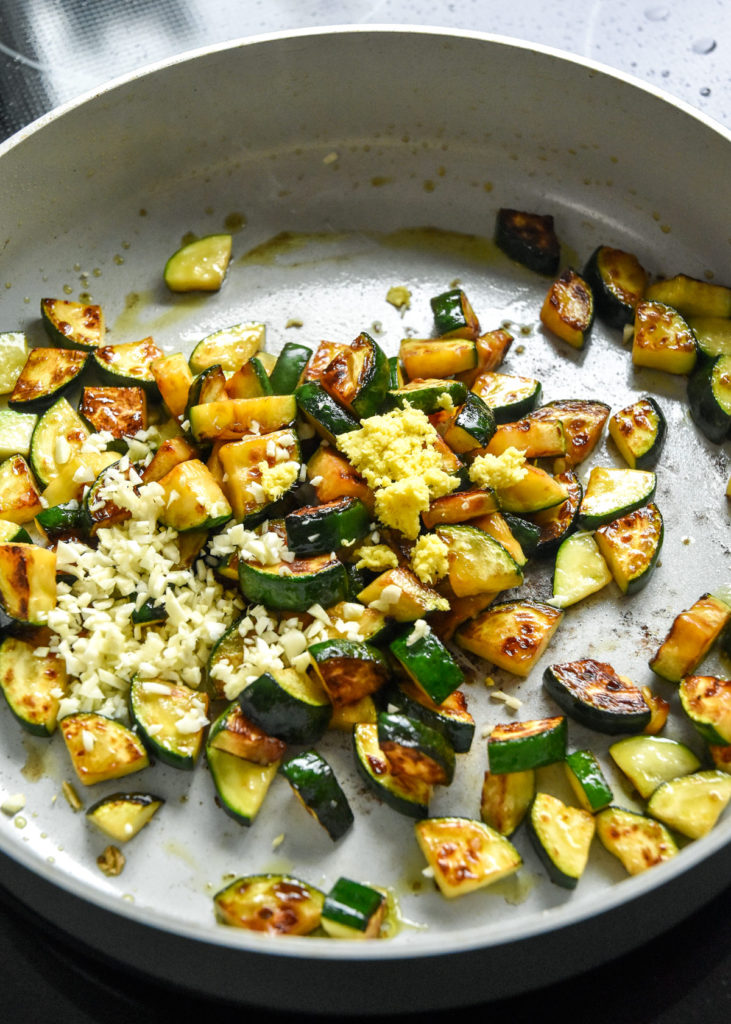
Remove the zucchini from the pan with a slotted spoon and set aside in a small bowl. Repeat with the remaining cooking oil and zucchini. This second batch will probably brown faster than the first batch.
Next, return the reserved zucchini to the pot and lower the heat to medium. Stir in the minced garlic, ginger and the halved green chili if you’re using it (with or without seeds) for extra heat. Cook for a minute or two until you can easily smell the ginger and garlic, then add the spices. Stir and cook for a minute more.
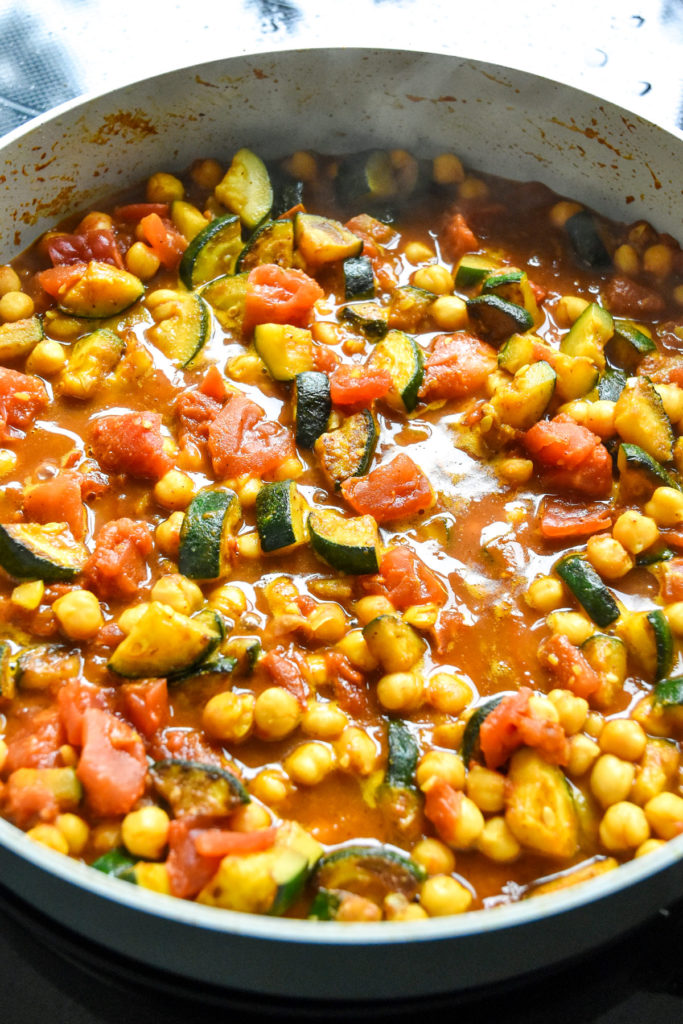
Add the drained chickpeas, canned tomatoes and a generous pinch of sugar, then stir everything together. Once the mixture is bubbling, reduce the heat to low and simmer, uncovered for 10 minutes. If it appears dry or if you prefer a saucier curry, stir in 1/4 to 1/2 cup broth or coconut milk.
Once the curry is done, give it a taste to see if you want to add more salt. You could also fresh ground black pepper if you prefer. Keep it warm on the burner if you’re planning on serving immediately, or remove it from the heat to cool so it can be packed up for meal prep.
How to make the Turmeric Rice:
While the curry is simmering, you can start making the rice at the same time. Begin by rinsing it in a fine mesh sieve under the cold tap until the runoff liquid turns clear, then set it aside to drain for a couple minutes.
As the rice sits and drains, heat the coconut oil over a medium heat in a small saucepan with a tight fitting lid. Add the cinnamon stick and cardamom pods if you’re using them, and cook for a few minutes until aromatic and bubbling in the oil. Stir in the rinsed and drained rice along with the salt and the turmeric.
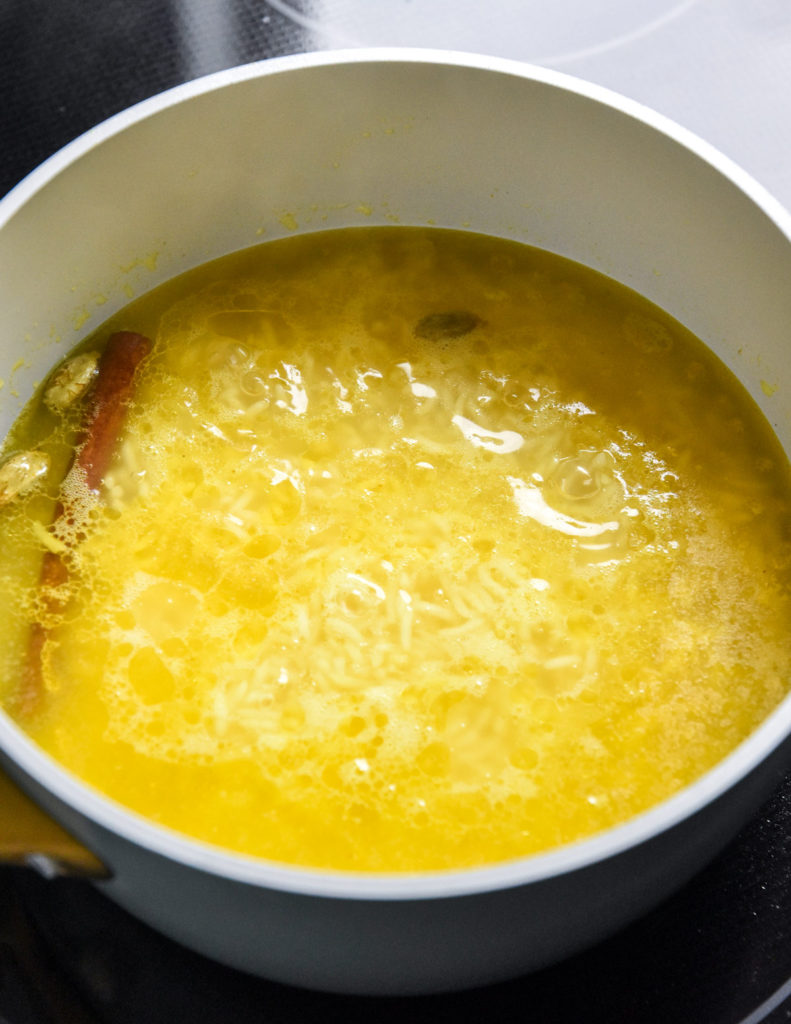
The rice will turn yellow as the spices are mixed in. This is what you want! Add 2 cups of cold water to the pan, stir, and turn the heat up to high. Bring the water to the boil and allow it to bubble away until the level of the water reaches the exact same level as the rice.
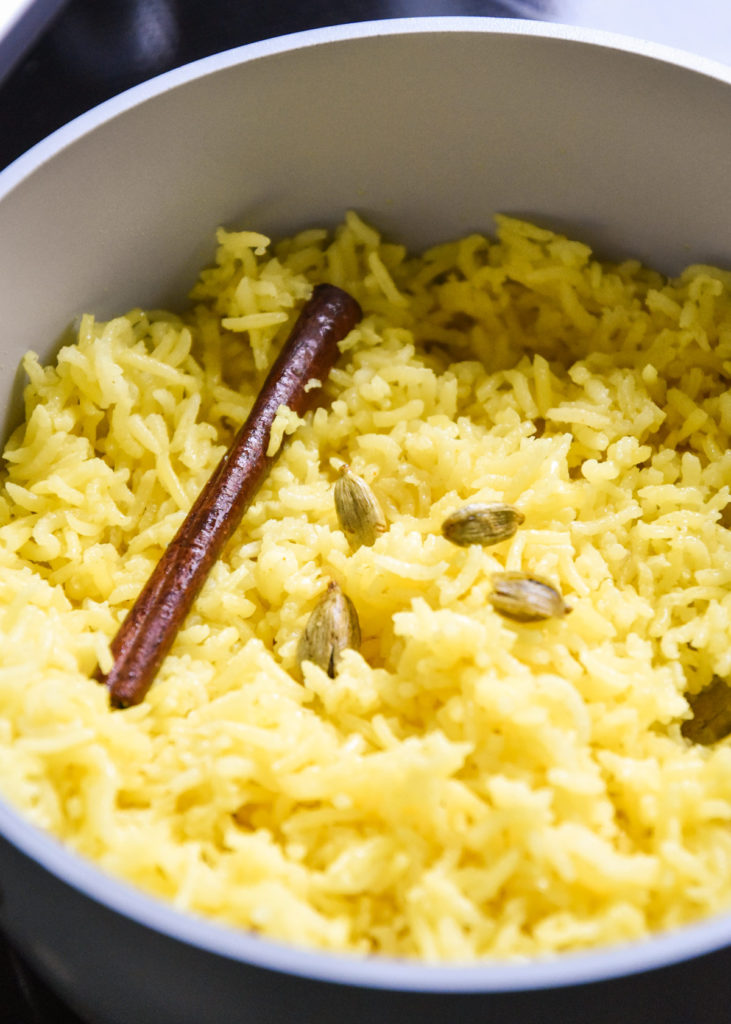
Put on the lid, and reduce the heat to low. Allow the rice to cook for a further 8 minutes, before removing the pan from the heat, but don’t open the lid yet. Allow it to rest for another 8 minutes before removing the lid. Pick out the cinnamon stick and cardamom pods, then fluff it up with a fork.
What to serve with this Zucchini Chickpea Curry Meal Prep:
This curry is delicious with the turmeric rice alone, but if you’re serving it immediately, chopped cilantro sprinkled over the top would be a delicious addition.
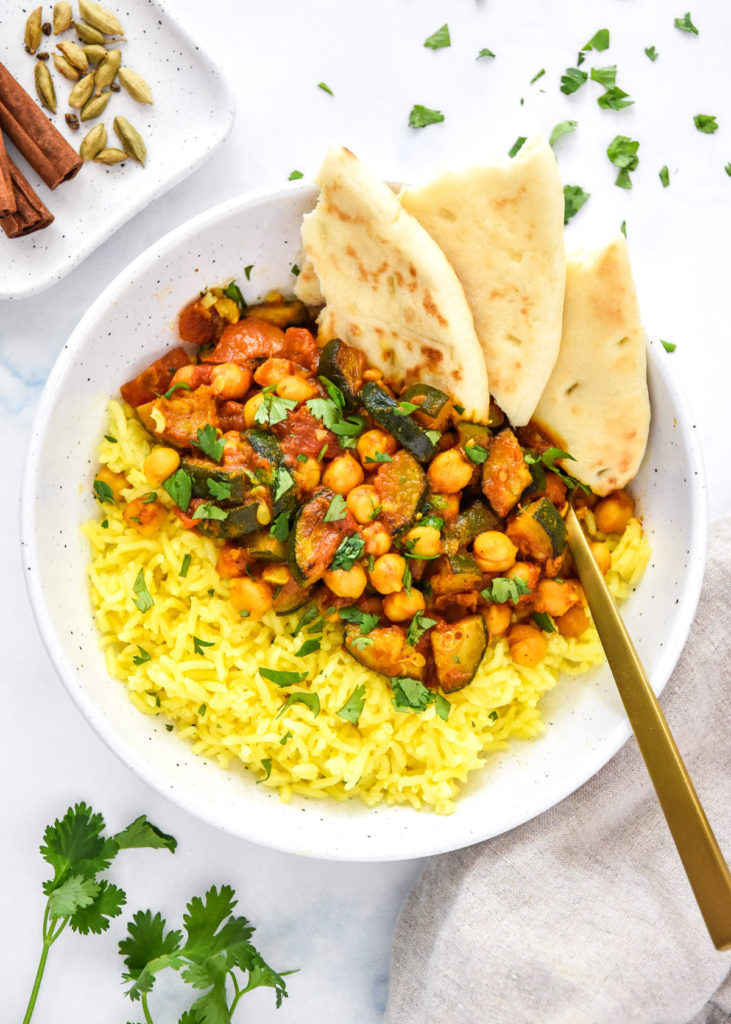
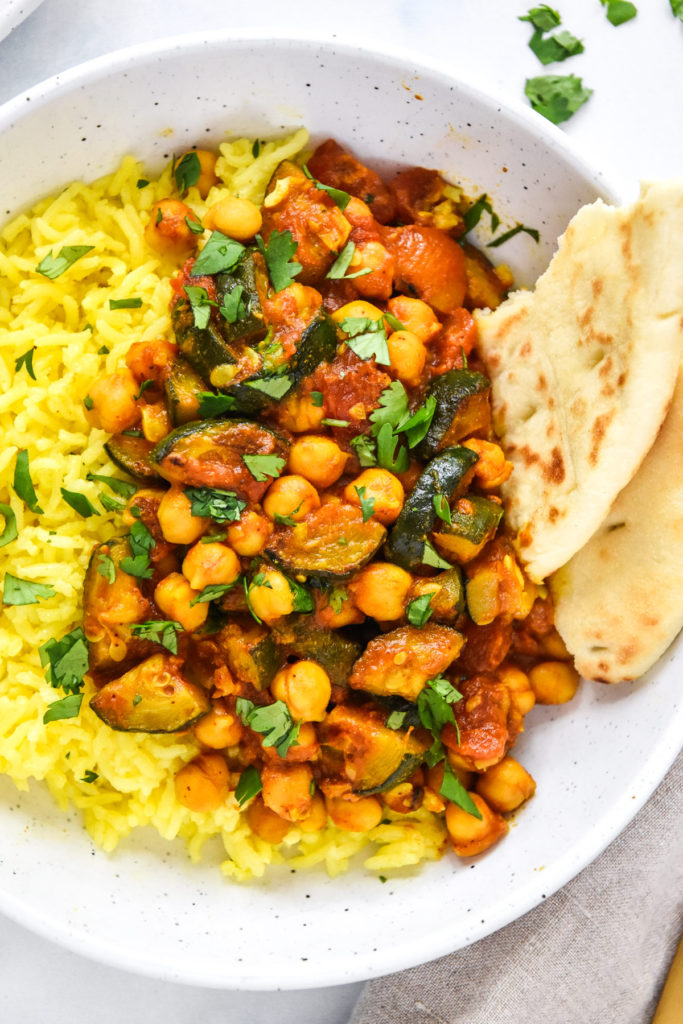
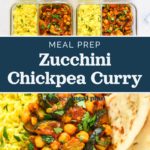
This cucumber raita (made with coconut yogurt if you want to keep things vegan) would also go well with this for dinner or meal prep, but the sure to keep it in a separate container from the prepped meals. I also love eating this with some warmed naan as pictured below!
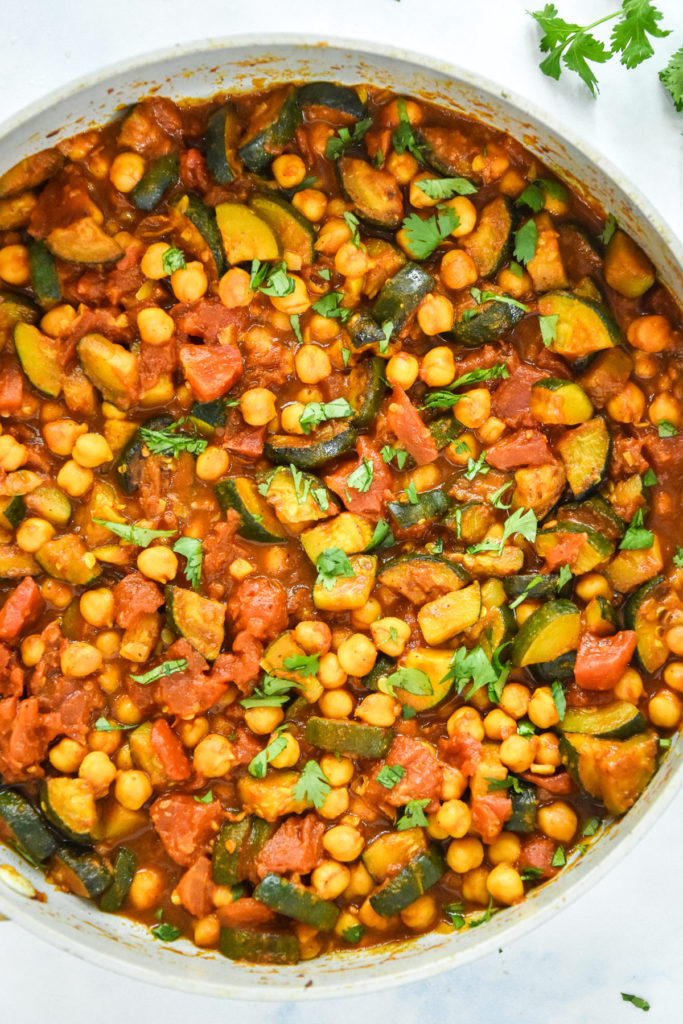
Best tips for making this Zucchini Chickpea Curry Meal Prep:
Here are my best tips for making these Zucchini Chickpea Curry Meal Prep bowls:
- Add more liquid if you want more sauce. I would recommend adding extra about 1/4-1/2 cup of broth or coconut milk if you want a little more sauce with each portion.
- Brown the zucchini in two batches, even though it takes a little longer. It makes a difference to not overcrowd the pan! We don’t want soggy zucchini.
- Have a timer handy while you cook. It may be obvious, but it’s worth mentioning. Timers are super useful in the kitchen, especially when it comes to cooking grains. Be sure to use that time when you make the rice.
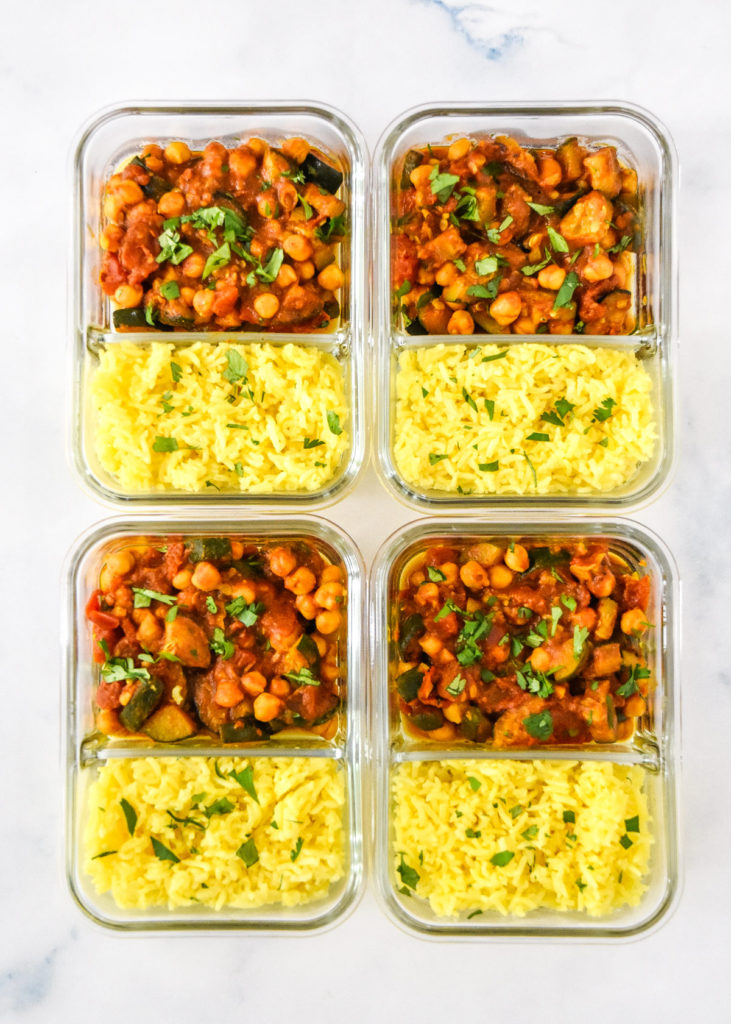
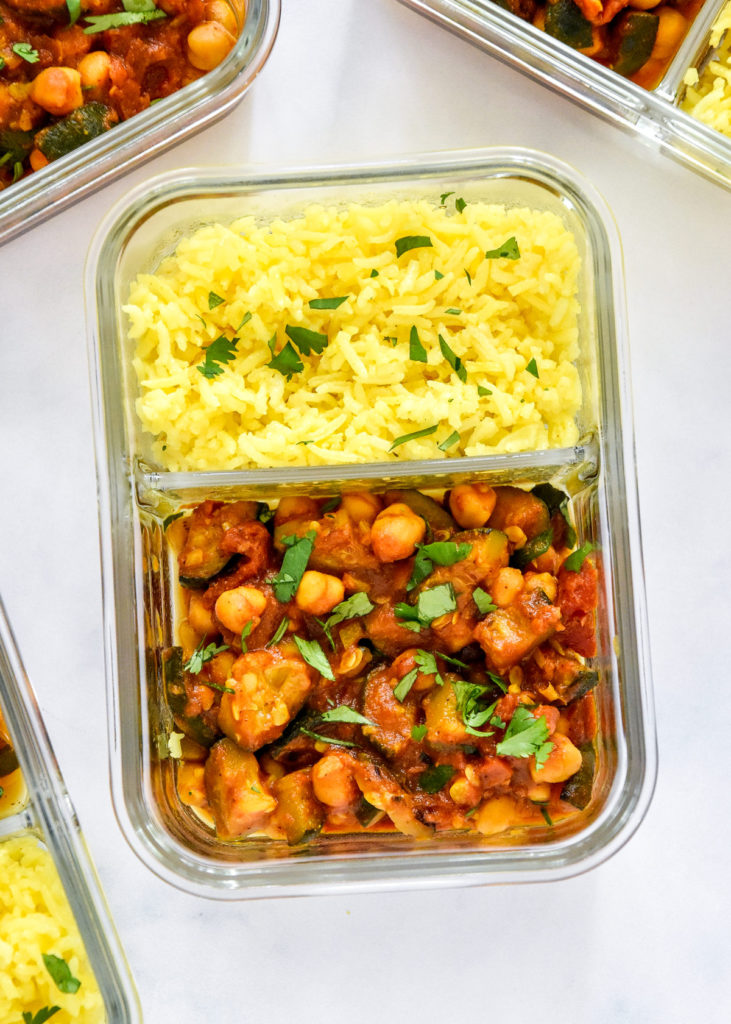
How to meal prep this recipe:
This recipe was developed specifically for meal prep and makes a delicious make-ahead meal for lunch or dinner. There are also a couple different ways to do some prep and save time later if that’s your thing. Here are some options:
- Prep for the week: Make the recipe as written, and then portion the ingredients evenly into four meal prep containers and enjoy throughout the week.
- Prep & freeze: The curry and rice will both freeze well. Freeze in freezer-safe glass meal prep containers or use 2-Cup Souper Cubes Trays to freeze complete meals.
- Enjoy now & later: Prepare all the ingredients and make the recipe as written. Eat some for lunch or dinner right now, then save the rest in airtight containers and enjoy over the next 4 days.
How to store this Zucchini Chickpea Curry Meal Prep:
Store in an airtight container for up to 4 days in the refrigerator or up to 3 months in the freezer.
How to freeze Zucchini Chickpea Curry Meal Prep:
You can freeze these meals in freezer safe containers for up to 3 months for best quality. Remove from the freezer the night before you plan to enjoy it and then reheat normally.
Another option is to freeze portions in 2-Cup Souper Cubes Trays and then transfer to freezer safe storage bags once frozen. For more helpful info on this method, check out this article from Meal Plan Addict all about how to use Souper Cubes for single serving freezer meals.
How to reheat Zucchini Chickpea Curry Meal Prep:
Drizzle 1-2 tablespoons of water over the rice if contained separately from the curry to help create steam. Loosely cover the meal with the lid and microwave on High for 90 seconds, stirring and then continuing to heat in 30 second increments until it’s hot and steamy all the way through.
This meal would also work well reheated in a HotLogic Mini Portable Oven – see my full review here!
Did you make this? I want to see how it turned out! Tag me in your social media post @projectmealplan and use #projectmealplan when you share!
Zucchini Chickpea Curry Meal Prep
If you’re looking for more vegetarian meal prep ideas, this Indian-inspired Zucchini Chickpea Curry Meal Prep recipe will hit the spot. This make-ahead lunch is easy to cook, loaded with incredible flavors and freezer-friendly!
Ingredients
For the curry:
- 2 tablespoons coconut oil
- 4 cups chopped zucchini (~2 medium zucchini)
- kosher salt
- 4 large garlic cloves, minced
- 1 inch piece of ginger, peeled and grated
- 1/2 whole green chili (optional for heat)
- 1 teaspoon ground cumin
- 1 teaspoon ground coriander
- 1 teaspoon ground turmeric
- 1/2 teaspoon chili powder
- 1 (15-ounce) can chickpeas, drained
- 1 (15-ounce) can diced tomatoes
- pinch of sugar (about 1/4 teaspoon)
- 1/4 cup broth or coconut milk (optional)
For the turmeric rice:
- 1 cup dry basmati rice
- 2 tablespoons coconut oil
- 1 cinnamon stick (optional)
- 4 cardamom pods (optional), lightly bashed to reveal their seeds
- 1/4 teaspoon ground turmeric
- 1/4 teaspoon kosher salt
Instructions
- Brown the zucchini: Heat a large saucepan or cooking pot over medium-high heat. Add 1 tablespoon of coconut oil. Once it’s melted and shimmering, add half of the chopped zucchini and a good pinch of kosher salt. Cook for 5-10 minutes, flipping halfway, until it has taken on some color but still a bit firm. How long this takes will depend on the size of your pan and how much liquid is in your zucchini. Remove the zucchini from the pan with a slotted spoon and set aside. Repeat with the remaining cooking oil and zucchini.
- Add aromatics: Return the reserved zucchini to the pot and lower the heat to medium. Stir in the minced garlic (4 cloves, minced), ginger (1 inch piece, grated) and the halved green chili if you’re using it (with or without seeds) for extra heat. Cook for a minute or two until aromatic, then add the spices: ground cumin (1 teaspoon), ground coriander (1 teaspoon), ground turmeric (1 teaspoon), and chili powder (1/2 teaspoon). Cook for a minute more.
- Simmer the curry: Stir in the drained chickpeas (1 can) (you don’t need to rinse them), tomatoes (1 can) and a generous pinch of sugar (about 1/4 teaspoon). Once the mixture is bubbling, reduce the heat to medium low and simmer, uncovered for 10 minutes. If it appears dry or you prefer a saucier curry, stir in 1/4 cup broth or coconut milk. Once the curry is done, check to see if you want to add more salt. Keep it warm if you’re planning on serving it immediately, or remove it from the heat to cool so it can be packed up for meal prep.
- Prepare the rice: While the curry is simmering, begin working on the rice (1 cup). Start by rinsing it under the cold tap until the runoff liquid turns clear, then set it aside to drain. Melt the coconut oil (2 tablespoons) over a medium heat in a medium saucepan with a tight fitting lid. Add the cinnamon stick (1) and cardamom pods (4), if using, and cook for a few minutes until aromatic. Stir in the rinsed and drained rice along with the turmeric (1/4 teaspoon) and salt (1/4 teaspoon).
- Cook the rice: Add 2 cups of cold water to the pan and turn the heat up to high. Bring the water to the boil and allow it to bubble away until the level of the water reaches the level of the rice. Put on the lid, and reduce the heat to low. Allow the rice to cook for a further 8 minutes, before removing the pan from the heat. Allow it to rest for a further 5 minutes before removing the lid.
- Meal prep it: Remove the lid from the rice and pick out the cinnamon stick and cardamom pods. Fluff it up with a fork then divide between four meal prep containers. Remove the halved green chili from the curry before dividing it between the other side of the container and do not refrigerate until completely cool. Then, store for up to 4 days. To reheat, drizzle 1-2 tablespoons of water over the rice if contained separately from the curry to help create steam. Loosely cover the meal with the lid and microwave on High for 90 seconds, stirring and then continuing to heat in 30 second increments until it’s hot and steamy all the way through.
Equipment
2 Compartment Glass Meal Prep Containers
Buy Now →
Greener Chef XL Bamboo Cutting Board
Buy Now →(affiliate link!)
Notes
Serve with: This curry is delicious with the turmeric rice alone, but if you’re serving it immediately, chopped cilantro sprinkled over the top would be a delicious addition. This cucumber raita (made with coconut yogurt if you want to keep things vegan) would also go well, but keep it in a separate container so it doesn’t go in the microwave when reheating!
Nutrition information estimated with My Fitness Pal.
Nutrition Information
- Serving Size: 1/4 of recipe
- Calories: 506
- Fat: 15g
- Carbohydrates: 81g
- Protein: 17g
Frequently Asked Questions
Does the turmeric stain?
Yes, please be careful! Turmeric powder can stain clothing and porous materials. When used in small quantities (like 1/4 teaspoon in the rice), it won’t stain cookware or dishes, but it’s still best to be aware of its power!
Recipe developed by Rachel Phipps.



Leave a Comment