This post may contain affiliate links. Please read our disclosure policy.
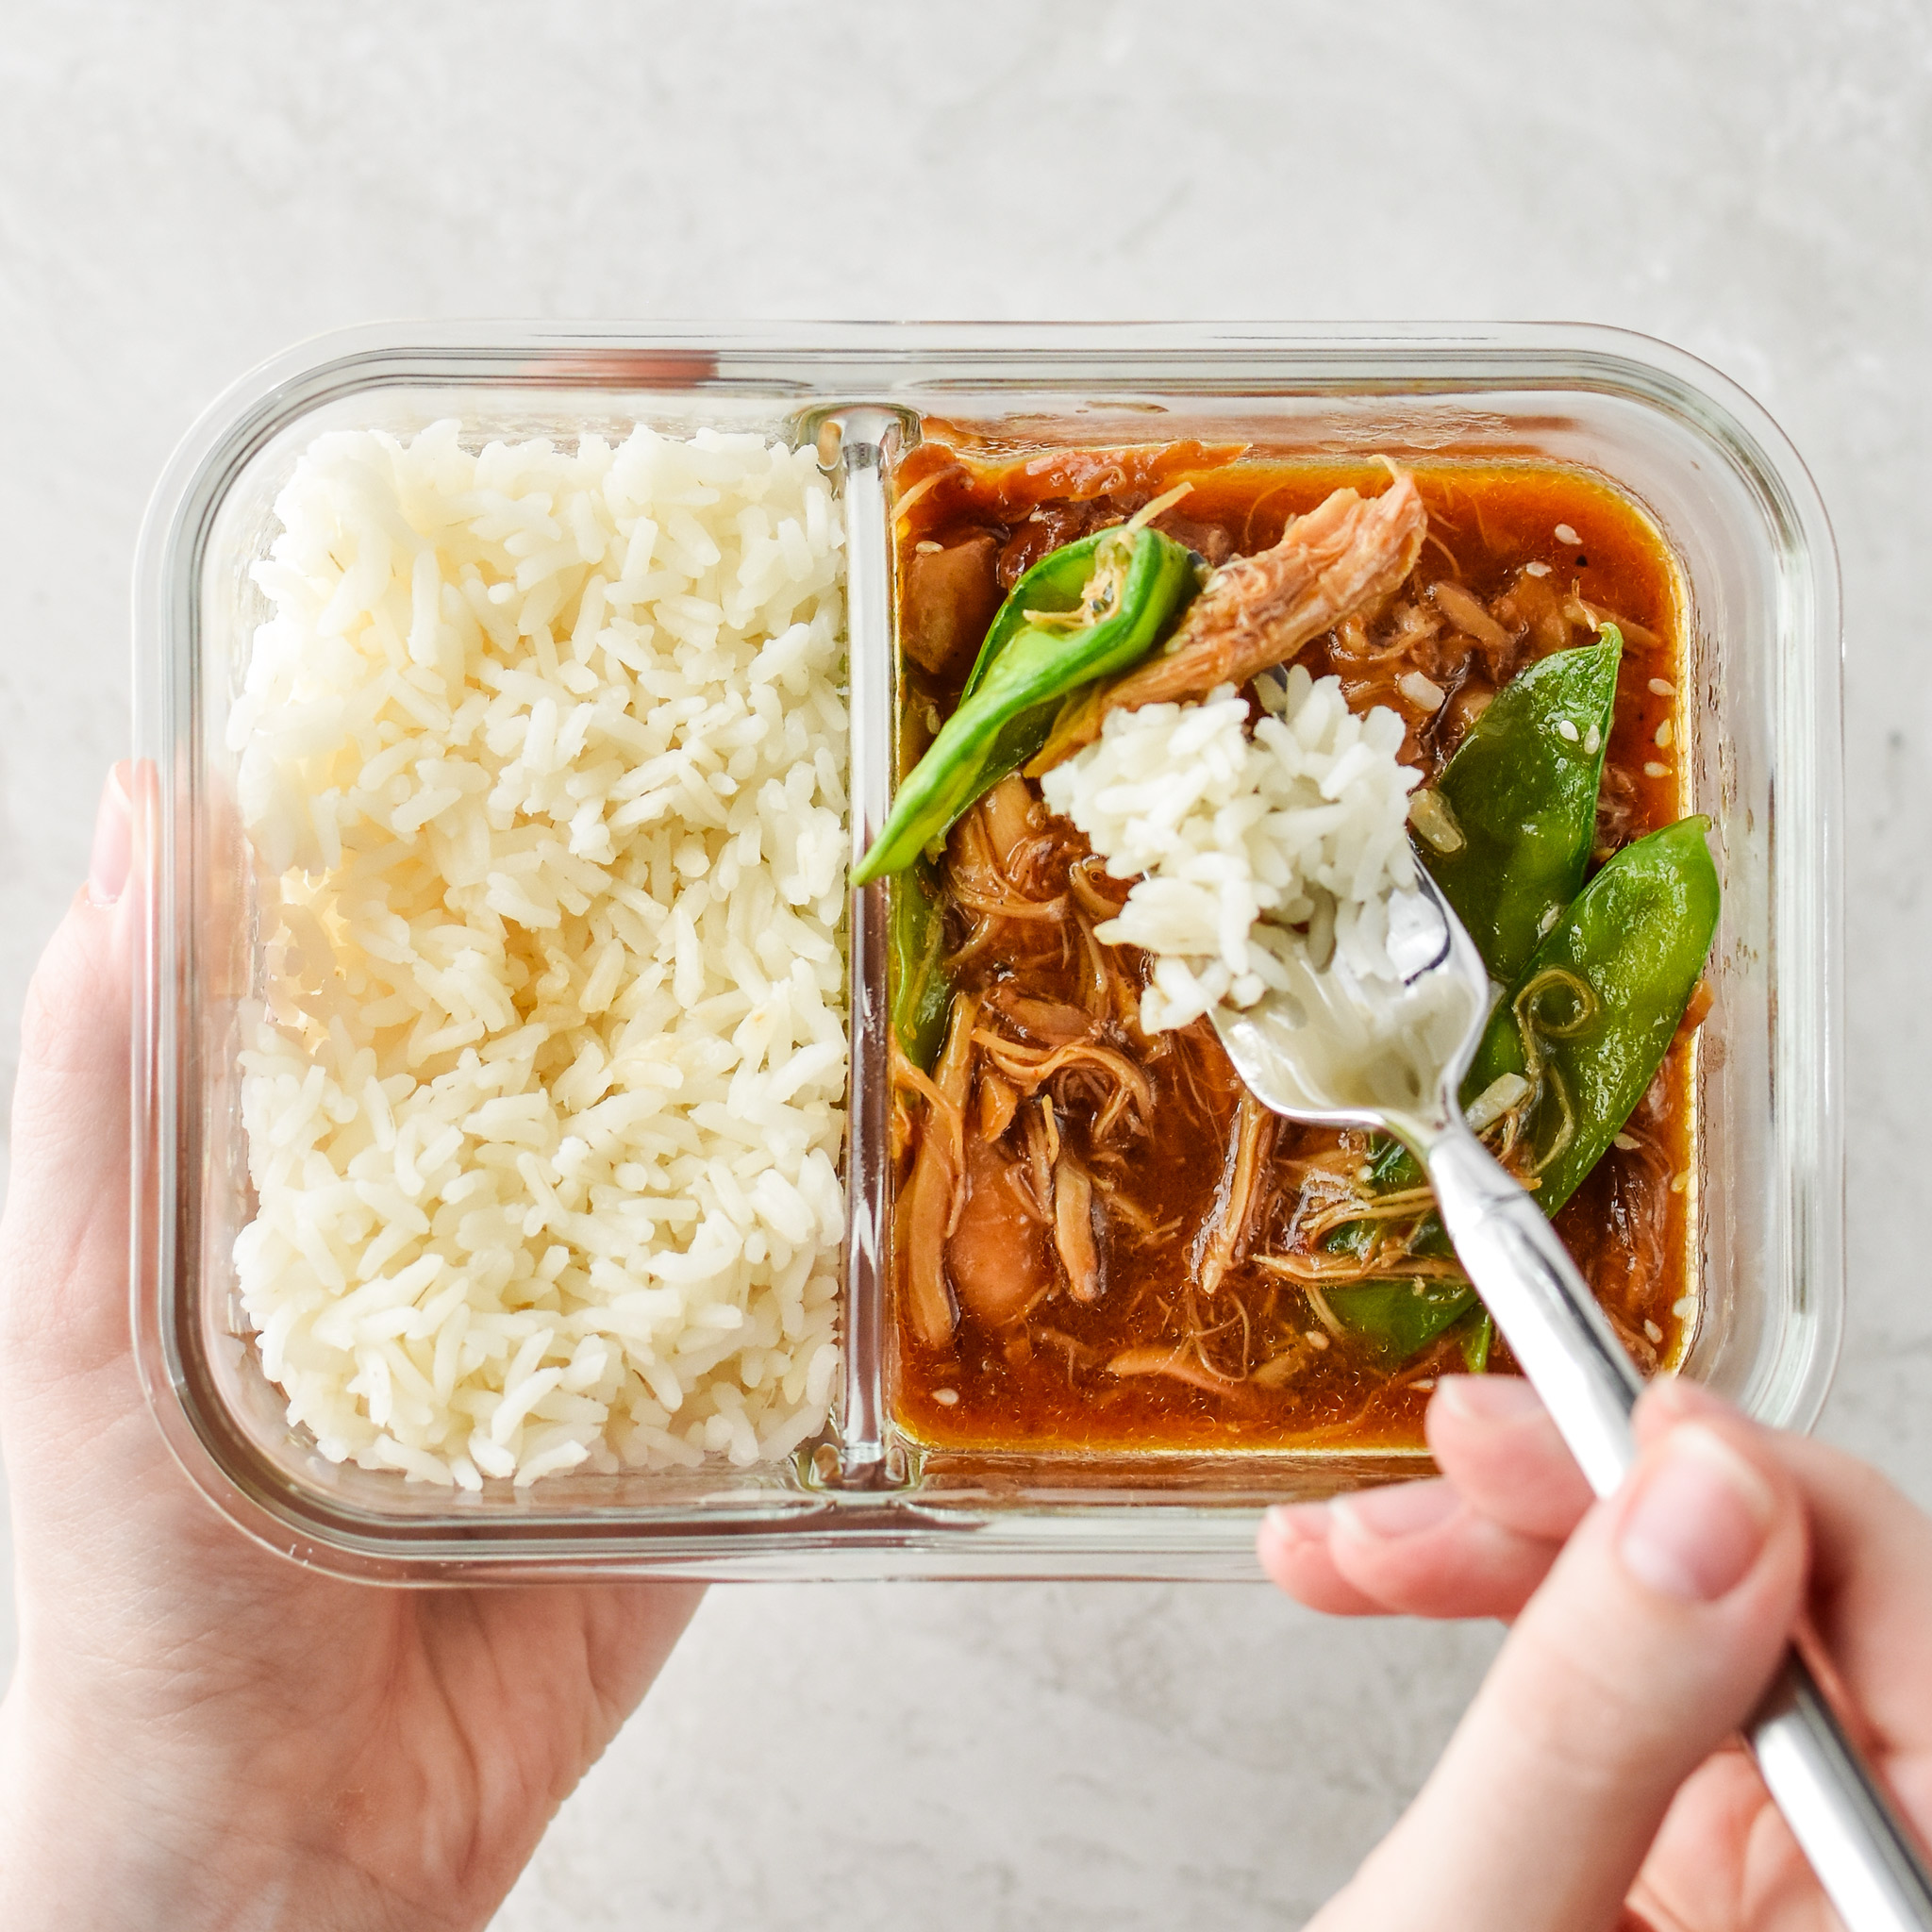
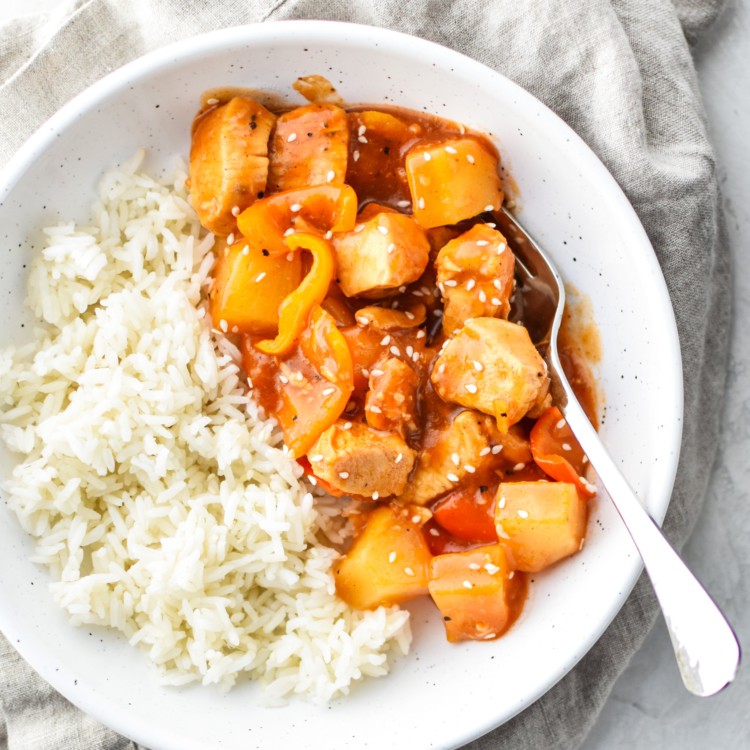
These Instant Pot Honey Garlic Chicken Meal Prep Bowls are made with common ingredients and utilize the “pot-in-pot” cooking method! An entire meal prep recipe made in the Instant Pot: rice, chicken, veggies, and sauce!
Reader Love
This is my favorite lunch to meal prep! I was even able to make it all by myself in the instant pot when my wife went out of the country for over 2 weeks. I love the pot-in-pot rice method
–

Note from Danielle
Did I completely forget about chicken thighs and how unbelievably moist and delicious they can be? Yes, yes I did!
Until we tried this Instant Pot Tandoori Chicken recipe from Pinch of Yum, and I was reminded how much different they really are from chicken breasts.
So then, I went all in on a delicious Instant Pot chicken meal prep recipe… Cook everything (rice, too) in there, at the same time! Crazy? No way. Easy? Heck yes.
By the way – here in the post content, you’ll find detailed information on the ingredients used, possible substitutions, and helpful tips for successful results based on my experience with this recipe.
For the printable recipe card with a list of ingredients followed by concise instructions, keep scrolling down or hit the ‘Jump to Recipe’ button at the top of the page. Frequently asked questions are located below the recipe card.

Recipe Overview
Total Time: 35 minutes
Difficulty: Easy
Method: Instant Pot
Prep: Make-Ahead Friendly
Watch how to make Honey Garlic Chicken Meal Prep bowls (1 min 54 sec):
What is this “pot-in-pot” method?
The “pot-in-pot” method of cooking in the Instant Pot is simply the idea of cooking another “pot” of food inside the base “pot” of your Instant Pot. You put a pot into the pot. Simple!
There are tons of reasons to do this, and it’s certainly not only for cooking rice at the same time as your main dish. For example, another reason would be to cook a dish that you want to keep separate from the 1 cup of water required for pressure cooking (cheesecake, lasagna, etc.).
For a more complete article on pot-in-pot cooking and all the ways it can be done, please check out this super helpful article: The Secrets to Instant Pot Pot in Pot Cooking from Paint the Kitchen Red.
For this recipe, we’re using the pot-in-pot method to:
- cook chicken thighs with honey garlic sauce in the bottom of the pot
- the white rice with broth cooks in the top of the pot
- the components are completely separate from each other
- the chicken pressure cooks on direct heat, while the rice cooks with a high pressure steam on top
The best part? You don’t have to cook the rice on the stove or in a rice cooker while your Instant Pot is busy with the chicken. They can both go at the same time. This means quicker, and easier cleanup for you. Woohoo!
Related: Love Instant Pot cooking? Browse all of our Instant Pot recipes now!
What supplies do I need to do Instant Pot pot-in-pot cooking?
In general, along with your Instant Pot, you really only need a trivet, and an oven safe dish to serve as your pot. You may need special dishes, such as a springform pan, if you’re making a cheesecake or something like that, but I’m keeping it simple here.
Equipment I’m using (an example for you):
For this recipe, I’m using a tall stainless steel trivet (affiliate link!), and this 7 inch silicone loaf pan (affiliate link!). If you want to see more of the items I cook with daily, check out my Amazon storefront for all of my recommendations.
- Tall trivet (affiliate link): You could use the trivet that came with the IP, but I prefer to have the pot in the pot raised up higher to it’s easier to remove later.
- Silicone pan (affiliate link): You can use any oven safe pan that fits into your Instant Pot for your pot-in-pot cooking. But I use this silicone loaf pan. Here’s why: I had a really hard time finding the right pot-in-pot pan to work for me and my Instant Pot. I tried:
- A Pyrex dish: I know it’s safe, but it freaked me out (glass shards = scary) and I’m positive it changed the cooking time of the food in the top (glass isn’t a good heat conductor).
- My metal bowls: Not the right shape and leave zero inches between the bowl and side of the pot, which makes it difficult to pick the bowl up later. I just don’t have time to fashion a sling, sorry.
- I use this food safe silicone loaf pan (which can totally be used for baking, too). The pan fits up to 1 1/2 cups uncooked rice (after cooking).
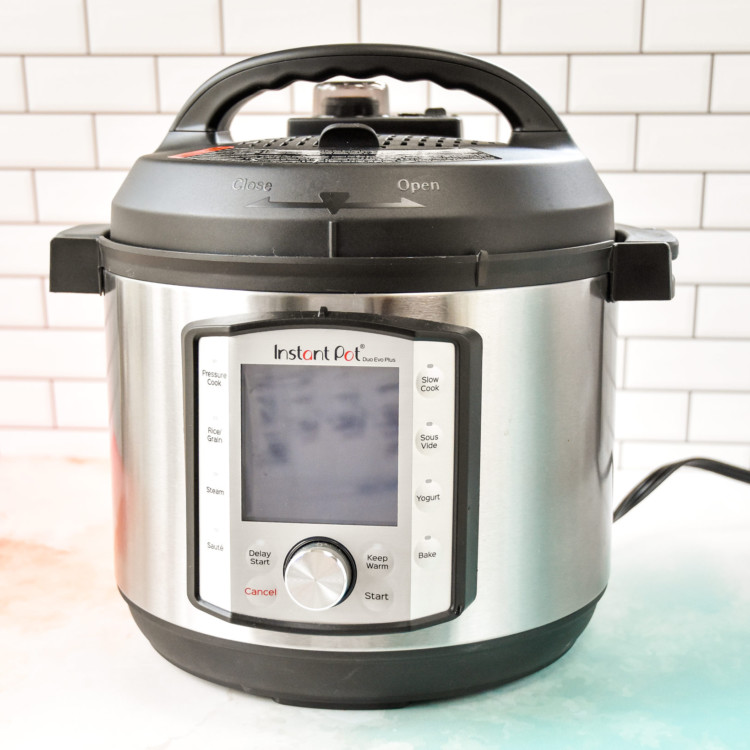
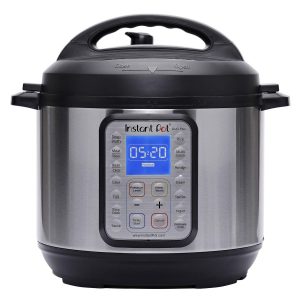
- Instant Pot (affiliate link): Of course there are lots of models, but I own the Instant Pot Duo Plus 6 quart size. Please be aware that the items recommended here have only been tested with this model and they may not fit into smaller Instant Pot varieties.

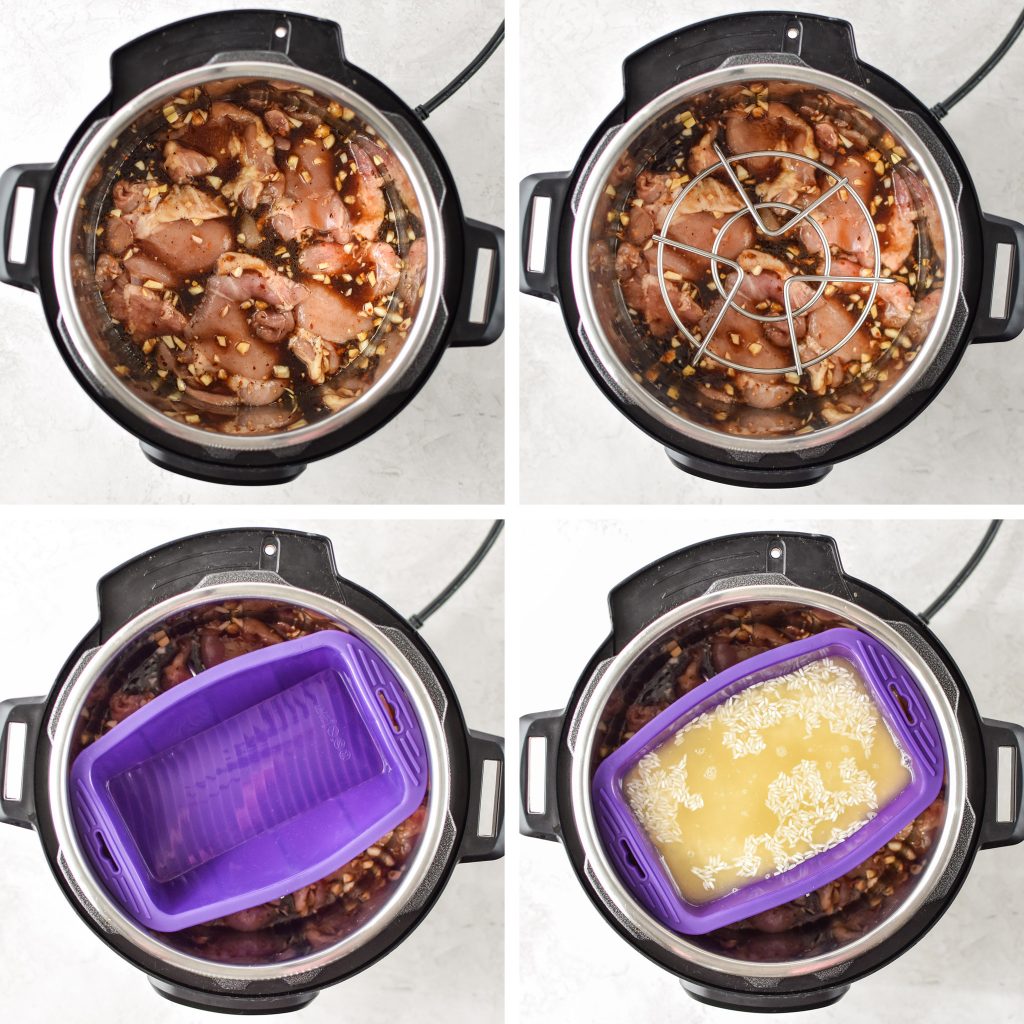
Show me how pot-in-pot works:
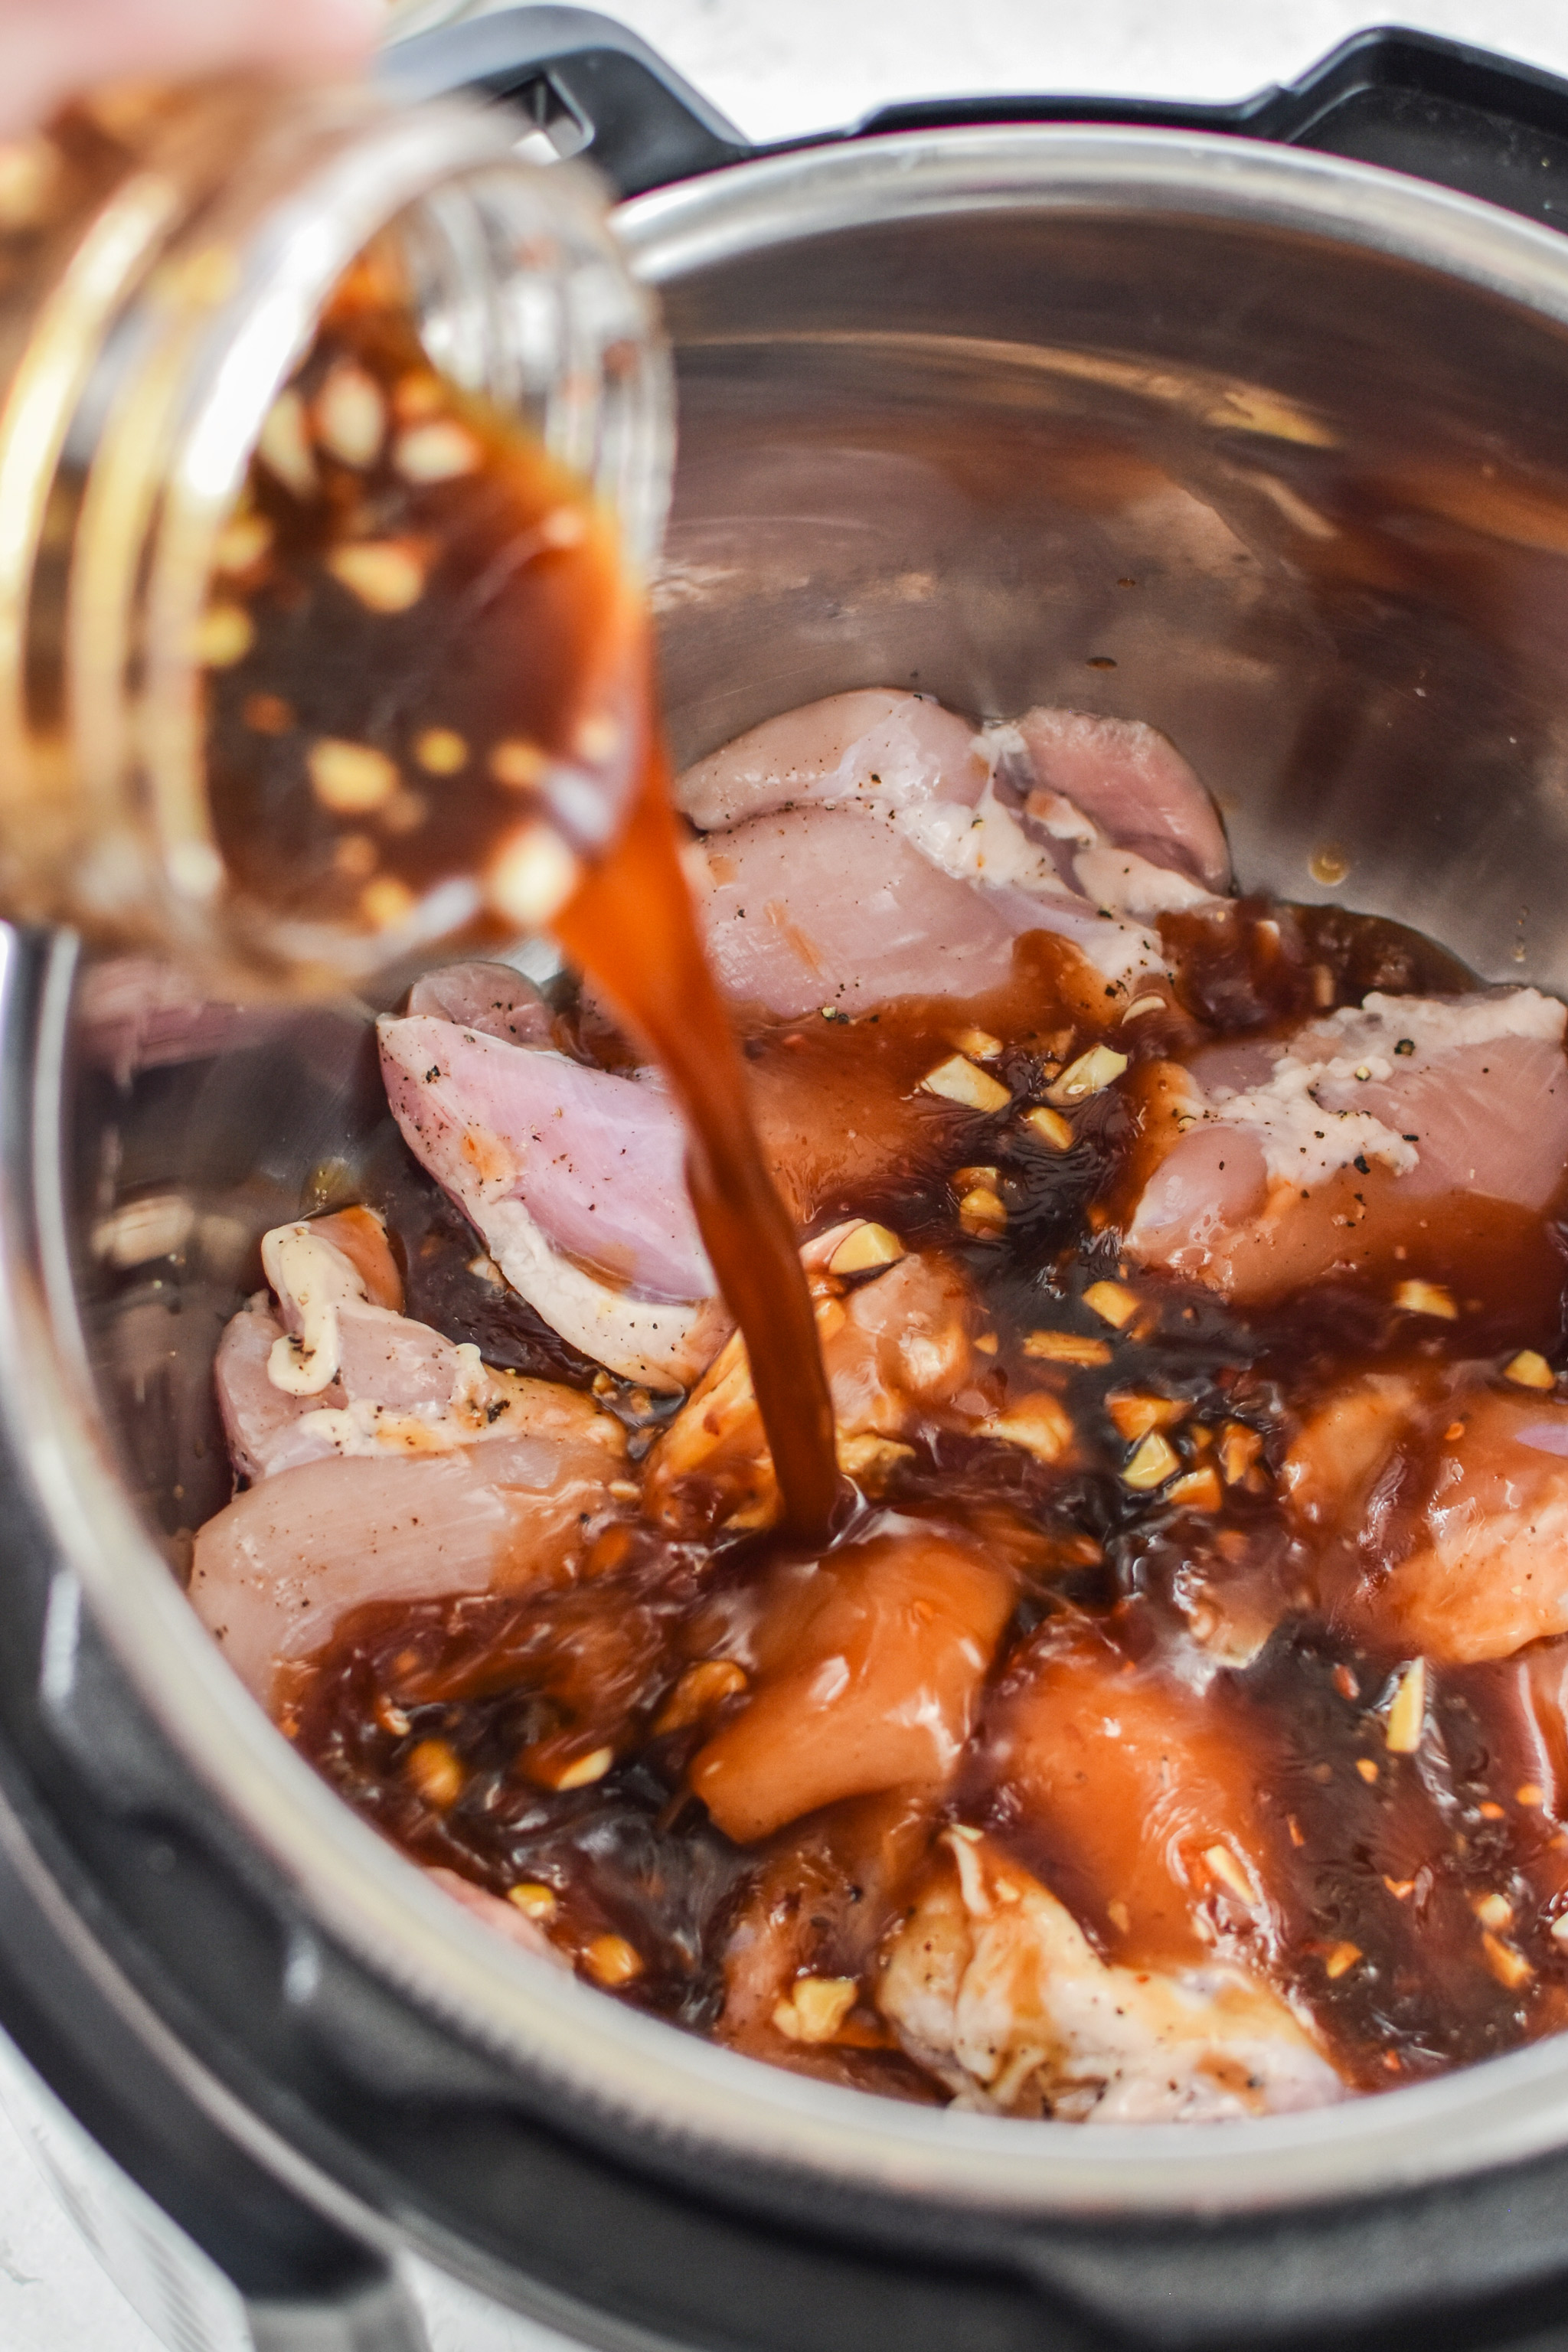
This method is quite literally, putting another put into your Instant pot. And now is the time. Following the recipe below, first you’re going to add your chicken thighs to the pot, followed by the prepared honey garlic sauce.
After that, carefully nestle in your trivet so all the legs are touching the bottom of the pot, and not poking the chicken. Place the pot-in-pot bowl on the trivet, then add your white rice and broth or water.
This recipe calls for 1 1/2 cups of dry white rice, but anywhere from 1 cup to 1 1/2 cups of uncooked white rice will work with this method, depending on how much cooked rice you want to end up with.
Be sure to use a 1:1 ratio of rice to liquid in the Instant Pot, no matter how much you use. Do not use brown rice, as the cooking time is significantly longer than white rice.
Continuing to follow the recipe, set the Instant Pot to High Pressure for 5 minutes. Let it cook and do it’s thang, then let it do a natural pressure release for 10 minutes.
This means you should simply leave the pot alone after the cooking timer goes off. The timer on the pot will begin to count UP, showing the amount of time that has elapsed since the pot completed pressure cooking.
Of course, there will still be a large amount of pressure built up in the pot, so the food will continue to cook while the pressure slowly decreases.

Release pressure after 10 minutes. Once it’s safe to remove the lid, do so. Remove the rice and trivet as soon as you can in a safe manner. Immediately turn Instant Pot off, then hit the Sauté button.
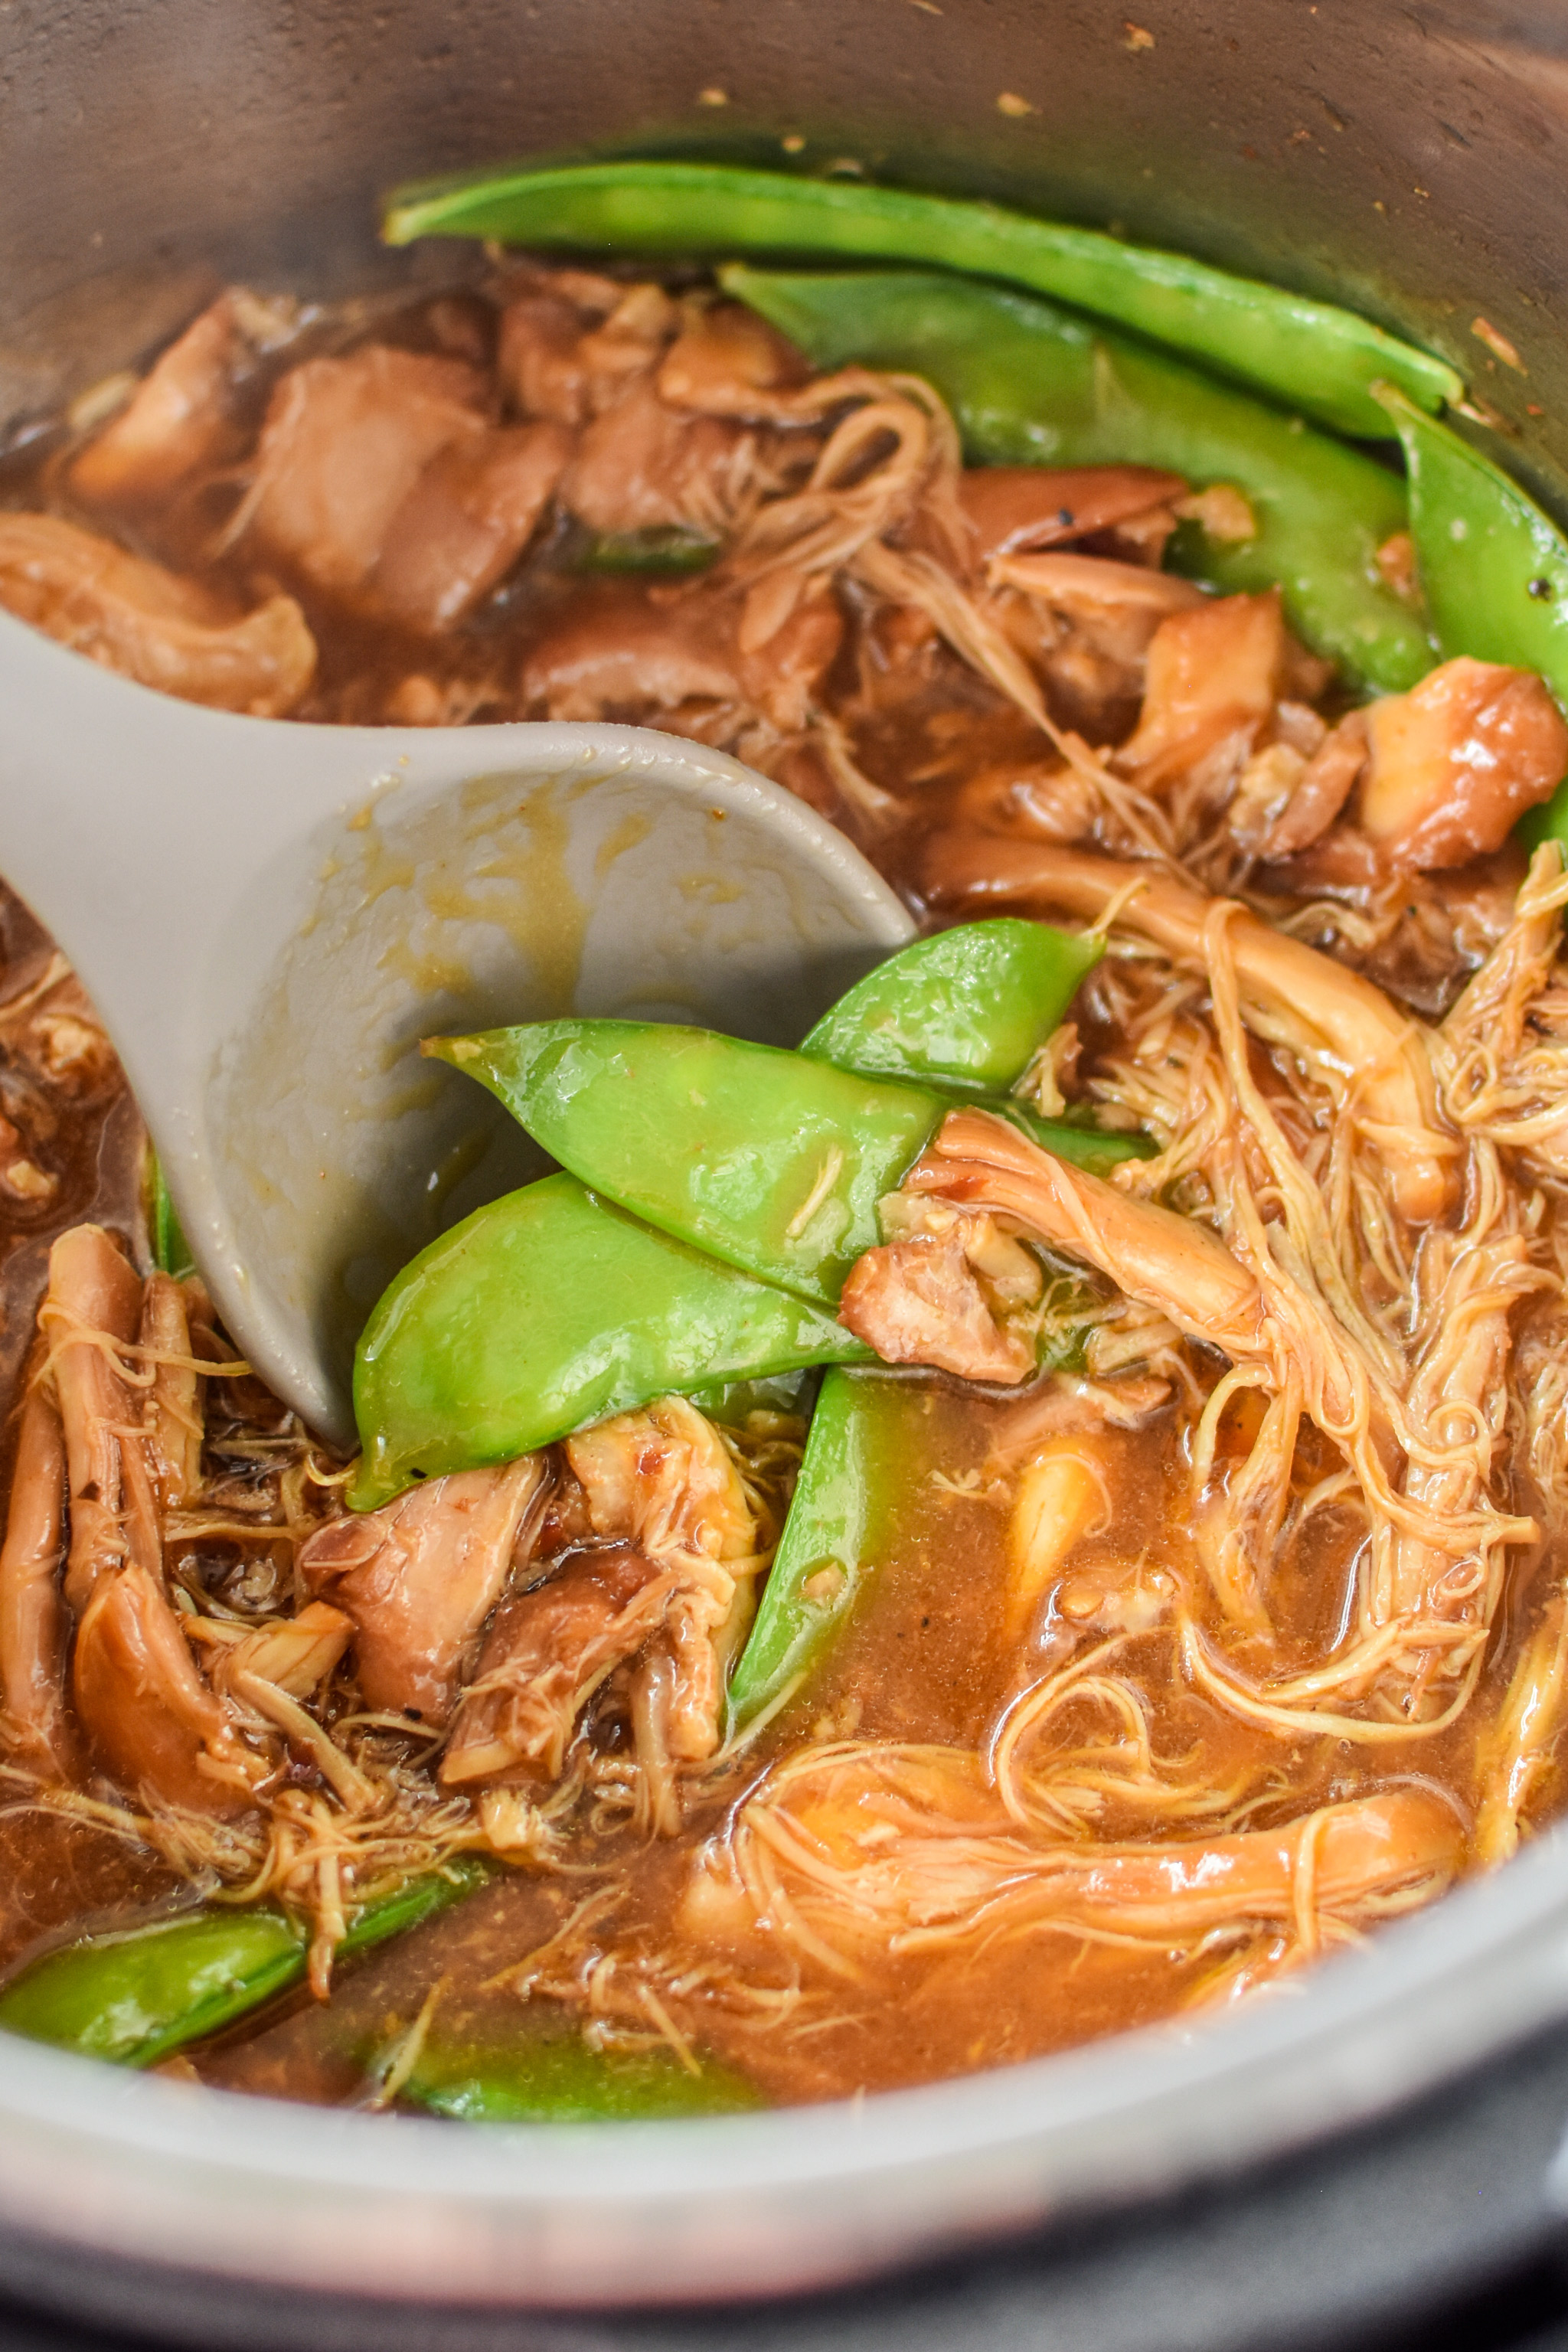
Toss in your snow peas to cook them for a quick minute. Optionally, add a cornstarch slurry to help thicken the sauce. And it’s done!
Next time you’re trying out a random Instant Pot chicken recipe, try sticking some rice in the top to cook. And look! You’ve just cooked a complete dinner in your Instant Pot 🙂
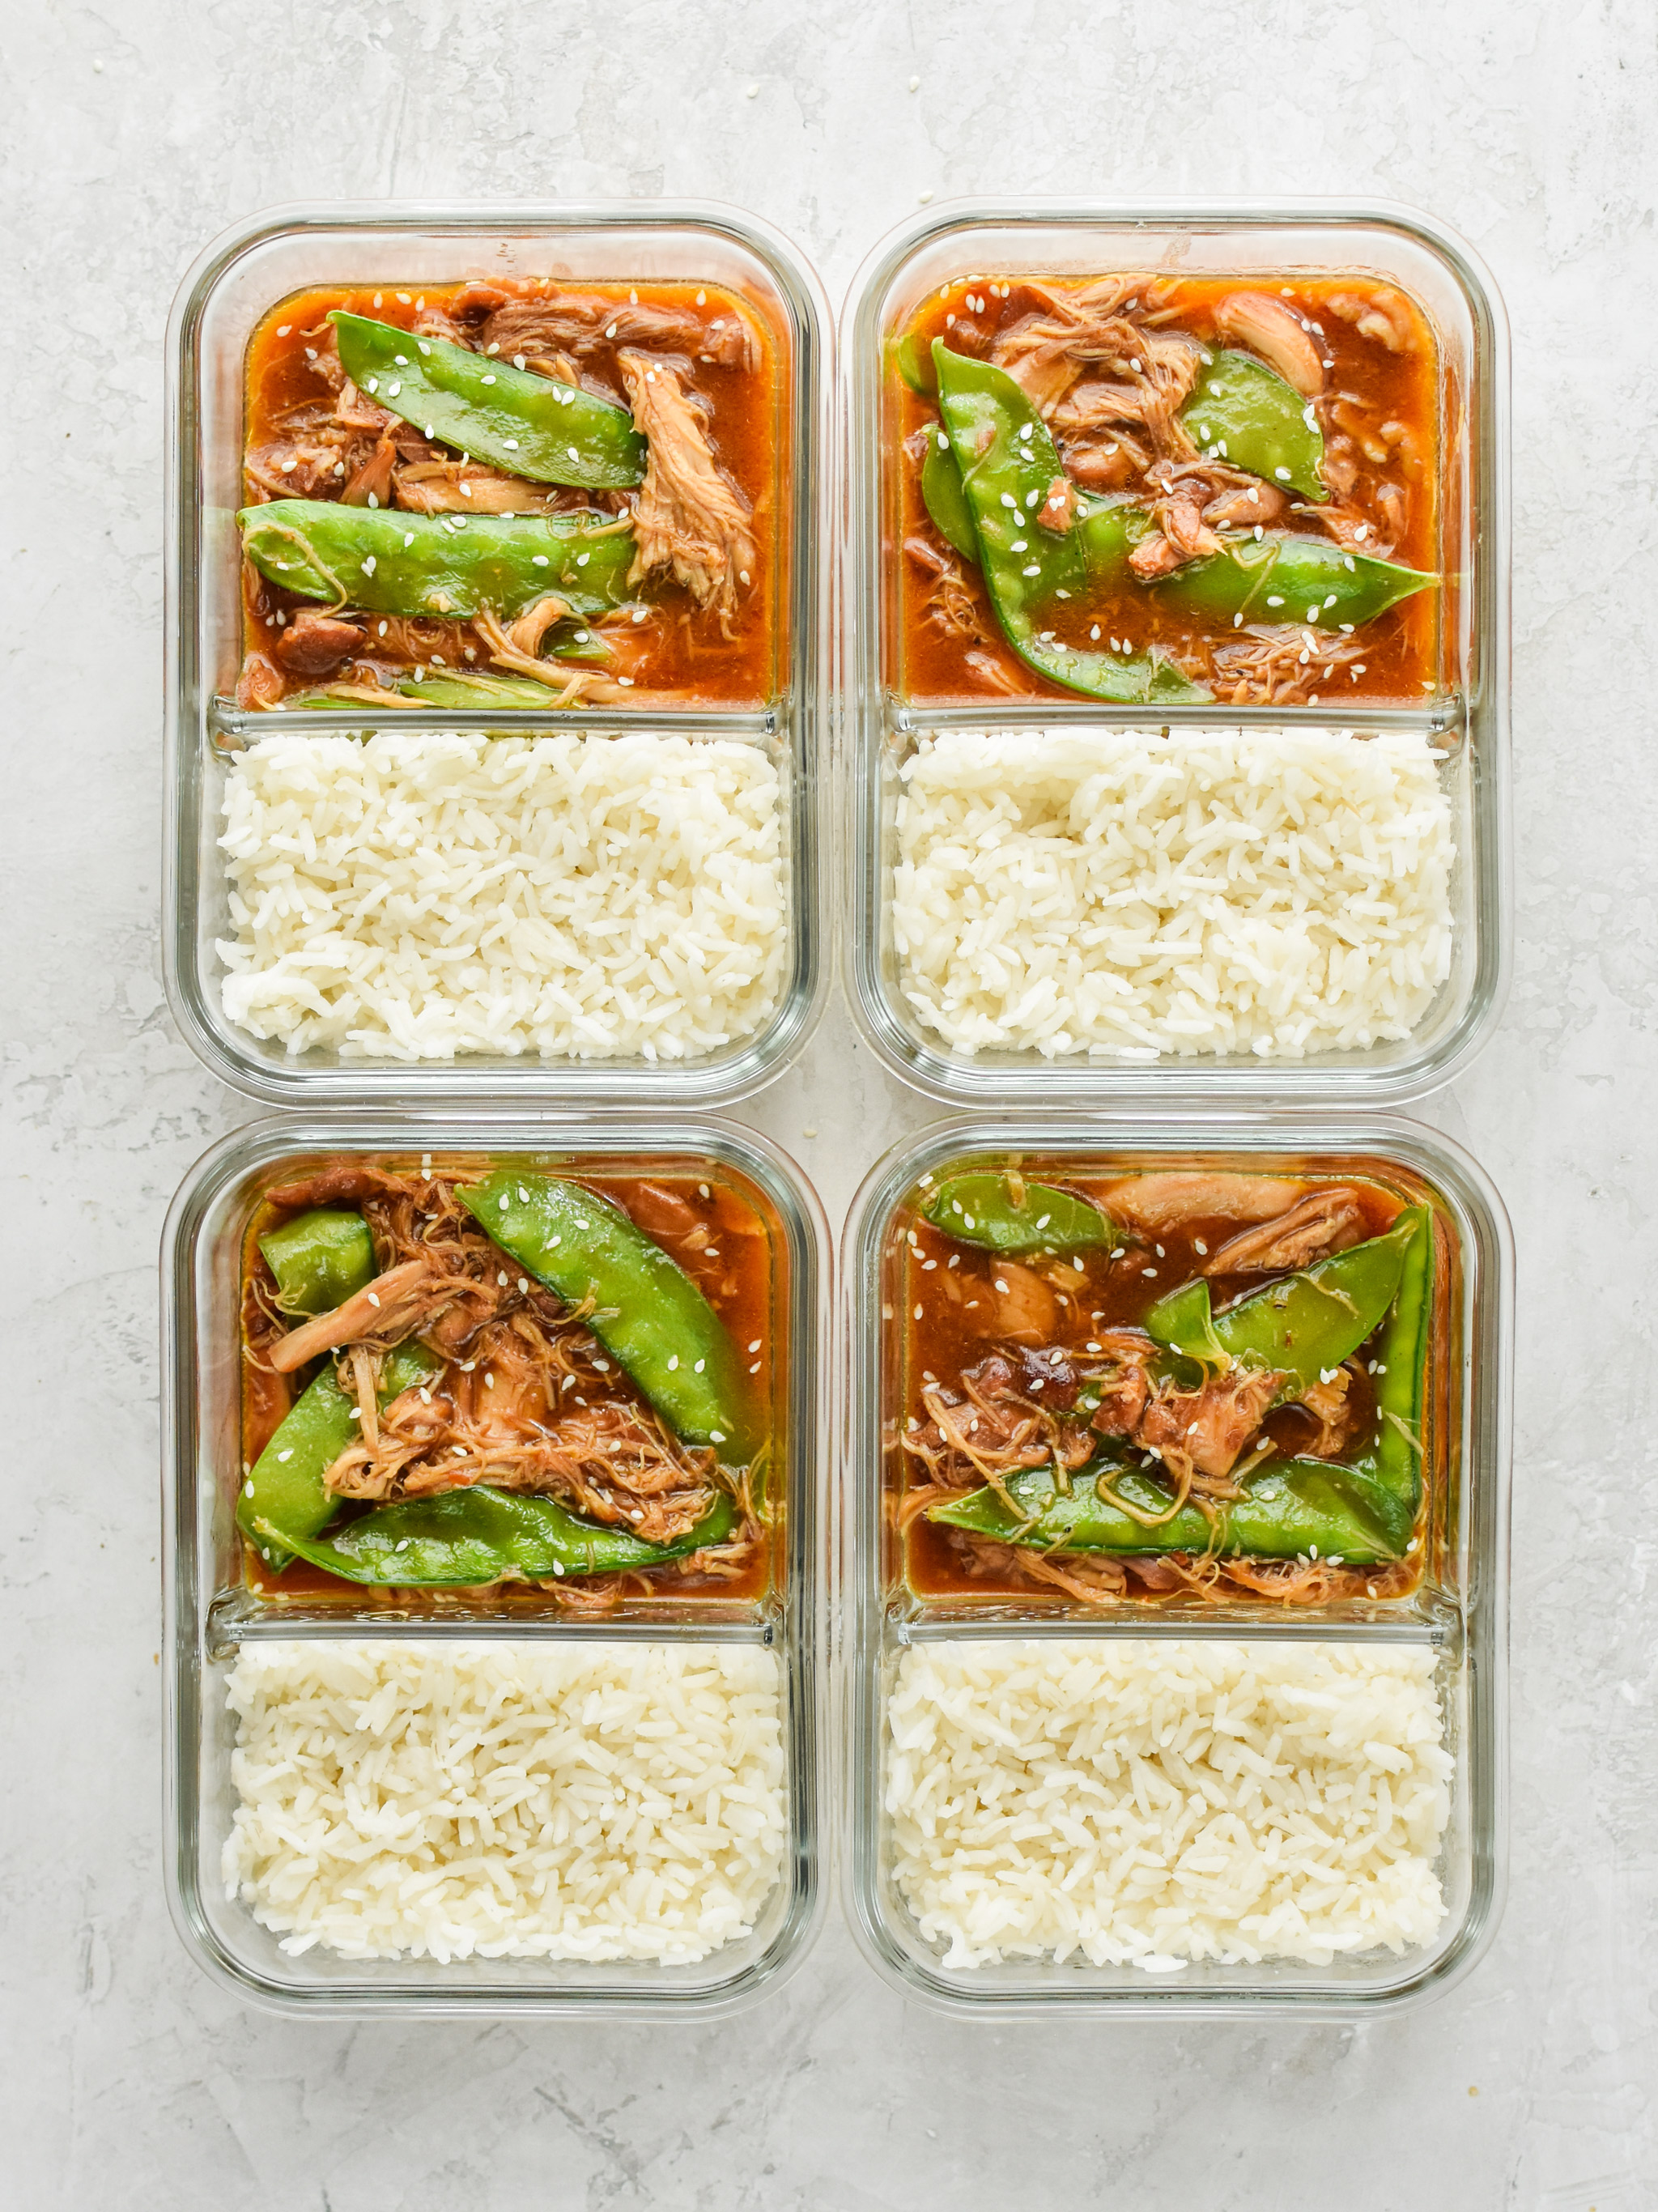
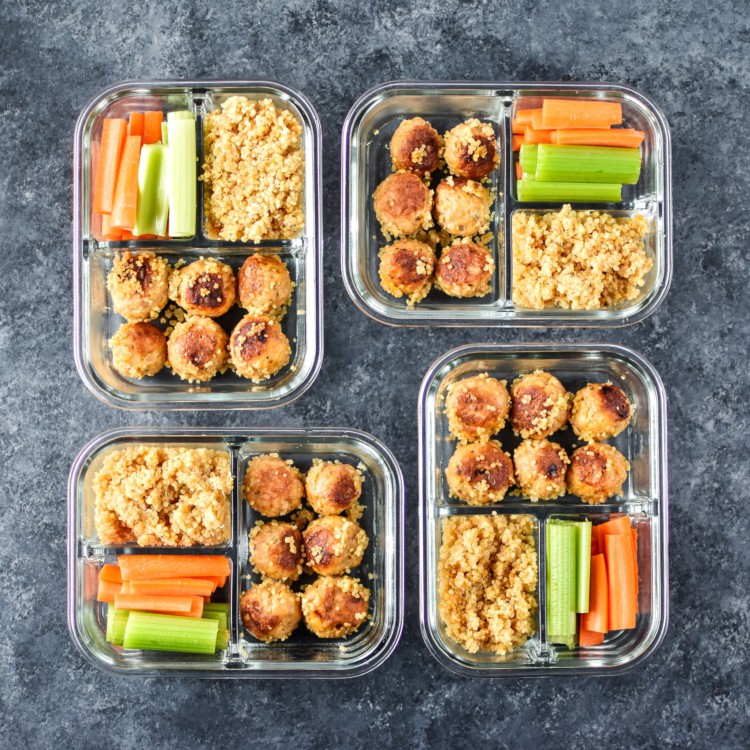
How to meal prep the Honey Garlic Chicken:
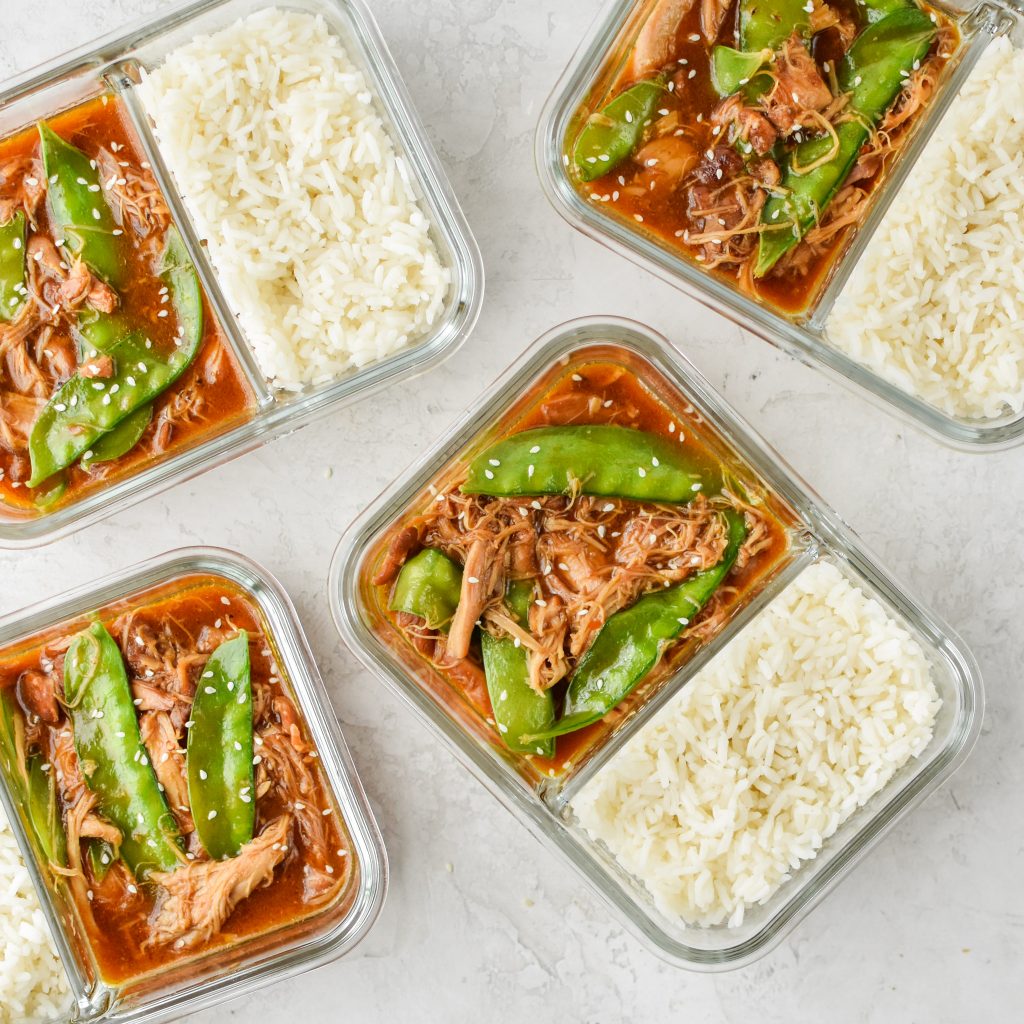
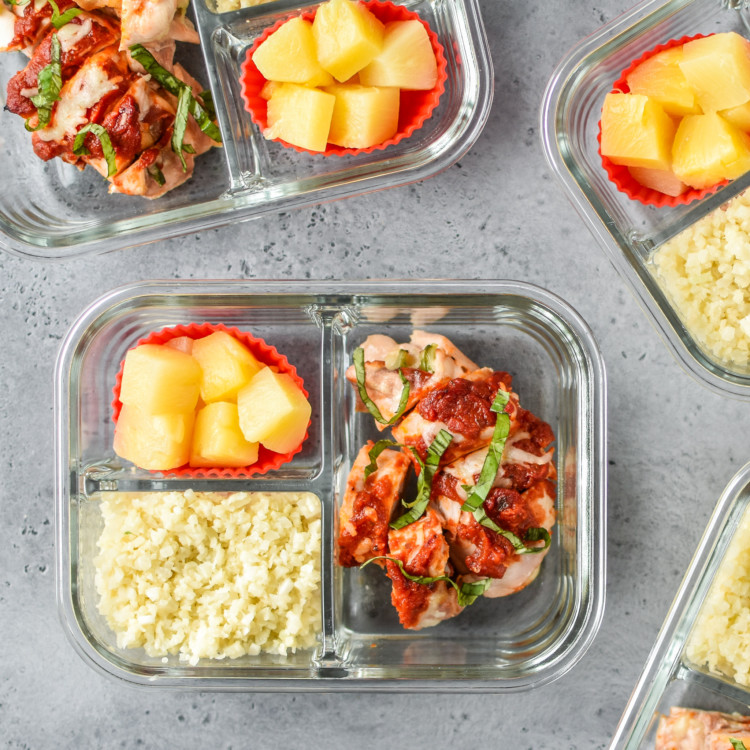
Use 4 airtight, glass meal prep containers and portion out your rice, then your honey garlic chicken into the containers. Store in the refrigerator and enjoy within 4 days for lunch or dinner! Reheat in the microwave, covered, for 90 seconds to 2 minutes, checking at 90 seconds.
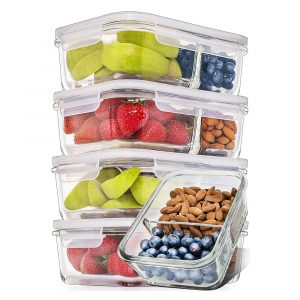
For this recipe, I used these 2 Compartment Glass Meal Prep Containers from Prep Naturals. They’re also available in 1- and 3- compartment varieties! See all of my meal prep container recommendations in my Amazon storefront.
Related: Want more meal prep in your Instant Pot? Try my IP Shredded Chicken recipe.
How to store prepared Honey Garlic Chicken Meal Prep Bowls:
Store meal prep meals in airtight containers in the fridge and enjoy within 4 days. I used my 2 Compartment Glass Meal Prep Containers to store this recipe.
How to freeze prepared Honey Garlic Chicken Meal Prep Bowls:
Store meal prep meals in airtight containers (or frozen into single serve portion cubes) in the freezer for up to 3 months for best quality.
How to reheat prepared Honey Garlic Chicken Meal Prep Bowls:
Reheat in the microwave, covered, for 90 seconds to 2 minutes, checking at 90 seconds. This type of meal would also reheat really well in a HotLogic portable mini oven – read my review here.
Did you make this? I want to see how it turned out! Tag me in your social media post @projectmealplan and use #projectmealplan when you share!

Instant Pot Honey Garlic Chicken Meal Prep Bowls
These Instant Pot Honey Garlic Chicken Meal Prep Bowls are made with common ingredients and utilize the “pot-in-pot” cooking method! An entire meal prep recipe made in the Instant Pot: rice, chicken, veggies, and sauce!
Ingredients
- 1/3 cup honey
- 1/3 cup low-sodium soy sauce
- 1 tablespoon Sriracha sauce
- 1 tablespoon avocado oil or olive oil
- 1/2 cup chicken broth (or water)
- 4 garlic cloves, minced
- 1/2 teaspoon red pepper flakes
- 1 pound fresh boneless skinless chicken thighs (4-5 thighs)
- 1 1/2 cup long grain white rice
- 1 1/2 cup low sodium chicken broth
- 3 ounces snow peas
- cornstarch slurry (1 TB cornstarch + 1 TB water), optional for thickening
- equipment: Instant Pot, trivet, oven-safe bowl; *see notes for specific equipment I use
Instructions
- Mix sauce ingredients: In a small bowl or mason jar, add honey (1/3 cup), soy sauce (1/3 cup), Sriracha (1 tablespoon), oil (1 tablespoon), broth or water (1/2 cup), garlic (4 cloves, mined), and red pepper flakes (1/2 teaspoon). Shake or whisk until well mixed.
- Instant Pot setup: Place your chicken thighs (1 pound) directly into the Instant Pot liner pot, seasoning with a bit of salt and fresh ground black pepper if desired. Pour the sauce over the chicken and stir briefly. Place your trivet over the chicken, ensuring the trivet legs are directly on the bottom of the pot and not resting on the chicken. Place your oven-safe “pot-in-pot” bowl on top of the trivet. Add white rice and broth in a 1:1 ratio to the bowl (up to 1 1/2 cup of each).
- Do not use brown rice, as it has a significantly longer cook time.
- Pressure cook: Place the lid on the Instant Pot and make sure the steam release valve is sealed. Set to Manual or Pressure Cook for 5 minutes. After pressure cooking is done, let the Instant Pot do a Natural Pressure Release (NPR) for 10 minutes. Release the remaining pressure after 10 minutes.
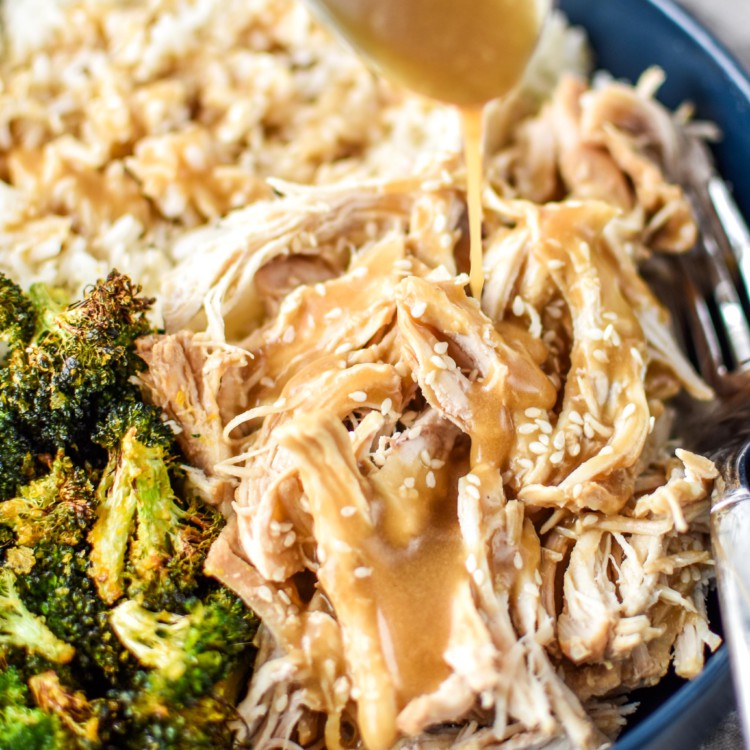
- Shred chicken & add peas: Safely but swiftly remove the rice bowl and trivet from the pot. Fluff the rice with a fork. Hit the Sauté button on the Instant Pot. Shred the chicken – it should be tender enough to pull it apart without removing from the pot. If adding a cornstarch slurry for thickening (1 TB cornstarch + 1 TB water), do that now. Finally, add the snow peas (3 ounces – about a handful) to the pot and stir. Cook for 1 minute or so, until the peas are bright green and just barely cooked through, and then turn off the Instant Pot. The sauce will thicken as it cools.
- Serve & store: Enjoy now or portion for later. Store in airtight containers like these 2 compartment glass meal prep containers and enjoy within 4 days. Reheat in the microwave, covered, for 90 seconds to 2 minutes, checking at 90 seconds. Add 1 tablespoon water to the rice when reheating to create steam.
Notes
No Instant Pot instructions: Cook rice by the box directions or in a rice cooker. In a large non-stick pan, heat 1TB oil then add chicken thighs. Brown on each side for 2-3 minutes. Shake/whisk sauce ingredients together, then add sauce to the pan. Bring to a boil then reduce heat to low and let simmer for 10-15 minutes or until cooked to 165F. Shred chicken, add peas and cornstarch slurry, cook for another 2 minutes on low. Portion out with cooked rice and eat within 4 days.
Equipment: I own an Instant Pot Duo Plus 6 Qt (affiliate link!). I use this tall stainless steel trivet (affiliate link!), and this 7 inch silicone loaf pan (affiliate link!) for pot-in-pot cooking, though any trivet and oven-safe dish will work. These items are shown in the photos above.
Nutrition information estimated with My Fitness Pal. Recipe video added 4/02/19.
Nutrition Information
- Serving Size: 1/4 of recipe
- Calories: 492
- Fat: 9g
- Carbohydrates: 73g
- Protein: 29g
Frequently Asked Questions
Can I use chicken breasts instead of chicken breasts?
I have not yet tested this recipe with chicken breasts, but I do think it would work. Let me know in the comments if you try it.
Can I skip the rice and cook only the chicken?
Yes! If you aren’t looking to make any rice at the same time, just skip that part and leave all the related equipment out of the pot. The cook time remains the same.
Leanne | Crumb Top Baking says
I had the same reminder about chicken thighs recently too. I had neglected them for so long in favour of chicken breasts, and forgot how amazing they can be. I’ve yet to cook them in the instant pot, but clearly need to put my Instant Pot to better use! Thanks for the step by step on this one Danielle!
Danielle says
I could recommend so many amazing chicken thigh in IP recipes!! It is honestly my favorite way to cook them now. So juicy and never dry. I’ve been buying more thighs over breasts since I wrote this post, and do alternate a bit more these days. Thanks for your comment and rating Leanne! I appreciate it 🙂
Wendy says
Thanks for sharing such a great meal prep idea. I’m in the camp of forgetting about thighs too- but they have so much flavor!
Kari Heron | Chef and Steward says
First thing I noticed was the GLASS meal prep containers! Genius! Then that pot in pot method for cooking a whole meat without effort? OFF THE CHAIN! Sharing!
Danielle says
The pot-in-pot method is seriously the best thing you can do with an Instant Pot! Hope you give it a try! Thanks so much Kari!
Sean says
This is my favorite lunch to meal prep! I was even able to make it all by myself in the instant pot when my wife went out of the country for over 2 weeks. I love the pot-in-pot rice method
BONNIE says
Can you just dump and go instead of pot in pot? Has anyone tried this?