This post may contain affiliate links. Please read our disclosure policy.
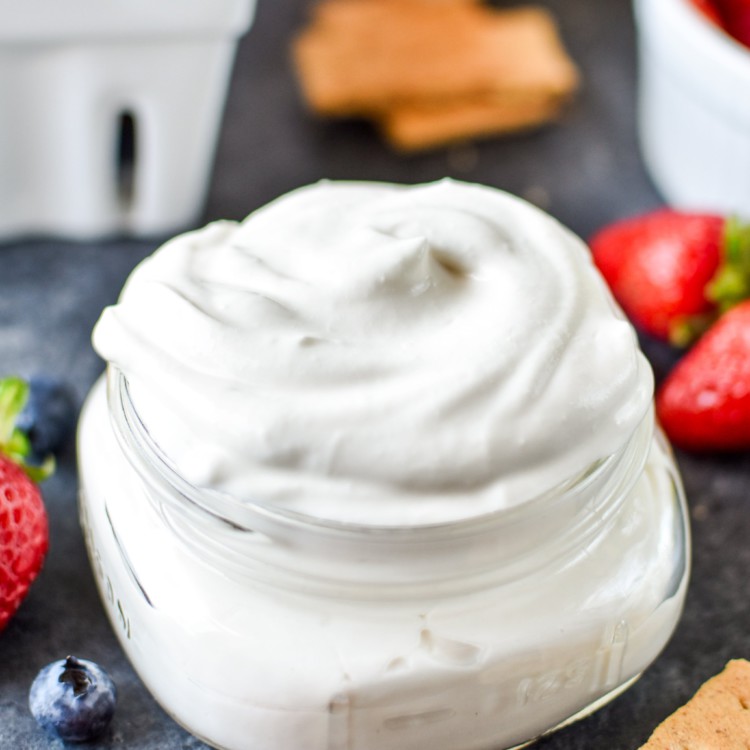
Creamy, dreamy and definitely the most delicious form of Greek yogurt I’ve ever had! Learn how to make whipped Greek yogurt, my new favorite no-bake dessert to enjoy now or make-ahead. Serve with fresh fruit and graham crackers, or just eat it plain!
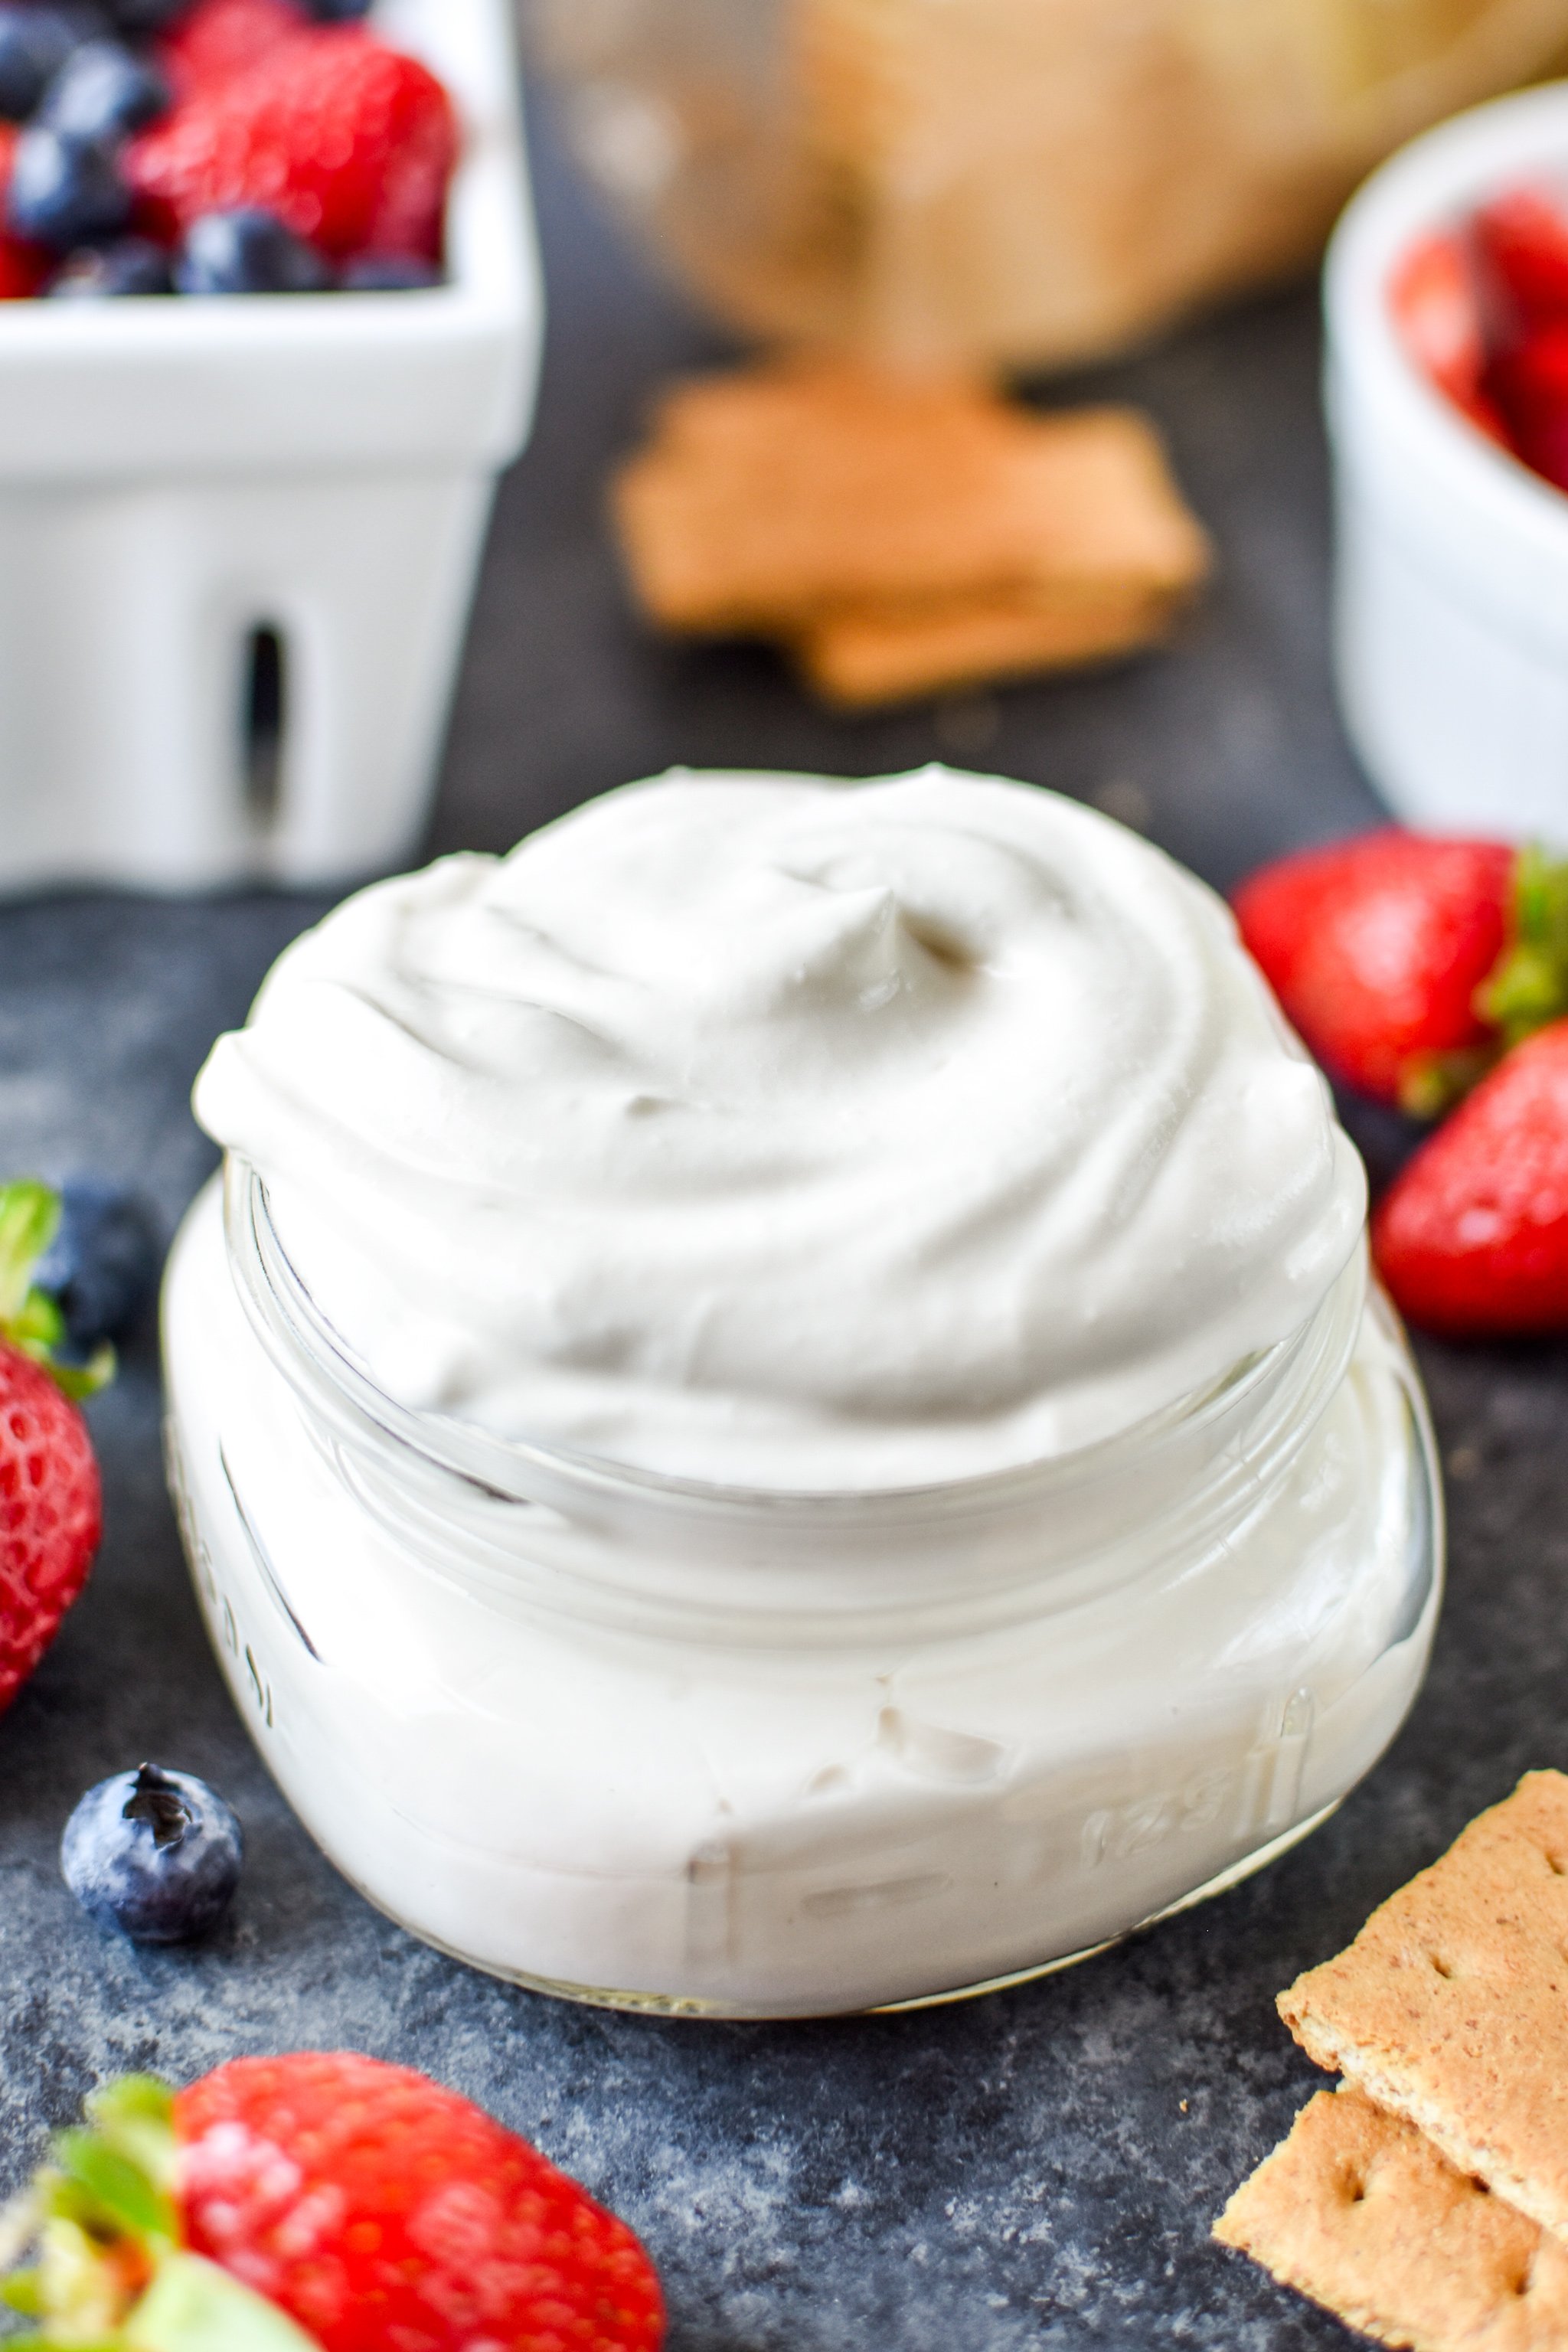 Newsflash!: Now deeming this year, “The Year of Greek Yogurt”.
But seriously, ever since I got an Instant Pot for Christmas ’17, I’ve been making yogurt at home basically nonstop. The only times I buy it at the store are when I need a tiny amount for new starter (live cultures, yum!!), or for Greek yogurt emergencies. I am a food blogger and this has happened before.
Why would I want to make yogurt at home?? SO MANY REASONS. Also reasons why YOU might want to make yogurt at home. If you’re a yogurt fan, of course.
- fresher and more delicious (just trust me)
- cheaper (I even did all the math for you HERE)
- less plastic containers used up (less garbage for you too)
- easy (with an Instant Pot, still possible without one)
- adjustable to your tastebuds (incubate longer for tarter yogurt, strain longer for thicker yogurt)
And now, (drumroll), my newest favorite way to make Greek yogurt (homemade or not), WHIPPED.
Recipe Overview
Total Time: 5 minutes
Difficulty: Easy
Method: No Heat
Prep: Make-Ahead Friendly
Watch how to Make Whipped Greek Yogurt (1 min 15 seconds):
What is whipped Greek yogurt?
Whipped Greek yogurt is simply that: yogurt, strained to remove the whey, combined with a small amount of whipping cream, and then whipped until it’s silky smooth and light.
It’s virtually the same concept as what happens when you make whipped cream. As the mixture is whipped, tiny pockets of air form to give it a lighter, airy texture.
What are the ingredients in the Whipped Greek Yogurt?
My version is a 4 ingredient blend of Greek yogurt, whipping cream, maple syrup, and vanilla extract. Here are the details:
- plain Greek yogurt – I recommend using 2% or whole fat yogurt here for that thick and creamy texture.
- whipping cream – The whipping cream is going to add that extra UMPH of whipped airy goodness, and transform the texture of the Greek yogurt into something amazing!
- maple syrup – Sweetener is required since we are using plain Greek yogurt. Feel free to sub for honey or your preferred liquid sweetener.
- vanilla extract – A little bit of vanilla extract will give you the best flavor!
What’s so great about whipped Greek yogurt?
- It’s creamy, whippy, perfect for dipping fruit, and oh so delicious.
- It is EASY and you don’t need any cooking skills. You just mix.
- No heat required. Summertime dessert on repeat!
- There’s only as much sugar as you add (I do 2 tablespoons of maple syrup).
- There’s a little bit of protein (5g per serving). IN DESSERT.
- It’s a great use of any plain Greek yogurt you have. No more leftovers going to waste!!
- You can make it ahead of time and it lasts in the fridge.
Do I need to go on? Cool, let’s get to the important part.
How do you make whipped Greek yogurt?
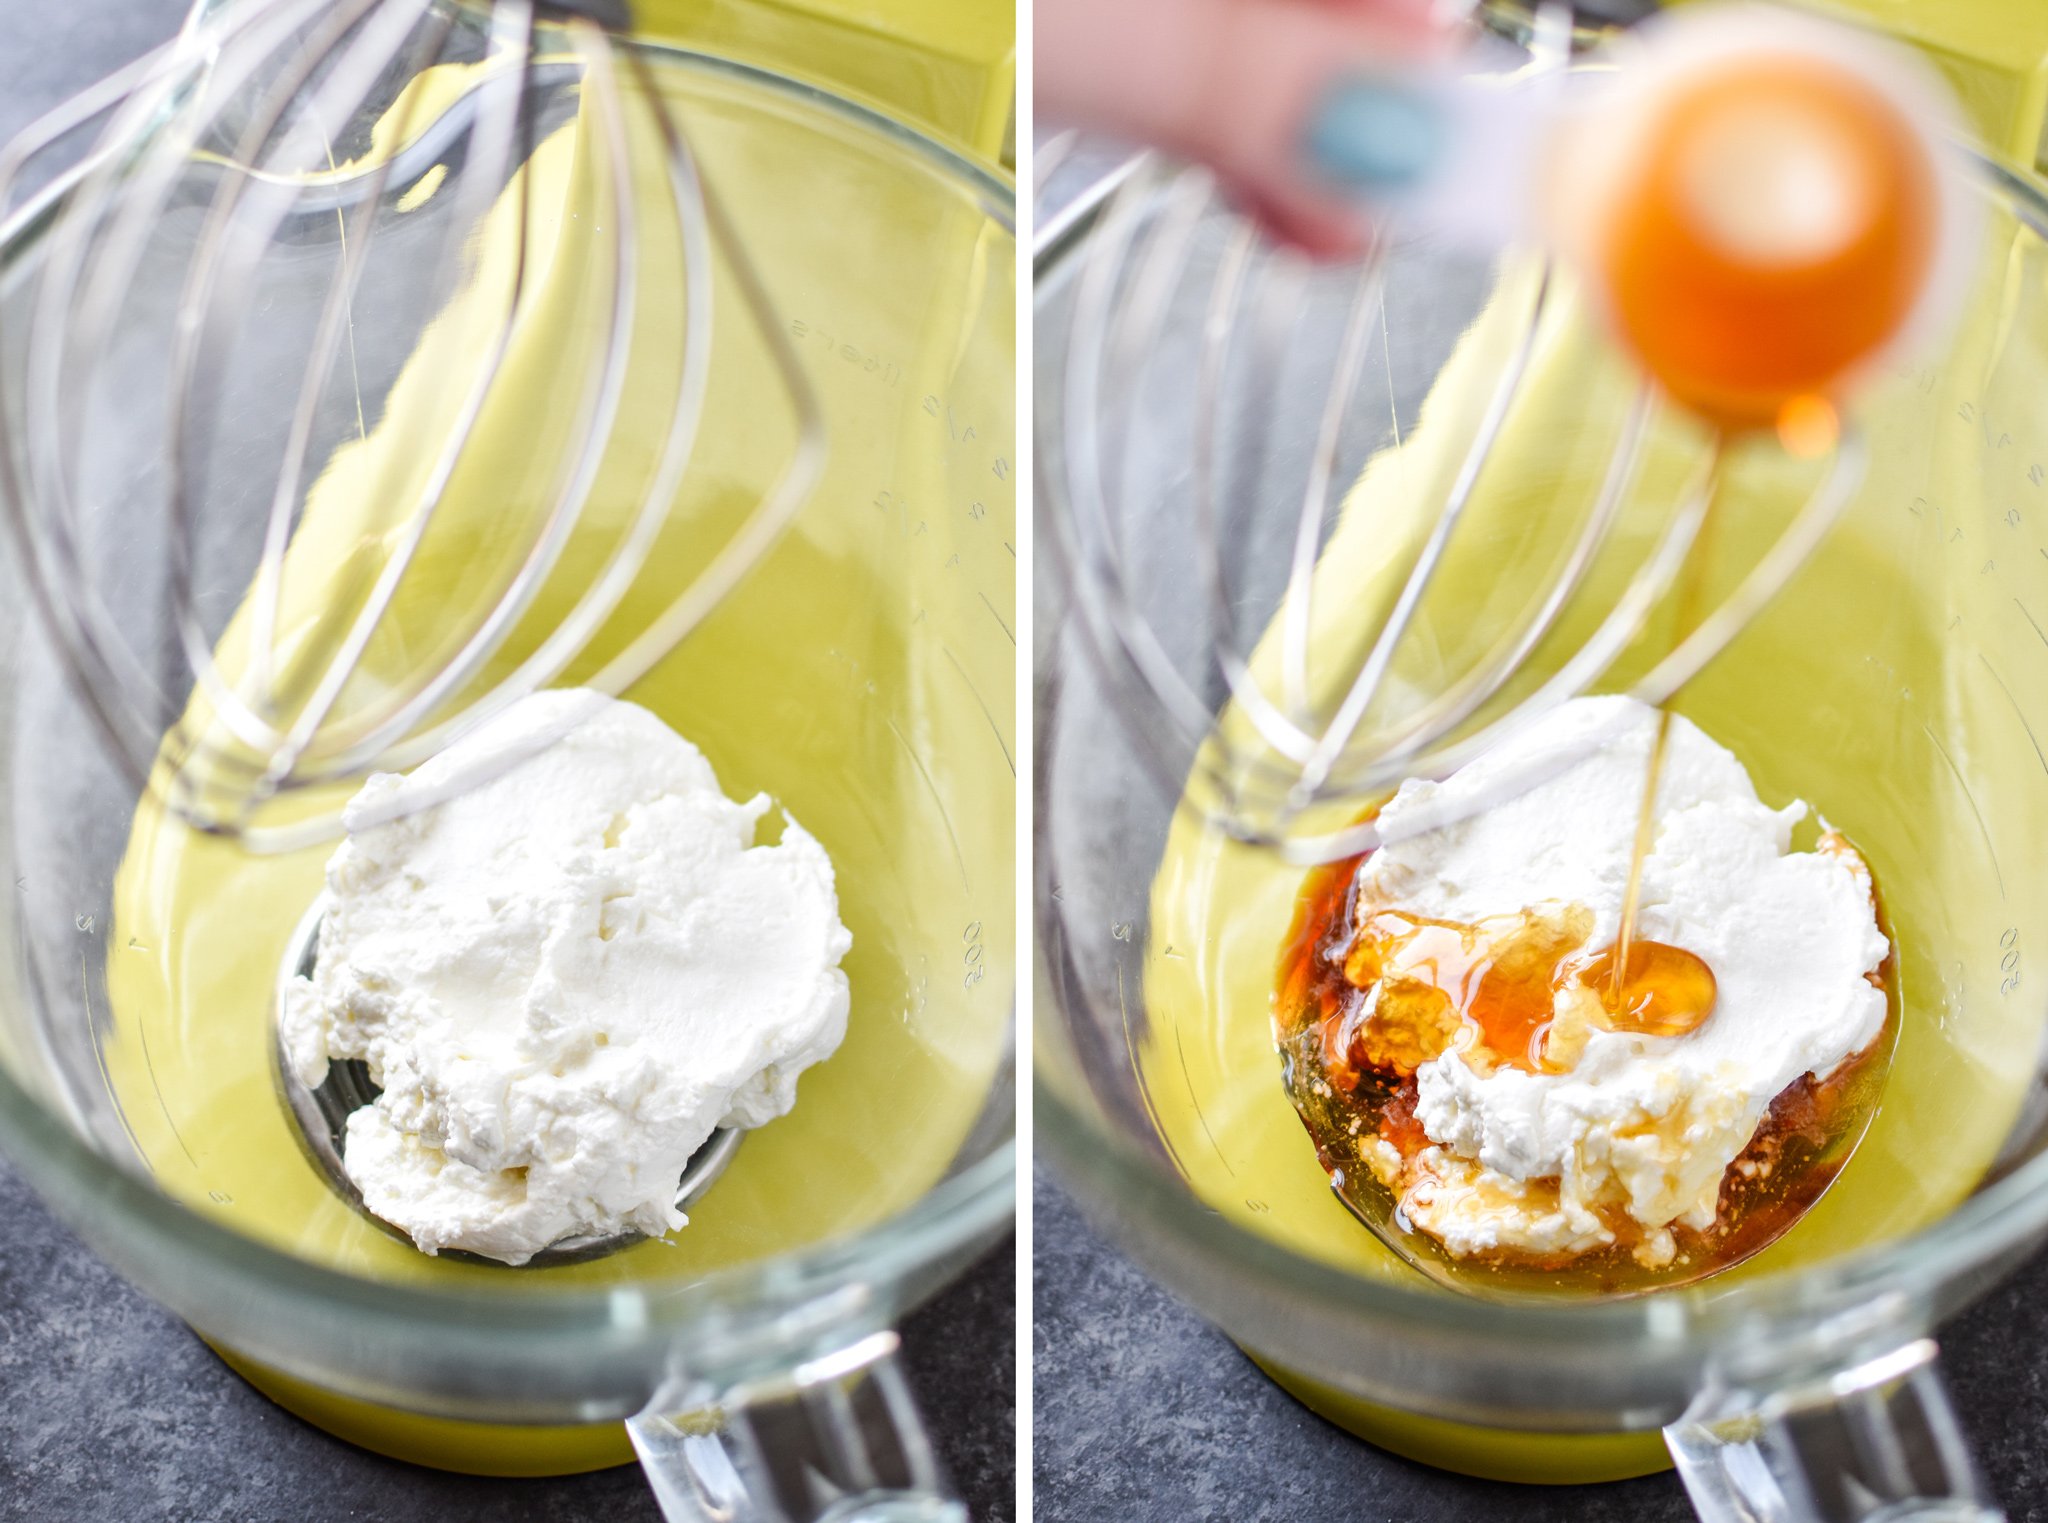
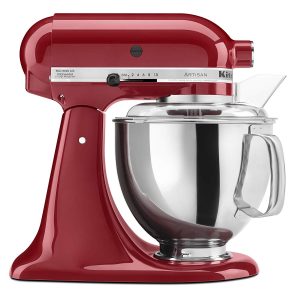
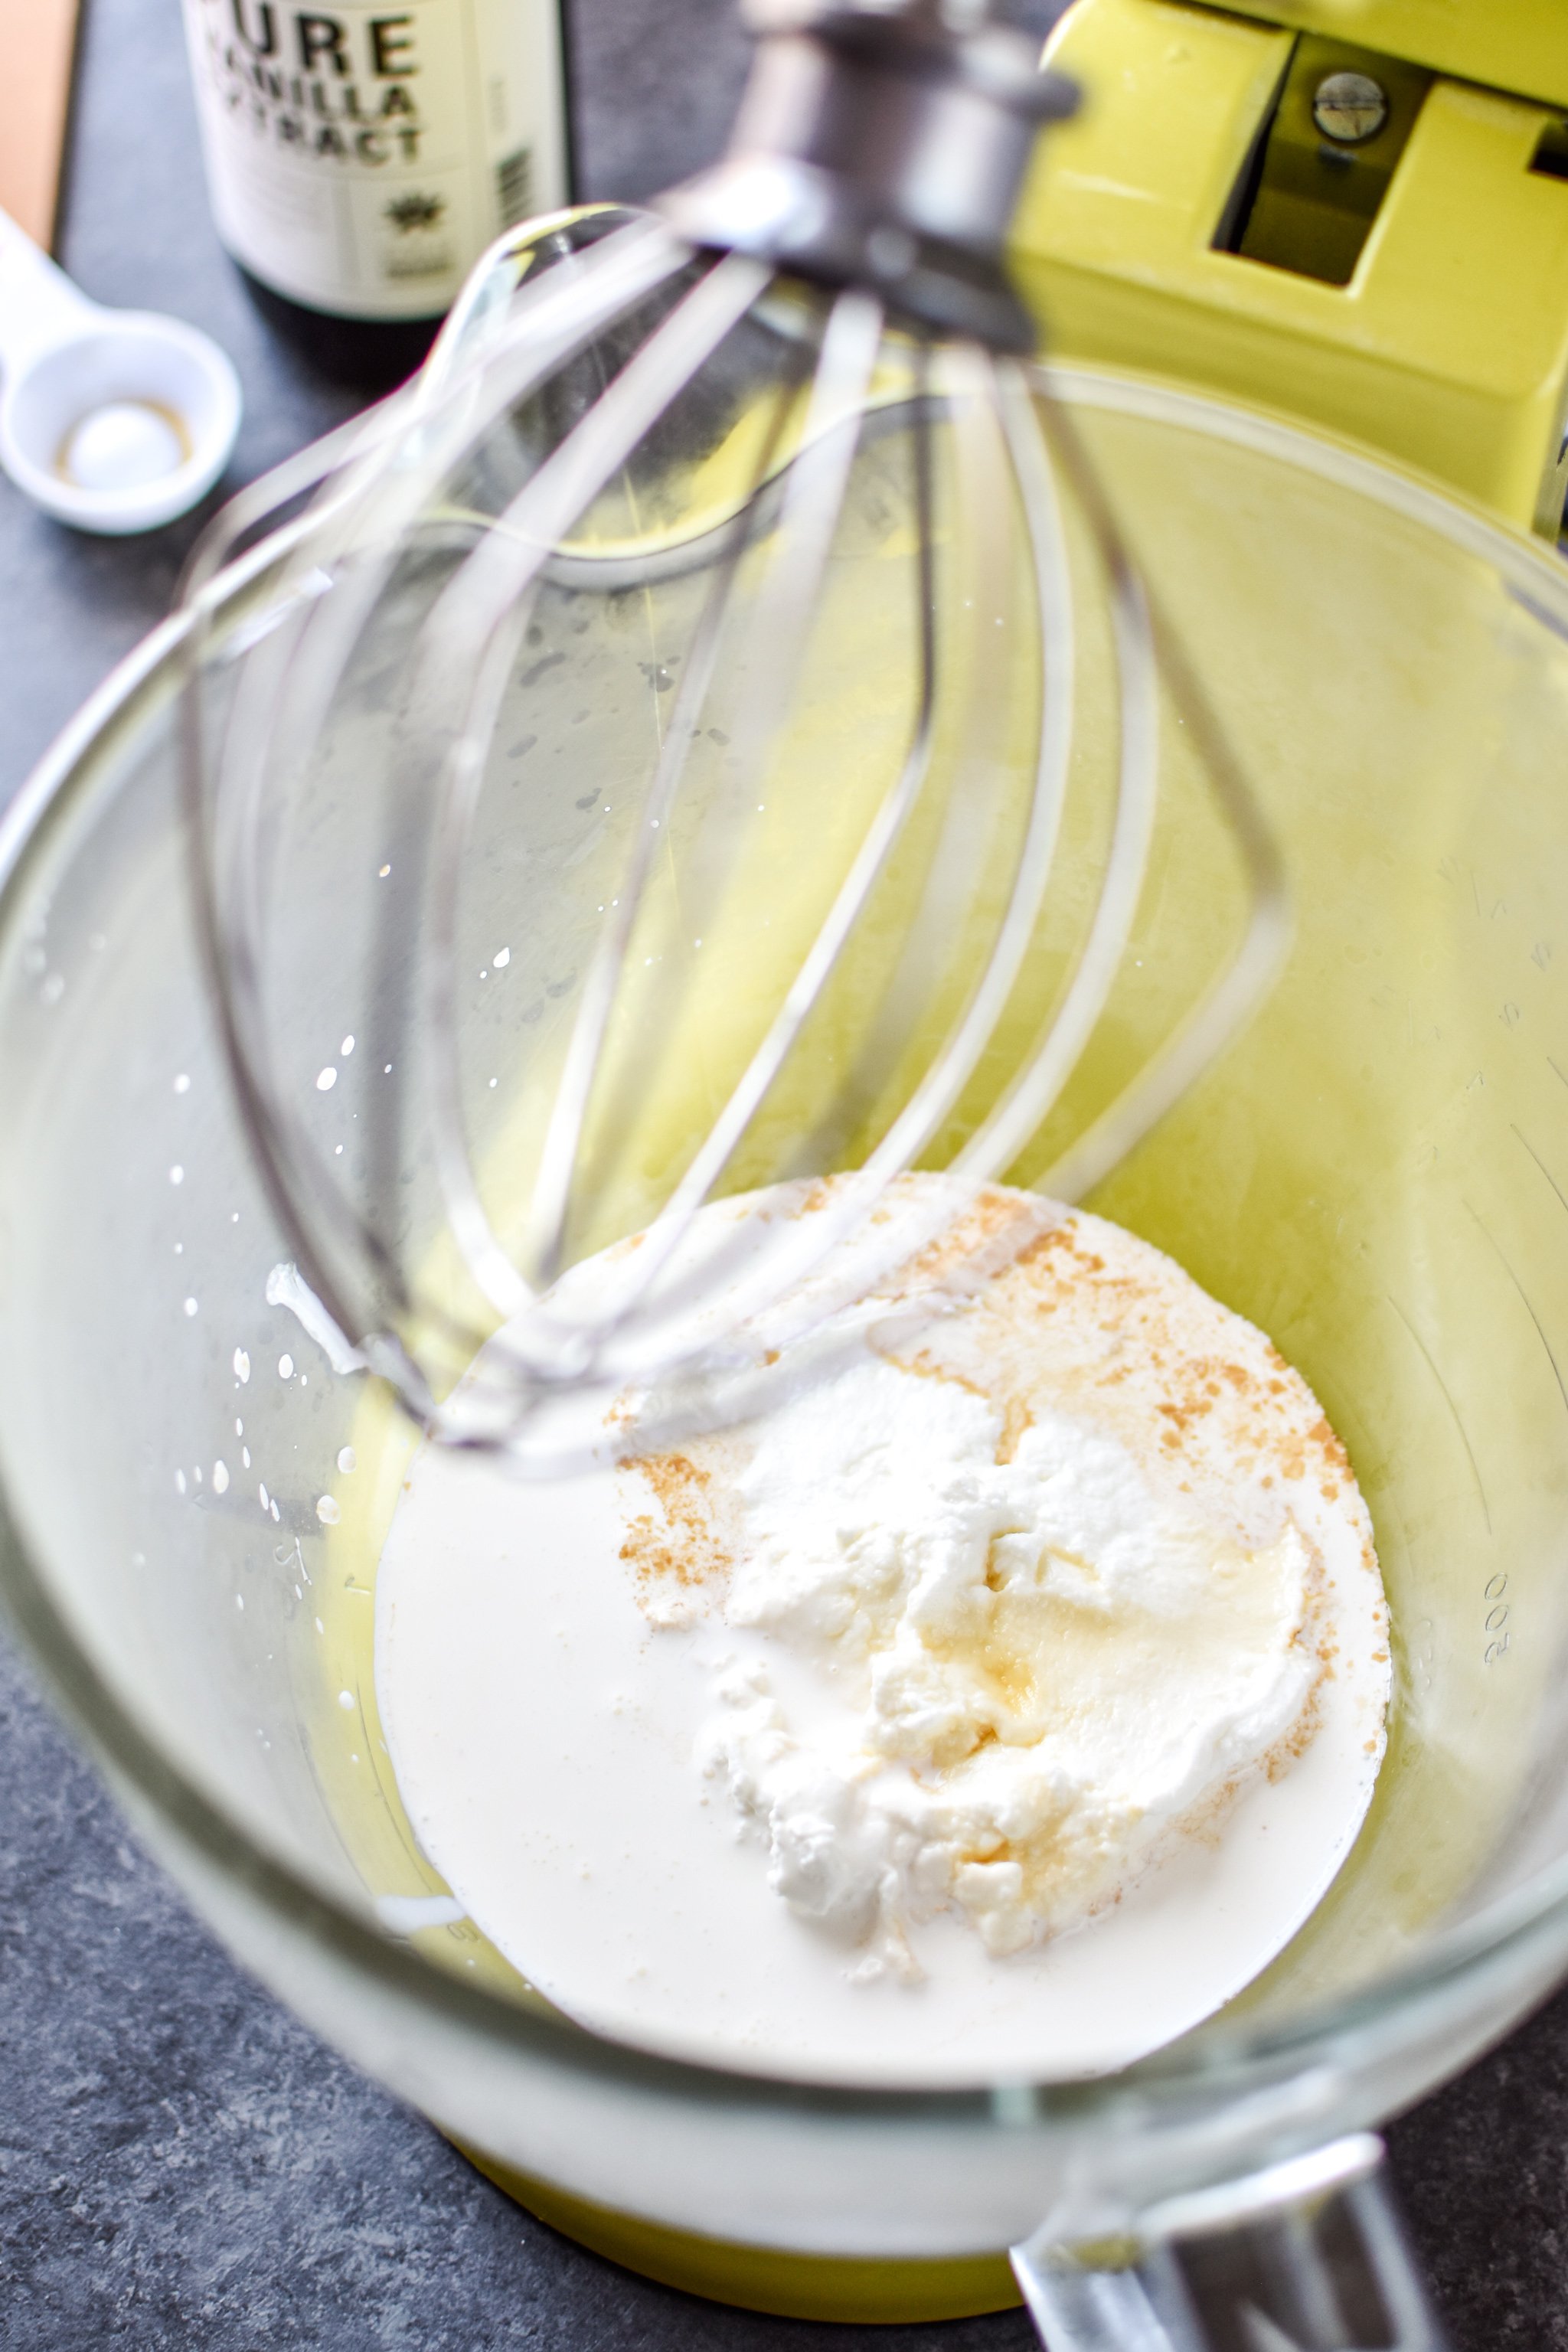
SIMPLE. Use a hand mixer or a Kitchen Aid with the whisk attachment. Add the four ingredients I mentioned (Greek yogurt, whipping cream, maple syrup, vanilla extract) in any order.
It’s going to look something like this when you start. Non-fluffy Greek yogurt with some liquid.
Can I use a hand mixer instead?
If you don’t have a KitchenAid, you can definitely use a hand mixer instead. I prefer my KitchenAid to give my hands a break!
Now, just whisk away! Start out at the slow speed for about 20 seconds. Once the liquid begins to mix into the yogurt, slowly up the speed to the highest level.
I let my Kitchen Aid mixer go for two minutes before I stop and give everything a quick stir. I’ve found when using the whisk attachment, there’s sometimes a small amount left unmixed at the very bottom.
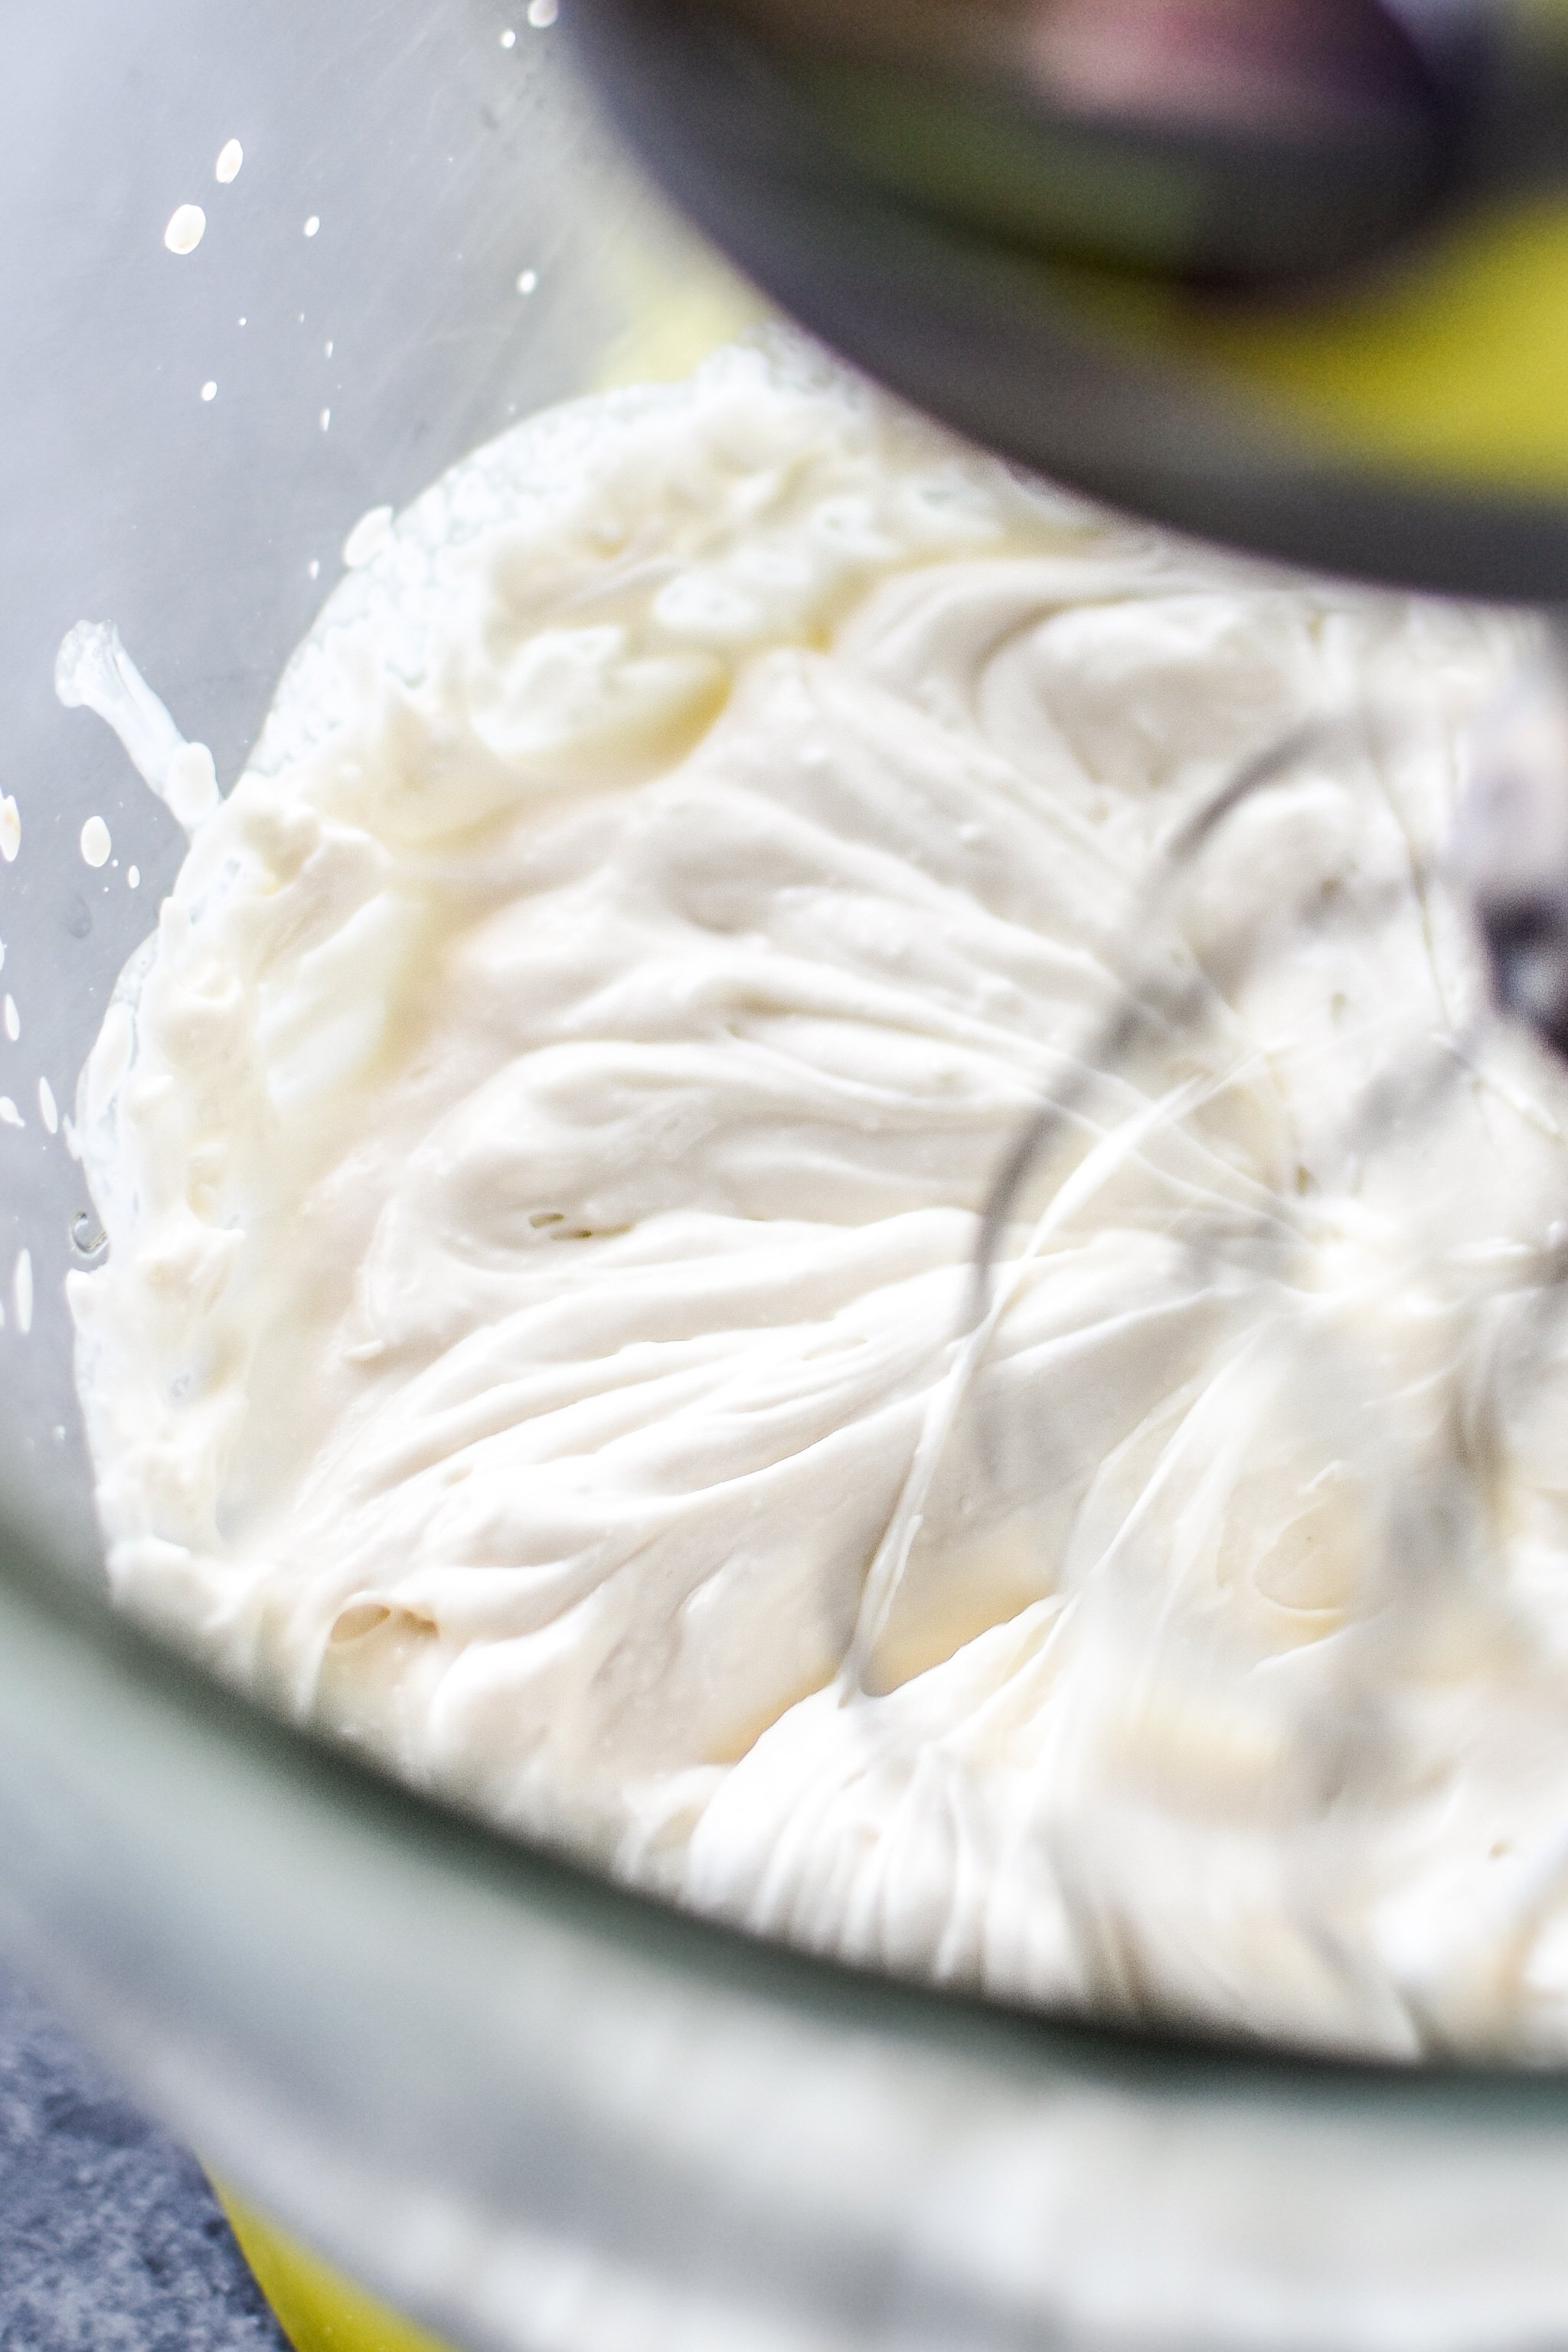
After the quick mix, I continue whisking for another 2-3 minutes. Peaks will form, but they won’t be quite as stiff as whipped cream peaks.
However, they’ll still hand up when you remove the whisk. You can also dip a spoon in the mixture and it should look silky and hold up on the spoon.
Can you make whipped Greek yogurt without whipping cream?
You can! There are two ways to do so (that I know of).
- Use coconut cream instead. You know the thick part at the top of a can of coconut milk? That has enough fat in it to also be useful for this recipe. Substituting the same amount of coconut cream for the whipping cream (1/4 cup) works very well. The consistency ends up about the same as when using whipping cream, however there’s a slight coconut taste from the coconut cream. This is an option if you don’t have whipping cream. Instructions for this method are detailed in the recipe card.
- You can skip adding any cream entirely. Ultimately, this will yield a much less silky smooth and airy final product. Peaks will form minimally, and the whipped yogurt will most likely retain it’s yogurty consistency after storage in the fridge. There’s simply not enough fat in the mixture for the light and airy ‘whipped’ texture. I recommend method #1.
What can you do with whipped Greek yogurt?
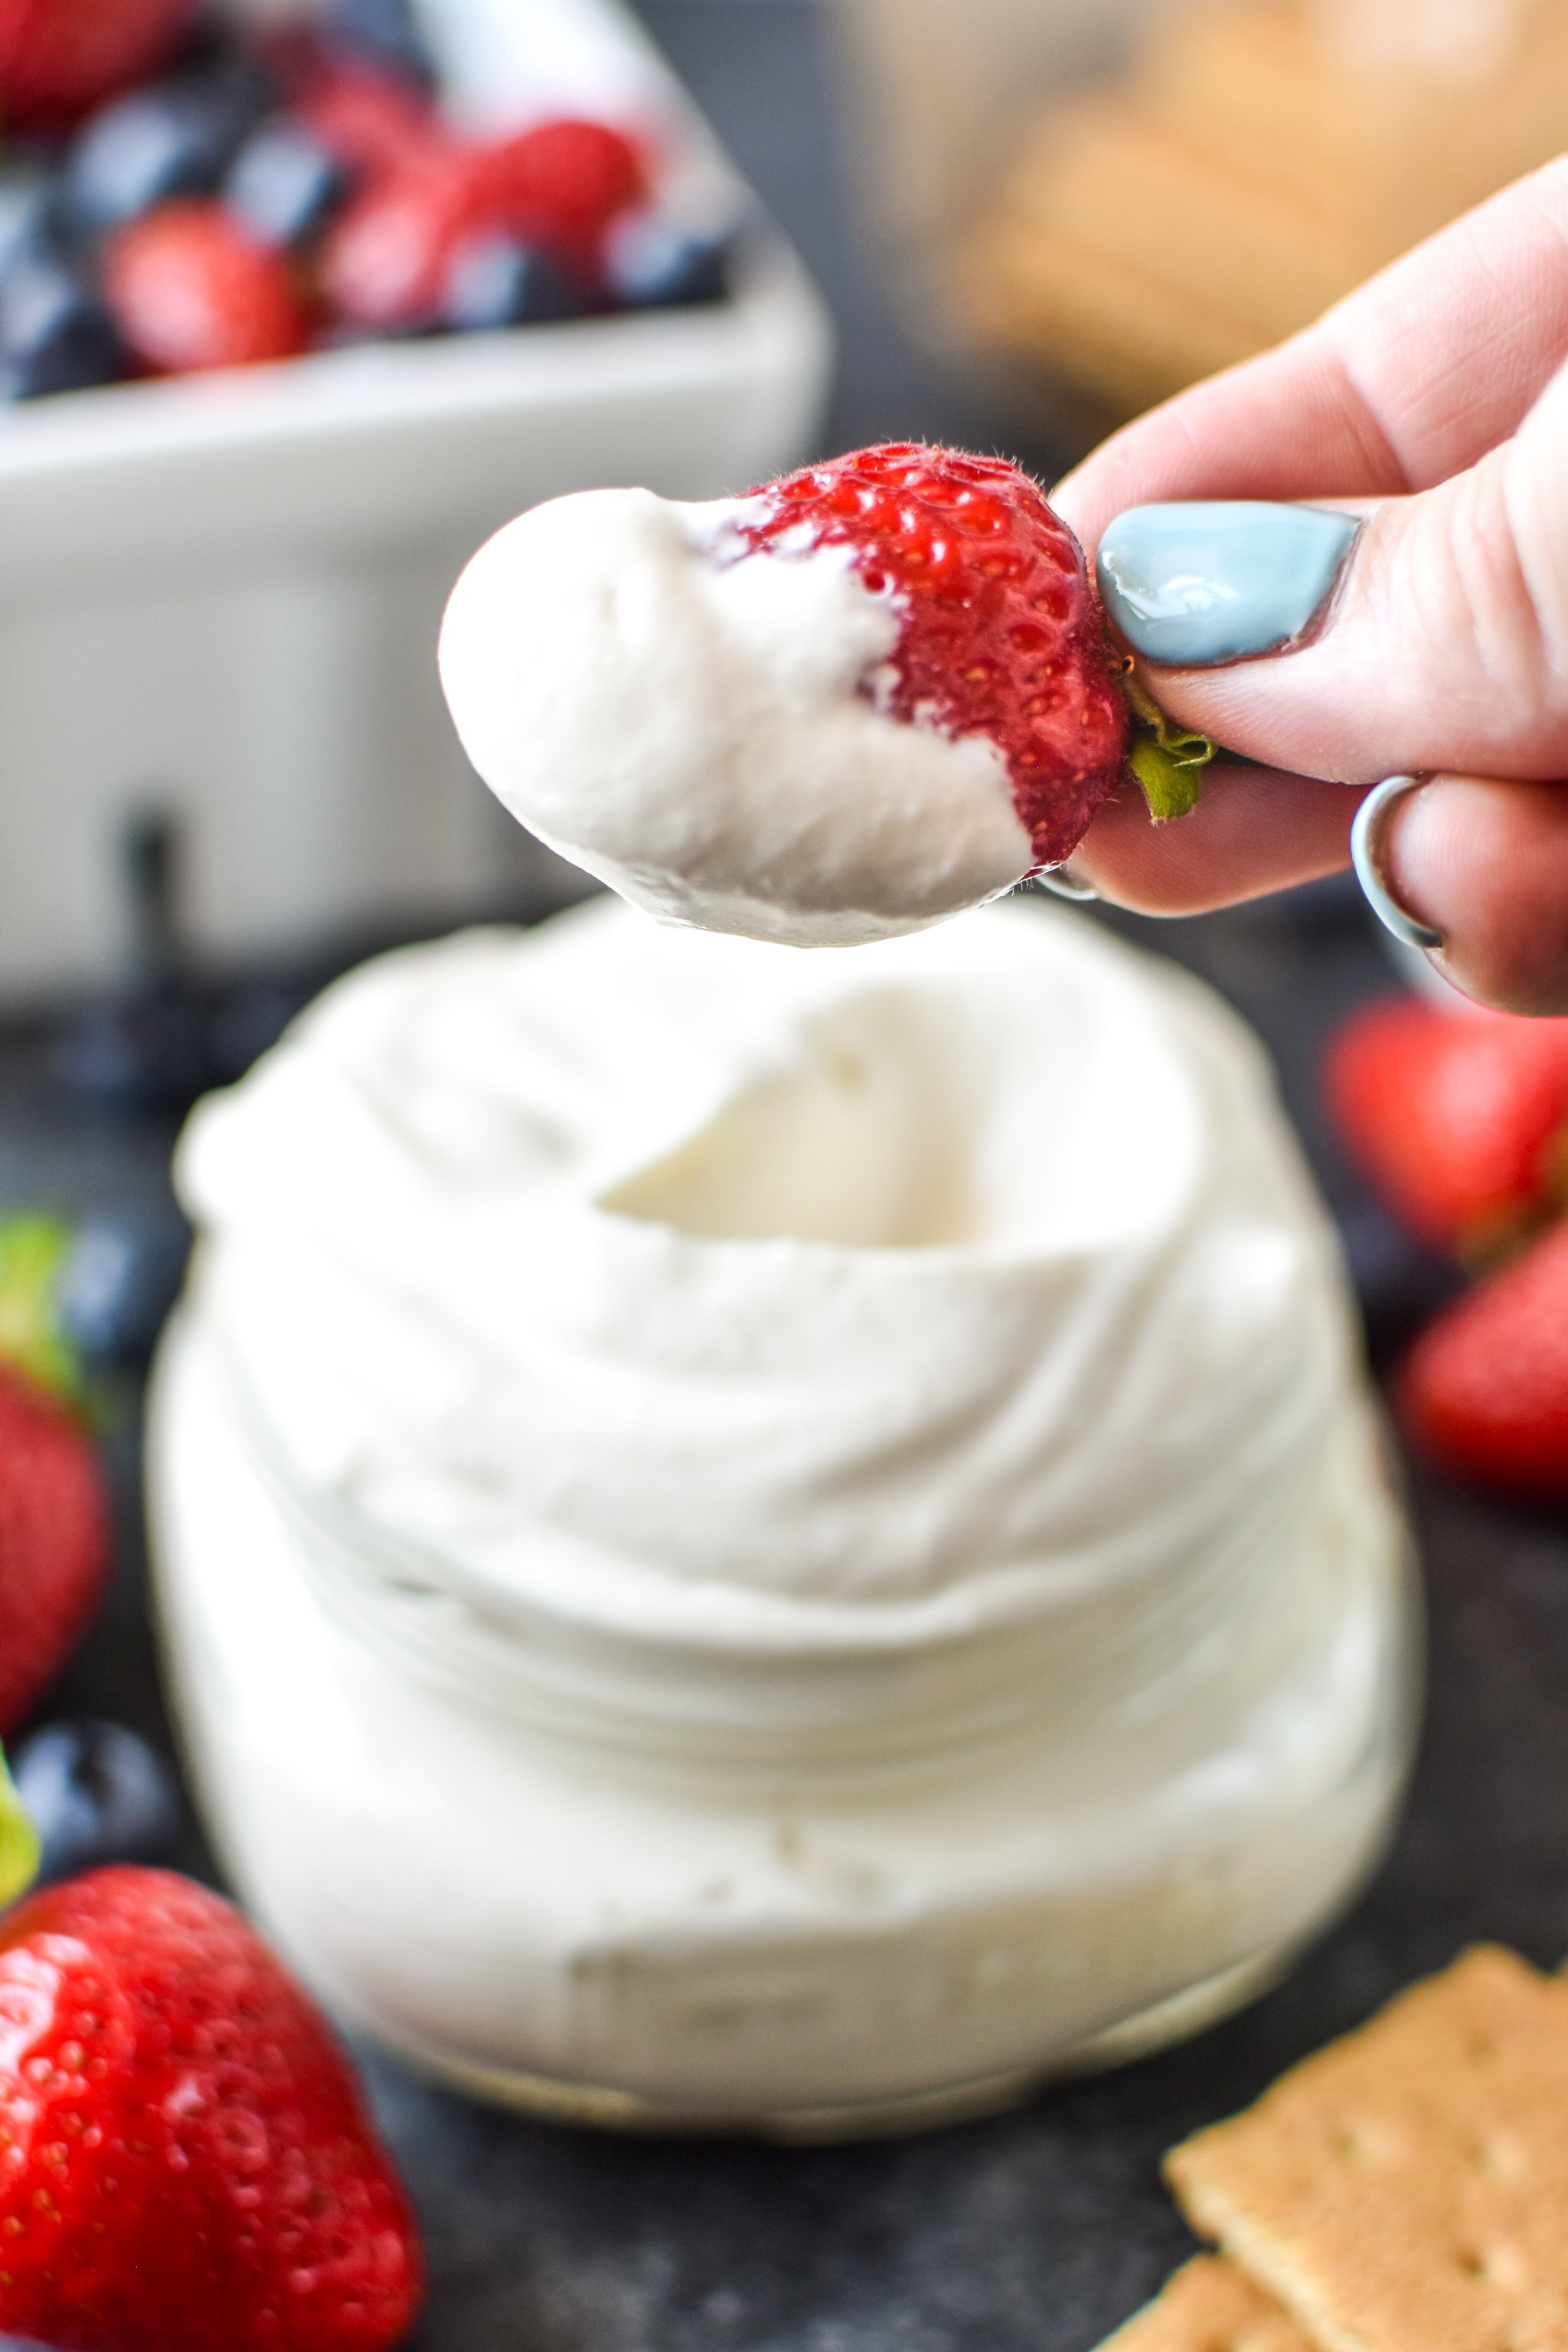
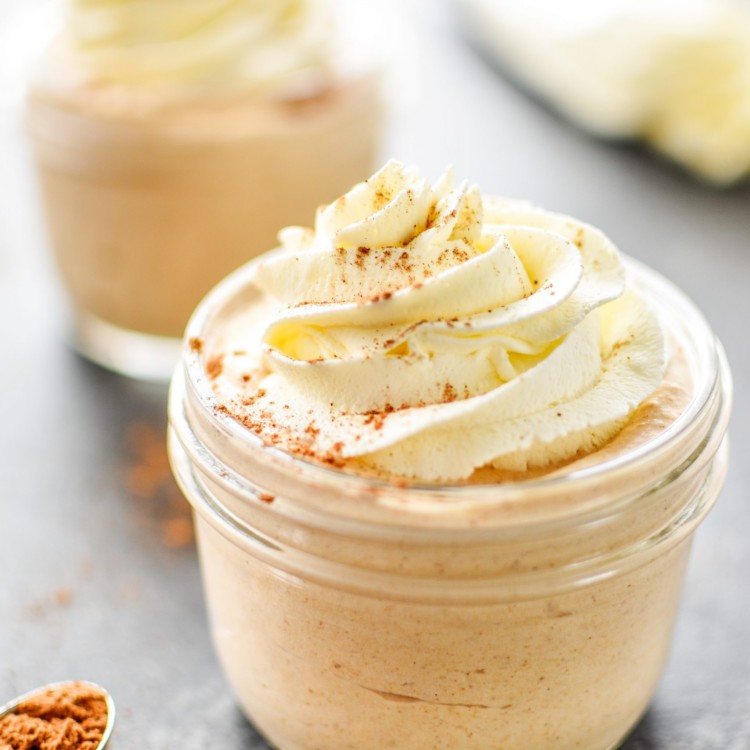
Uhm, ANYTHING. My favorite options include eating it plain with a spoon, dipping graham crackers, dipping berries, and eating it in parfait form with berries and graham crackers. Dessert works just as well as breakfast. It’s basically homemade Cool Whip. But made with Greek yogurt!!
How to store whipped Greek yogurt cups:
These cute little cups will last up to 5 days in a sealed container in the fridge, but I bet they’ll be gone before then!
How to freeze whipped Greek yogurt cups:
I would not recommend freezing these cups – I think the Greek yogurt would lose it’s whipped texture and not be the as good as fresh.
Did you make this? I want to see how it turned out! Tag me in your social media post @projectmealplan and use #projectmealplan when you share!
How to Make Whipped Greek Yogurt
Creamy, dreamy and definitely the most delicious form of Greek yogurt I’ve ever had! Learn how to make whipped Greek yogurt, my new favorite no-bake dessert to enjoy right now or store in the fridge for tomorrow. Serve with fresh fruit and graham crackers, or just eat it plain!
Ingredients
- 1 cup (240g) whole fat or 2% plain Greek yogurt (such as Fage)
- 1/4 cup (60g) cold heavy cream or whipping cream
- 2 tablespoons (30g) maple syrup
- 1/2 teaspoon vanilla extract
- pinch of salt (optional)
Instructions
- Add all ingredients to the bowl of a stand mixer fitted with the whisk attachment, or use a hand mixer.
- Begin mixing on low for about 20 seconds, until the liquid cream begins to mix into the yogurt. Slowly increase power to the highest speed.
- After about 2 minutes of whisking, reduce speed and shut off mixer. Use a spatula to give the yogurt a quick mix – push down the sides of the bowl and make sure the very bottom is mixed in.
- Continue mixing for another 2-3 minutes, or until peaks form when the whisk is removed. The peaks will not be super stiff, but will still stand up.
- It’s ready! Store in a sealed container in the fridge for up to 5 days. The whipped yogurt will thicken slightly in the fridge. Honestly it’s never lasted more than 1 night in the fridge at my house!
Equipment
KitchenAid 5-Quart Stand Mixer
Buy Now →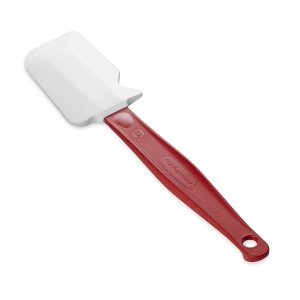
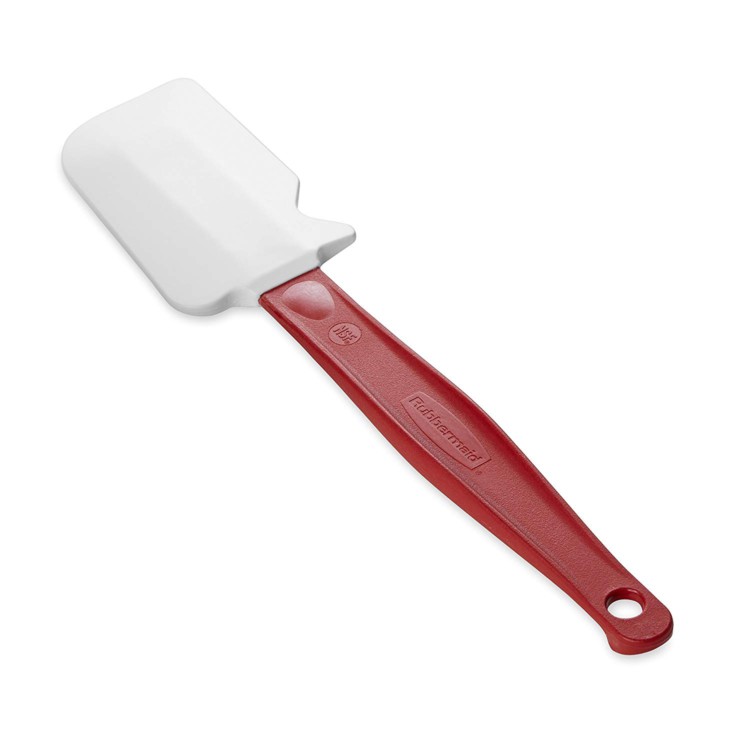
Rubbermaid High Heat Spatula Scraper
Buy Now →(affiliate link!)
Notes
Coconut cream: This recipe also works well with coconut cream substituted 1:1 in place of whipping cream. There’s a slight coconut taste, but the texture is virtually the same. Just an option if you don’t have regular cream! Coconut cream is the thicker top layer in a can of full-fat coconut milk.
Double or triple the recipe to serve as a dip for a crowd! Nutrition information estimated with My Fitness Pal.
Nutrition Information
- Serving Size: about 1/3 cup
- Calories: 133
- Sugar: 9g
- Fat: 8g
- Carbohydrates: 9g
- Protein: 5g




Carolyn says
Made this today. (so good). I’ll serve it with fresh frozen/thawed mixed berries for dessert tonight.
Danielle says
Yay I’m so glad you liked it. Isn’t it so perfect with berries? I need to make a batch! Thank you for your feedback 🙂 -Danielle
Mary says
I used low fat cream cheese instead of cream to reduce the fat due to cholesterol issues. It was great!I will try your other recipes using cream cheese instead.
Danielle says
That sounds incredible! I’ll definitely have to try this version. Thanks for sharing! -Danielle