
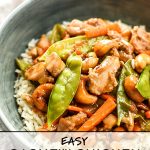
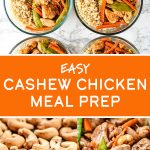
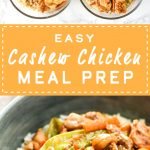
This Easy Cashew Chicken Meal Prep is an irresistible mix of skillet toasted cashews, peas, carrots and juicy chunks of chicken in a garlicky cashew sauce. Pair this one-pot lunch or dinner with rice or noodles for a delicious take-out style meal!
Get my FREE 10 Best No-Reheat Lunches eBook 🍽️

Note from Danielle
Today, this recipe earns a distinction that no other on Project Meal Plan has: this is our first recipe to ever be re-published twice. What does that mean?? First, when adding or changing over 50% of the content, I republish.
Because if something’s new, I want to share it with you! Specifically, this cashew chicken, which was one of the first meal prep lunch recipes I shared back in 2017. In the first republish in October 2021, I improved the recipe and shared new photos.
This time, it’s September 2026. I re-tested the recipe, added another lovely photo, and made everything even easier to understand. I think I even made the recipe even better too, if that was possible!
First inspired by a magazine recipe, I hope you enjoy this perfected cashew chicken!

👉 Here in the post, you’ll find detailed info and helpful tips based on my personal experience with this recipe.
🖨️ For the printable recipe card with ingredients list and concise instructions, keep scrolling or hit the ‘Jump to Recipe’ button at the top of the page.
🙋♀️ Frequently asked questions about this recipe are located after the recipe card.


For some authentic cashew chicken recipes, try one of these:
This recipe is reheat-friendly version based on various cashew chicken dishes I’ve had from chinese takeout restaurants over the years.
For some authentic cashew chicken recipes, I highly recommend trying these recipes from other food bloggers:
- Thai Cashew Chicken from Hot Thai Kitchen
- Chinese Cashew Chicken from Omnivore’s Cookbook

Recipe Overview
Total Time: 40 minutes
Servings: 4
Difficulty: Easy
Method: Stovetop
Prep: Make-Ahead Friendly
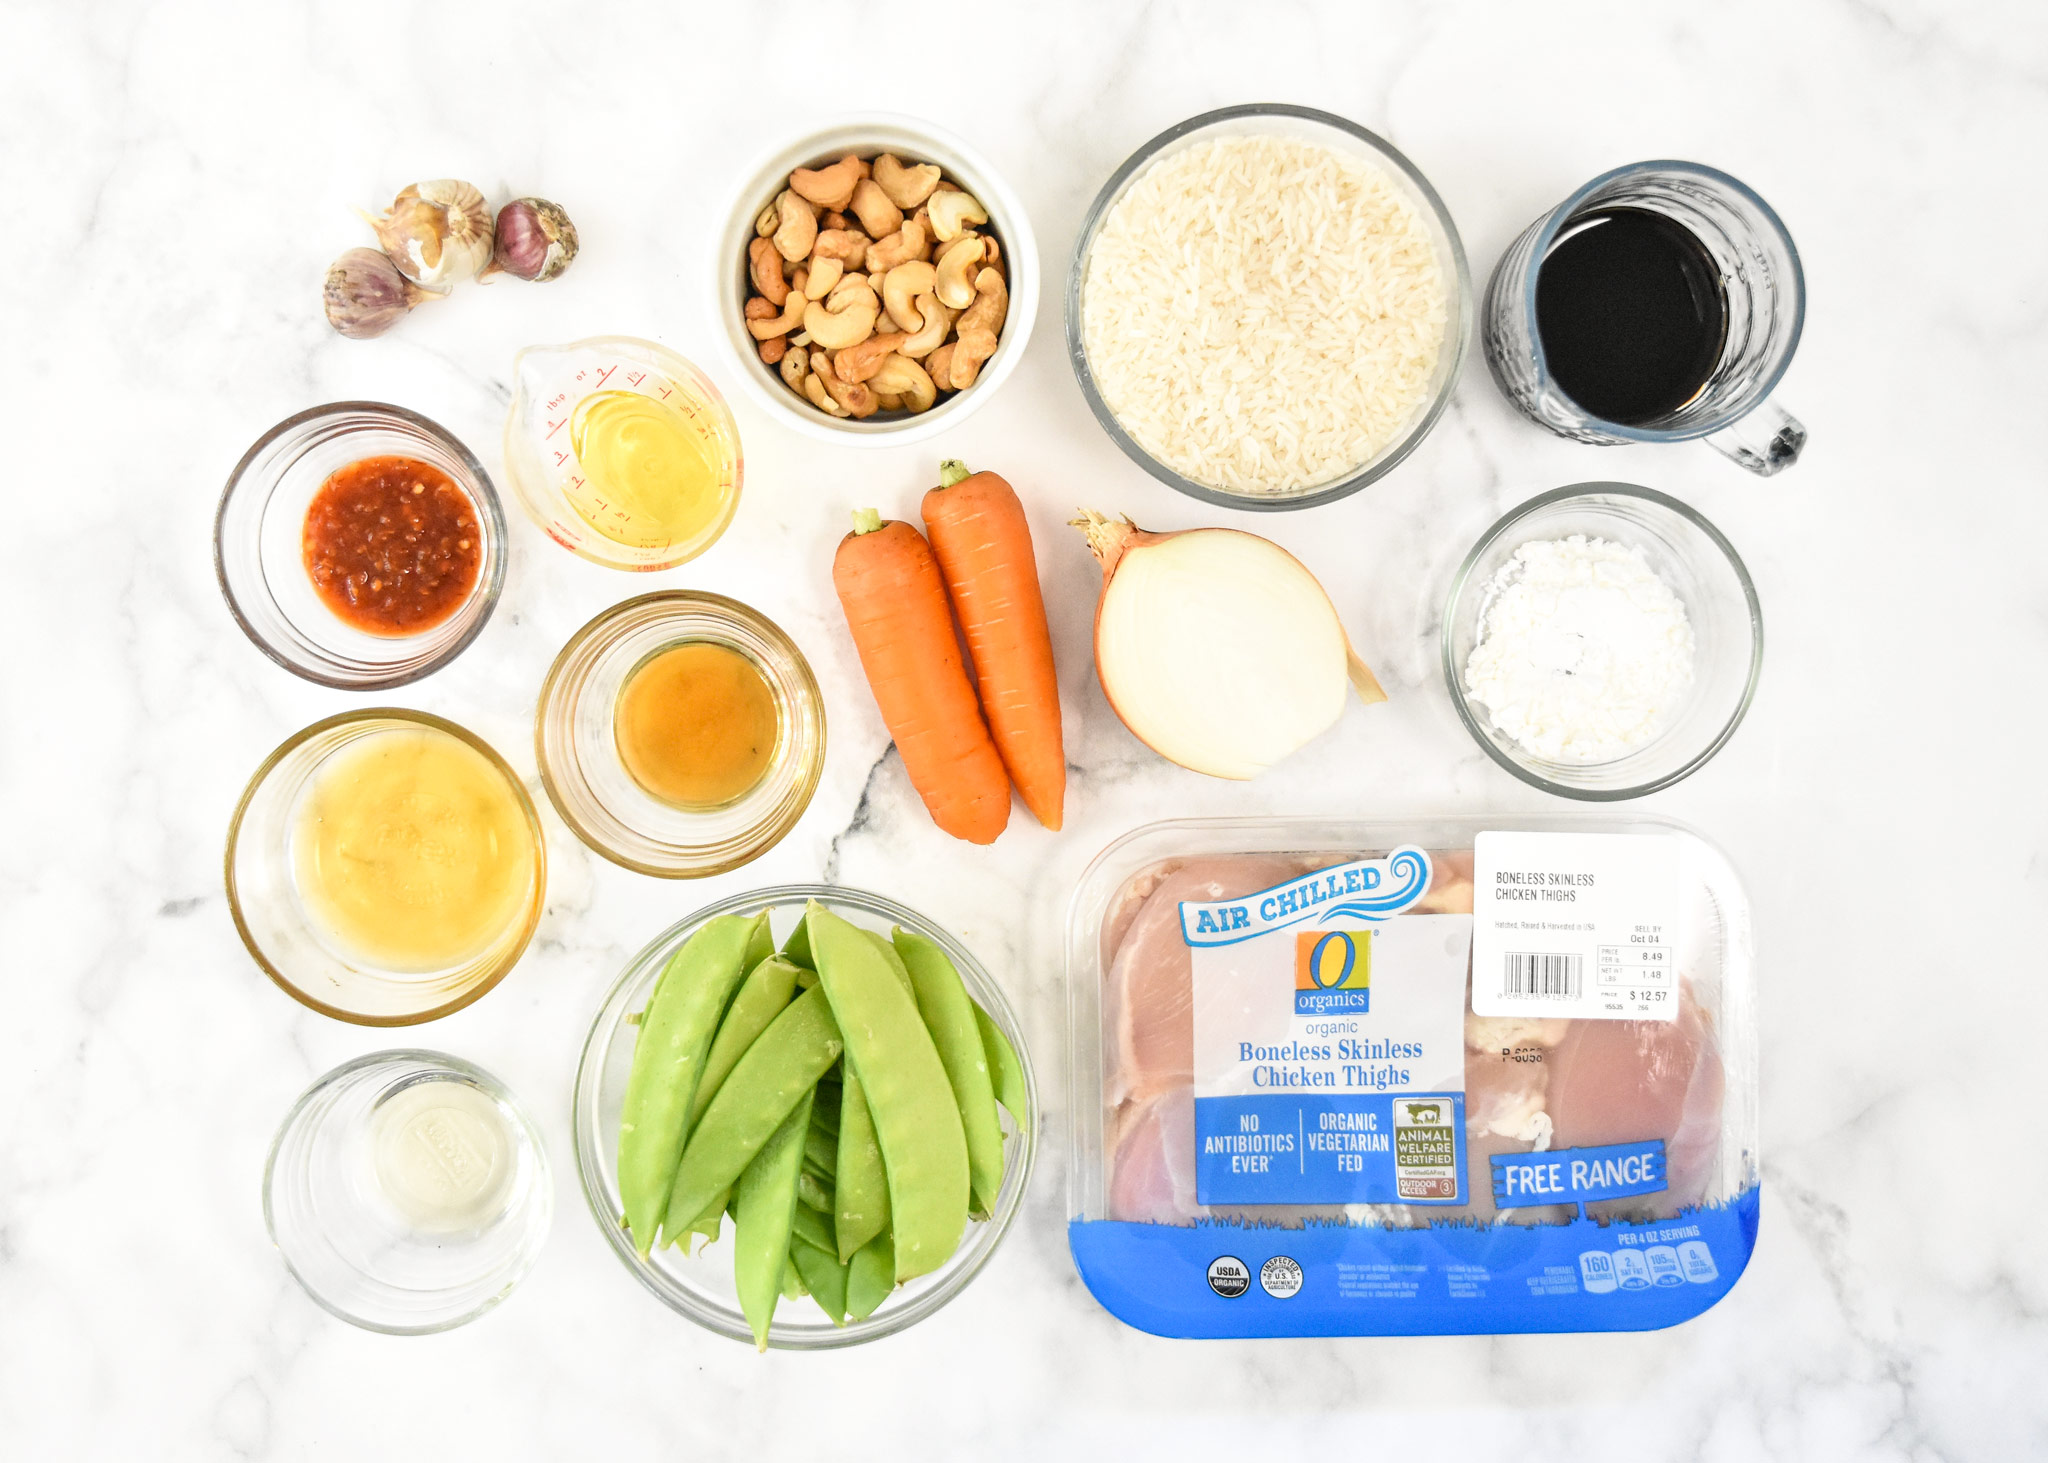
Ingredients in this Easy Cashew Chicken Meal Prep:
Ingredients for these meal prep bowls aren’t too complicated. If you’re familiar with Asian-inspired cooking, you may already have most of the sauce ingredients on hand!
Here are descriptions of the ingredients I used and possible substitution options:
- cashews – Feel free to use raw or roasted cashews. Toasting them is only necessary if you’re using raw cashews. If your cashews are already roasted, you can skip this. If you don’t have cashews, you can swap for peanuts!
- avocado oil – I use avocado oil for my cooking because of the neutral taste and high smoke point, but you can also use olive oil for this recipe.
- chicken thighs – Both options are very tasty, but the chicken thighs will provide more fat and make a juicier final dish. Chicken breast is also very good, just beware of overcooking so it doesn’t dry out!
- snow peas & carrots – These are the perfect veggies for this dish in my opinion, but you could also swap the peas for green bell pepper!
- yellow onion & garlic – Really good for flavor backbone of this recipe. Don’t skip!
- cornstarch + water – For thickening the sauce. Be sure to mix with water and form the slurry before adding to the pot. You can also use arrowroot here.
- soy sauce – This is the base of the sauce! I used low-sodium.
- sesame oil – You can use toasted or untoasted here, but I like toasted!
- rice vinegar – A small splash of vinegar helps brighten and sharpen the sauce.
- Sambal Oelek – My fave way to spice up Asian-inspired dishes, chili garlic sauce! If you don’t have this, you can swap with 1 tablespoon Sriracha and some extra garlic.
- honey – Balance out all that savory goodness with a touch of honey! If you like a sweeter main dish, double the amount.
Related: Do you work from home? I compiled a list of 15 Easy to Make Work From Home Lunch Ideas. You’ll definitely find something to try!
Equipment you’ll need to make this Easy Cashew Chicken Meal Prep:
Besides some common kitchen tools, there’s no super specific equipment needed to make this recipe, but I do have some recommendations on brands to look for:
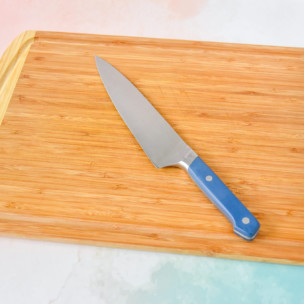
- sharp chef’s knife – If I had to pick one thing in my kitchen to use forever, it would be my Misen Chef’s Knife (affiliate link!). This knife is super high quality while being affordable. I’ve had mine for years (and there’s a lifetime guarantee!).
- plastic cutting board – When handling, trimming or cutting raw meat, I’ll use a plastic cutting board that can go into the dishwasher for best cleaning. Save the wooden cutting boards for produce and cooked proteins. Any brand works.
- wooden cutting board – Alternatively, for chopping the rest of the ingredients, I recommend this Greener Chef XL Bamboo Cutting Board (affiliate link!). The XL size is perfect but not too huge. I use it for everything except cutting raw meat. Hand wash only!
- rubber spatula – You’ll need some kind of utensil for working in the non-stick pan, and for that I always recommend a Rubbermaid High Heat Spoon Scraper (affiliate link!). They last forever and won’t melt with cooking.
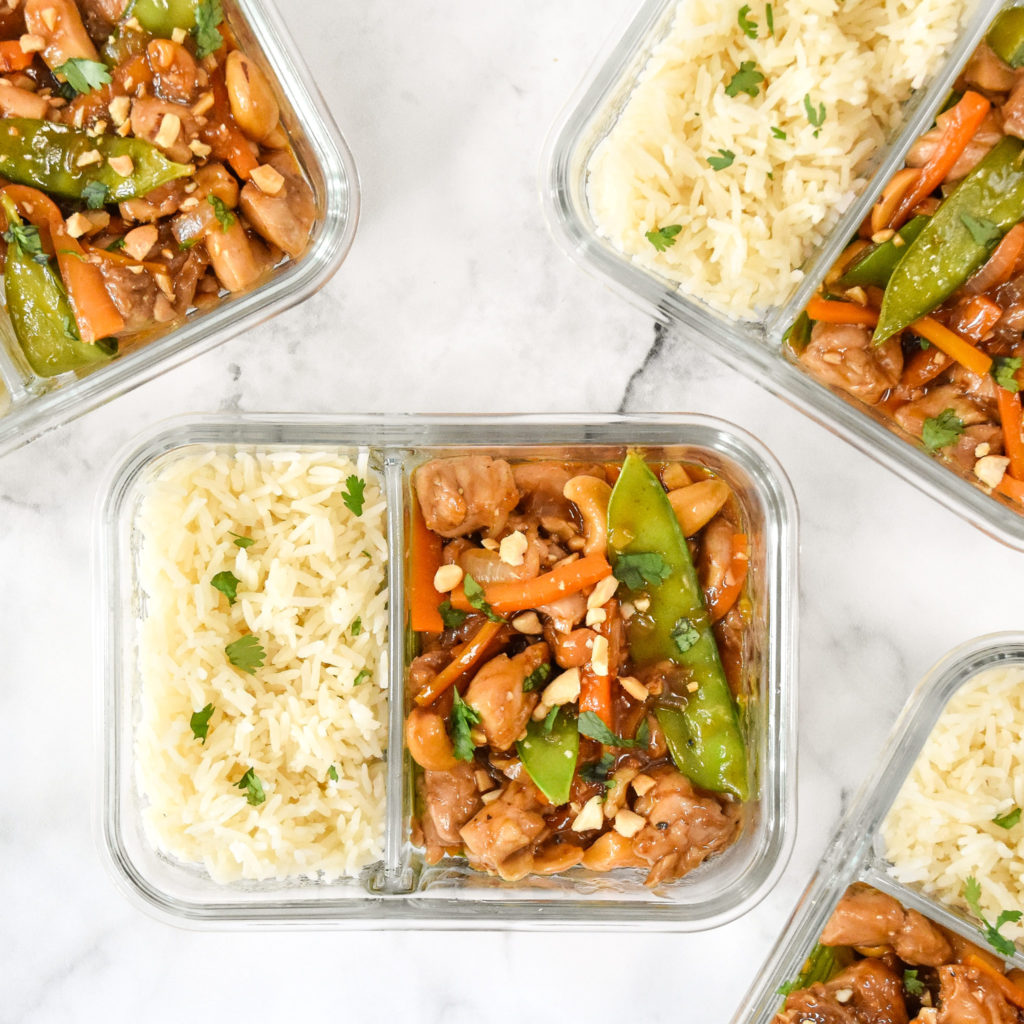
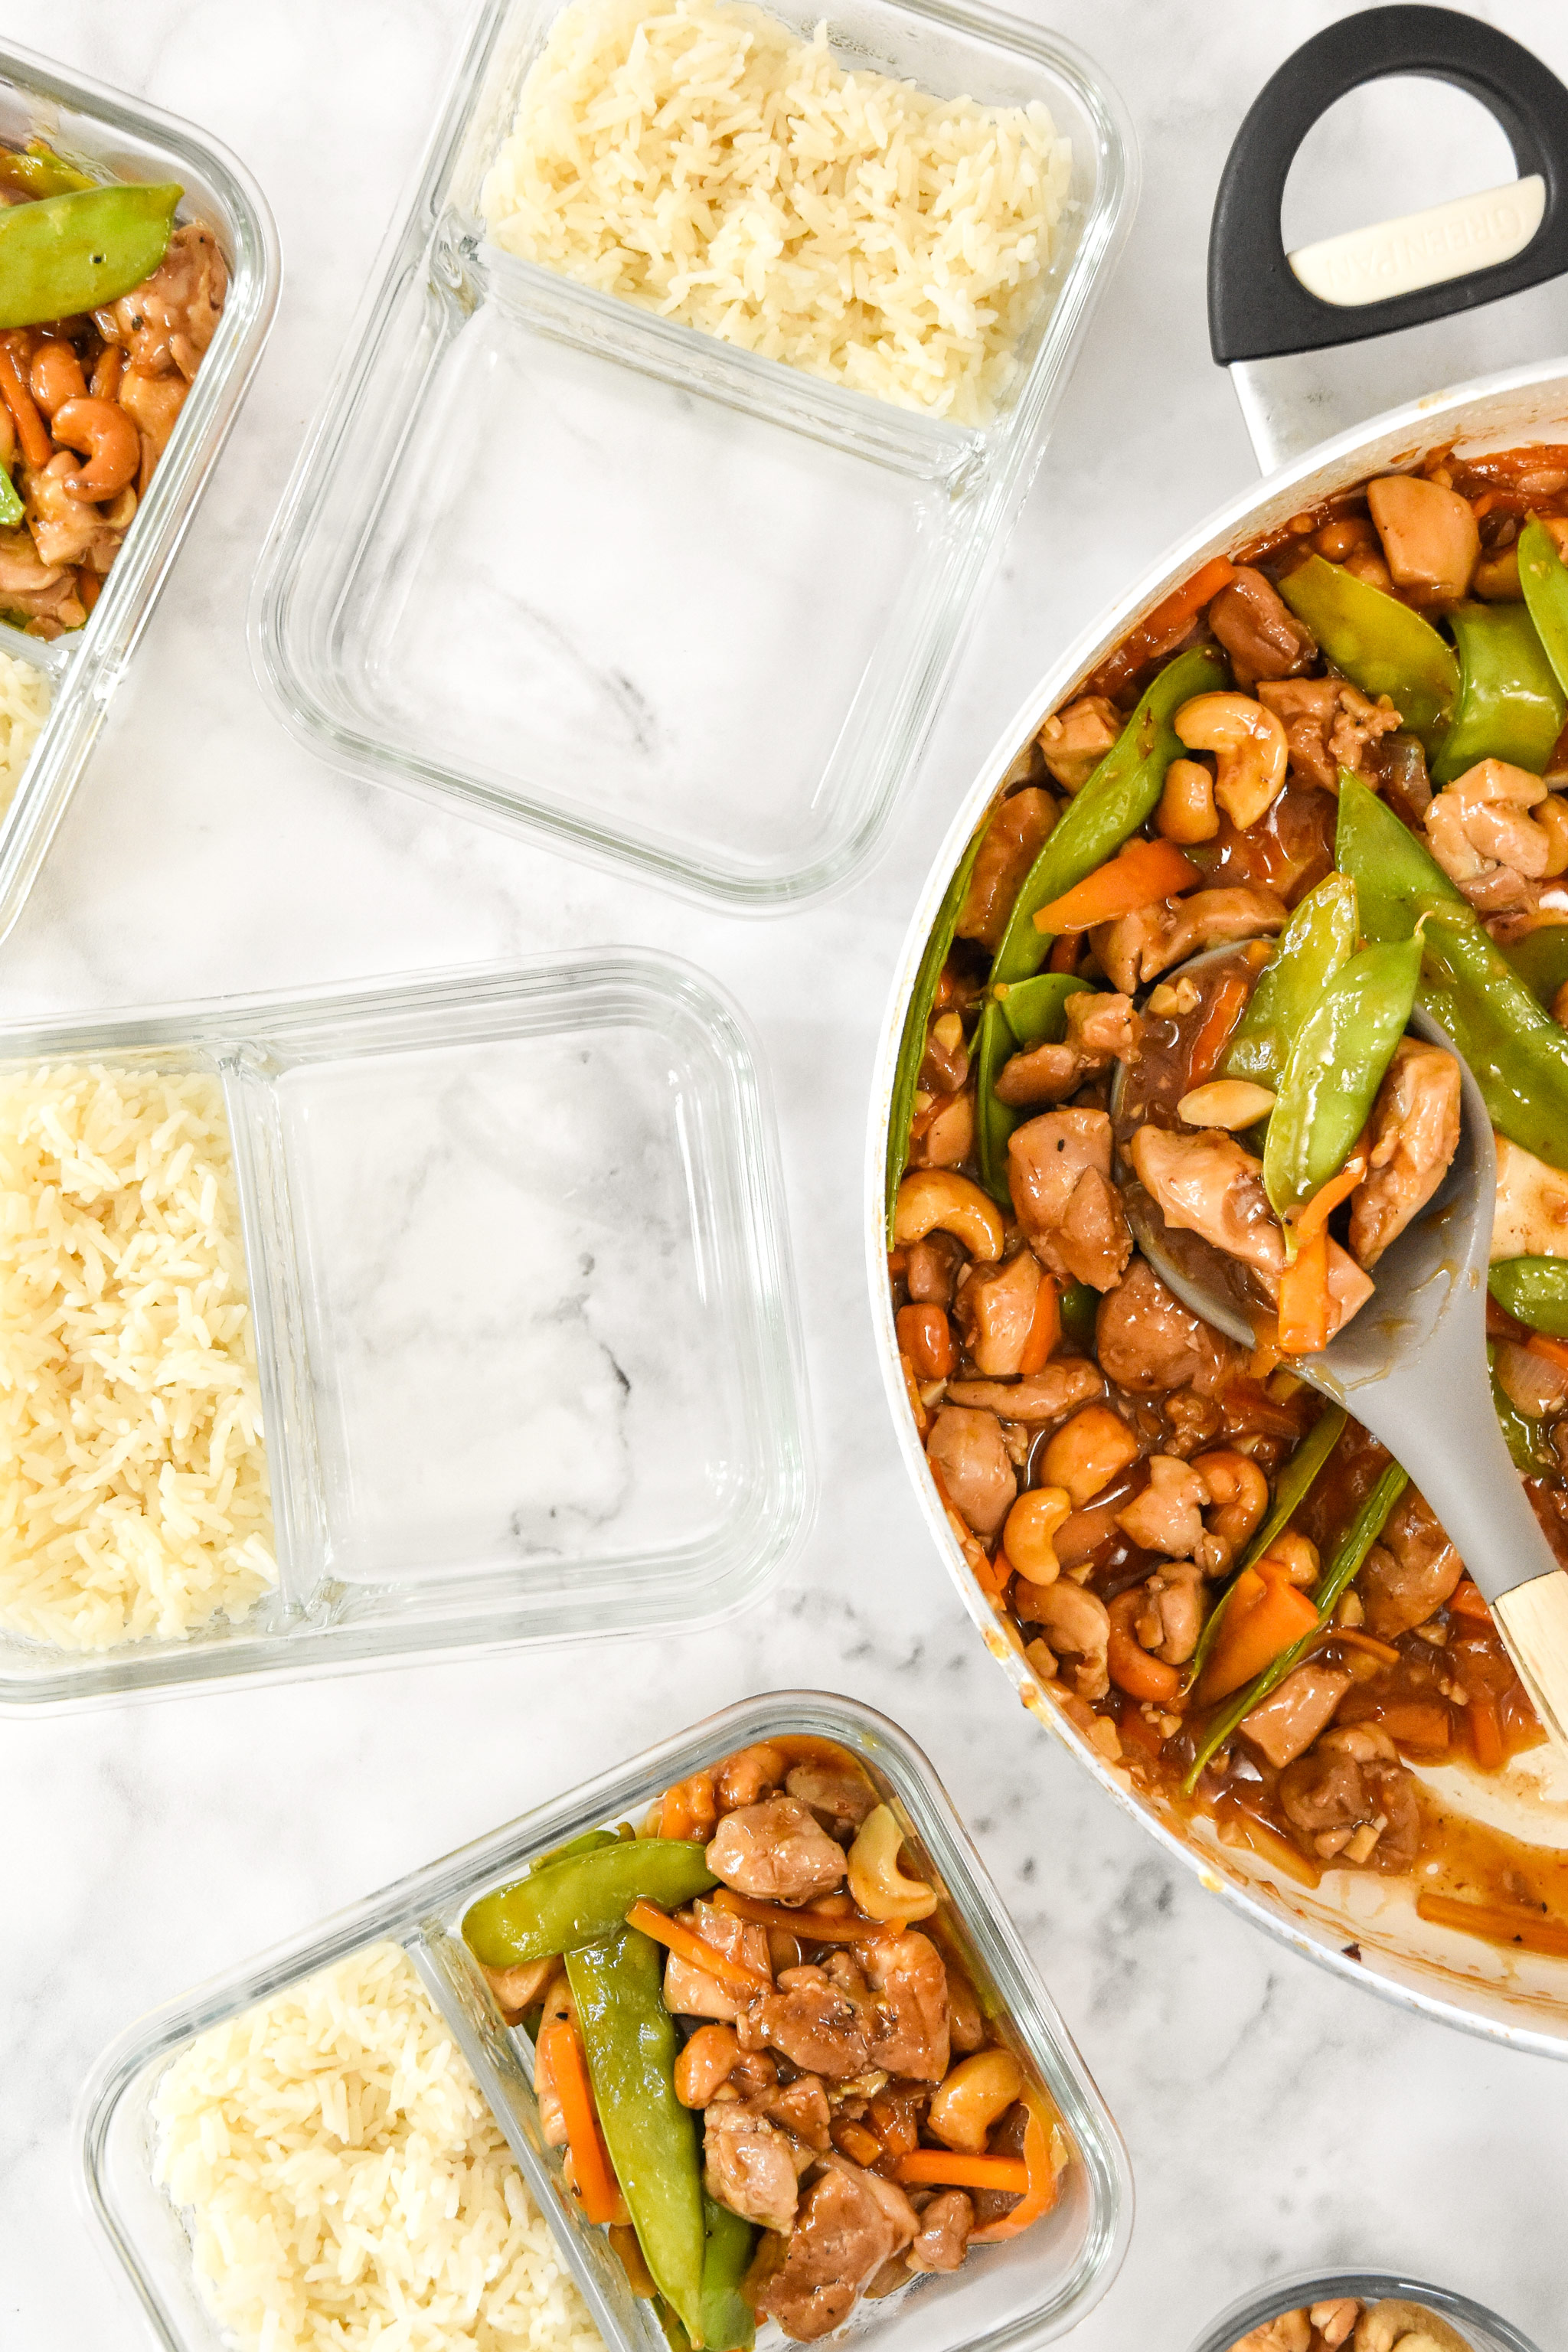
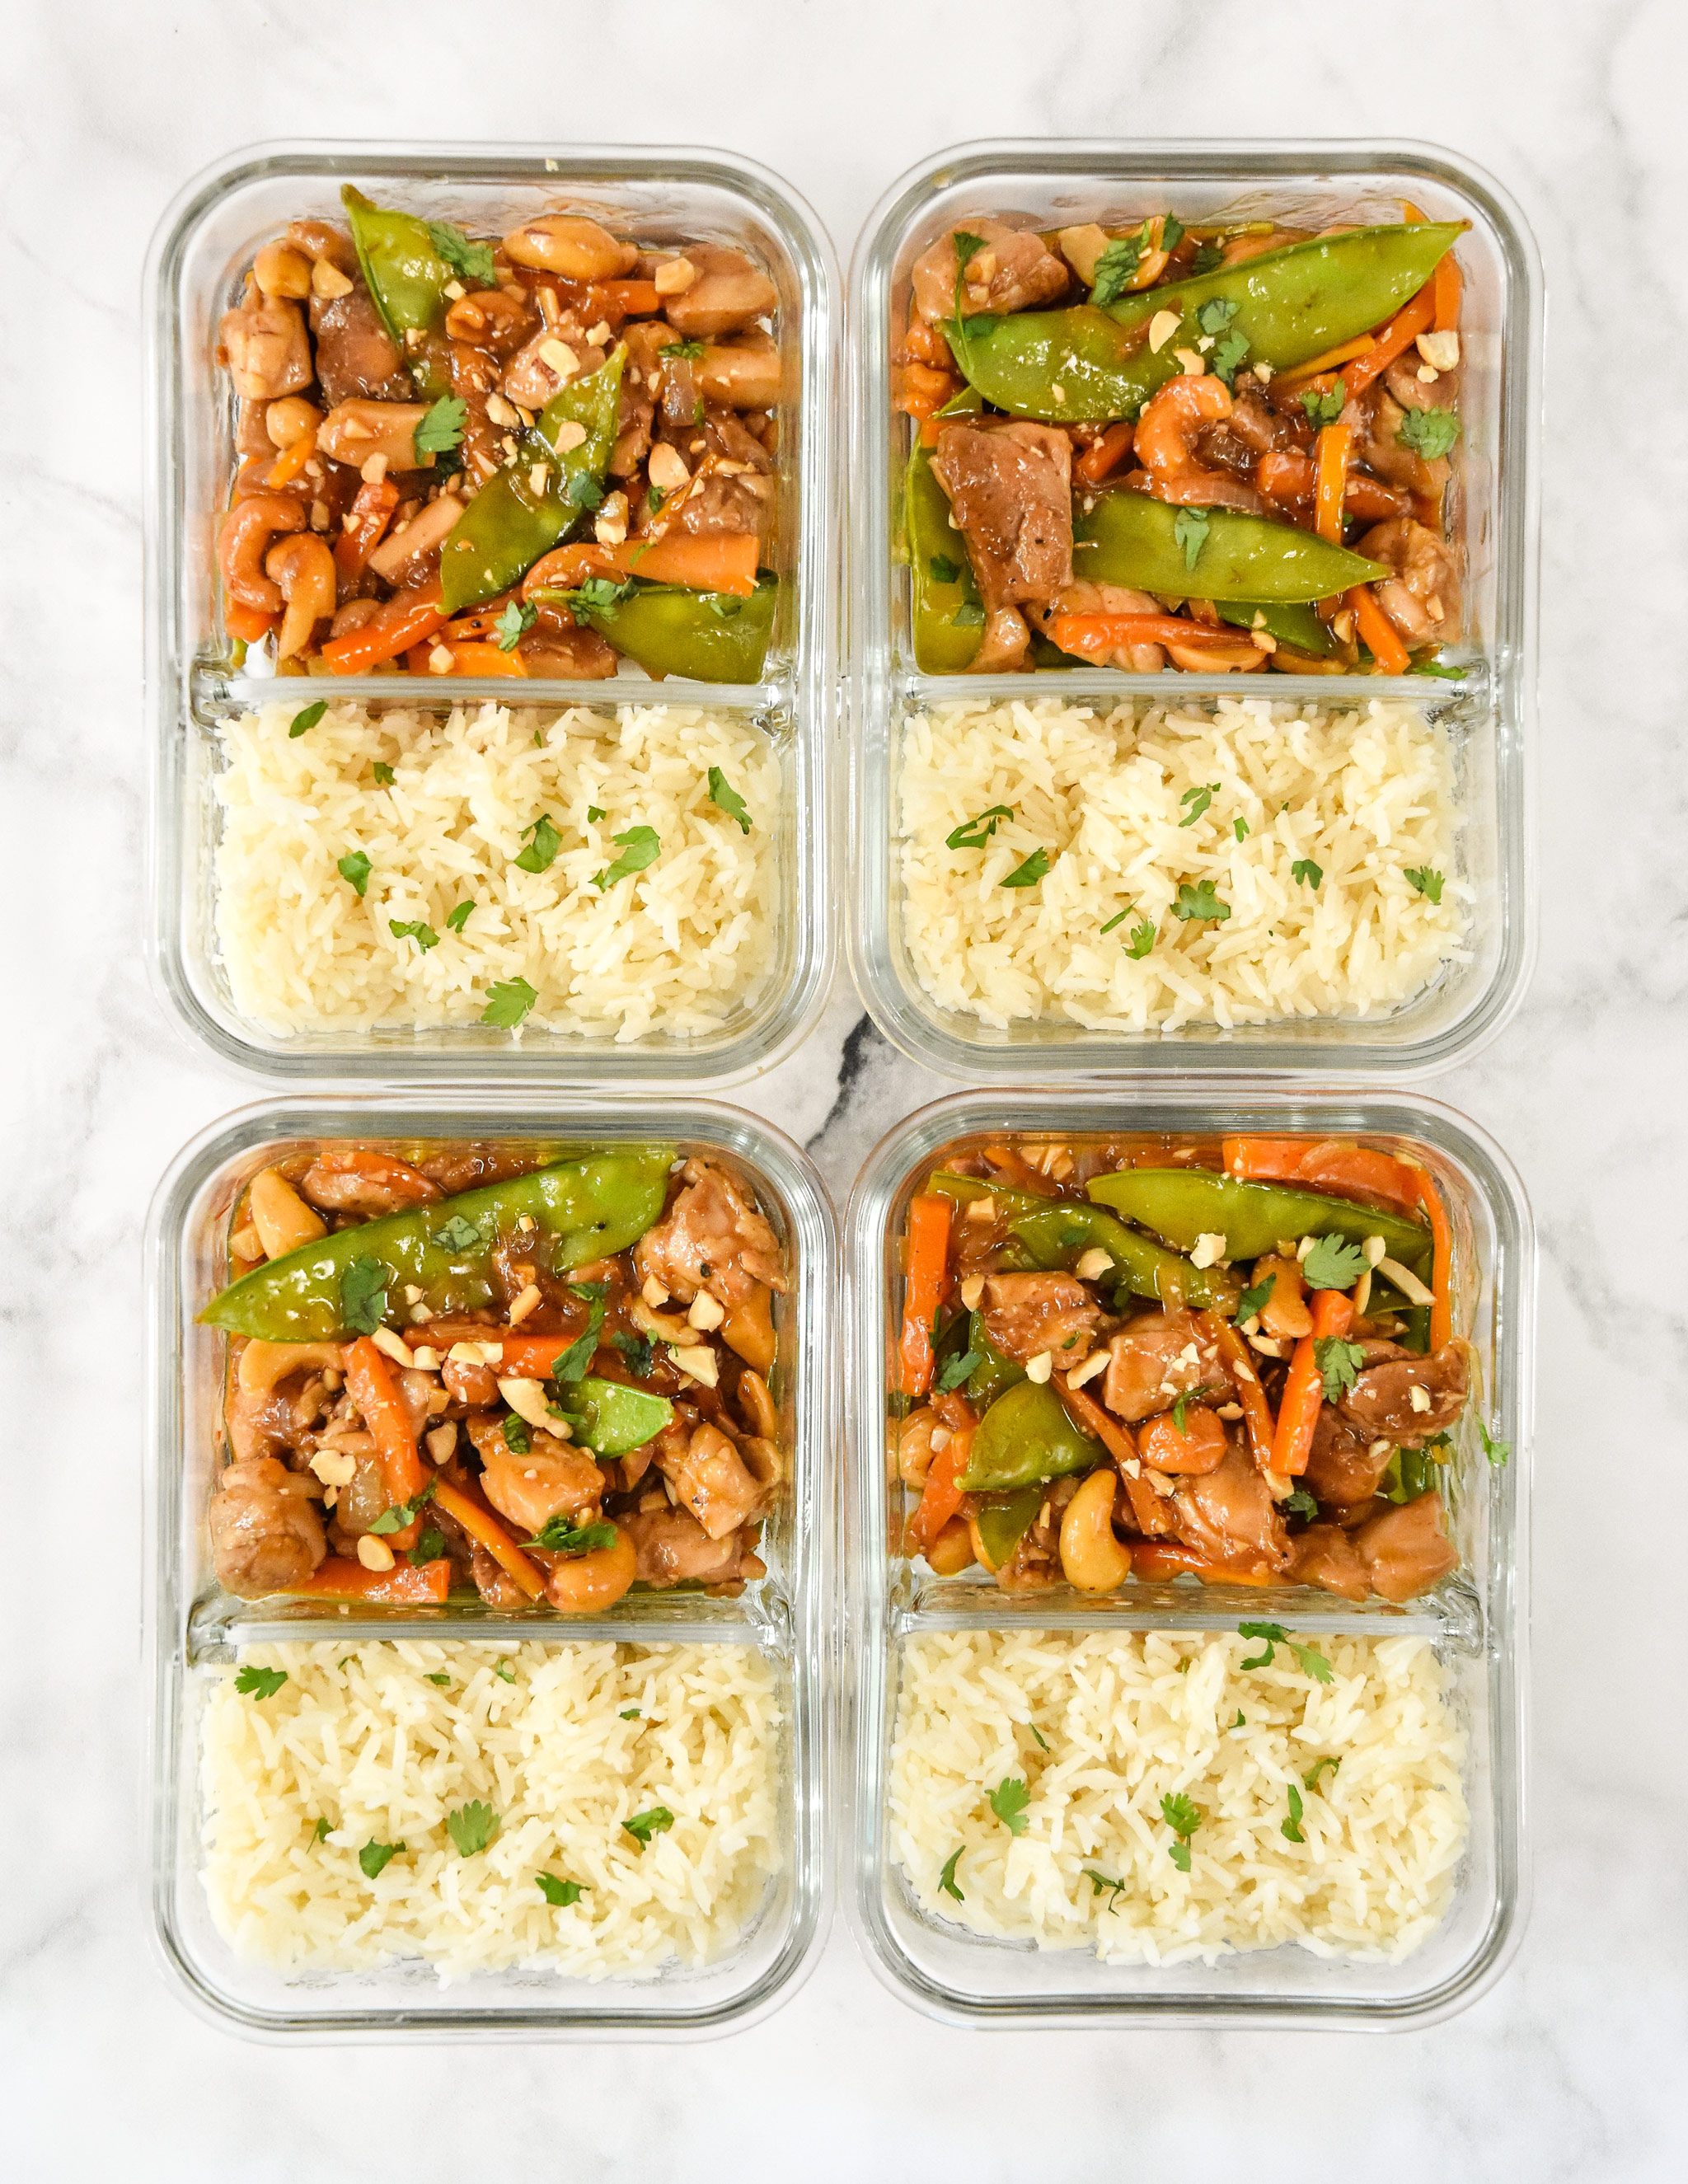
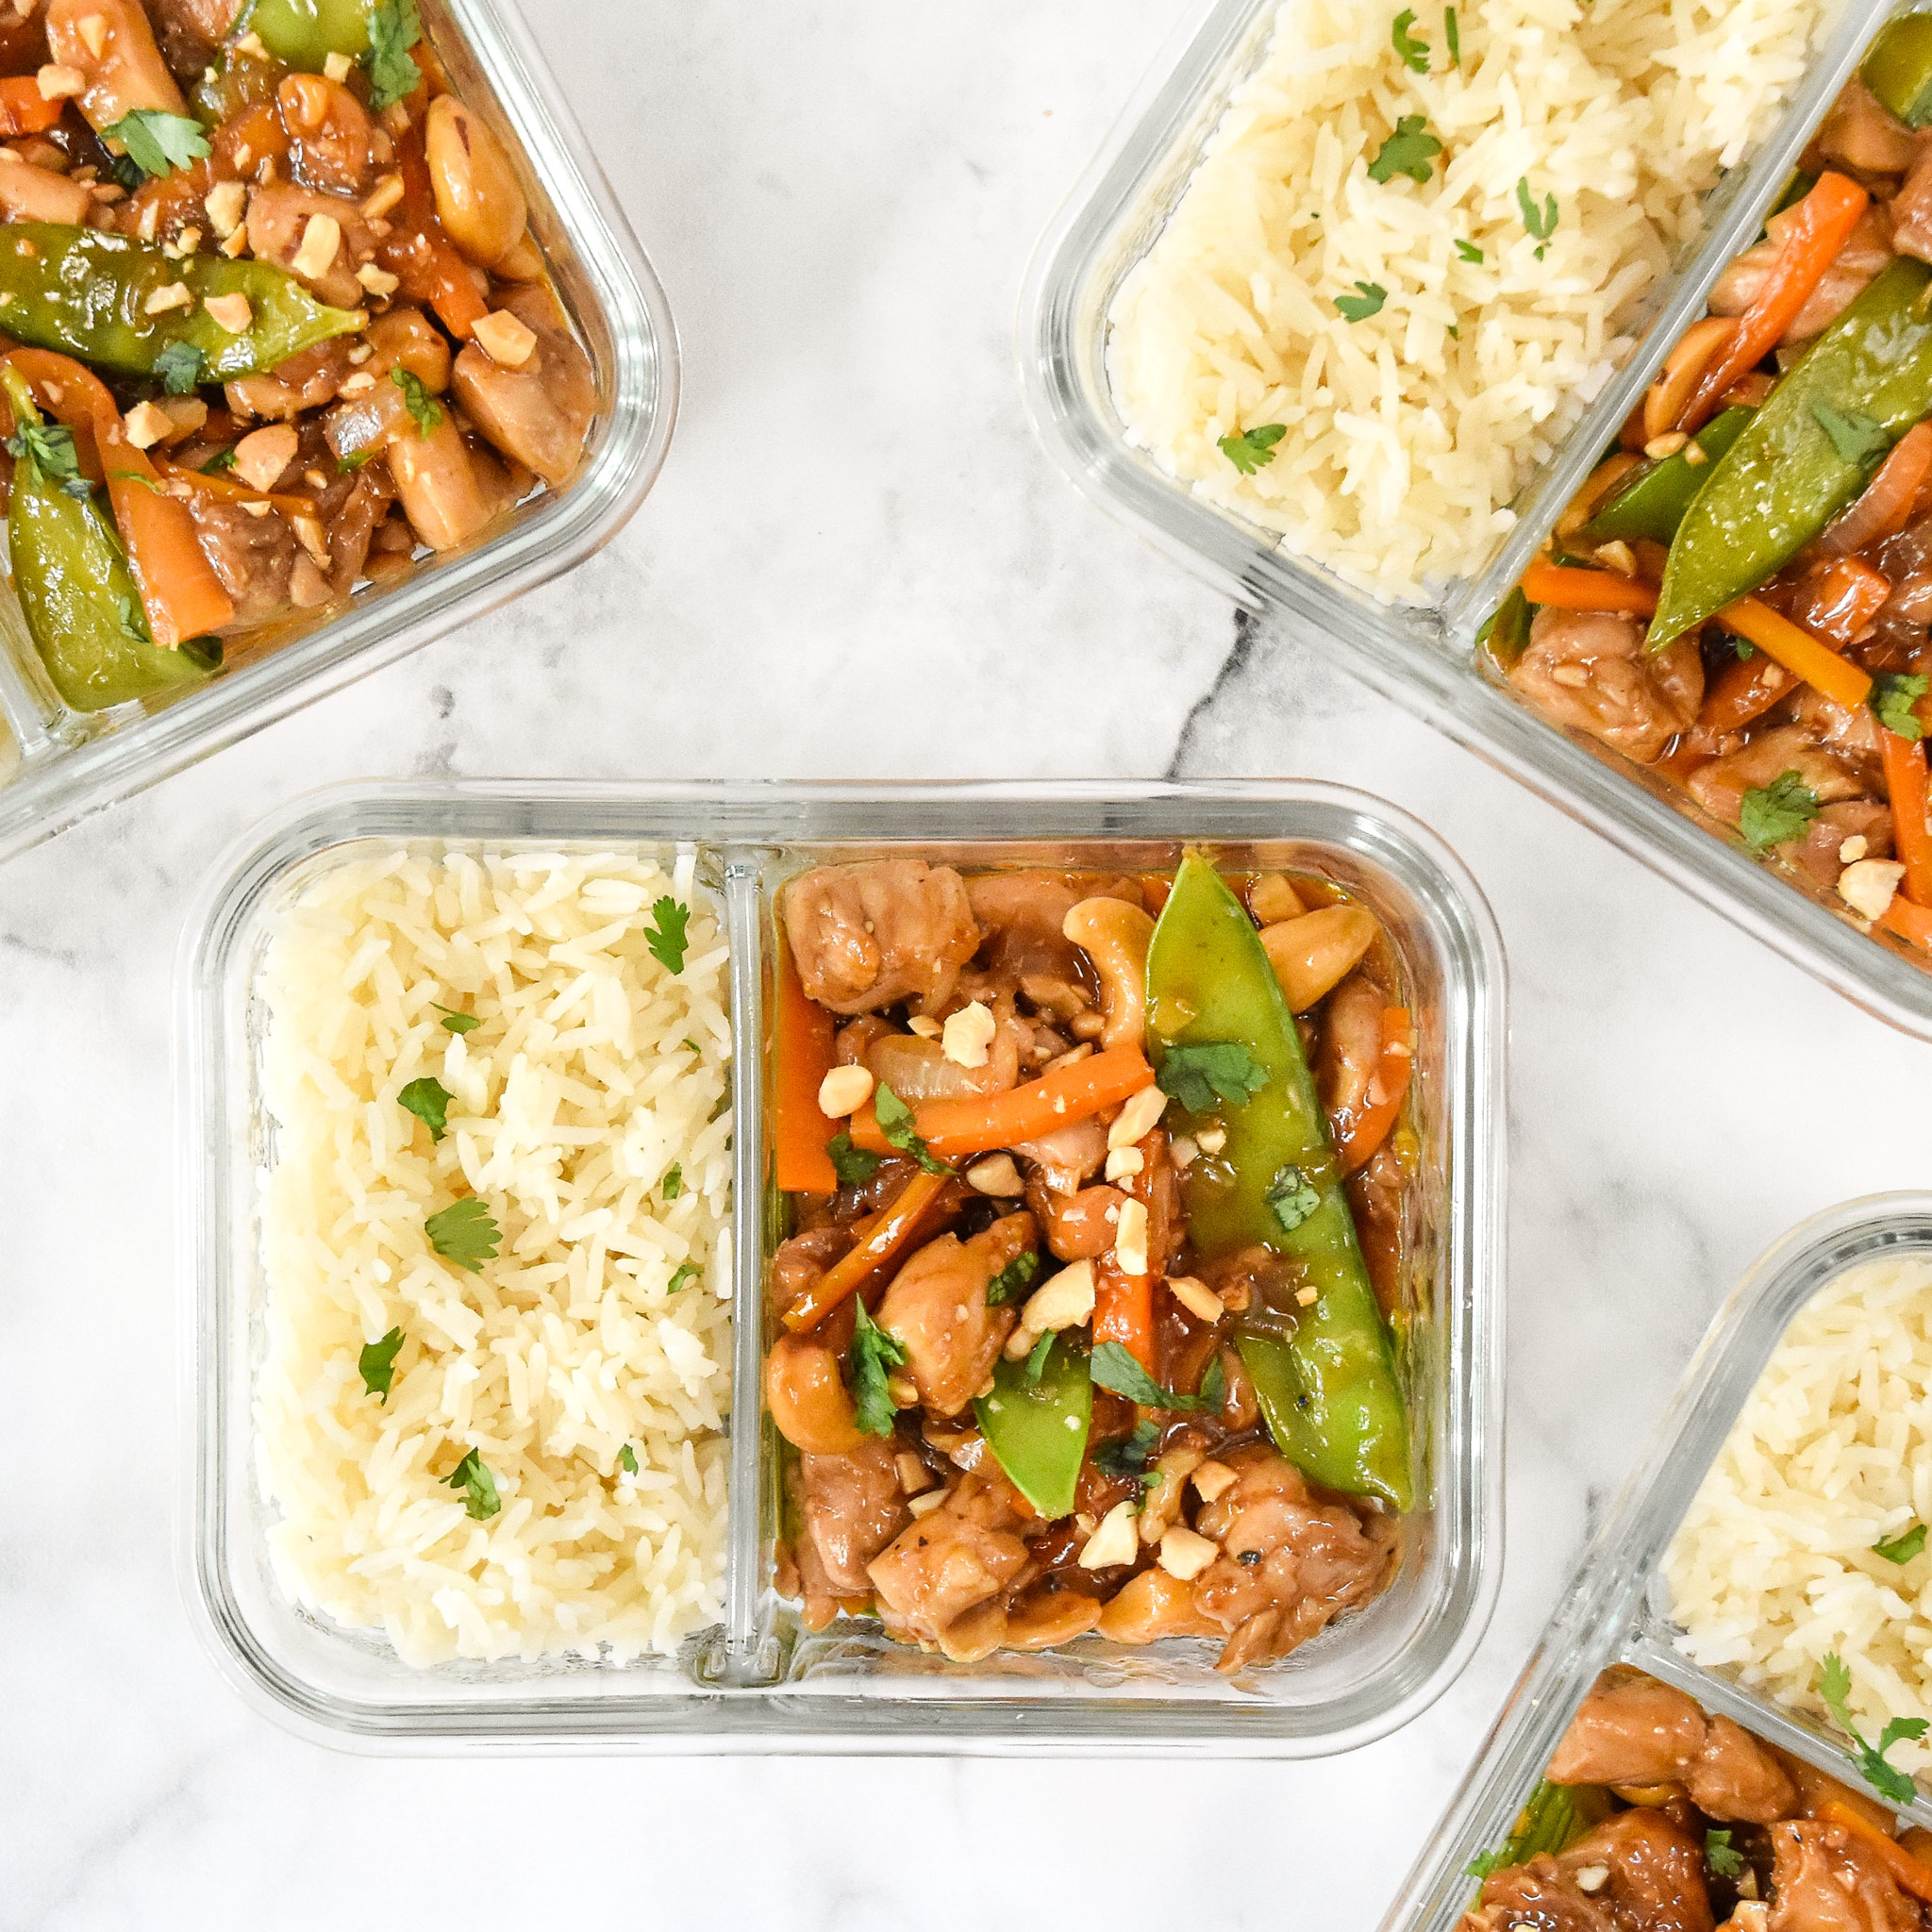
- meal prep containers – Pictured are my 2 Compartment Glass Meal Prep Containers, but any type of airtight meal prep container will work.
How do you make this Easy Cashew Chicken Meal Prep recipe?
For this recipe, I like to use a large deep non-stick skillet for the cashew chicken (it’ll fit in a regular skillet, but will be hard to stir). At the same time, I’ll usually have my rice cooking in my Instant Pot.
Here’s a breakdown of each cooking step, plus some extra tips you might find helpful:
1
Prep sauce & start rice:
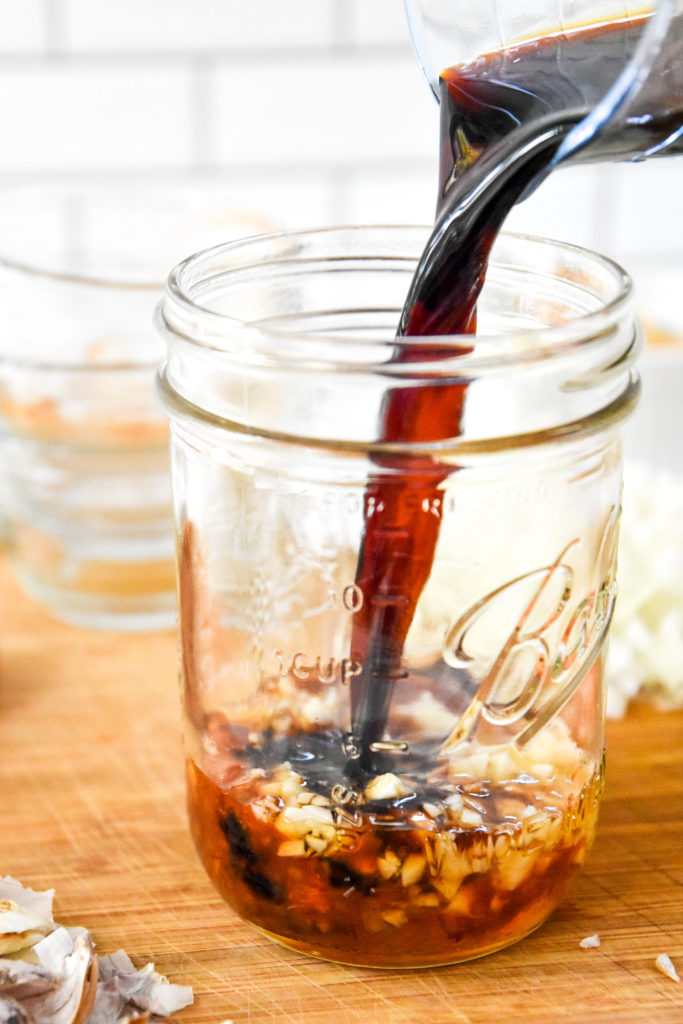
Combine all sauce ingredients in a mason jar with a lid and shake until well mixed. You can also whisk ingredients together in a small bowl.
If serving with rice, start that now too. I use my Instant Pot for white jasmine rice while cooking this dish on the stovetop.
How to cook rice:
There are so many ways to cook rice, and you’re welcome to use your favorite method. To start, rinse the rice in a fine mesh sieve until the water runs clear, then proceed with your chosen cooking method.
- Instant Pot (this is what I do!)
- Rice Cooker (in-depth instructions here)
- Stovetop (follow package directions!)
ℹ️ For an in-depth guide on the same method I use, read this helpful article on Failproof Instant Pot Rice from Green Healthy Cooking.
2
Toast the cashews:
Add cashews to a 12-inch skillet over low heat. A deeper skillet will hold the final dish better, but it’s not a requirement. Non-stick or stainless steel with both work.
Toast the cashews, tossing occasionally, for about 8 minutes, or until they become lightly fragrant and starting to brown. Remove them from pan and set aside.
If your cashews are already roasted, you can skip this step!
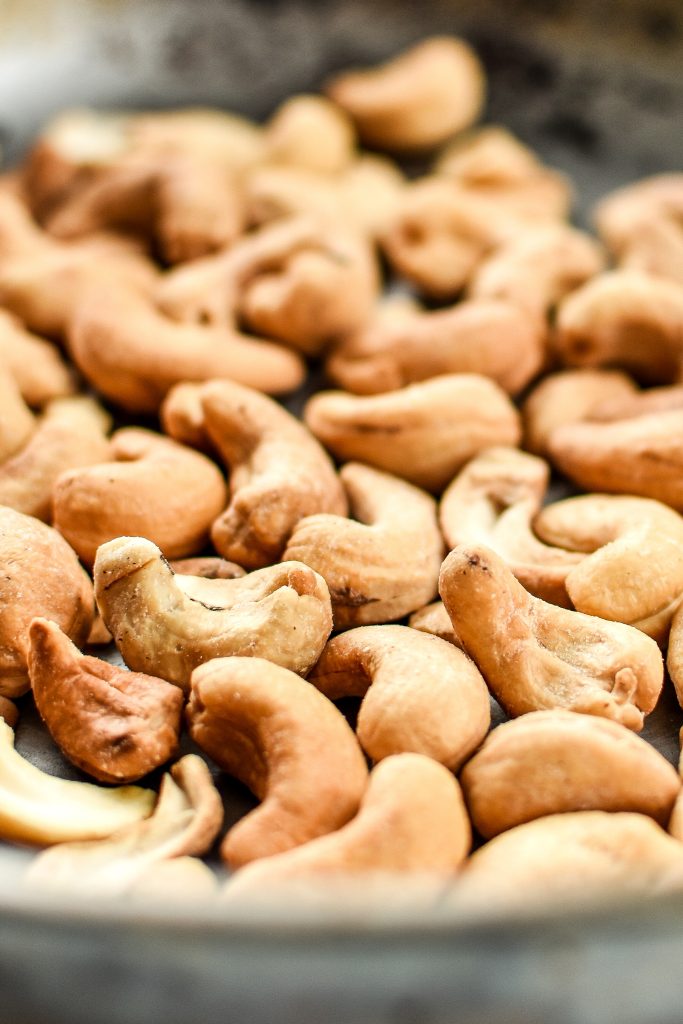

Nut swap tip:
Costco is a great place to buy nuts at a bulk/discount price.
If you don’t have cashews, you can also use peanuts, making this a peanut chicken dish! Delicious with either nut option, in my opinion!
3
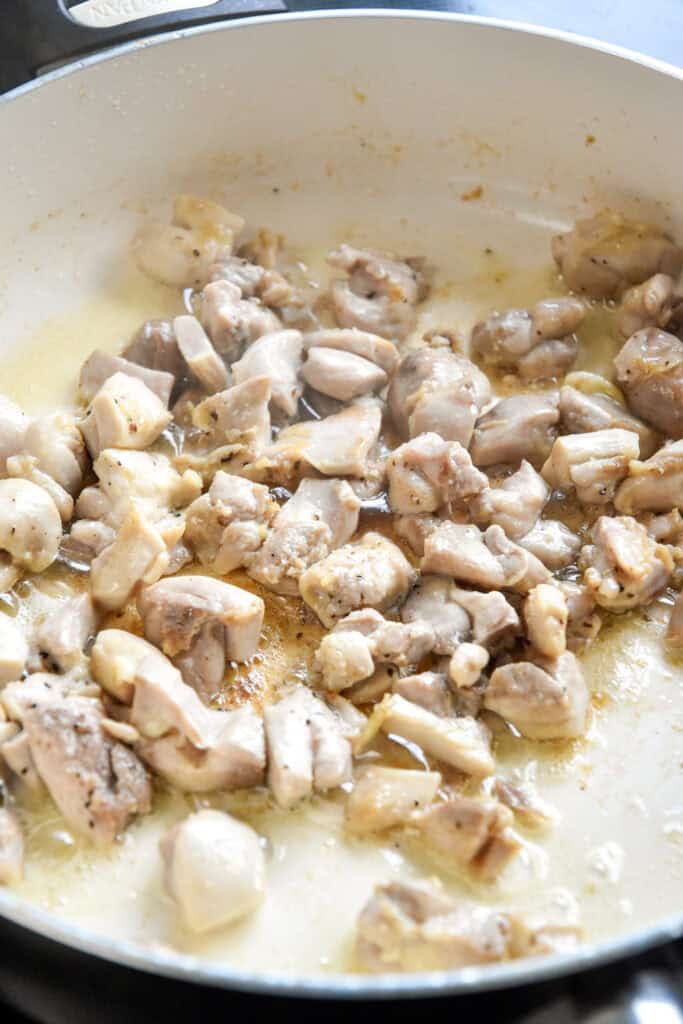
Cook the chicken:
Heat half of the oil in the same skillet over medium high heat. Add the raw chicken pieces and sprinkle liberally with salt and pepper. Cook the chicken for about 4-5 minutes, until browning on the bottom, then flip.
Cook for another 3-4 minutes until completely cooked through and browned on all sides, about 8-10 minutes total. Check the largest piece for doneness, then remove the chicken from the pan and set aside.
4
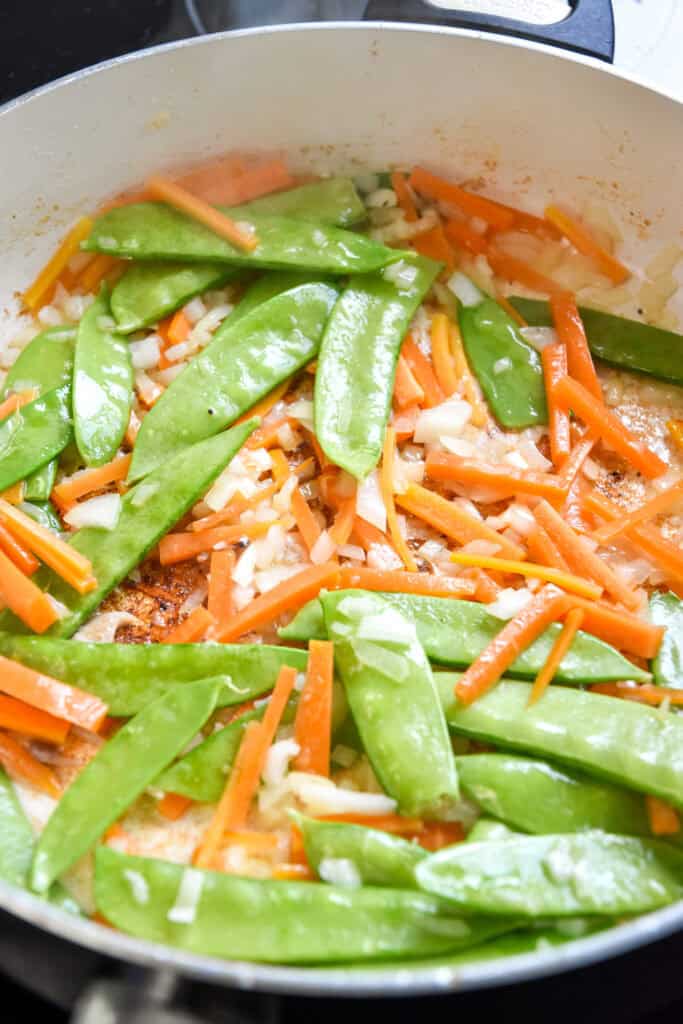
Cook the veggies:
Add the remaining oil to the pan and let it heat up. Add the onion and carrots, along with a sprinkle of salt, stirring to coat in oil. Let them cook for a couple minutes, then add the peas in their pods.
Cook everything for another 2-3 minutes, stirring occasionally, or until the snow peas become bright green and the onions begin to turn translucent.
Be sure to just barely cook the peas, as they’re prone to overcooking when you reheat.
5
Put it together:
Add cooked chicken, toasted cashews, and prepared sauce to the skillet. Stir until the sauce begins to simmer and chicken and veggies are well coated.
Briefly to re-mix the cornstarch slurry, then pour it into the skillet and stir. The sauce should thicken over approximately 2 minutes. Remove the pan from heat and serve with your favorite kind of rice or other side.
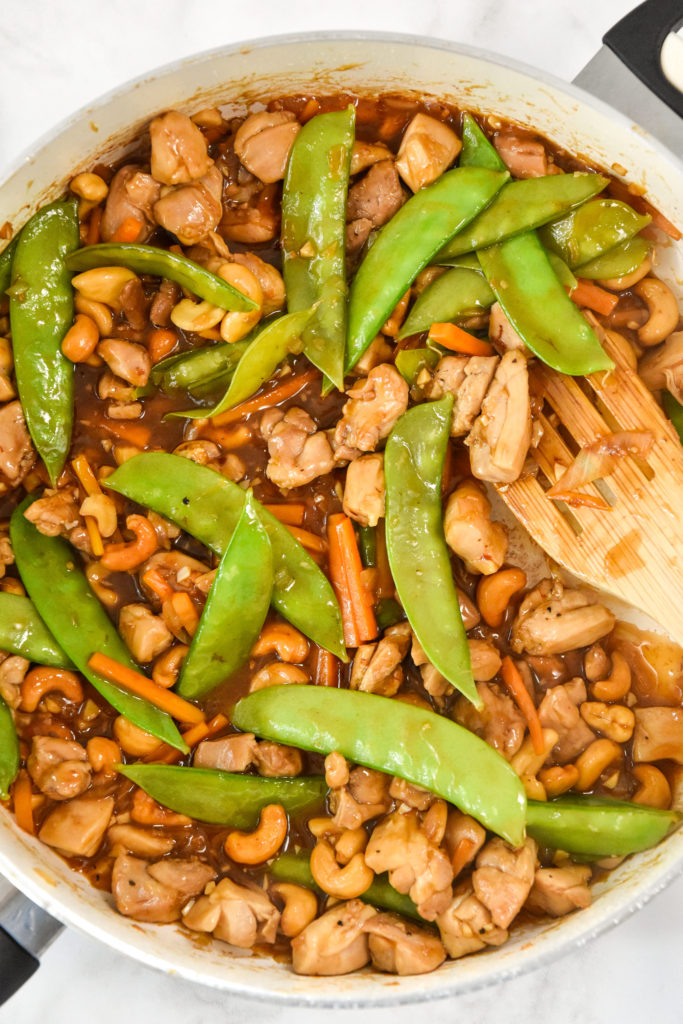
WANT MORE SAUCE?
If you want more sauce, add 2-4 tablespoons of chicken broth or water and stir well to mix it in. You can also add another heavy dash of soy sauce.
Best tips for making this dish at home:
Here are my best tips for making these bowls successfully in your own kitchen:
- Remove as much moisture as possible from the chicken when you cut it into chunks, blotting with a paper towel if necessary. Extra water in the pan cause steam the chicken instead of brown it.
- Add the peas to the pan last, as they are most likely to overcook when reheating the lunches. You want to stop the cooking when they’ve just turned bright green in color.
- Don’t overcook the chicken, especially if using chicken breasts, or planning to reheat. Overcooking leads to quick dryness and chicken that’s less appealing on days 3-4.
More lunches like this:


Ways to customize this recipe for yourself:
Here are some ideas on how to customize this meal prep lunch to your own tastes:
- thighs or breasts – That’s your first choice for personalization. Whichever one you prefer will work in this saucy recipe.
- veggie swap – A lot of cashew chicken recipes have green bell pepper. Swap that for the peas and carrots for a slightly different flavor profile
- spice & sweetness level – As is, this recipe is supposed to have a hint of spice, and not really taste sweet. But feel free to double either the chili garlic sauce or the honey to change the flavors slightly.
- choose your side adventure – Pick your favorite rice, serve over pad thai or rice noodles, you choose!
Ways to meal prep this recipe:
This is a wonderful recipe for meal prep, because it tastes just as delicious as leftovers! There are a couple ways to save time by preparing part of this recipe ahead. Here are the options:
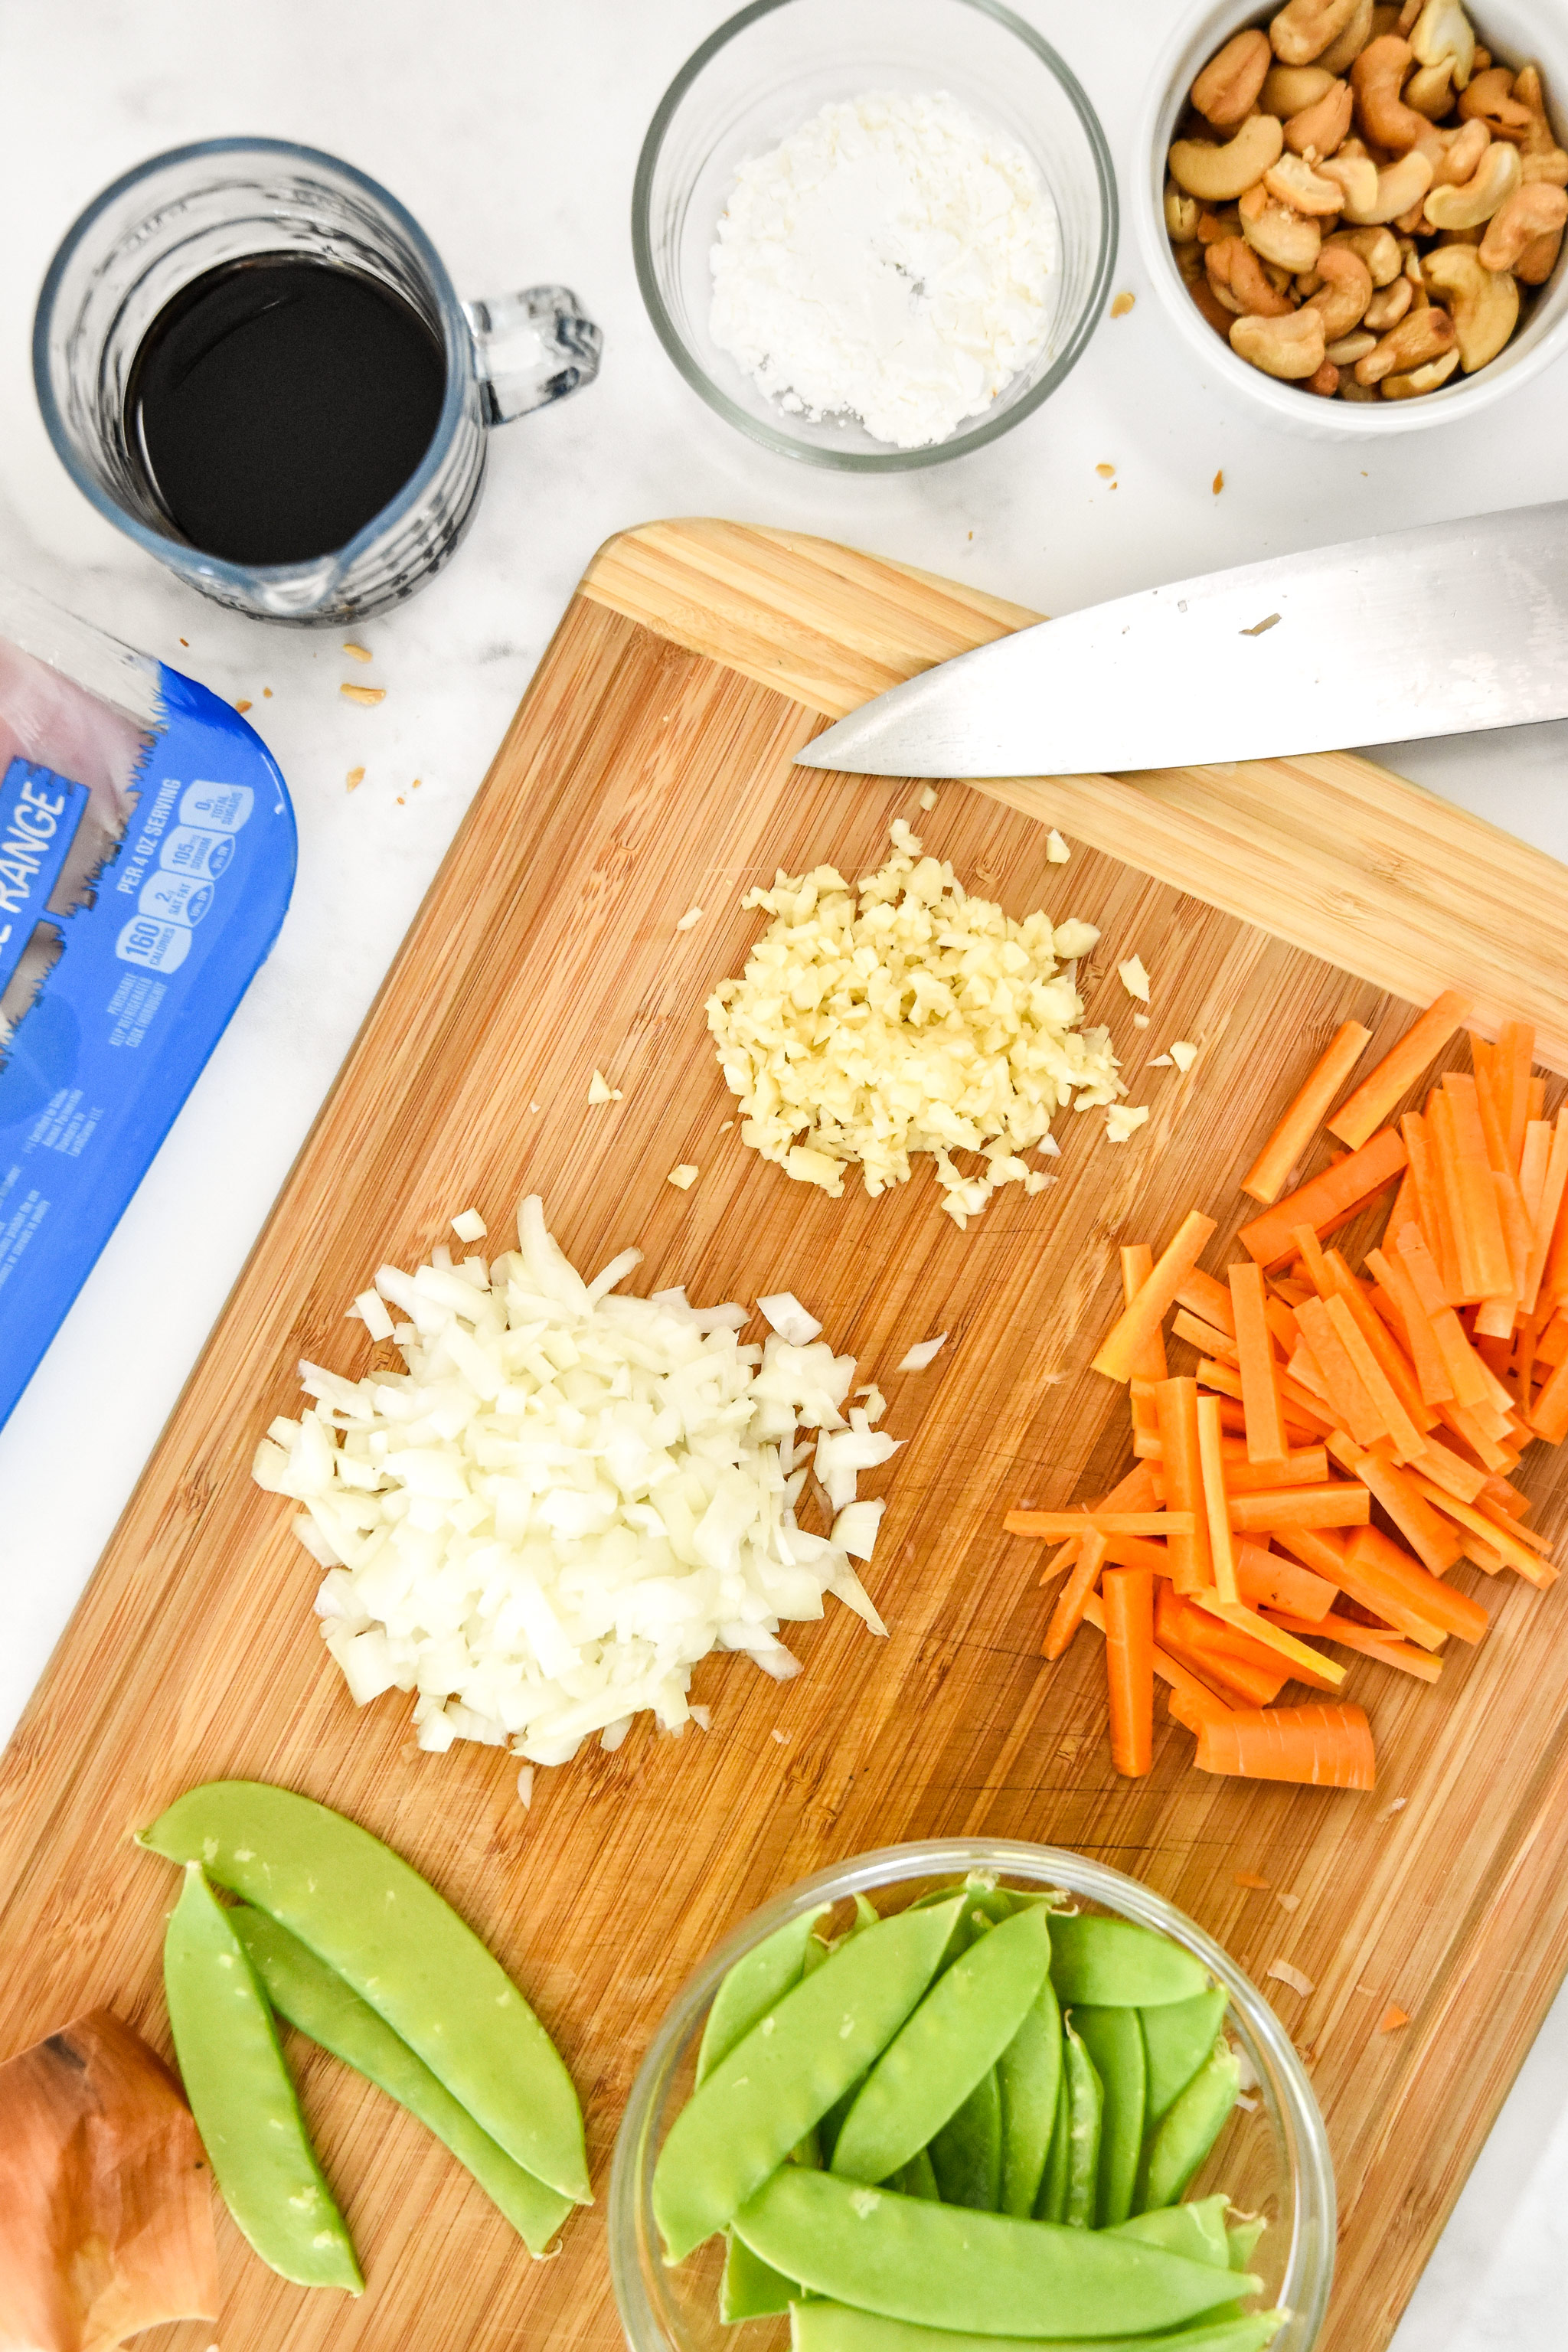
- Prep ingredients for later: Prep only parts of this meal up to 2 days ahead of time for easy and quick cooking later. You can chop all the veggies, cut the chicken, and mix up the sauce. This will save you 10-20 minutes on the day of cooking.
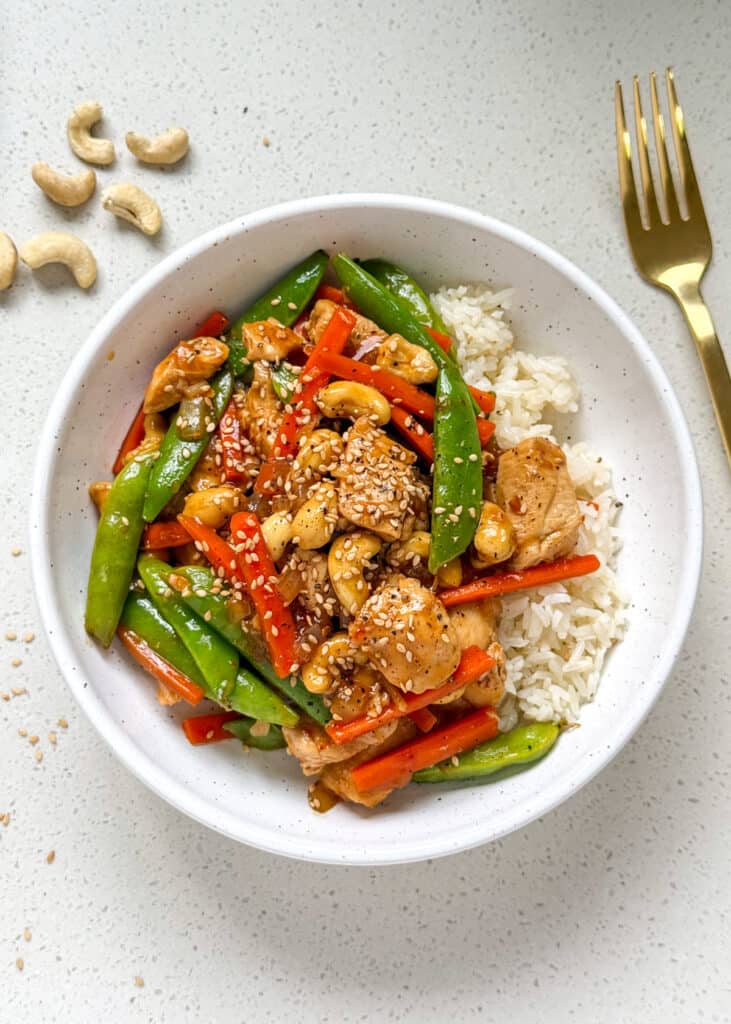
- Prep the whole meal: You can prepare this entire recipe and then portion the cashew chicken mixture and rice into meal prep containers (in these photos, I’ve used my 2 compartment glass meal prep containers). This recipe will last up the 4 days in the fridge.
If you like this…
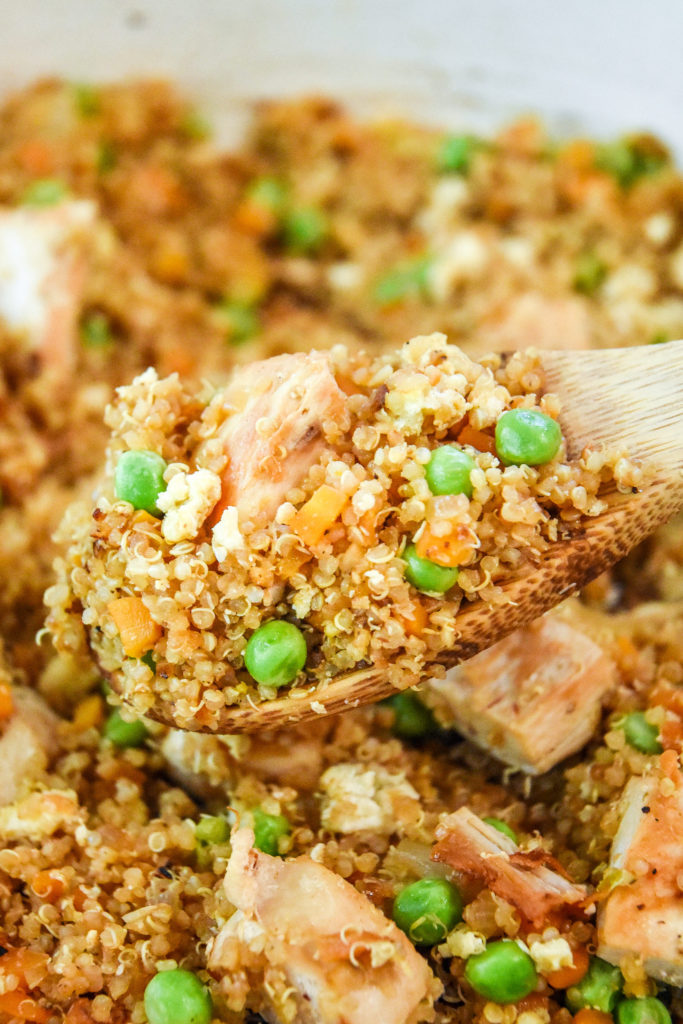
If you like this recipe, you’ll love my Meal Prep Chicken Quinoa Fried “Rice” Bowls! Fried quinoa in place of rice with veggies and chunky chicken breast, it’s incredible!

Is this Cashew Chicken recipe freezer-friendly?
Yes! You can freeze these meals in airtight freezer safe containers. Remove from the freezer the night before eating and then reheat normally, or defrost slowly in the microwave before eating.

How to store Easy Cashew Chicken Meal Prep:
Store in the fridge: Store meal prep meals in airtight containers in the fridge and enjoy within 4 days.
Store in the freezer: Store meal prep meals (or meat mixture only) in airtight containers in the freezer for up to 3 months.

How to reheat Cashew Chicken Meal Prep:
Drizzle 1-2 tablespoons of water over the meal (especially the rice) to help create steam. Loosely cover with the lid and microwave on High for 90 seconds, stirring and then continuing to heat in 30 second increments until it’s hot and steamy all the way through.
This meal reheats really well in a HotLogic Mini Portable Oven – see my full review here! Be sure to drizzle 1-2 tablespoons water over the rice to create steam.
Want to Save this recipe for later?
Did you make this? I want to see how it turned out! Tag me in your social media post @projectmealplan and use #projectmealplan when you share!
Print
Easy Cashew Chicken Meal Prep
This Easy Cashew Chicken Meal Prep features toasted cashews, peas, carrots and juicy chunks of chicken in a garlicky cashew sauce. Pair this one-pot lunch or dinner with rice or noodles for a delicious take-out style meal!
- Total Time40 minutes
- Yield4 servings 1x
Ingredients
For the sauce:
- 1/3 cup low sodium soy sauce
- 1 tablespoon sesame oil
- 1 tablespoon rice vinegar
- 1 tablespoon Sambal Oelek (chili garlic sauce)
- 1 1/2 tablespoons honey
- 4 garlic cloves, minced
- 2–3 tablespoons water
For the cashew chicken:
- 1 1/2 cups uncooked rice of choice + cooking liquid
- 2/3 cup unsalted raw cashews (if roasted, skip step 2)
- 2 tablespoons avocado oil or olive oil (divided)
- 1 1/4 pounds boneless skinless chicken thighs or breasts, cut into 1-inch chunks
- 1/2 teaspoon fine sea salt or kosher salt, plus more to taste
- 1/4 teaspoon fresh ground black pepper, plus more to taste
- 1/2 yellow onion, finely diced
- 2 medium carrots, peeled and cut into strips
- 4 ounces snap peas or snow peas (about 1 1/2 cups)
- 1 tablespoon cornstarch + 1 tablespoon water, whisked together in a small bowl
- 2–4 tablespoons chicken broth (optional to make it more saucy)
Instructions
- Prep sauce & start rice: Combine all sauce ingredients (1/3 cup low sodium soy sauce, 1 tablespoon sesame oil, 1 tablespoon rice vinegar, 1 tablespoon Sambal Oelek, 1 1/2 tablespoons honey, 4 garlic cloves, minced, 2-3 tablespoons water) in a mason jar with a lid and shake until well mixed. You can also whisk ingredients together in a small bowl. If serving with rice (1 1/2 cups uncooked rice of choice + cooking liquid), start that now too. I use my Instant Pot for white jasmine rice while cooking this meal on the stovetop.
- Toast the cashews: Add cashews (2/3 cup) to a 12-inch skillet over low heat (deep skillet makes it easier to stir later, but it’s not required). Toast the cashews, tossing occasionally, for about 8 minutes, or until they become fragrant and slightly browned. Remove from pan and set aside. If your cashews are already roasted, you can skip this step.
- Cook the chicken: Heat oil (1 tablespoon) in the same skillet over medium high heat. Add chicken pieces (1 1/4 pounds boneless skinless, cut into 1-inch chunks) and sprinkle with salt and pepper (about 1/4 teaspoon each). Cook for about 4-5 minutes, until browning on the bottom, then flip and cook for another 3-4 minutes until cooked through and browned on all sides, about 8-10 minutes total. Remove the chicken from the pan and set aside.
- Cook the veggies: Add the remaining oil (1 tablespoon) to the pan and let it heat up. Add the onion (1/2, finely diced) and carrots (2, peeled and cut into strips) to the pan, along with a sprinkle of salt (about 1/4 teaspoon), stirring to coat in oil. Let them cook for a couple minutes, then add the peas in their pods (4 ounces, about 1 1/2 cups). Cook for another 2-3 minutes, stirring occasionally, or until the snow peas become bright green and the onions begin to turn translucent.
- Put it together: Add cooked chicken, toasted cashews, and prepared sauce to the skillet. Stir until the sauce begins to simmer and chicken and veggies are well coated. Whisk the cornstarch slurry mixture (1 tablespoon cornstarch + 1 tablespoon water) briefly to re-mix, then add to skillet and stir occasionally. The sauce should thicken over approximately 2 minutes. If you want more sauce, add 2-4 tablespoons of chicken broth or water.
- Serve & store: Remove the pan from heat and serve with your favorite kind of rice or other side. Store in a sealed container in the refrigerator for up to 4 days.
Notes
Inspired by Cashew Pork with Snow Peas and Carrots from One-Pan Dinners, America’s Test Kitchen Magazine, page 12. Nutrition information estimated with My Fitness Pal.
- Prep Time: 10 minutes
- Cook Time: 30 minutes
- Category: Lunch
- Method: Stovetop
- Cuisine: Asian-Inspired
Nutrition
- Serving Size: about 2 cups
- Calories: 417
- Fat: 21g
- Carbohydrates: 24g
- Protein: 36g
Did You Make This?
I love seeing what you made! Leave a review below, and be sure to tag me at @ProjectMealPlan when you share a photo!

Frequently Asked Questions
Can I use chicken breasts instead of chicken thighs?
Yes, you can use either chicken thighs or chicken breasts. Just be sure to cut them into similar sized chunks so all the pieces take the same amount of time to cook.
Cooking time should be the same, but do watch the pan closely if using chicken breast pieces, since they’re more likely to become dry if overcooked.



Loved it!! Would probably make a tad more sauce but other than that it was great. I didn’t season the chicken as the sauce is season enough. Good job!
Hi Val – Thank you so much for your review and rating! It means a lot to me 🙂 So glad you liked the cashew chicken! -Danielle