This post may contain affiliate links. Please read our disclosure policy.
With surgery coming up, I decided to spend time prepping meals for the freezer to enjoy during recovery. Here are the Freezer-Friendly Recipes I Made Before Surgery, along with how I froze them, and how I’ll reheat them!
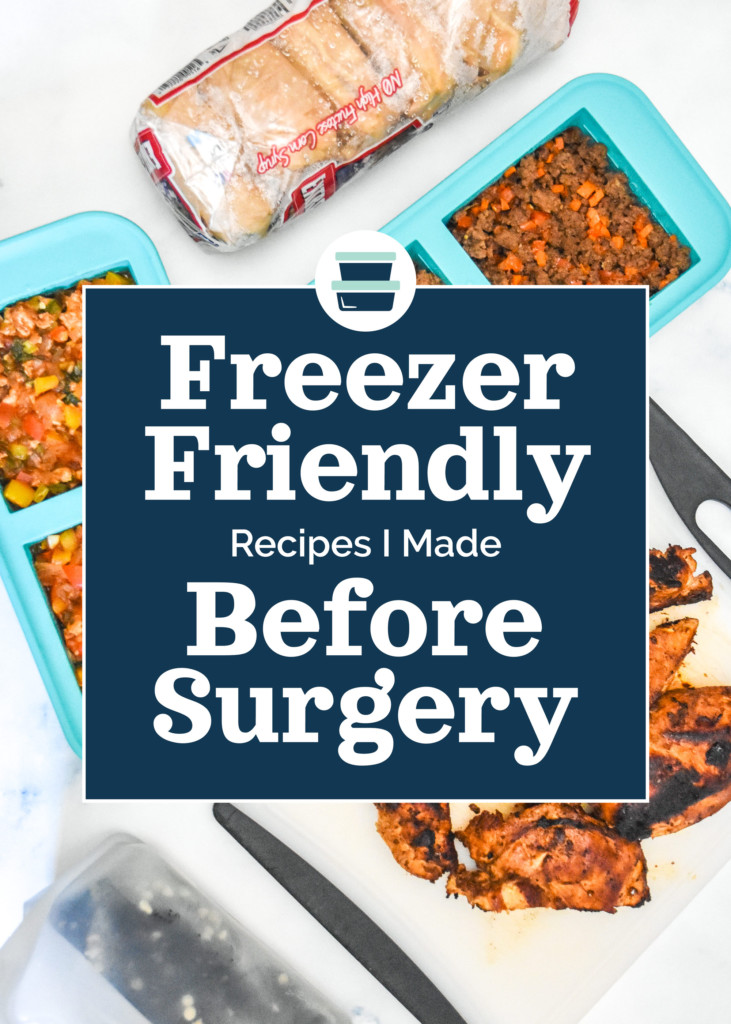
From experience, I can easily say the last thing you want to be doing while recovering from a surgery is worrying about food. The question of ‘what’s for dinner?’ can be stressful at any time, but especially when you’re unable to move around the kitchen as you normally would.
In order to help my future self and my household, I decided to do a major freezer meal prep session a few days before my upcoming surgery. And guess what? I can already feel my meal time stress levels decreasing 😅
My goals for this freezer meal prep:
When thinking about the meals I wanted to prepare before my surgery, I knew I wanted to include a variety of protein types and dish styles. I wanted a couple meals to be completely ready to eat once reheated, while I also wanted to include something that could be used in various kinds of meals.
Another goal: keep the prep process as easy as possible. For me, this meant choosing a couple one-dish skillet meals, as well as picking a couple favorite recipes I’ve made tons of times (and could probably make without following a recipe.)
My final goal was to make sure I was able to incorporate vegetables and keep the recipes low in dairy, or even dairy-free when possible. I love cheese, but it doesn’t love me back. And I don’t think I want to be dealing with any bloating or stomach aches from dairy while trying to recover.
Why make freezer-friendly foods before surgery?
The reasons to prep food before a surgery can definitely vary from person to person. For me, the biggest reason to prep freezer-friendly foods before surgery is to ensure I’ve got plenty of home-cooked meal choices that take zero thought while I’m recovering.
I never want to have to rely on takeout or restaurant food during a recovery like this. More often than not, takeout can leave me feeling bloated or gassy. Not things I want to feel like while recovering from abdominal surgery!
Having meals already planned out is also quite stress-relieving for me. No choices means no headaches or time wasted. And I know exactly what the food is going to taste like!
Depending on the type of surgery you have, your doctor could recommend eating or avoiding specific foods. Preparing your food before surgery will help give you ultimate control over what you’re making so you can incorporate any special restrictions or needs.
What tools do you need to freeze food?
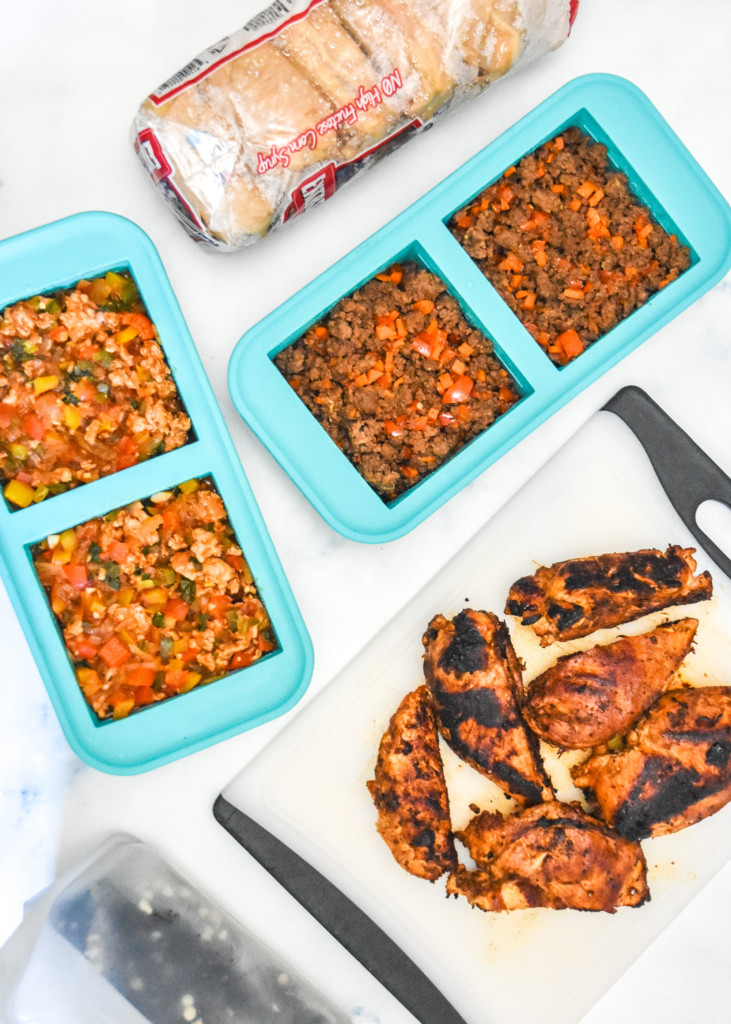
Hands-down the best tool I can recommend for freezing food is Souper Cubes trays. These food-safe silicone trays make freezing food as easy as possible. In fact, they completely revolutionized how I freeze food in my home.
They come in several sizes, but for three of the recipes listed here, I used 2-Cup Souper Cubes Trays. Once the food is frozen in the trays, you can pop the cubes out and store them in a Ziploc or other freezer safe container, or just leave them in the trays if you plan to use up the cubes soon.
The Freezer-Friendly Recipes I Made Before Surgery
In total, I prepared one breakfast recipe, three dinner recipes, and one treat recipe! Together with recipes from my family and friends, I think this will keep us fed for at least a week while I’m recovering.
Here are the recipes I prepared, how I made them specifically for the freezer, and how they’ll be reheated and used up in the future.
Make-Ahead Breakfast Sandwiches
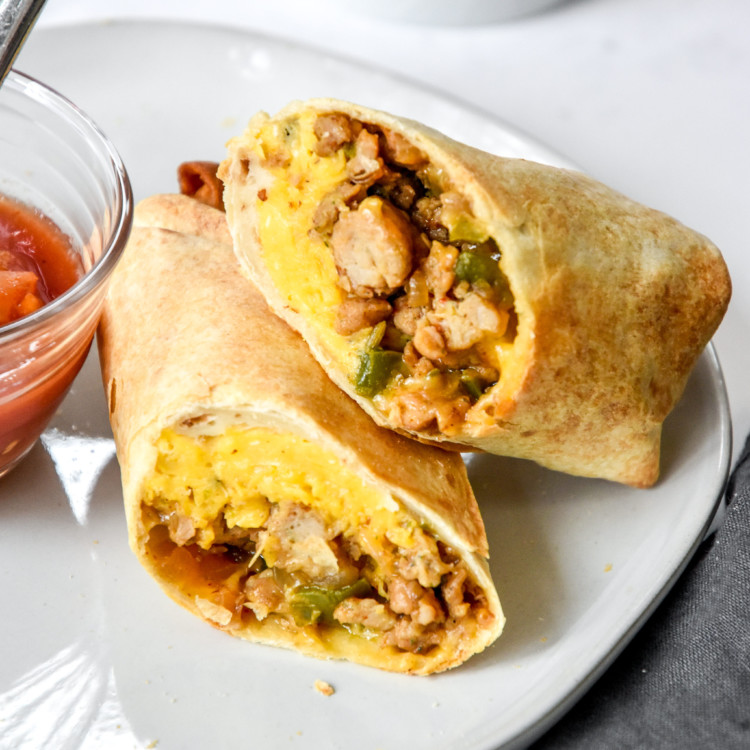
First up is a meal I could eat for breakfast literally every day for a month and still be into it. Make-ahead breakfast sandwiches are my go-to breakfast meal prep, so it was a no-brainer for me to prep these before my surgery. Get the recipe for Make-Ahead Breakfast Sandwiches here.
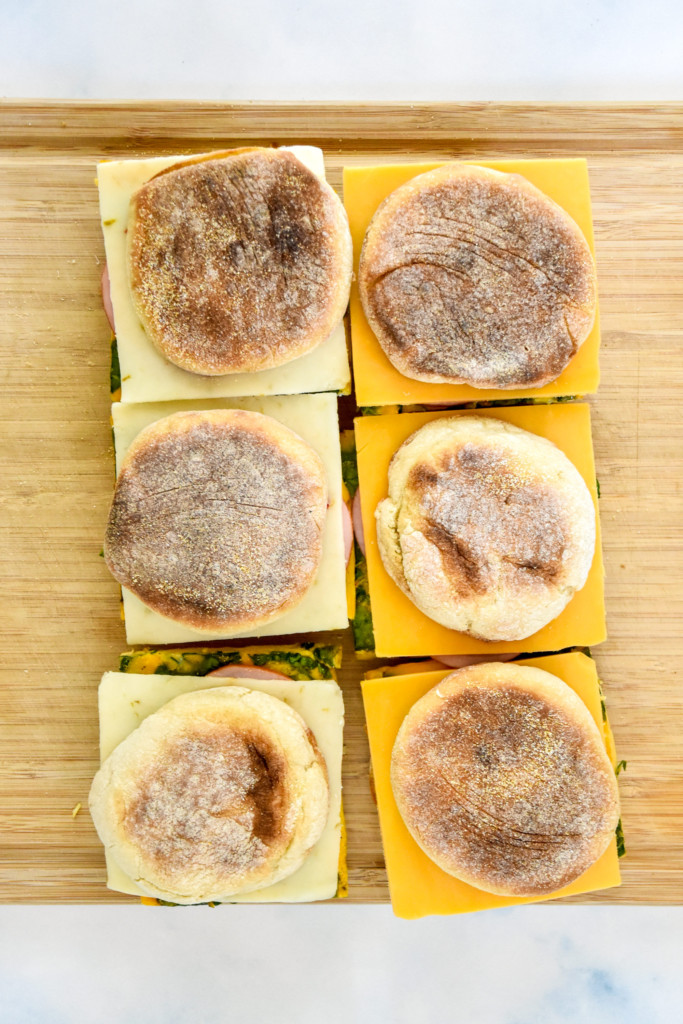
How I prepped it: I followed the recipe as written except I added some fresh chopped spinach into the egg mixture before baking. I also used Canadian bacon instead of regular bacon to save a cooking step.
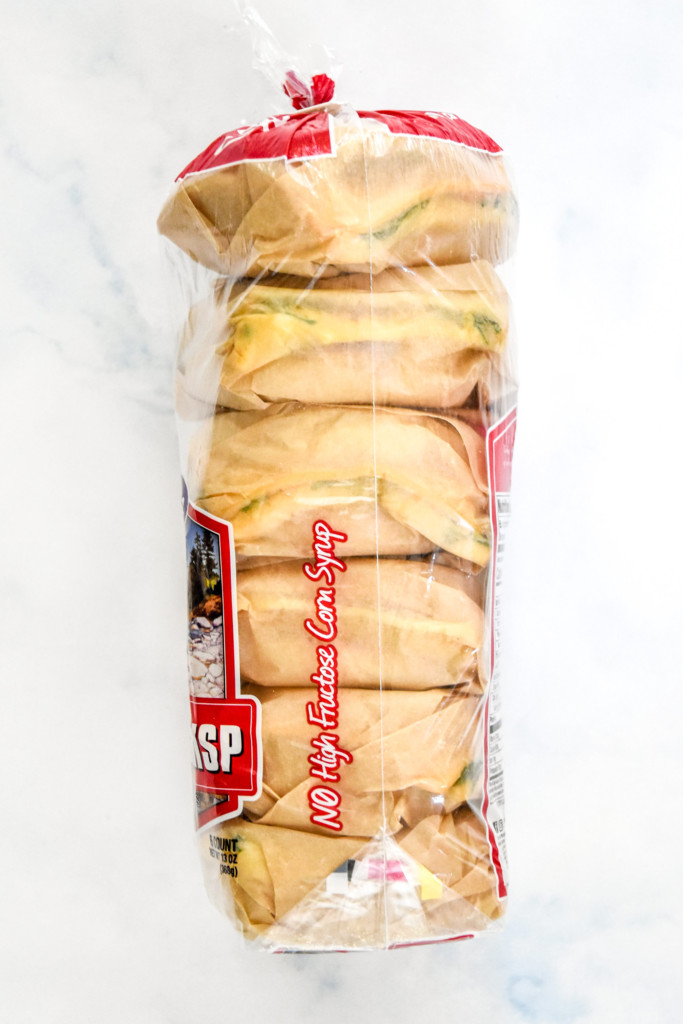
How I froze it: After assembling the sandwiches and letting them cool, I wrapped all six of them up in parchment paper. Then, I put all the prepared sandwiches back into the plastic bag that the English muffins came in from the store and put the bag into the freezer.
How to reheat it: I prefer to remove these sandwiches from the freezer and store them in the fridge to thaw overnight before reheating, but it’s not required. You can reheat in the microwave, toaster oven, or air fryer! Check out the full recipe for complete reheating instructions.
Chipotle Ground Turkey Skillet
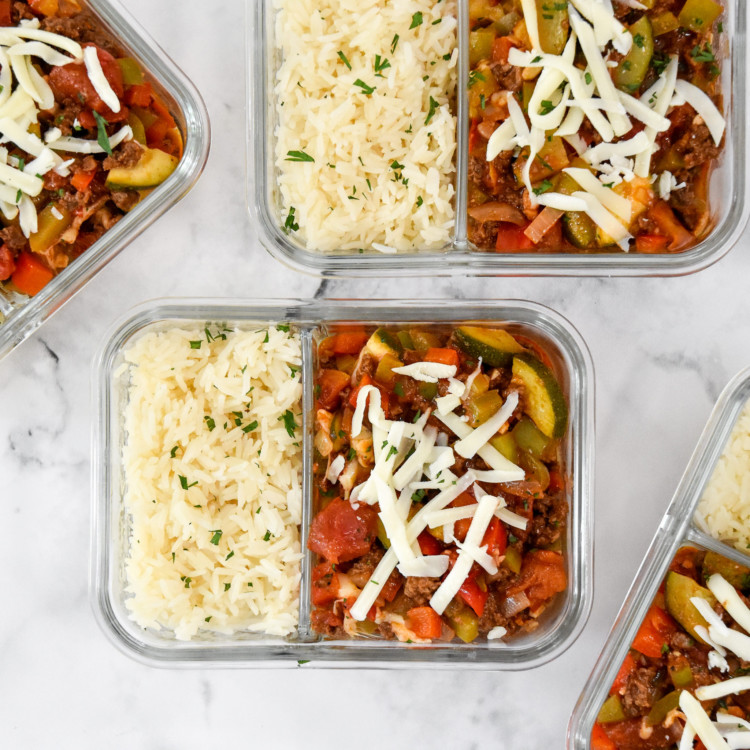
I chose this recipe because it’s packed with veggies and full of flavor. The saucy salsa vibe keeps it moist and delicious after freezing and thawing. Plus, it’s an easy one to serve with rice, over a salad, or just eat by itself! Get the recipe for Chipotle Ground Turkey Skillet here.
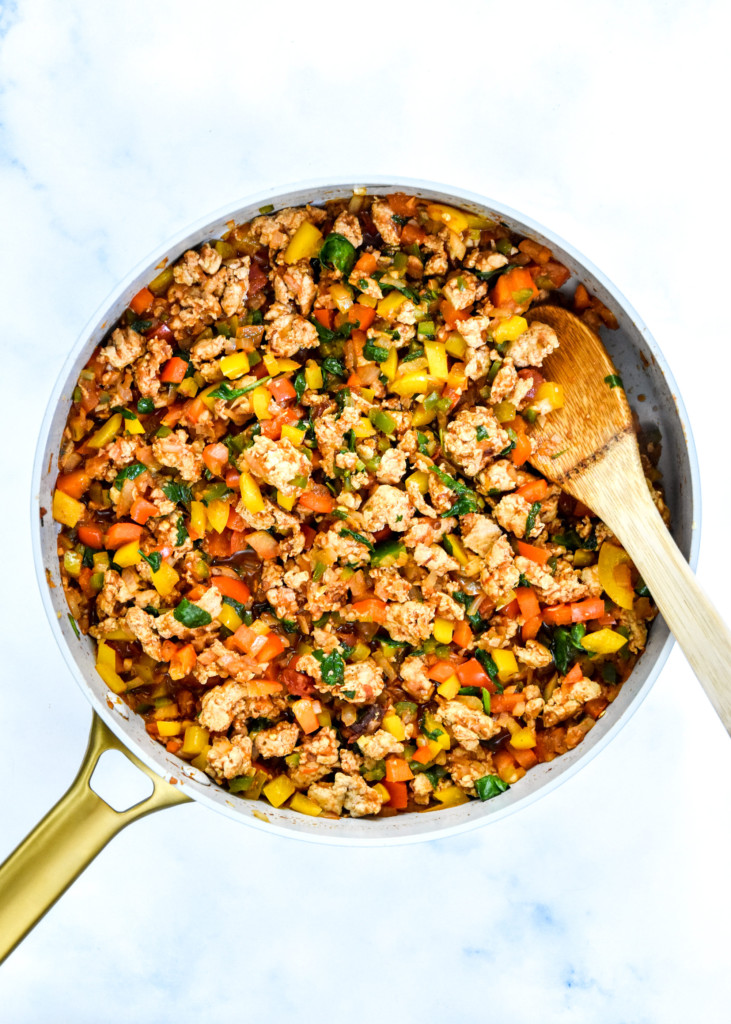
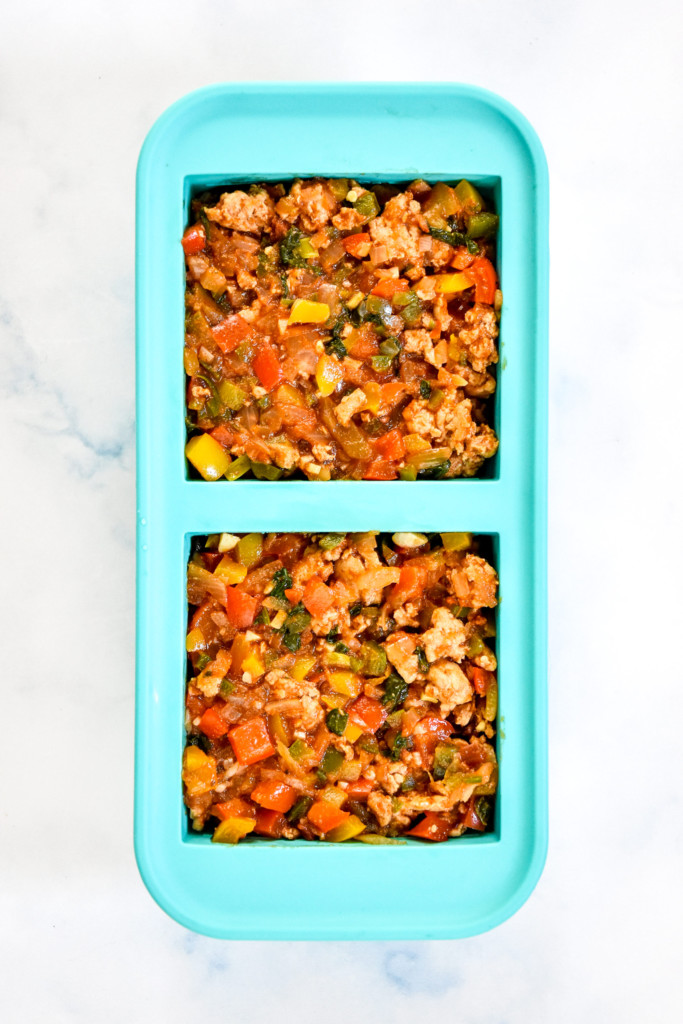
How I prepped it: I followed the recipe as written except I used fresh spinach in place of kale, since that’s what I have growing in my garden. I also added a bit more salsa than the recipe calls for to add moisture for the freezing process. I skipped the rice, as this can be easily made when it’s time to eat.
How I froze it: Once the pan was cooled down quite a bit, I portioned the entire recipe into my 2-Cup Souper Cubes Trays. This way I’ll have two cubes of the meal ready to thaw anytime.
How to reheat it: For this type of recipe, I’m planning to use my HotLogic Mini Oven (affiliate link!) to reheat the recipe. This appliance is wonderful for hands-off heating and holding the food until I’m ready to eat. This recipe can also be reheated in the microwave.
Chipotle Grilled Chicken
I first made this chipotle chicken recipe in 2016. While it’s normally a recipe for the grill, I decided to give it a try in a cast-iron skillet indoors. I would probably not recommend that method (the chipotle makes the air a bit *spicy*), but the chicken is amazing and delicious in burritos, taco salads or rice bowls. Get the recipe for this Chipotle Grilled Chicken here.
Another reason I chose this recipe is that I was already opening a can of chipotle peppers. Making this chicken along with the chipotle ground turkey recipe was a great way to use it all up. Yay for overlapping ingredients!
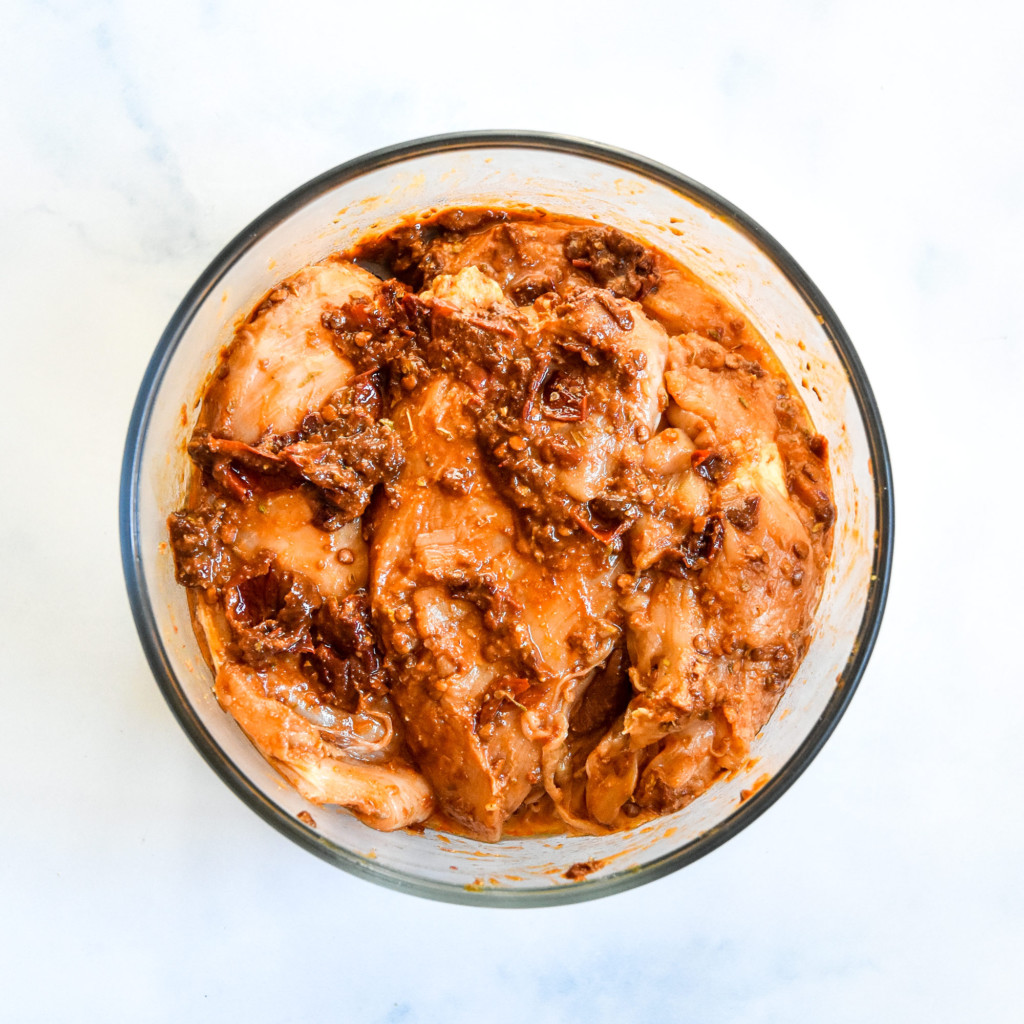
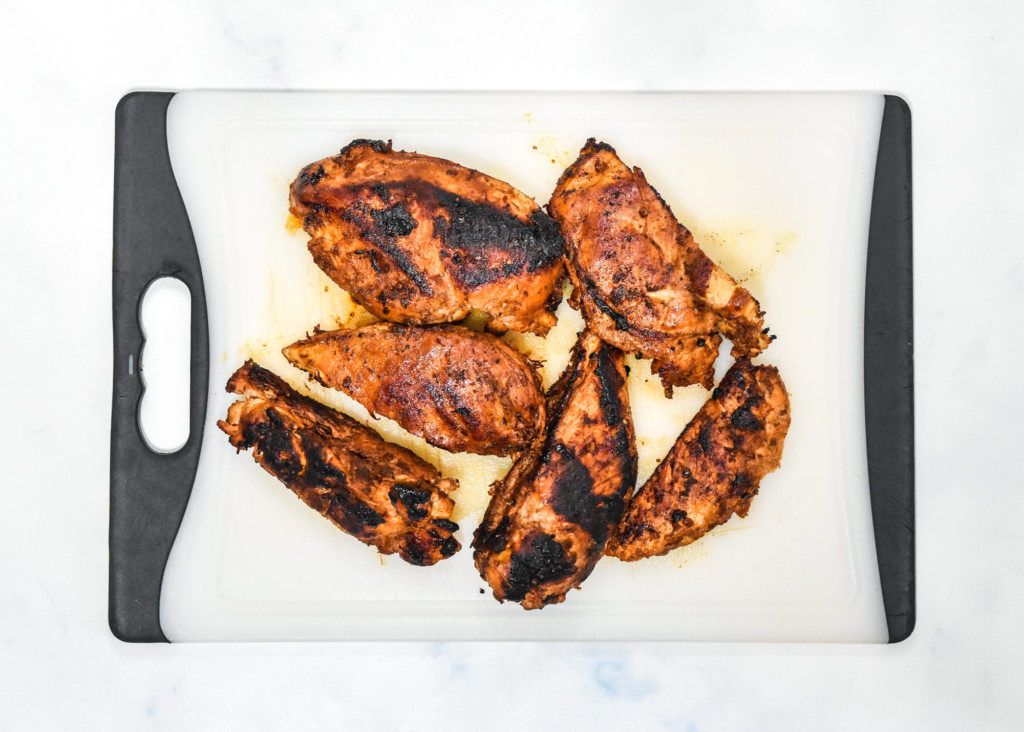
How I prepped it: Since I wasn’t in the mood to get our charcoal grill going (or ask for help 😅), I decided to give these a try in a cast-iron skillet on the stovetop. They cooked well, but honestly the fresh air of being outside at the grill is probably necessary for this chicken. Because that chipotle sauce can really make the air spicy!
How I froze it: After cooking the chicken and letting it rest for a few minutes, I diced it up and divided it into my 2-cup Souper Cubes Trays. I also decided to add about 1/4 cup chicken broth to each cube to help keep the chicken moist and prevent it from drying out.
How to reheat it: I’m planning to use my HotLogic Mini Oven (affiliate link!) to reheat the chicken directly from frozen. Since I added liquid already, this will help create steam and keep the chicken super juicy. This could also be reheated on the stovetop or in the microwave.
Ginger Ground Beef Skillet
This recipe might seem similar to the turkey skillet, but the flavor profile is completely different. Before the freezer prep session, I hadn’t made this recipe in a while, but I remembered it’s delicious and simple to make in one pan. Get the recipe for Ginger Ground Beef Skillet here.
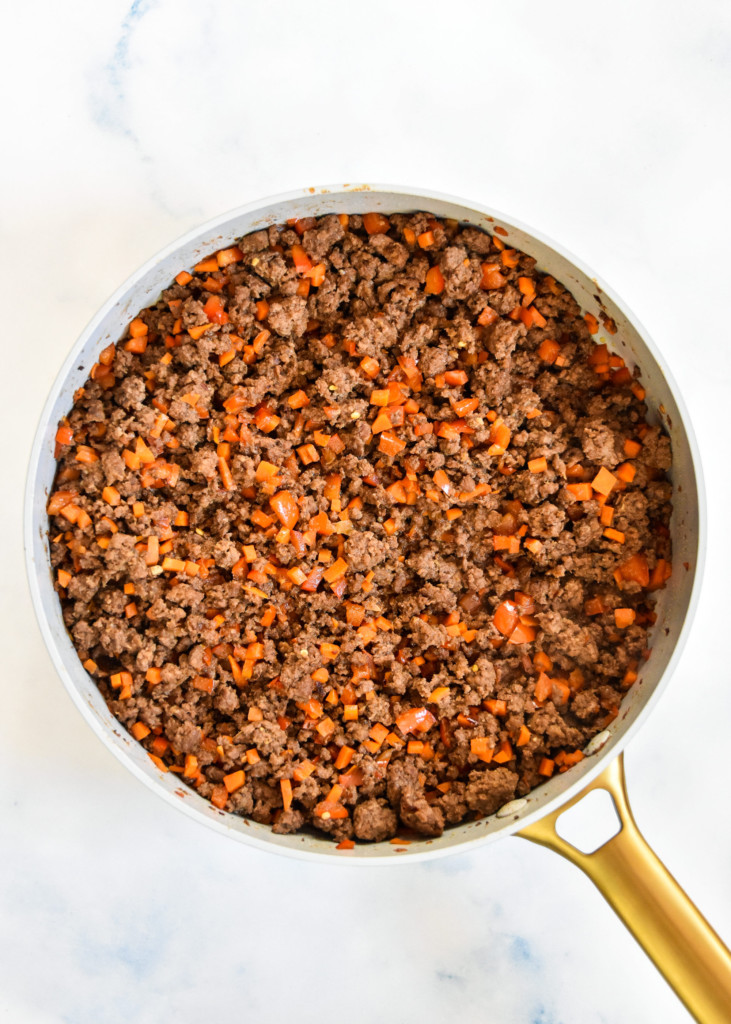
How I prepped it: I followed the recipe as written except I added just a touch of soy sauce as well. This helped add a bit of saltiness and a little extra liquid to the meat and veggies. I skipped making the rice, as this can be easily made when it’s time to eat.
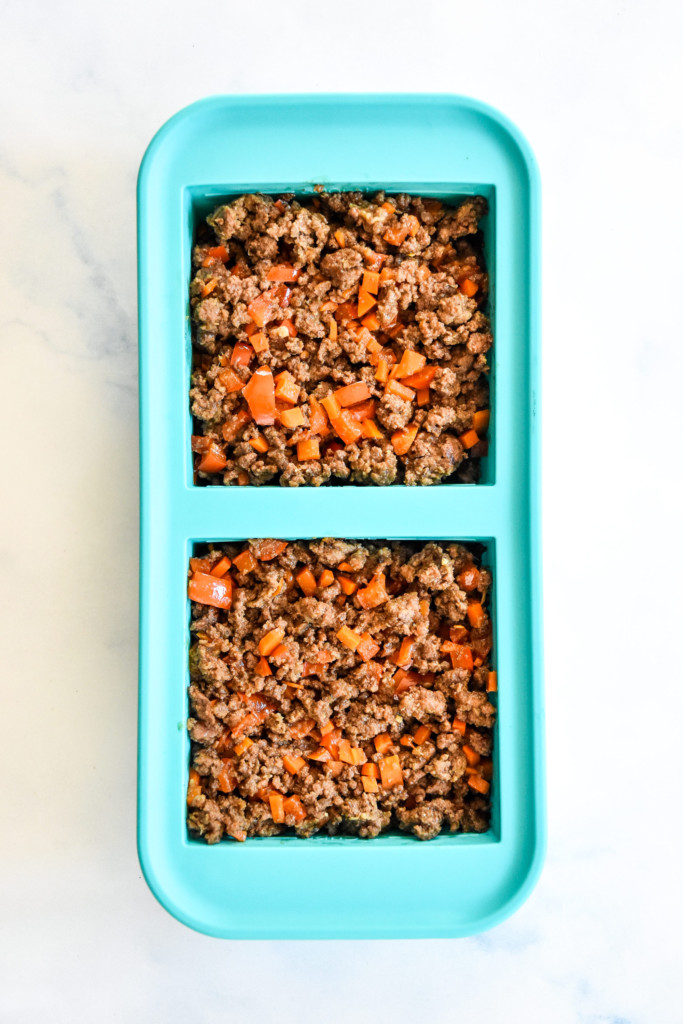
How I froze it: Once the pan was cooled down quite a bit, I portioned the entire recipe into my 2-Cup Souper Cubes Trays. This way I’ll have two cubes of the meal ready to thaw anytime. This recipe did make a bit more than could fit into the tray, so I saved a portion in the fridge and enjoyed it for lunch the next day.
How to reheat it: For this type of recipe, I’m planning to use my HotLogic Mini Oven (affiliate link!) to reheat the recipe. This appliance is wonderful for hands-off heating and holding the food until I’m ready to eat. This recipe can also be reheated in the microwave.
Sweet Potato Brownie Bites
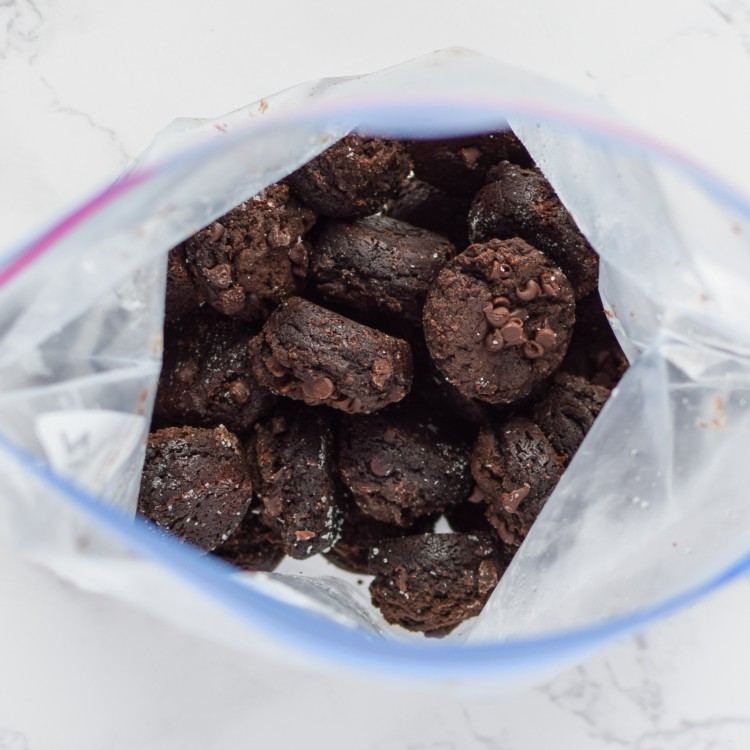
My very favorite fudgy brownie bites that are also full of sweet potato!! These bites are the best individual freezer treats I could make. I’m not trying to eat a massive dessert after recovery, so I feel like these little bites are perfect so I can still enjoy a treat. Get the recipe for Sweet Potato Brownie Bites here.
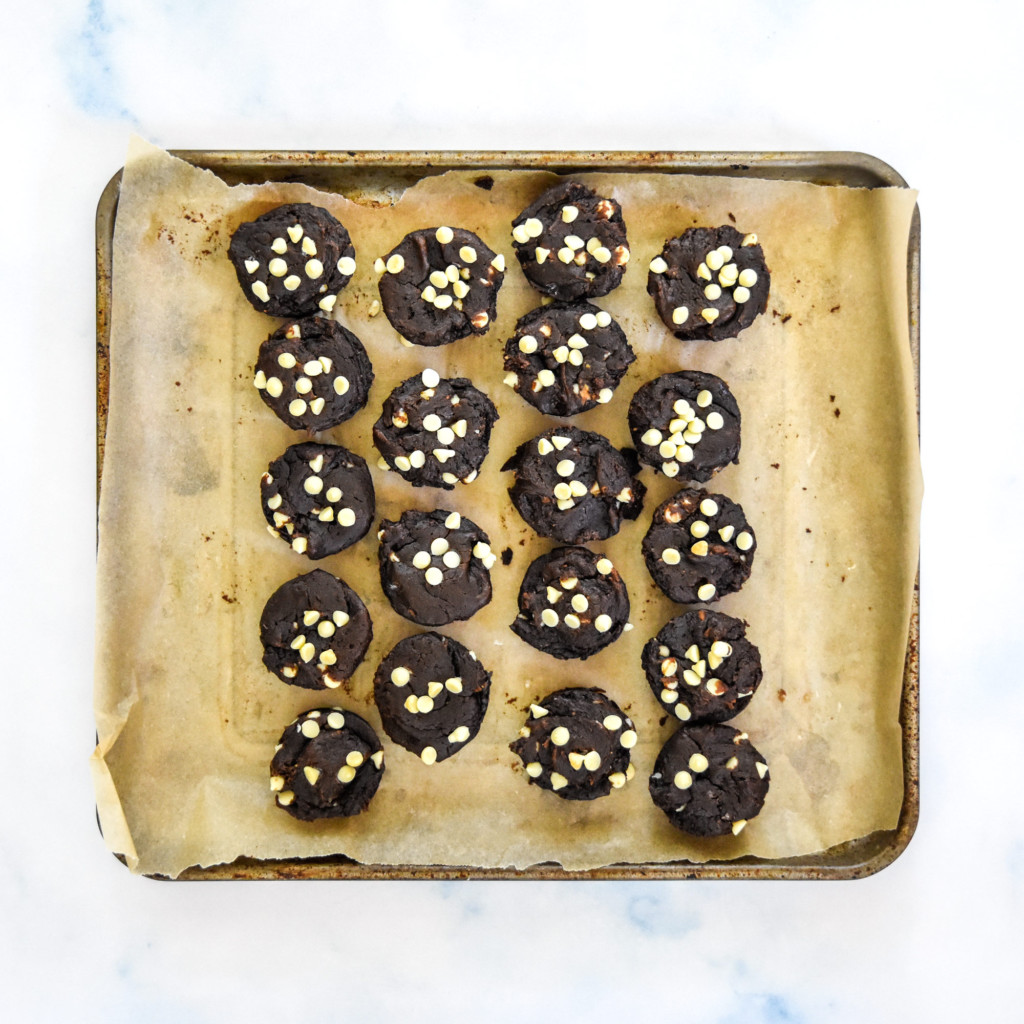
How I prepped it: I followed the recipe as written except I only had mini white chocolate chips so I used those instead 🙂
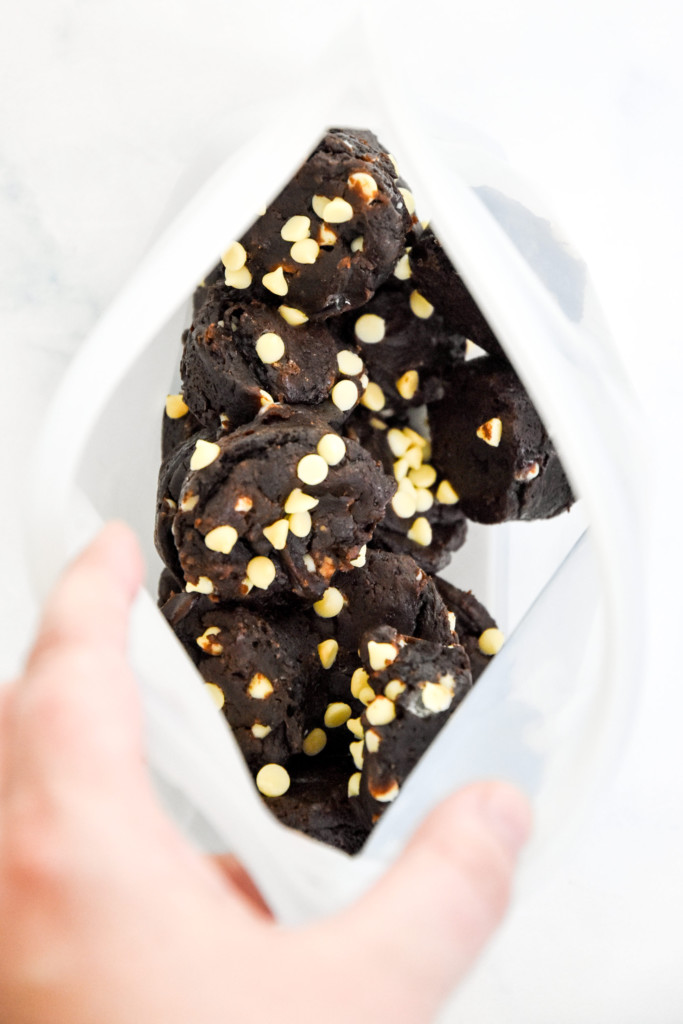
How I froze it: After making the brownie bites, I let them cool completely and then I put them in a single layer on a small baking sheet that fits into my freezer. I froze them overnight, then transferred to a Stasher bag and put it back into the freezer.
How to reheat it: I like to eat these directly from the freezer! No reheating necessary.
How long will these meals last in the freezer?
All of the recipes I prepared should easily last at least 3 months in the freezer and still be in great shape. Most foods can be frozen indefinitely but will start to lose flavor and texture after several months. My goal is to enjoy these recipes over the next couple weeks as I recover.
How long did it take to prepare these recipes?
This freezer prep session was split up over a Saturday and Sunday. Keep in mind I was also filming the making of all recipes and taking the photos you see here in the post. Overall it took about 6 hours to prepare everything.
On Saturday, I marinated the chipotle chicken and made the sweet potato brownie bites (the sweet potato was already cooked from a previous meal). This took about 1 hour.
On Sunday, I made a batch a breakfast sandwiches, the chipotle turkey skillet, the ginger beef skillet, and cooked the marinated chipotle chicken (which I had to do in 2 batches). This all took about 5 hours, including clean up and dishes.
If I had not been filming and photographing, I think everything would have taken less time: probably about 5 hours total. One hour per recipe for prep, cooking and clean up? Not bad!
I hope this post has given you a little glimpse into a real human’s freezer meal prep before a surgery! What freezer-friendly foods have helped you get through a recovery? Let me know in the comments below and we can have a list of favorites!

Corrie says
Thanks for this helpful post, and best of luck on your surgery!
Danielle says
Thank you Corrie! All went well 🙂 I posted a Reel on IG with how I reheated and enjoyed the chipotle skillet if you are interested! Thanks so much for reading!
Monica says
This is so smart! I love doing something like this before you know you have a planned event!
Danielle says
Hi Monica! Thank you so much for reading! Yes, luckily last Summer I knew I was going to have surgery so I was able to prepare ahead 🙂 Hopefully it’s helpful for others to see how I did it! -Danielle