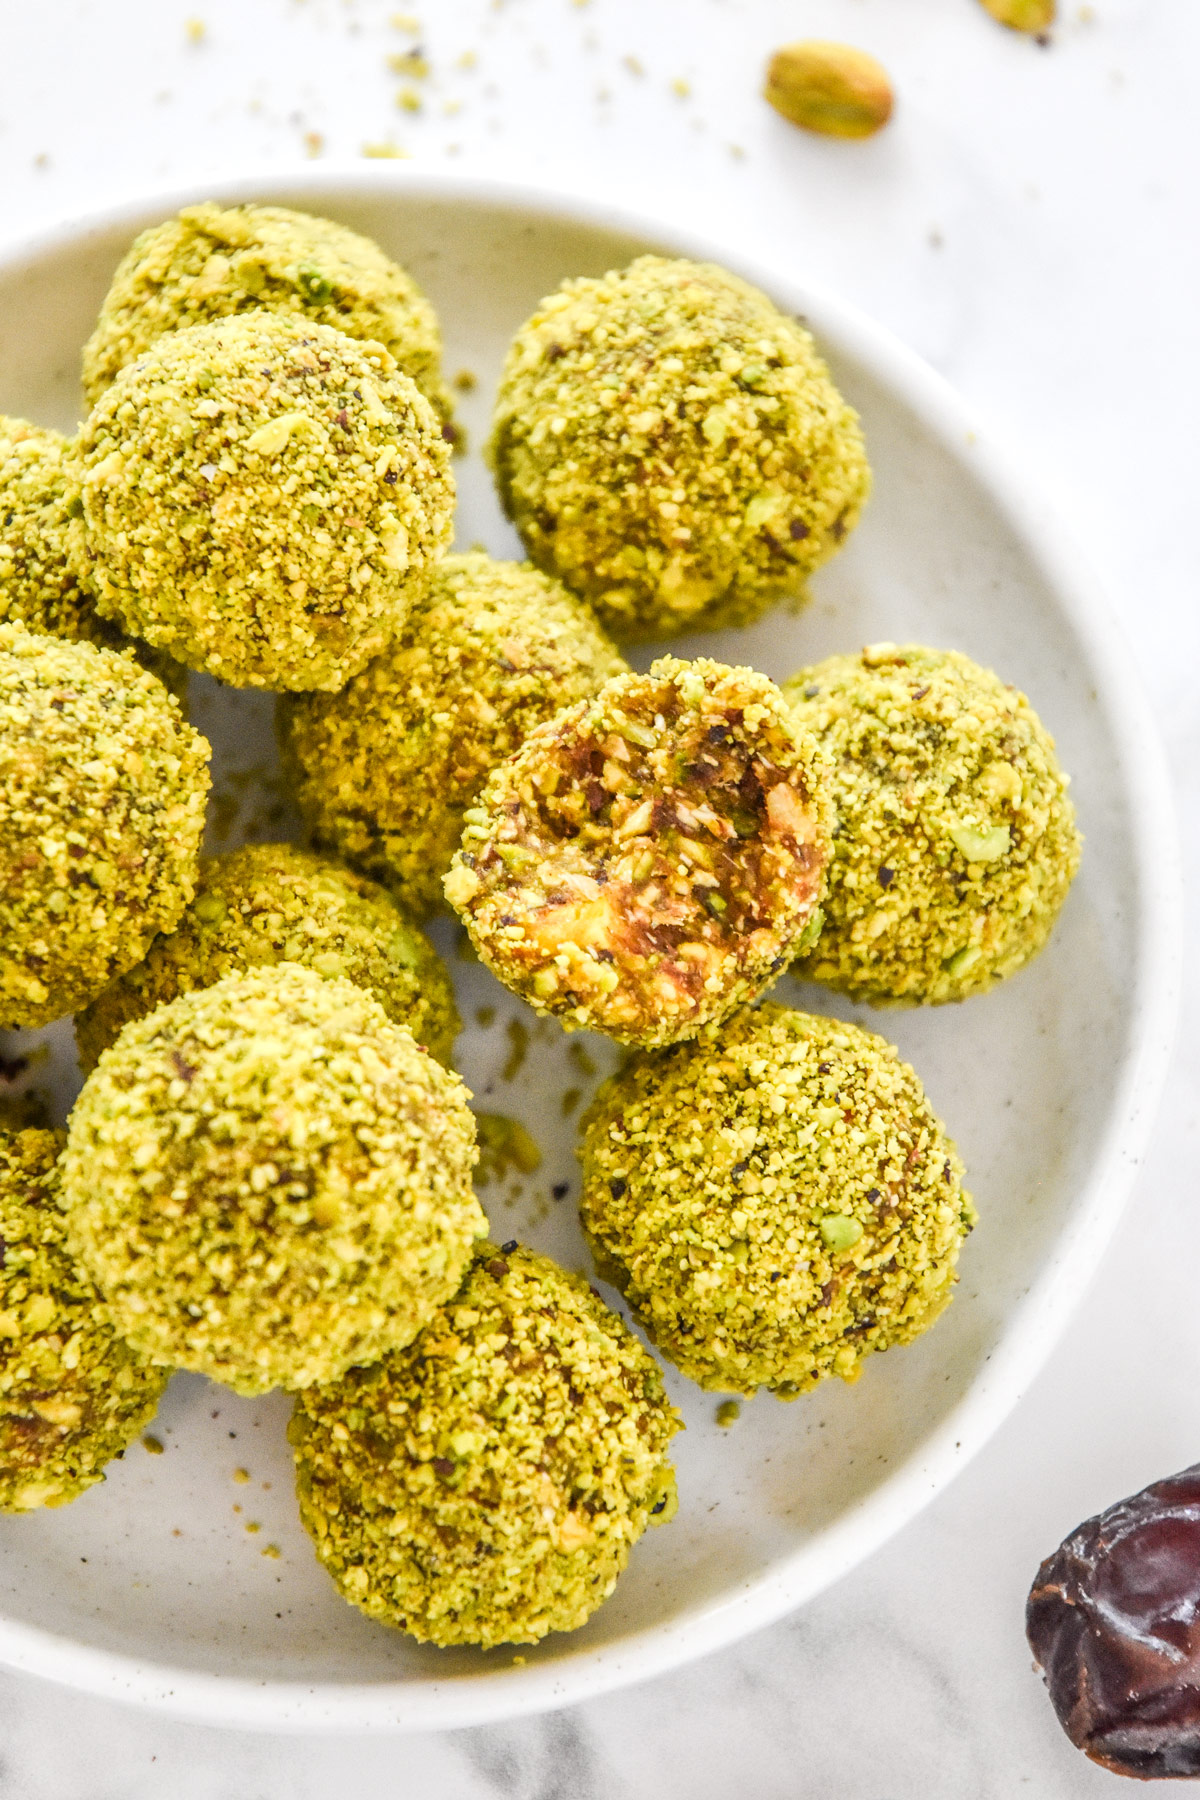
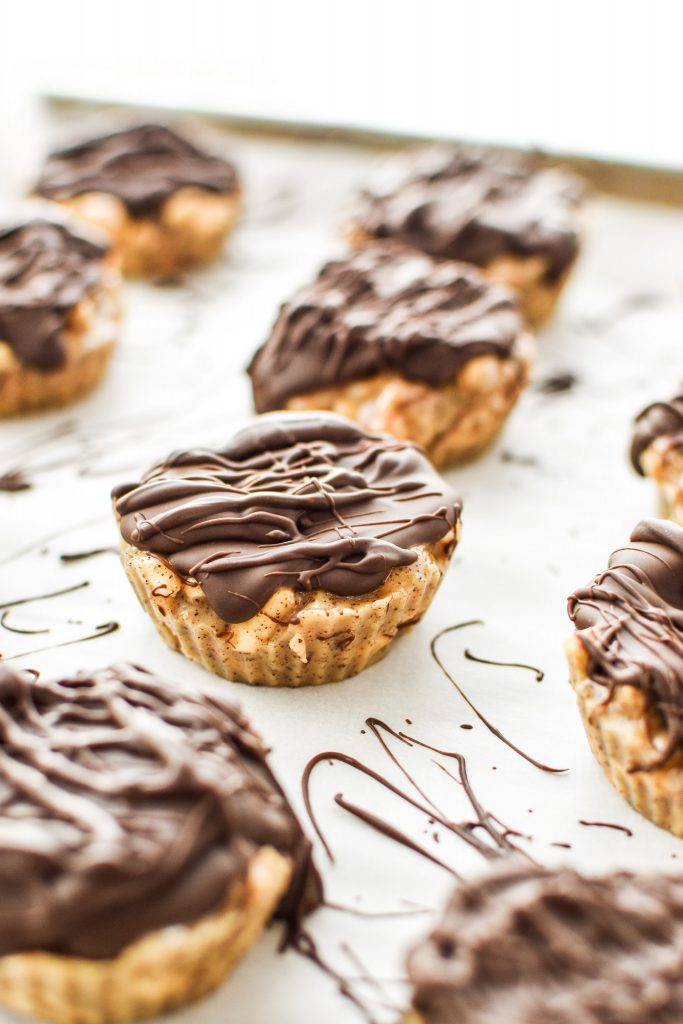
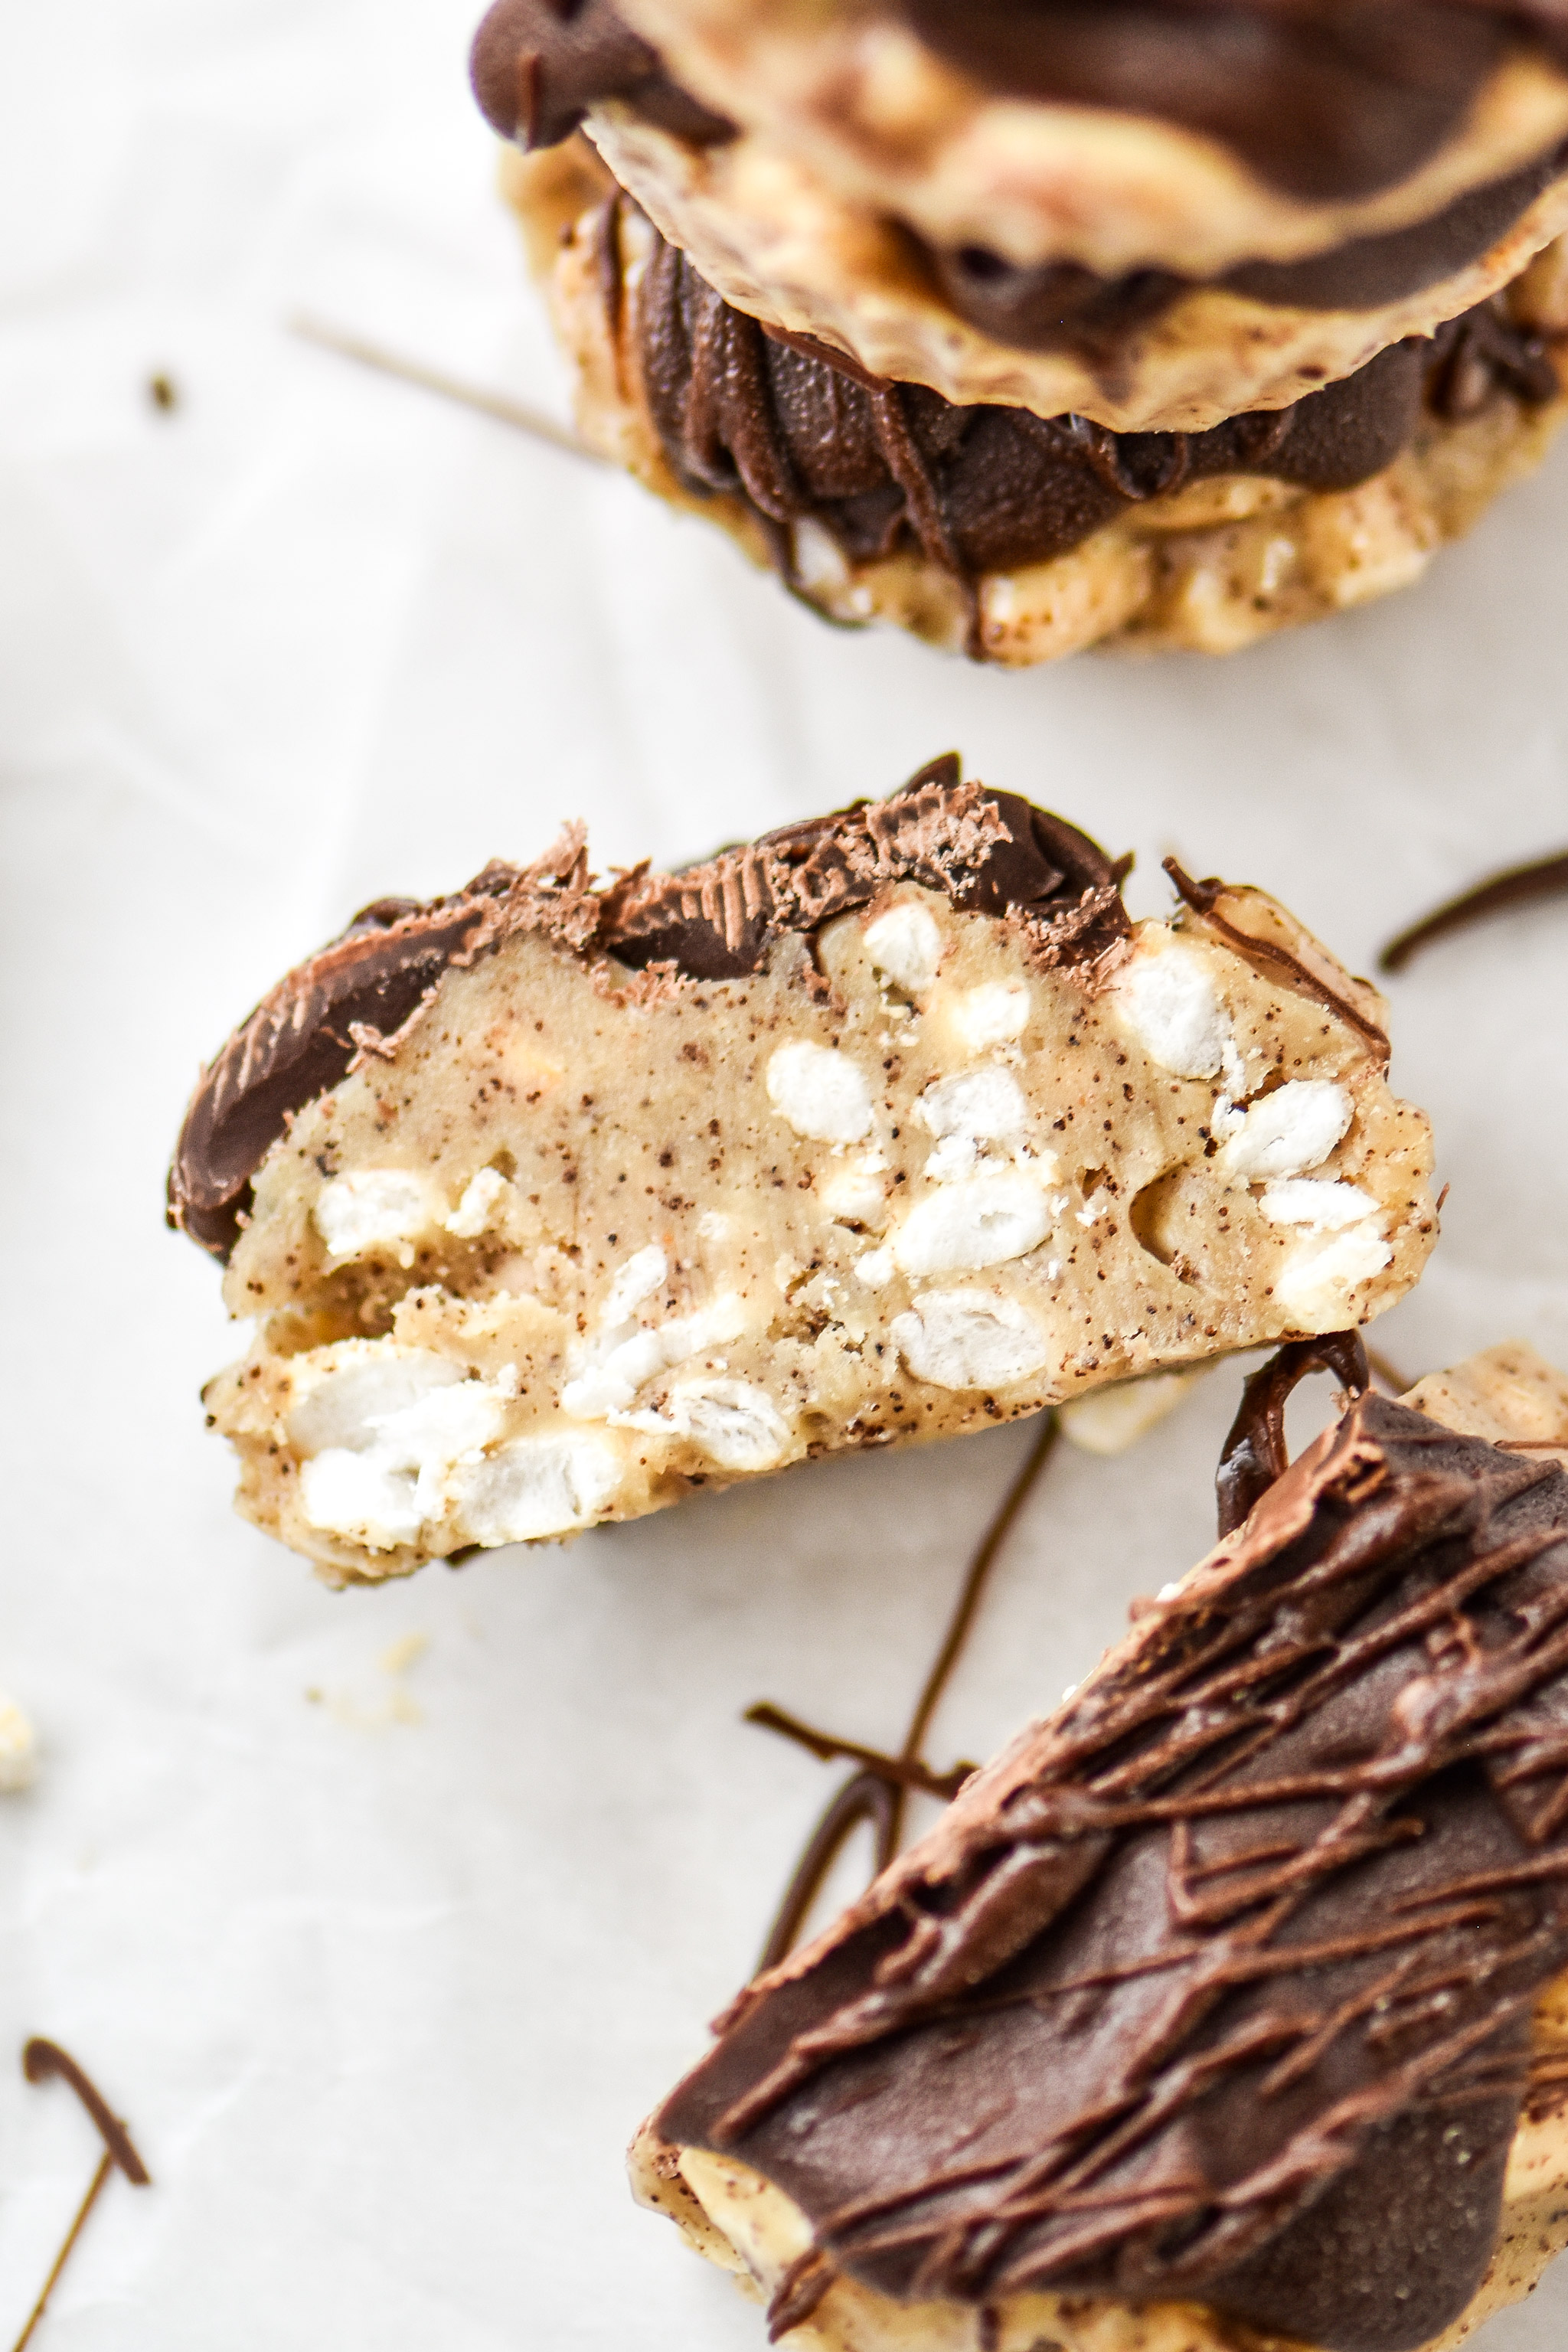
Cashew butter cup meets espresso meets crispy rice cereal!! For the ultimate freezer-friendly, coffee flavored dessert sweetened with maple syrup, look no further than these Chocolate Covered Espresso Crunch Cashew Butter Cups!
Get my FREE 10 Best Make-Ahead Treat Recipes eBook 🍥
I’ve discussed here before that I 100% believe dessert is meal prep-able. I do not think that meal prep should end after breakfast, lunch and dinner. Why? Because dessert is a meal, and you can definitely prepare it ahead. Simple as that.
Here’s why I like to “meal prep” dessert:
- I can prep it how I want, with the ingredients I choose.
- I can portion out my dessert so I don’t eat too much at one time.
- It keeps me from resorting to worse alternatives. Even though this dessert has added sugar in the form of maple syrup, it’s probably still better for me than eating store bought candy straight from the package.
- It’s ready when I want it! Best benefit of meal prepping any meal.
 So who doesn’t like nut butter cups? Am I right? I think I’m right. Even if you don’t or can’t eat peanut butter, there are always more cups to try using almond butter, cashew butter, sunflower butter… And they’re so easy to make at home!
Here’s my nut butter cup secret:
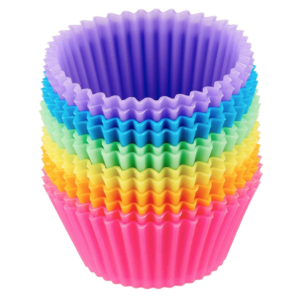
I like to use these silicone baking cups to make the cups into the perfect shape and get those little signature butter cup ridges on the sides. Plus they make for a super easy cleanup, and less waste than using paper liners!
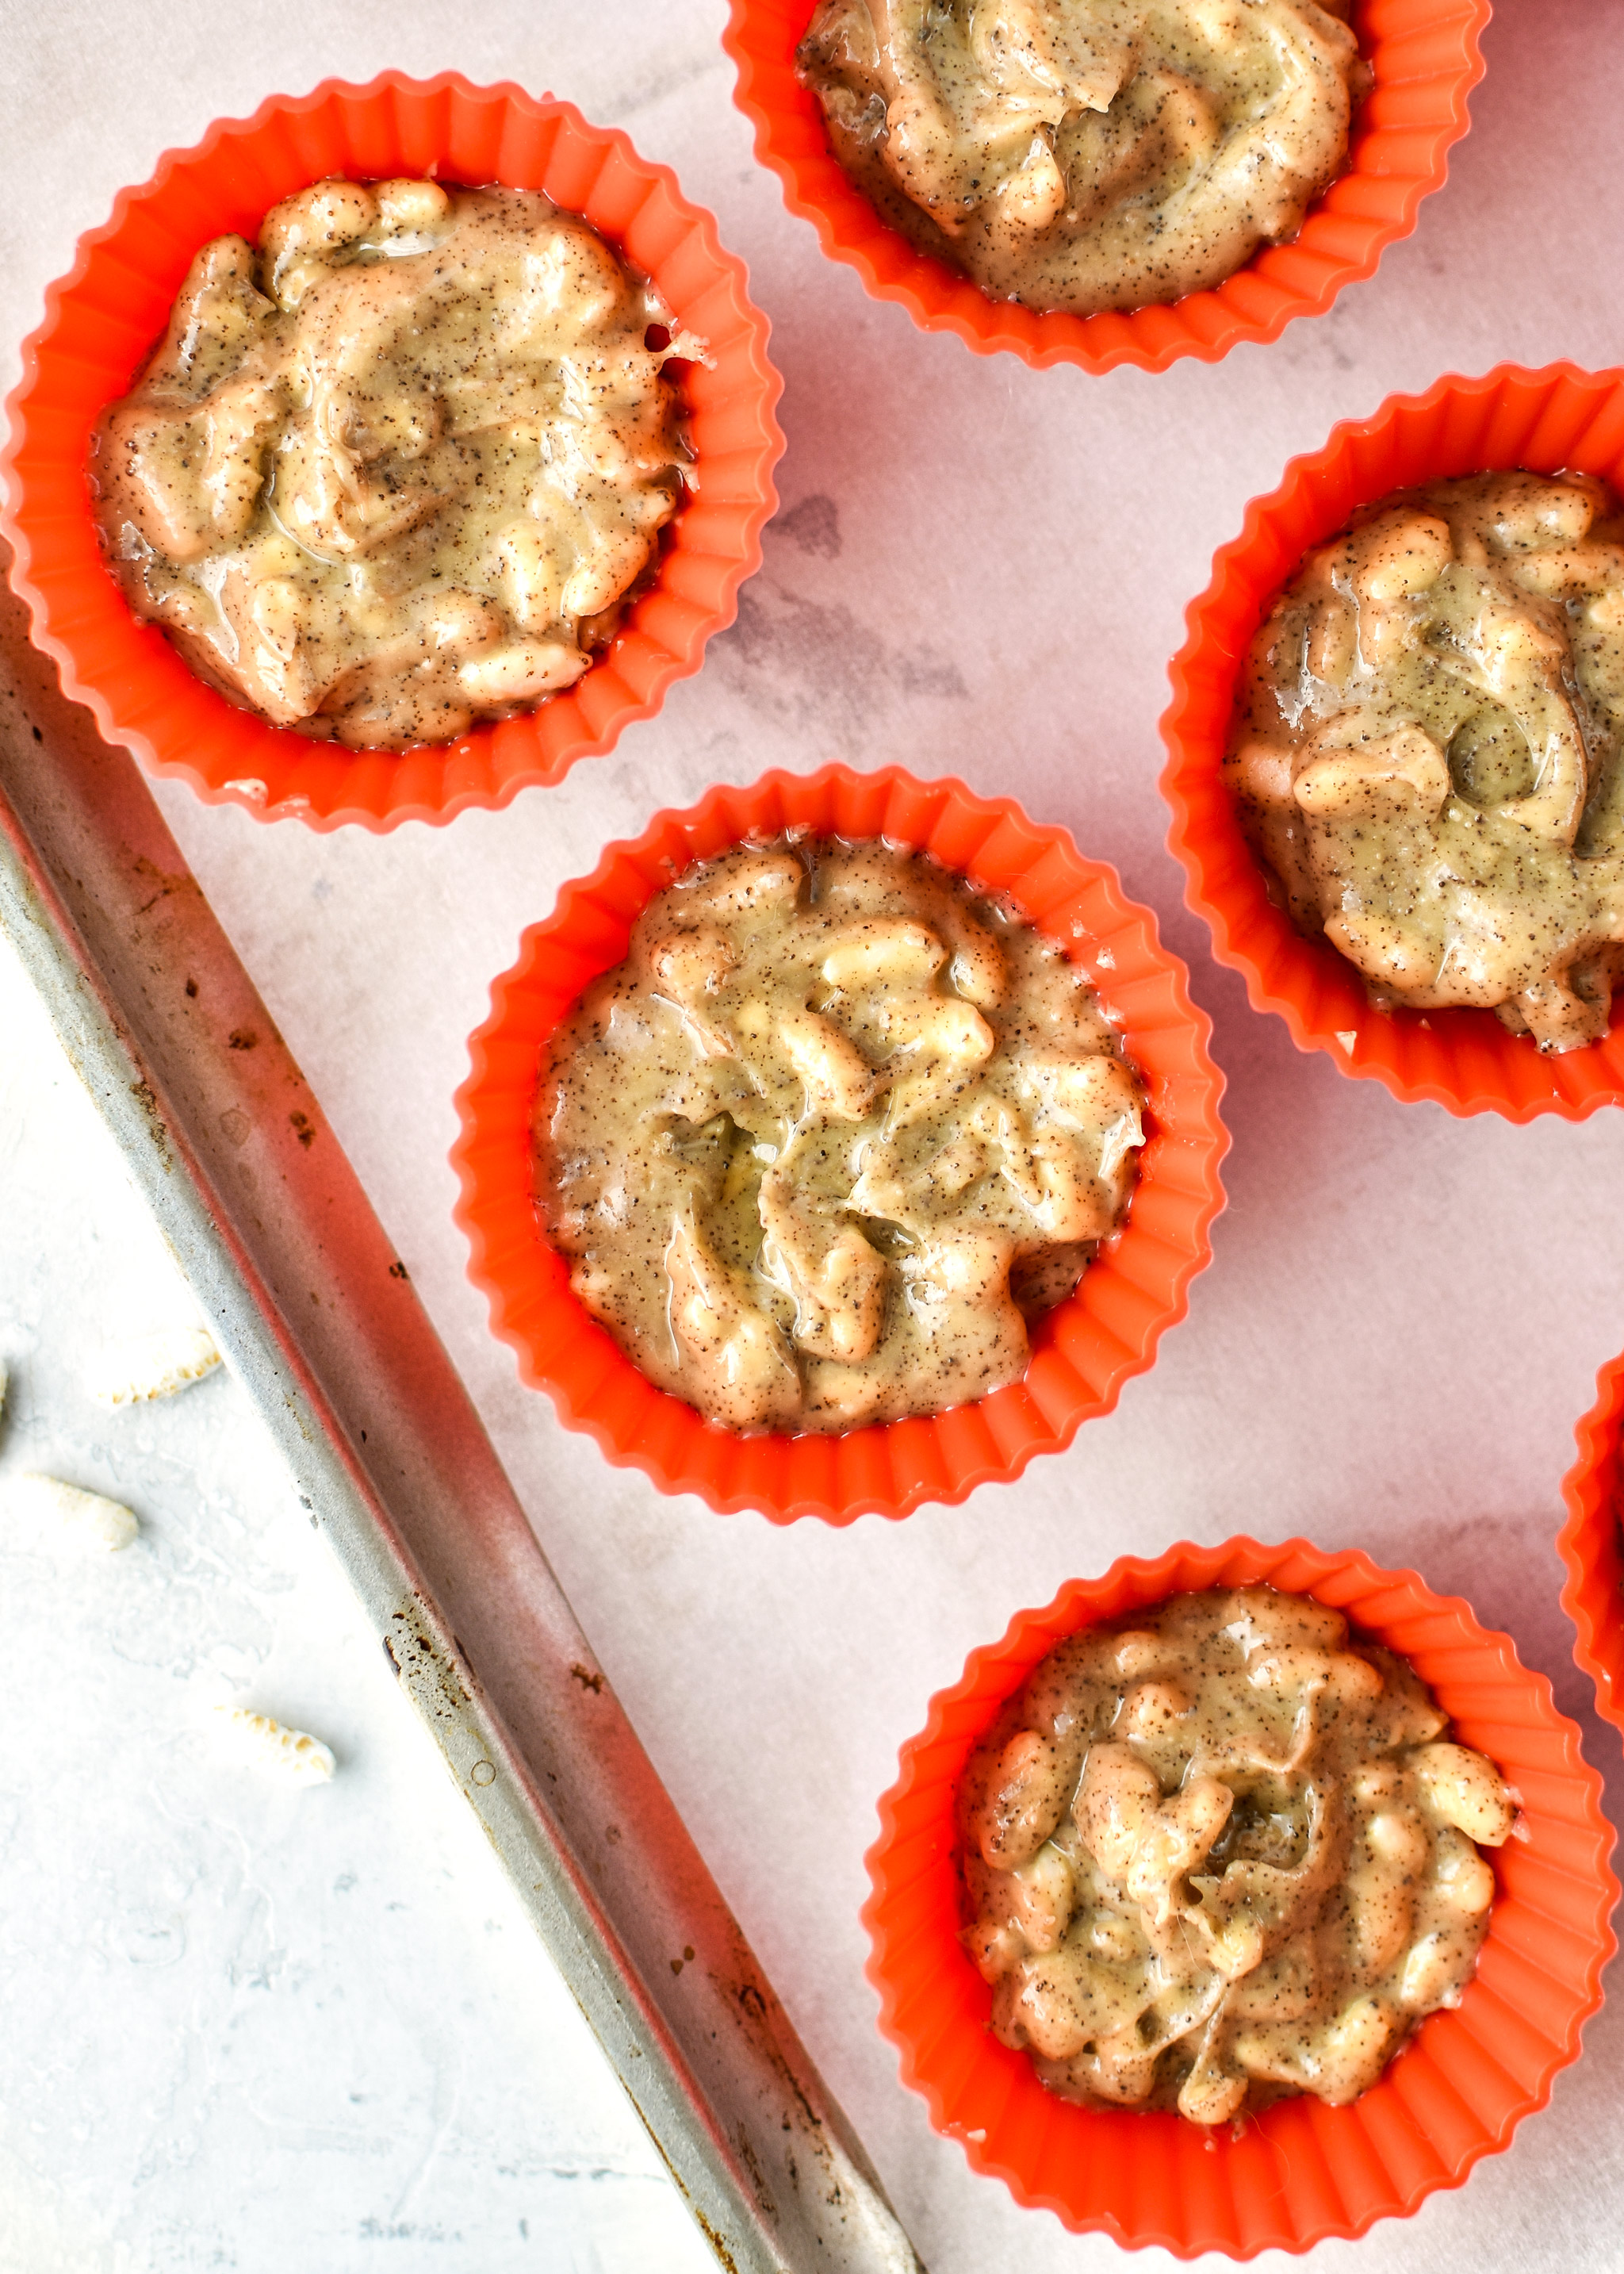
All you do is scoop some nut butter mixture into your baking cups and freeze for 15-20 minutes until the nut butter cups have hardened. I just place all the baking cups on a small baking sheet that fits in my freezer so I can easily move them all at once.
 Once the nut butter has hardened, pull them out of the freezer and remove the baking cups from the nut butter cups. Peeling the liner off the nut butter cup is a total no-brainer (just flip it inside out), give a quick wash, and then they’re ready to be used again! I own the red ones pictured in a set of 12, but any color or brand of reusable silicone baking cups (affiliate link!) will do.
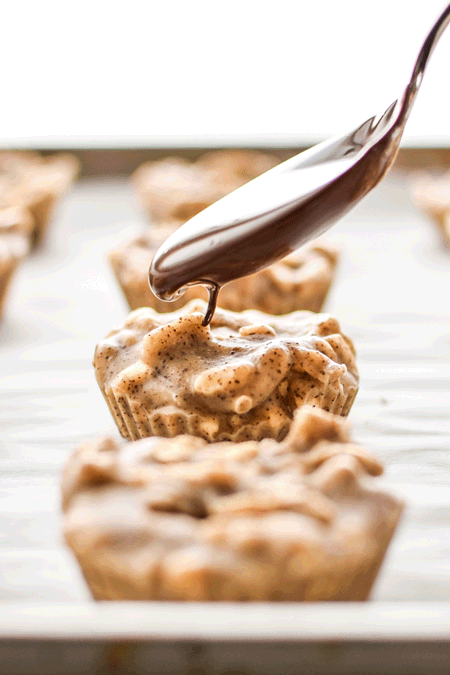
Next is my absolute favorite part – adding chocolate on top.
As a personal declaration of my cooking independence, I’ve decided to refrain from any more chocolate dipping. Dipping is messy. It uses up way more chocolate (which gets expensive). You need too many utensils. Ugh. Not to mention there is no where to hold your treat without getting chocolate all over your fingers.
I no longer dip. I cover.
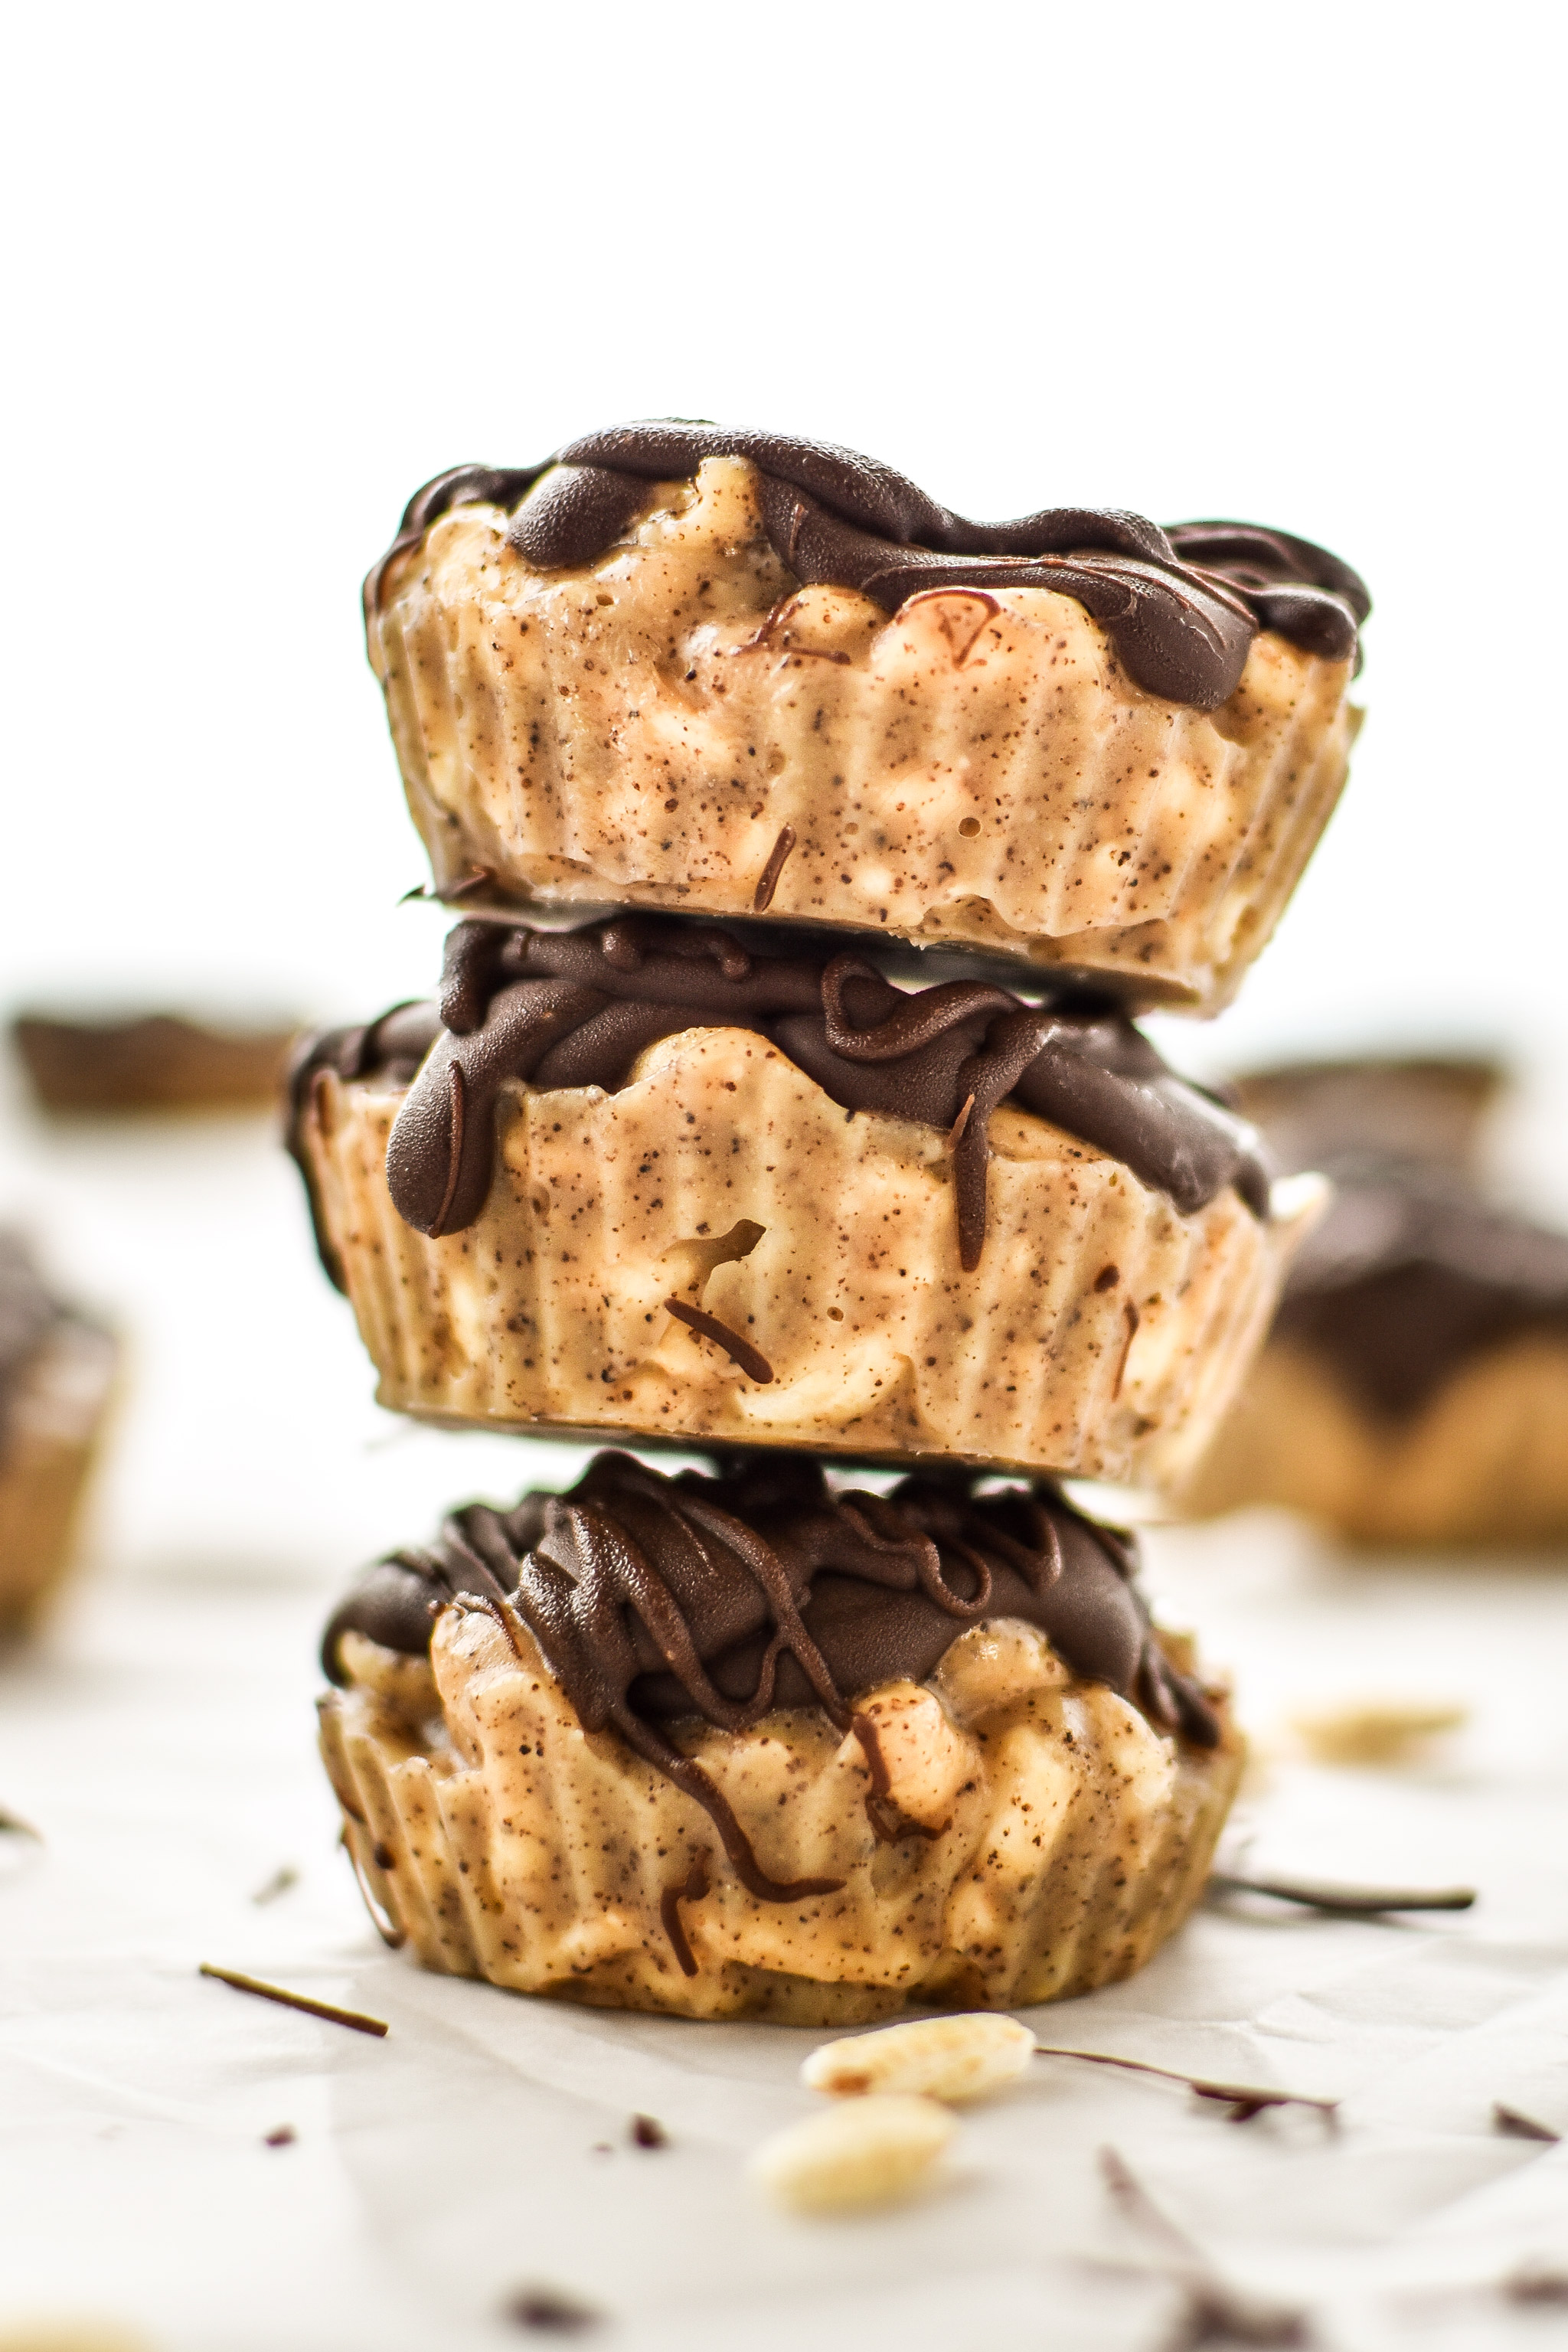
…which explains the full name for these treats: CHOCOLATE COVERED ESPRESSO CRUNCH CASHEW BUTTER CUPS. So. Much. Yum. Without chocolate fingers.
For the melty chocolate, I used Ghiradelli chocolate melts because it makes shiny gorgeous chocolate (hello photos!!), but I’ve also made them with plain or vegan chocolate chips with a little coconut oil and it works just fine.
Freeze for a couple more minutes until the chocolate hardens, and you’re golden. Say hello to your new freezer buddy: Espresso Crunch Cashew Butter Cups!!
Want to Save this recipe for later?
Did you make this? I want to see how it turned out! Tag me in your social media post @projectmealplan and use #projectmealplan when you share!
Print
Espresso Crunch Cashew Butter Cups
Cashew butter cup meets espresso meets crispy rice cereal!! For the ultimate freezer-friendly, coffee flavored dessert that’s naturally sweetened with maple syrup, I look no further than these Chocolate Covered Espresso Crunch Cashew Butter Cups!
- Total Time30 minutes
- Yield12 servings 1x
Ingredients
- 2/3 cup creamy cashew butter
- 1/4 cup maple syrup
- 3 tablespoons coconut oil, melted
- 1/2 teaspoon vanilla extract
- 1 tablespoon instant espresso powder
- 1/8 teaspoon sea salt
- 1 cup unsweetened plain puffed rice (or crispy rice)
- 1/2 cup milk chocolate or dark chocolate (dark chocolate will have less or no sugar added depending on the brand)
Instructions
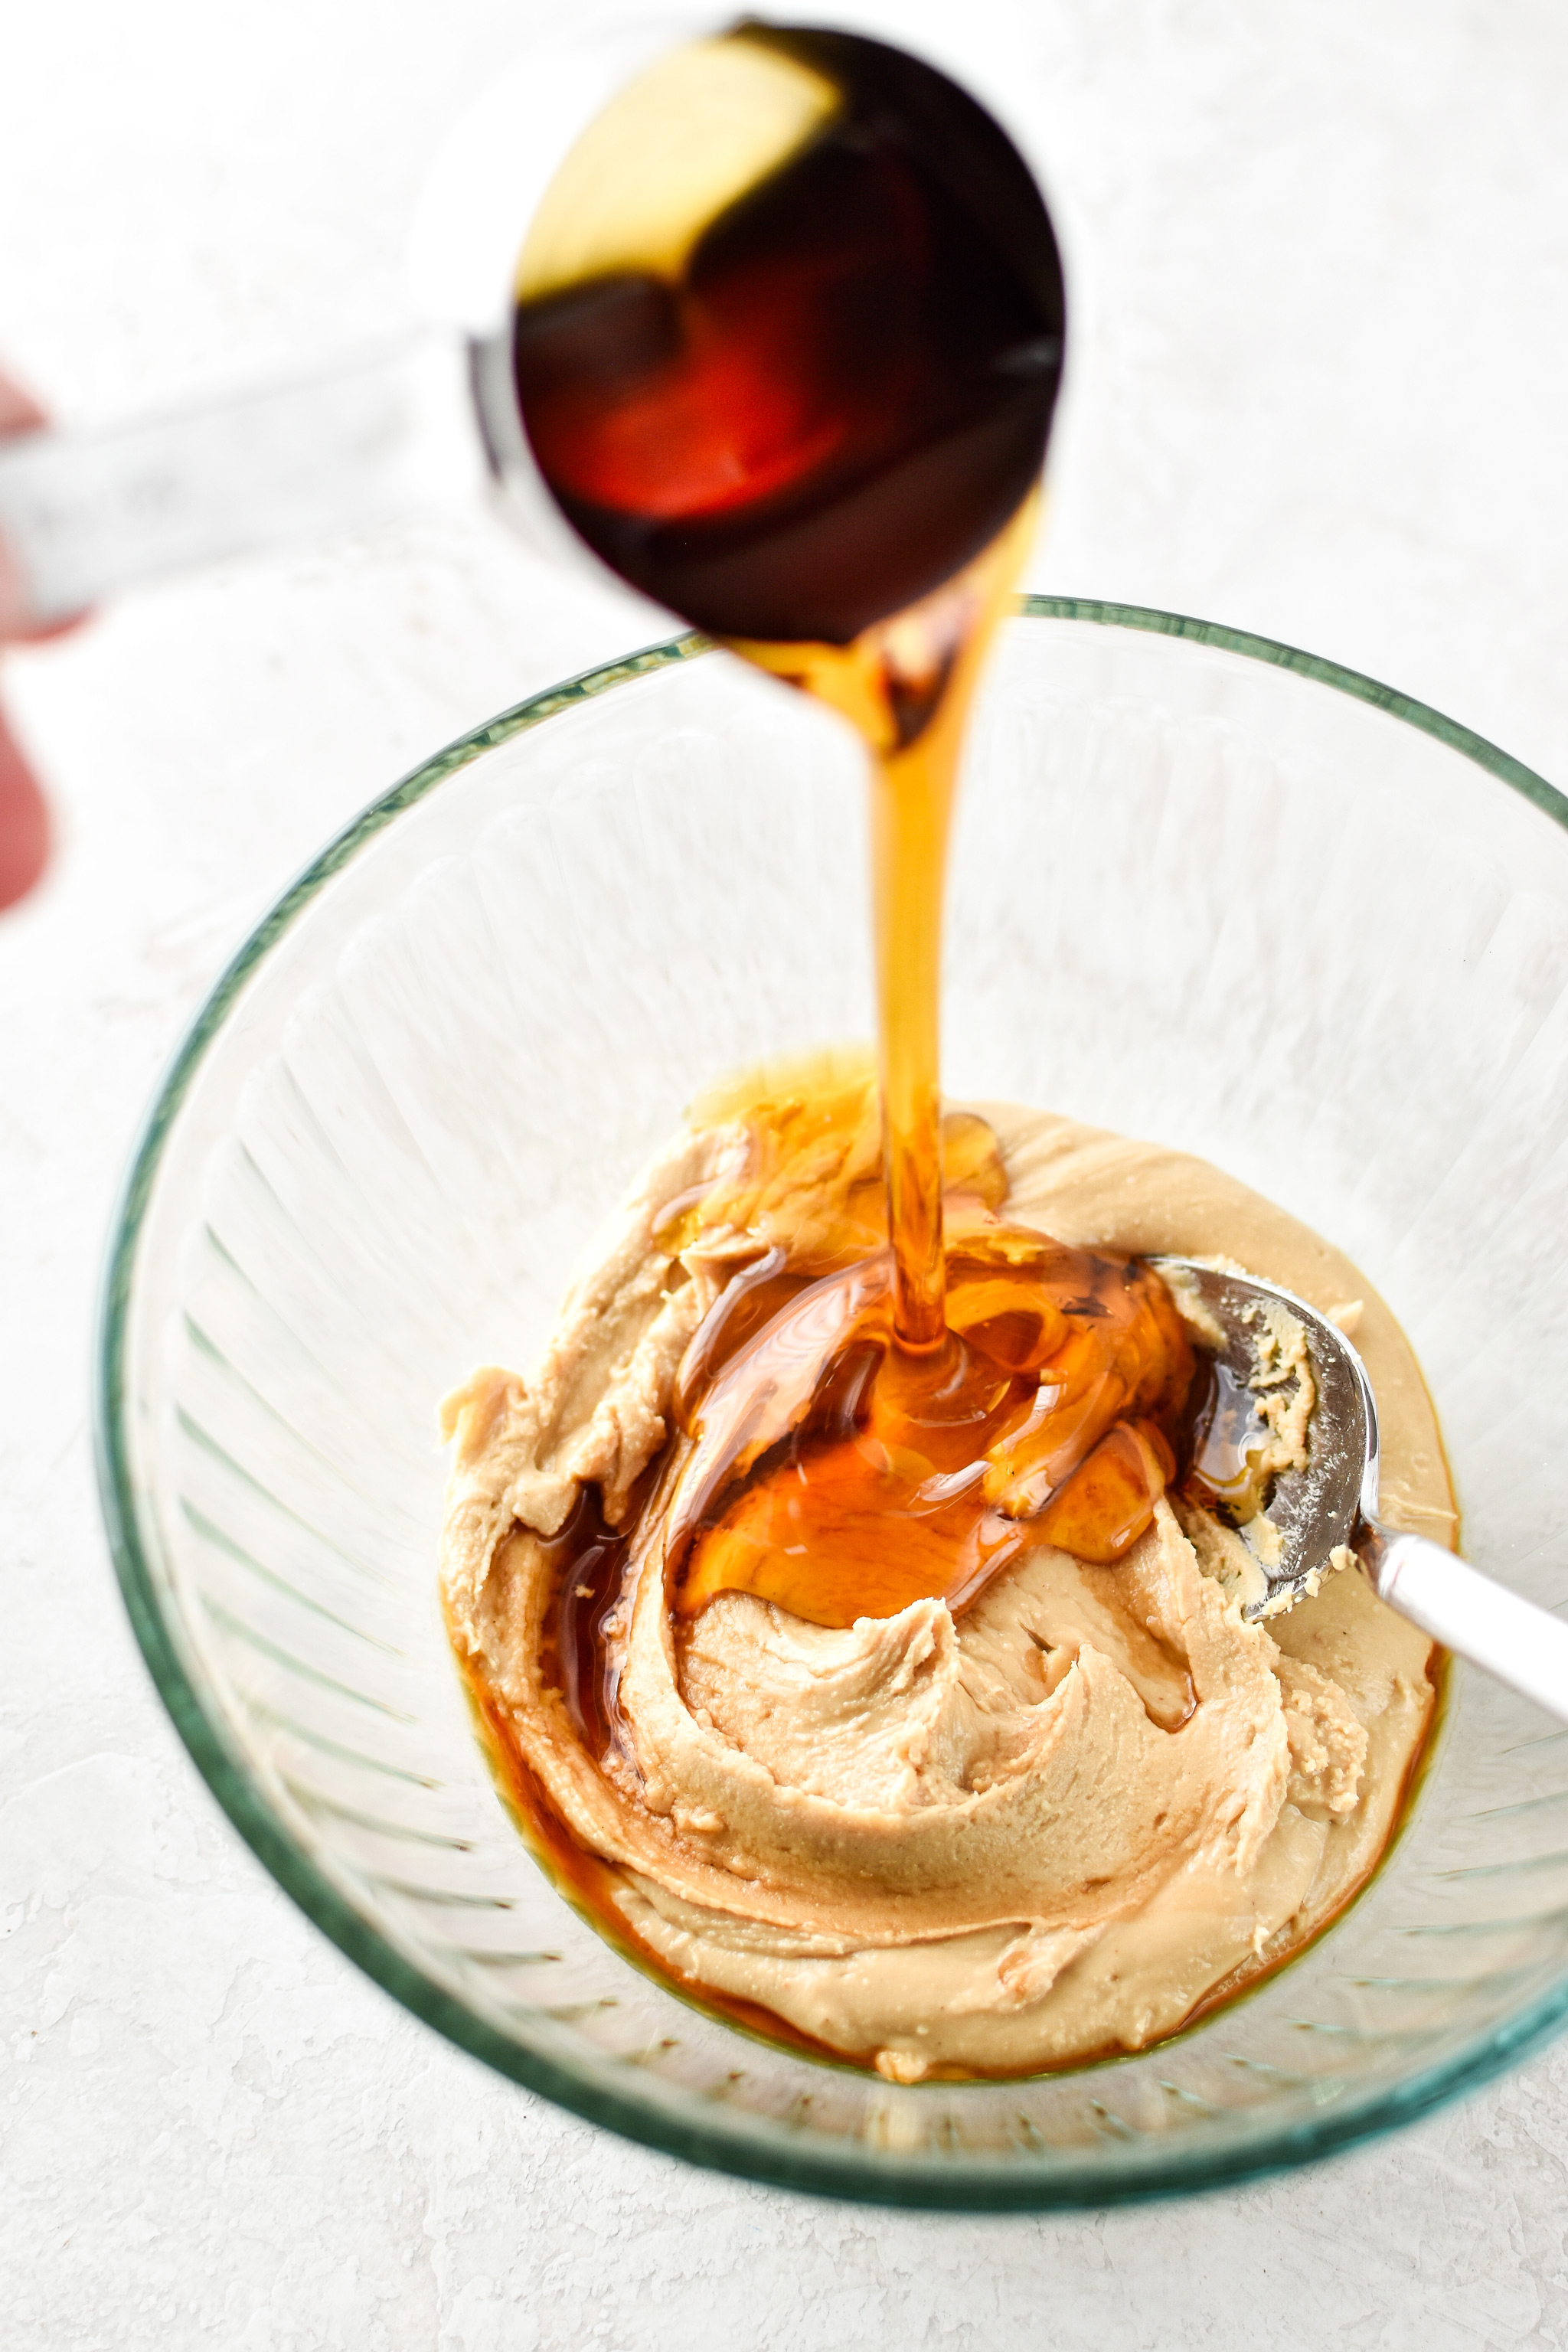
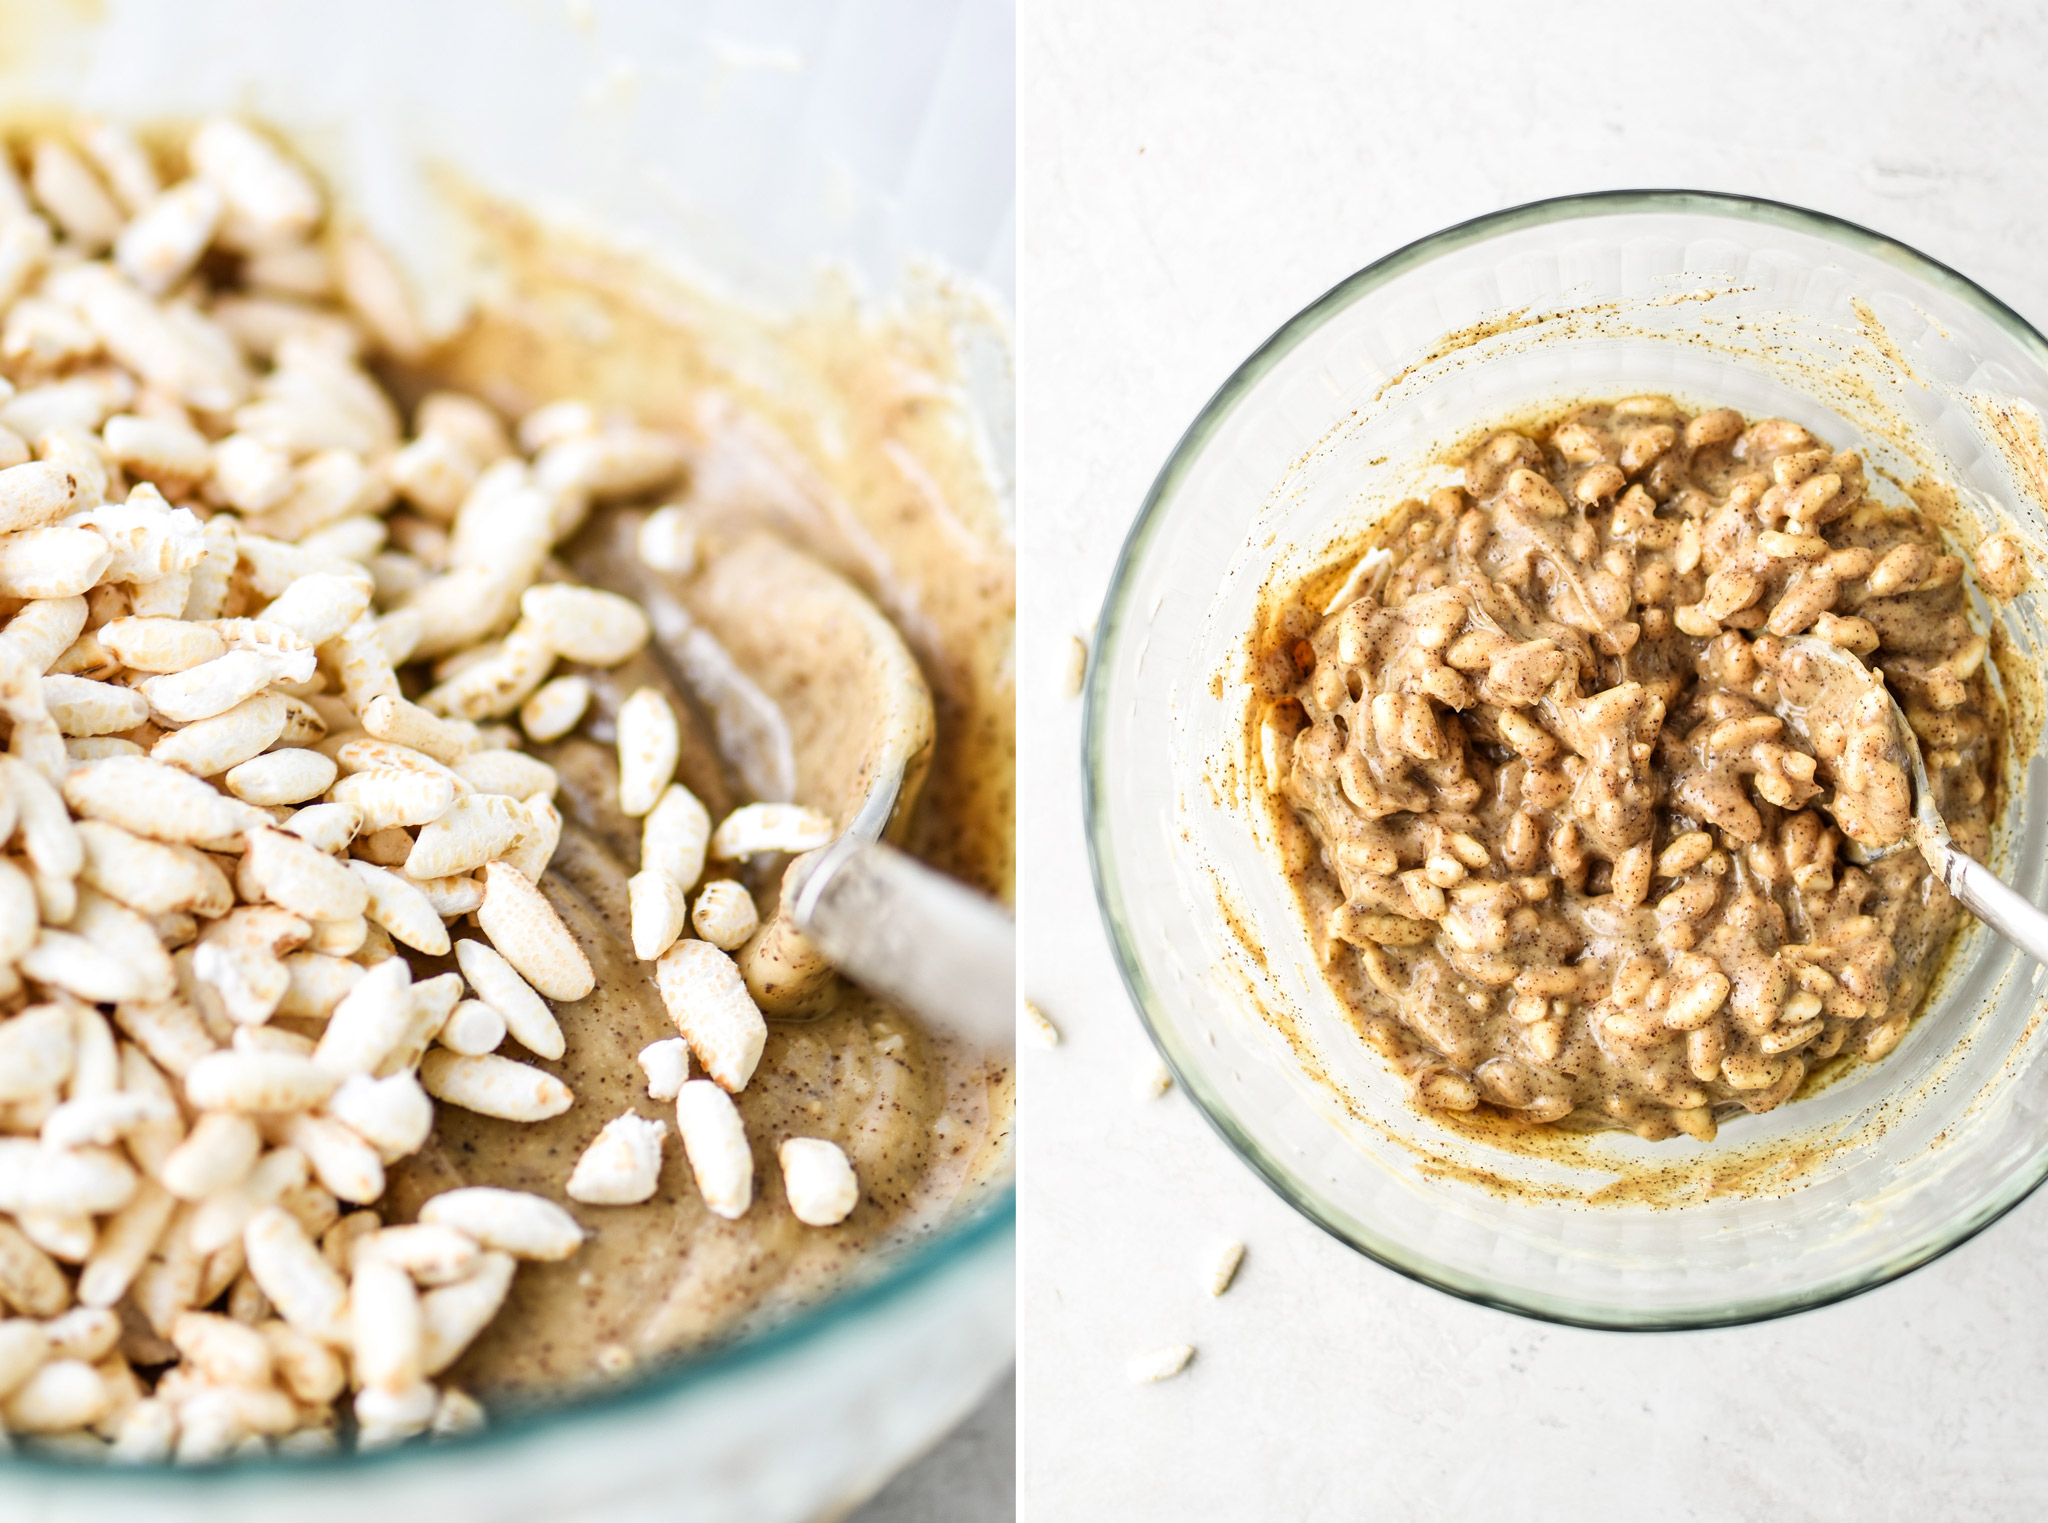
- In a medium bowl, mix cashew butter, maple syrup, coconut oil and vanilla extract until well mixed. Add espresso powder and sea salt, and mix again. Finally, add the puffed rice to the bowl and mix well.
- Spoon the cashew butter mixture evenly into 12 silicone baking cups or paper muffin tin liners. Place in the freezer for 15-20 minutes until the nut butter cups have hardened.
- Just before you remove the butter cups from the freezer, prepare the melted chocolate by placing in a small microwave safe bowl. Heat in 10 second intervals and stir until completely melted (should take about 30-40 seconds).
- Remove the nut butter cups from the freezer and remove any baking cup liners. Place nut butter cups on a tray lined with parchment paper. Use a spoon to add about a tablespoon of melted chocolate on top of each nut butter cup. Place nut butter cups back in the freezer until the chocolate has hardened.
- Store in the freezer for up to 1 month, however they do not last that long in my house!
Notes
I use these cute little reusable silicone baking cups (affiliate link!) to make these nut butter cups! For espresso powder, I use Medaglia D’Oro Instant Espresso Powder (affiliate link) available at regular grocery stores. I also found the unsweetened puffed rice at the regular grocery store near the cereal.
Nutrition information estimated with My Fitness Pal.
- Prep Time: 10 minutes
- Category: Dessert
Nutrition
- Serving Size: 1 cup
- Calories: 133
- Sugar: 4g
- Fat: 11g
- Carbohydrates: 9g
- Protein: 2g

Did You Make This?
I love seeing what you made! Leave a review below, and be sure to tag me at @ProjectMealPlan when you share a photo!