This post may contain affiliate links. Please read our disclosure policy.
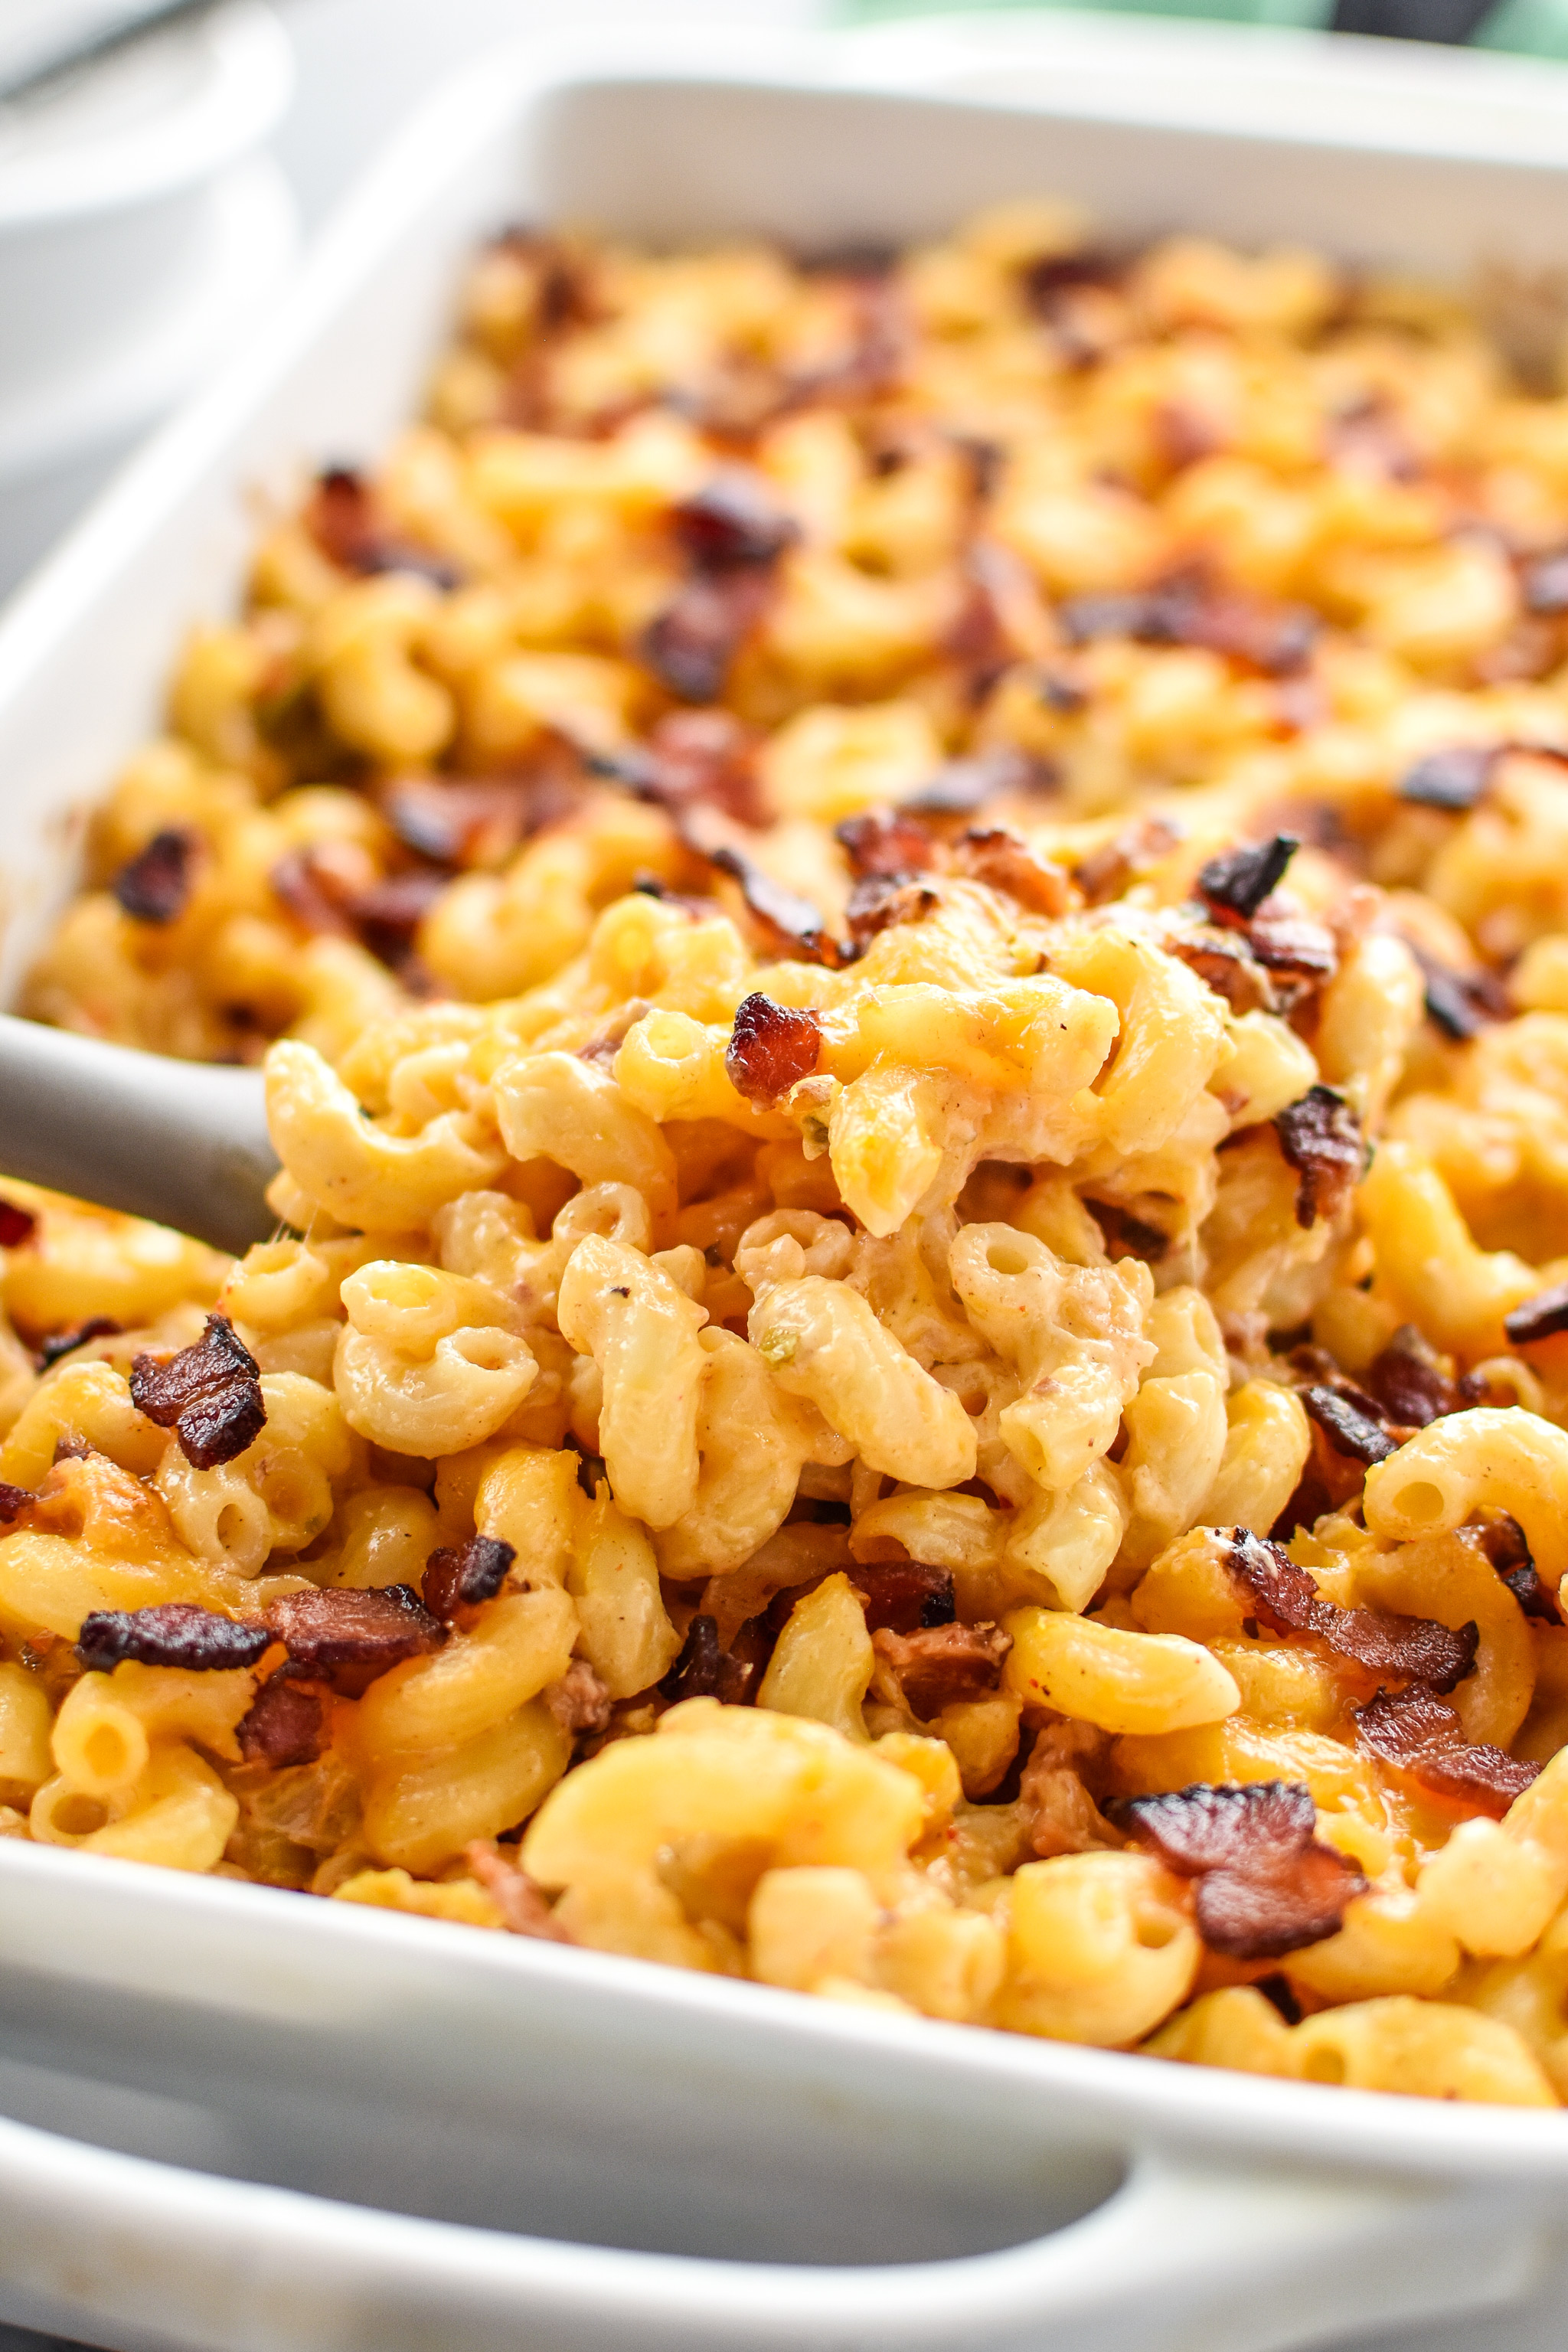
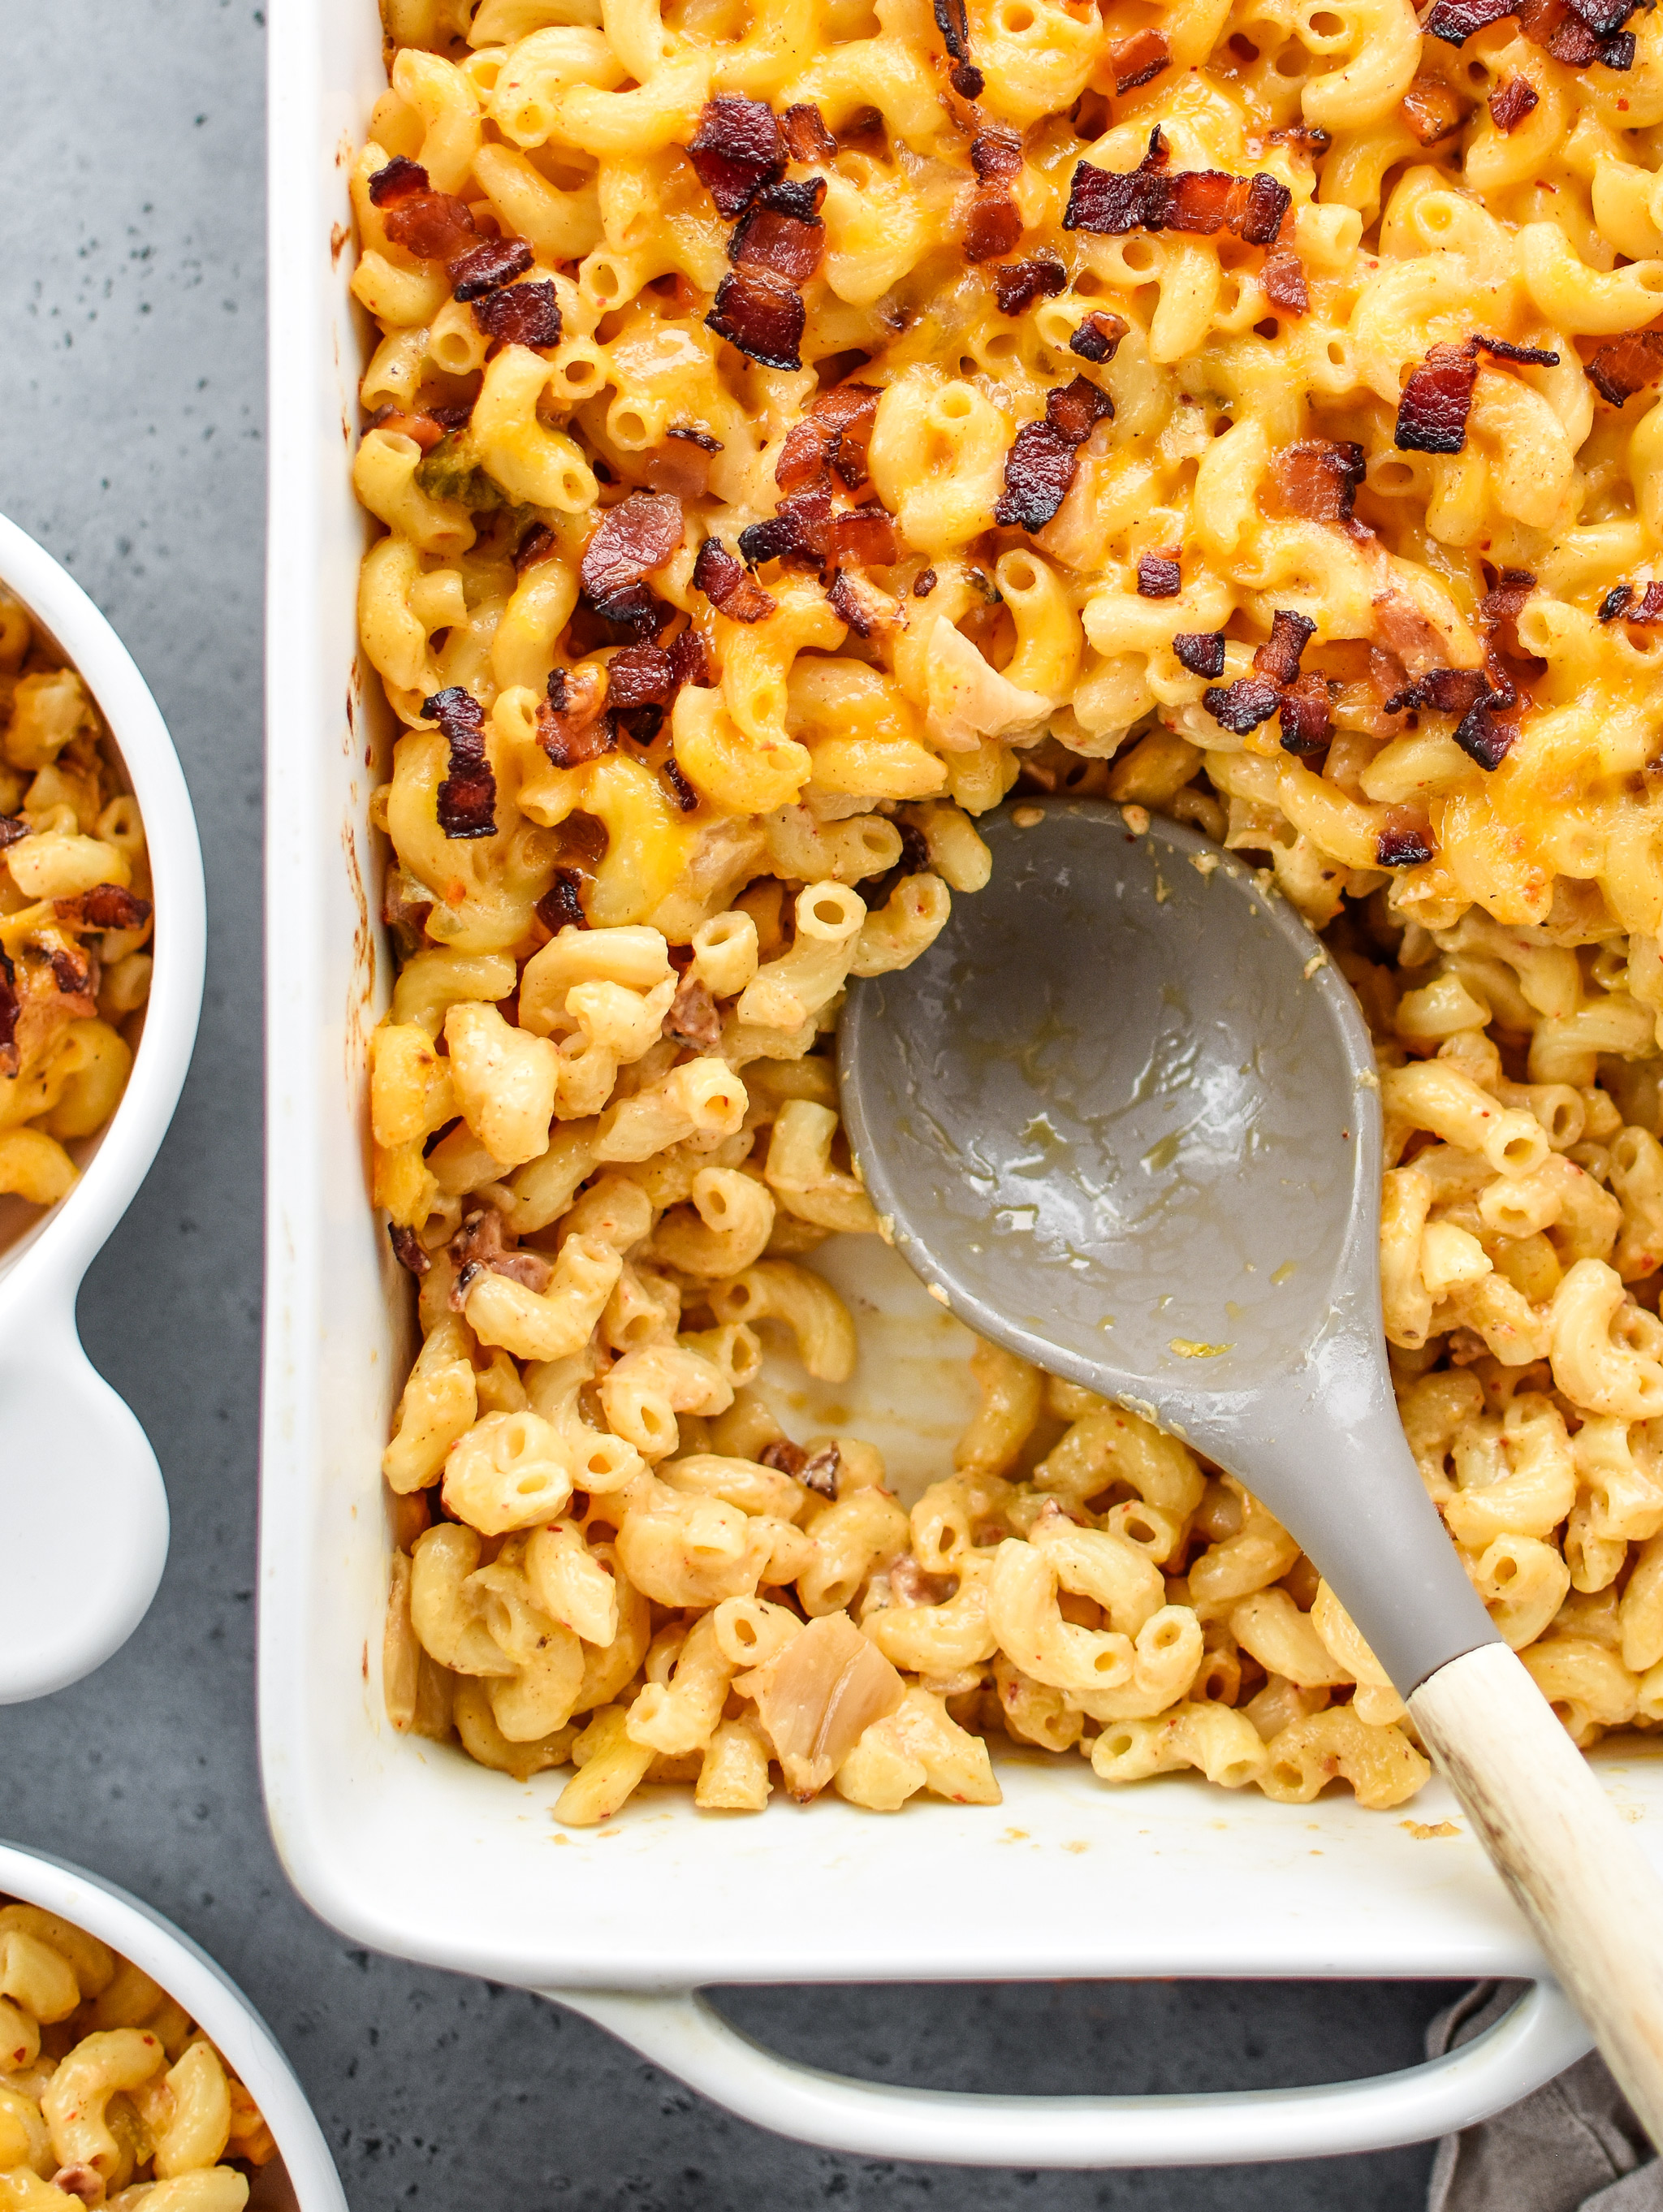
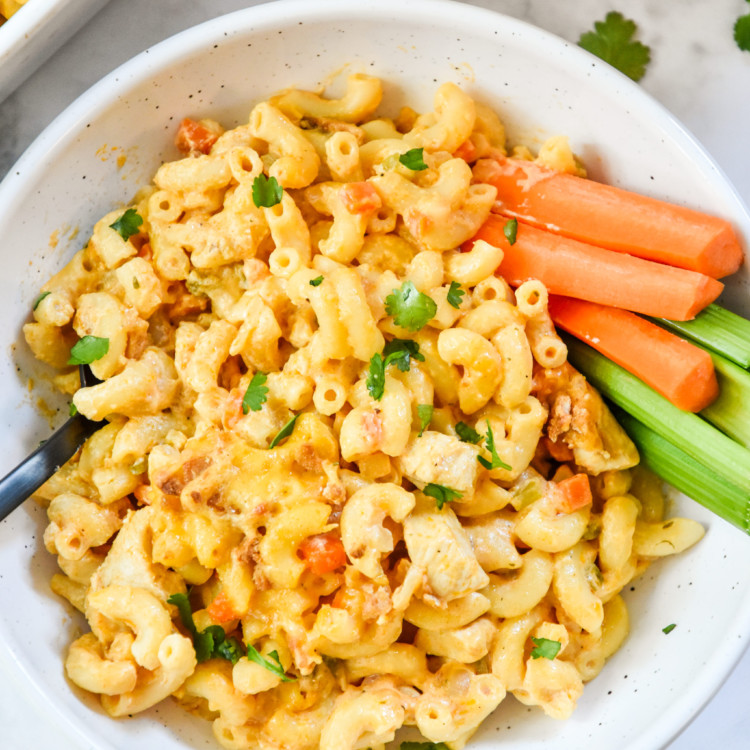
The ultimate comfort food with a twist – you won’t believe this Kimchi Bacon Greek Yogurt Mac and Cheese is made with Greek yogurt! Make and take this impressive dish to your next potluck or eat the BEST leftovers for lunch during the week!
Jump to Recipe
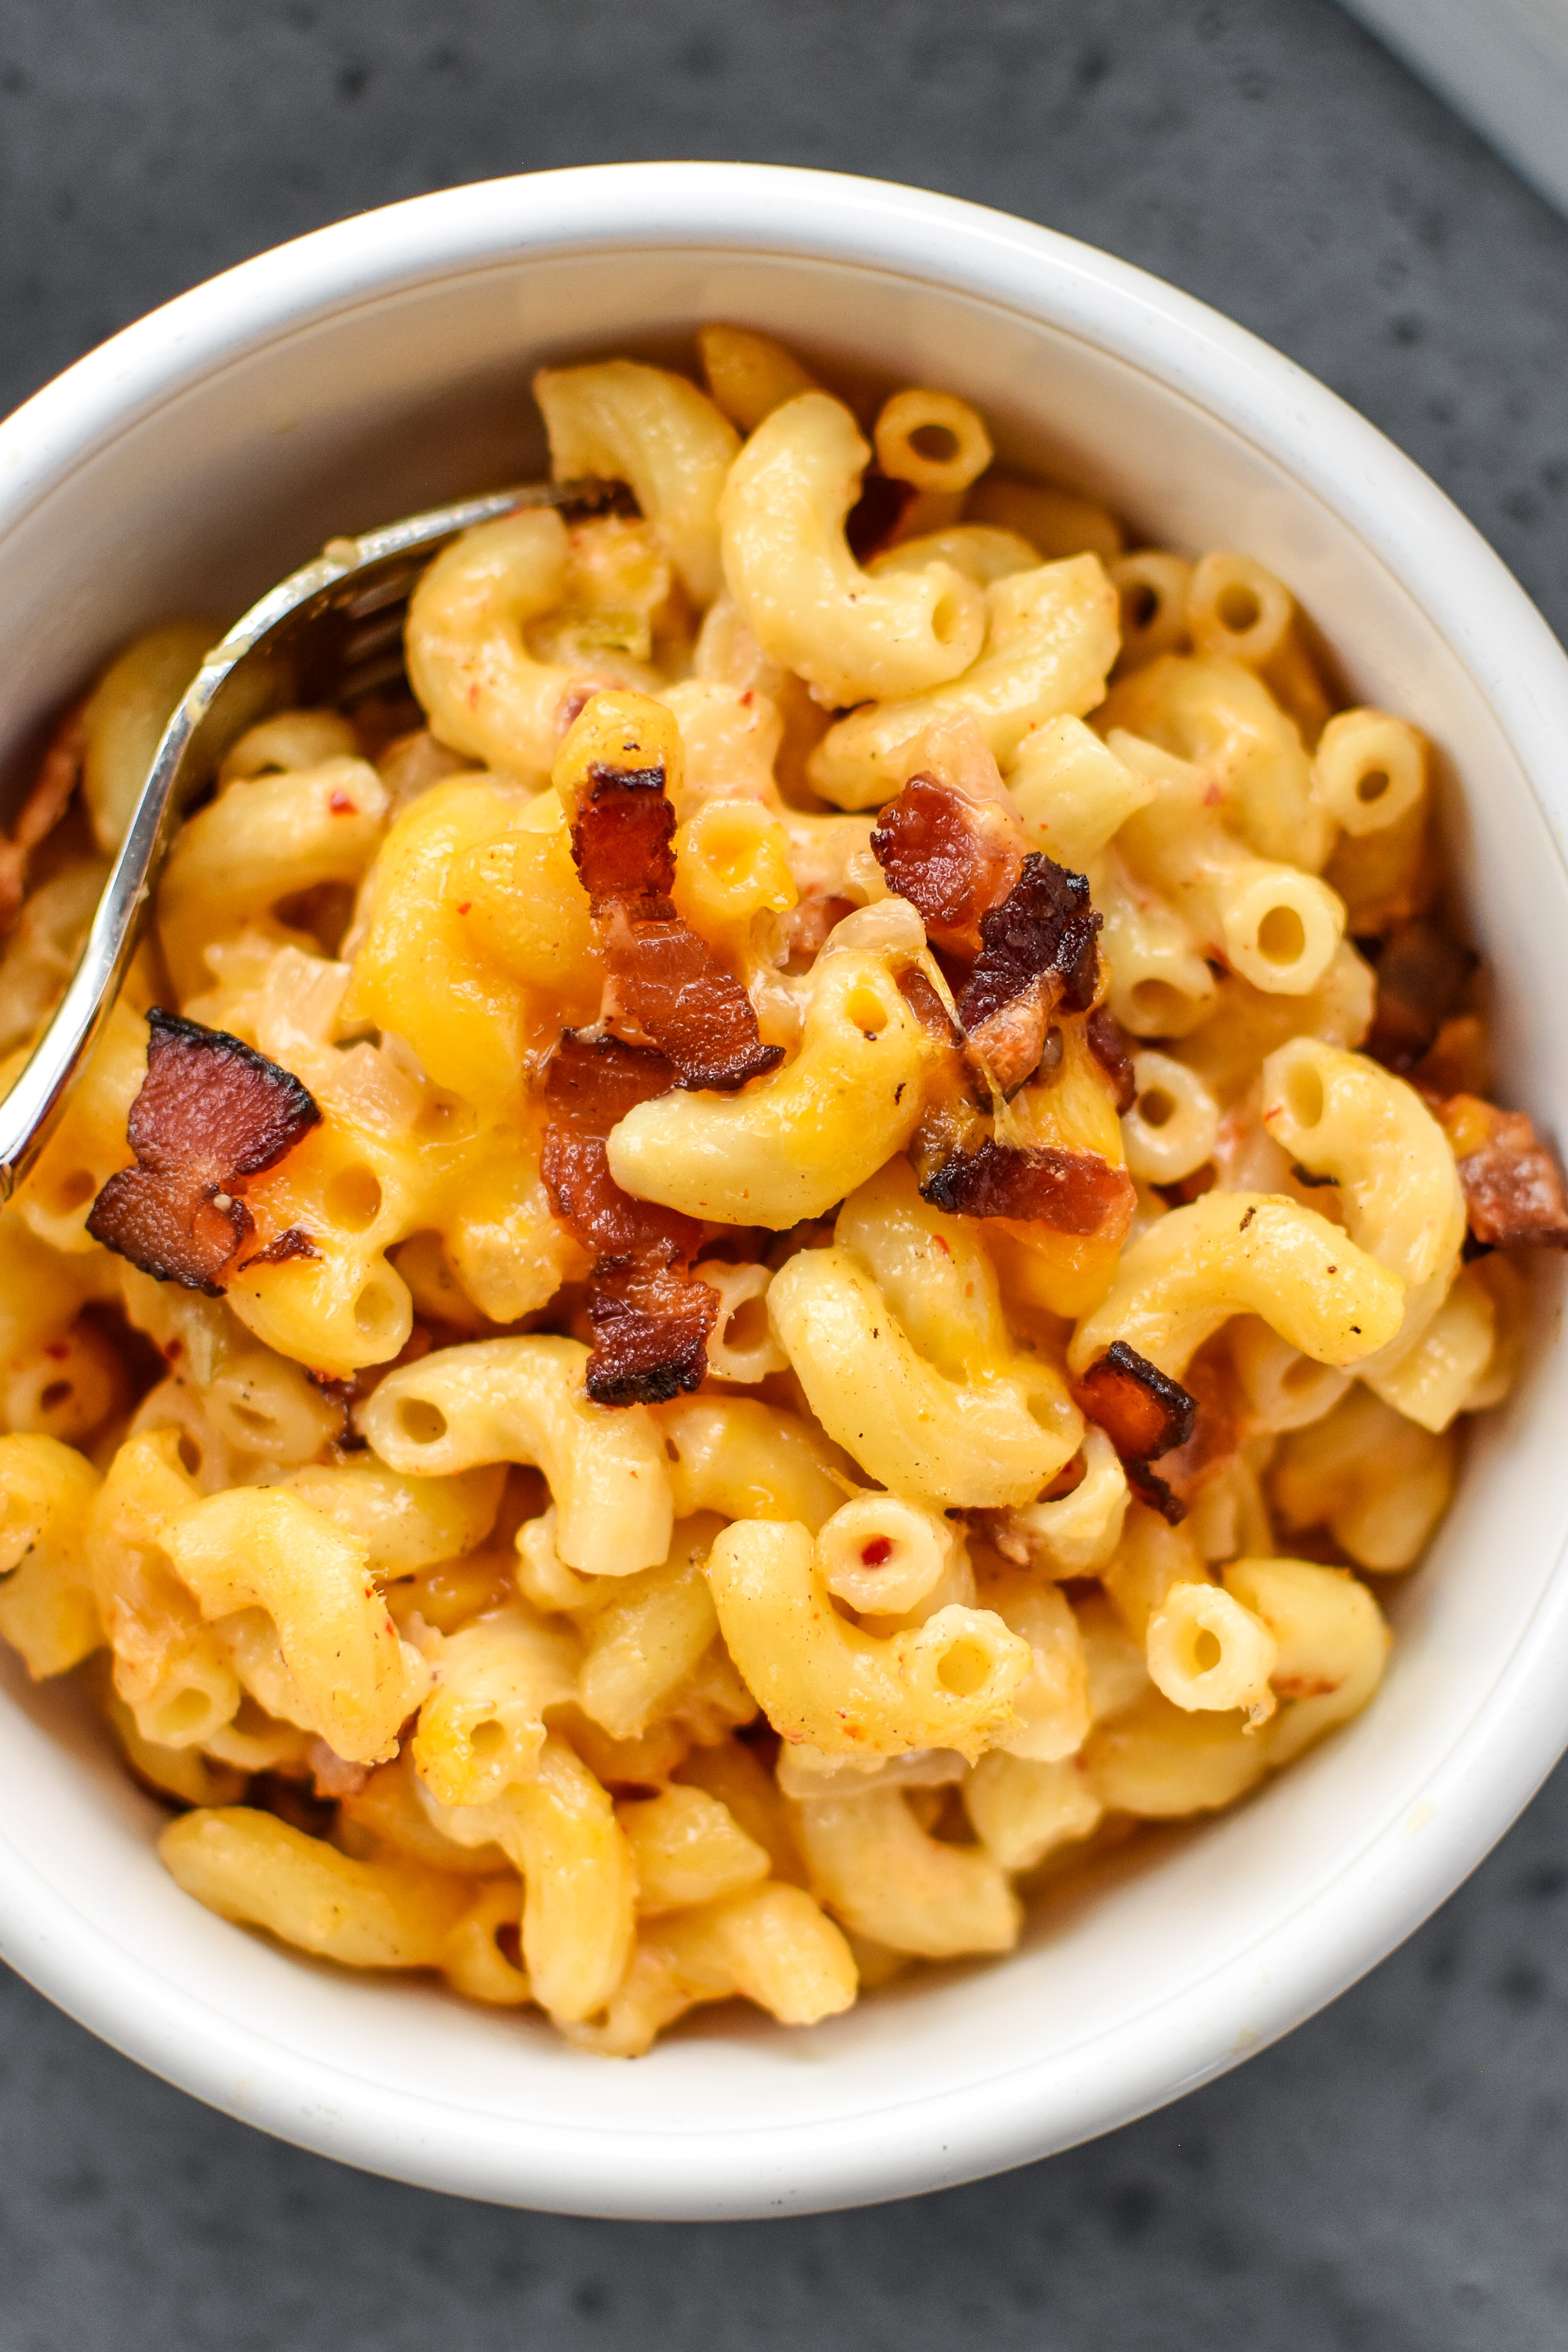 It’s finally time to share this mac recipe. We’ve eaten it for dinner at least 10 times. We’ve taken the leftovers on trips. We’ve eaten it as lunches on numerous occasions. It’s even been devoured by a GROUP of people outside my home.
So here it is. Kimchi Bacon Greek Yogurt Mac and Cheese.
Yeah yeah, we’re doing Whole30 in January, and I’ve been sharing lower carb recipes, and meal prepping helps you eat healthier… but I also eat cheesy, gluten-y, full of dairy macaroni and cheese and it’s just a fact.
Obviously it won’t happen during Whole30, but it’s incredibly delicious and I’ll be keeping it my back pocket (aka on my website) forever.
So many things to discuss about this mac and cheese. Greek yogurt, bacon, kimchi… I’m sure you’re wondering about the Greek yogurt the most, so let’s chat about that first.
Uhh… Can you taste the Greek yogurt?
I promise, you can’t taste the Greek yogurt in the final dish.
Similar to my Veggie Loaded Rotisserie Chicken Casserole, there are so many other things going on here (kimchi, bacon, CHEESE) that the tangy Greek yogurt taste is completely masked.
I will warn that if you taste the cheese sauce before adding the macaroni, bacon and kimchi into the pot, it may have have a hint of that tangy flavor commonly associated with Greek yogurt.
But once you mix everything together, get the bacon and kimchi flavors brewing, the tang will be completely gone (if you could even taste it to begin with).
If you’re overly concerned with there being any Greek yogurt taste left in the final dish, let me assure you that no one I’ve ever made this for (10ish people) has ever come close to guessing there’s Greek yogurt.
You seriously can’t tell! It seems like a regular old fashioned baked mac and cheese dish. Buttttt it’s actually Greek yogurt mac and cheese!
Why use Greek yogurt in mac and cheese?
Lots of delicious mac and cheese recipes I’ve made at home require heavy cream or half and half to make. There’s nothing wrong with this and they made delicious macaroni and cheese dishes, or course.
But, I decided I wanted to switch out some of those fat calories and get some extra protein if I was going to be making this dish as something we would be eating for dinner, and then lunch and another lunch.
So to answer the question, the Greek yogurt is used as a thickener in place of the half and half or heavy cream.
It’s a simple substitution to make and adds a couple extra grams of protein to each serving.
What kind of kimchi should I use?
To keep things simple, I’ve been using the only brand of kimchi I can find at the regular grocery store – this Seoul Spicy Kimchi (affiliate link!) that I have zero problems with.
You don’t have to use spicy kimchi, I just love the added flavors!
Really any homemade or store-bought kimchi will work for this recipe. Just make sure it has lots of flavor, and that you’ve tried it (and like it) before you dump a whole bunch into some amazingly delicious mac and cheese.
When prepping the kimchi for this recipe, I definitely let the liquid drain off before I chop, but I don’t spend time removing 100% of the liquid.
A little bit of kimchi liquid going into the mac and cheese will just add more flavor, so drain your kimchi with caution.
Basically, don’t pour in the kimchi liquid, but also don’t spend time worrying about it either.
The bacon is special!
My friends and family would be the first to call me out about eating pork (bacon), because I haven’t been a red meat eater since before college.
But, lately I’ve started caring more about where my meat comes from, instead of what animal it is. What is this special meat I’ve been eating? It’s ButcherBox!
Every month, a box of sustainably and humanely raised chicken, pork and beef comes right to my door. My box is *mostly* chicken, but like I said, I’ve incorporated small amounts of high quality red meat into our diet as well, to the extreme enjoyment of my husband.
The bacon from ButcherBox (affiliate link!) has zero added sugar and is Whole30 approved. One of the only brands that is so. It’s quality stuff, and I’m sure you’ll agree if you try it.
For this recipe, I used one entire 10-ounce pack of ButcherBox bacon but you can use however much comes in your package size.
How to cook the bacon for this mac and cheese:
Using a super sharp chef’s knife, I cut the bacon into tiny slices (roughly) and then cooked it into bacon bits in my Dutch Oven over medium heat. This took around 10 minutes with occasional stirring so they didn’t burn. More about this method in my post How to Make Homemade Bacon Bits!
The original recipe uses butter to make the roux for the cheese sauce. However, I realized after a couple tests that it would be far less wasteful if I used the freshly rendered bacon fat to make the roux!
Not to mention the bacon is extremely high quality, so the fat is excellent for cooking.
Of course the recipe instructs this, but leave the bacon fat in the pan after cooking the bacon so you can use it for the cheese sauce.
This also adds a TON of flavor, which helps cover up any worries about the Greek yogurt tang being present (it won’t be, so don’t worry!).
How can this mac and cheese be prepared ahead?
There are a couple different options for prep ahead depending on your goals, so I’ll do my best to lay them out here:
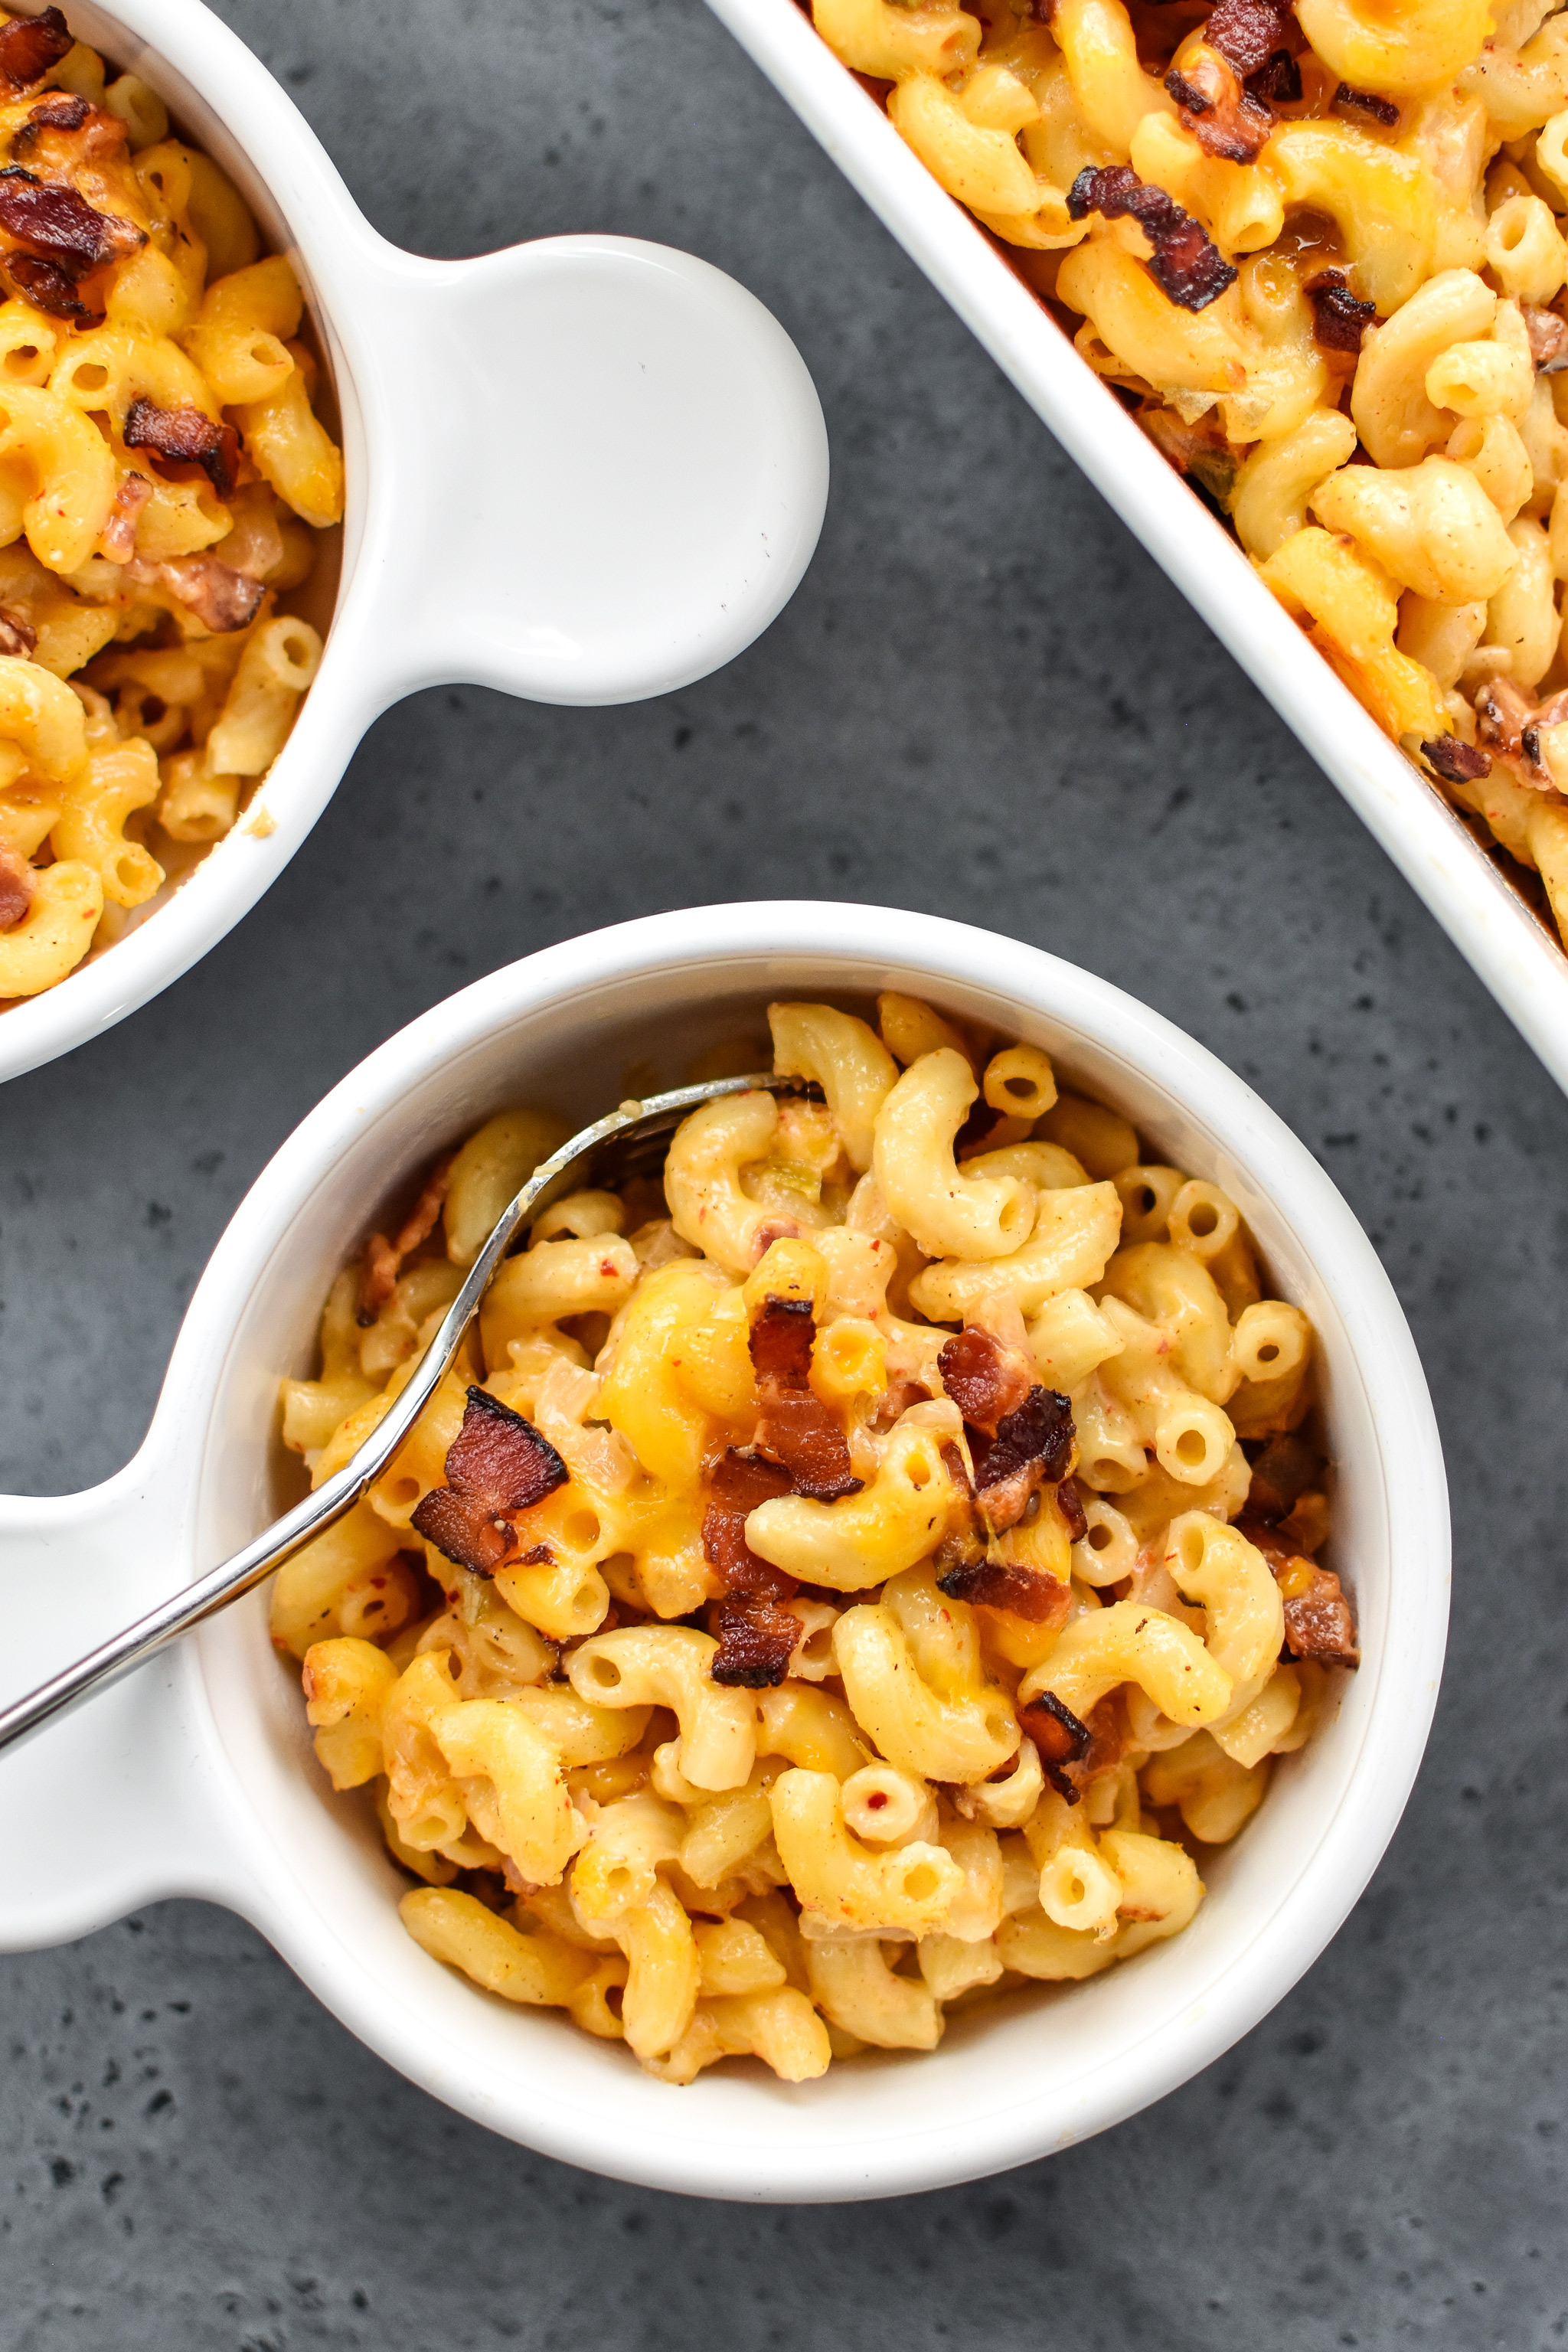
- Make and eat as leftovers: As with most recipes on Project Meal Plan, you can completely make the recipe as written, then reheat any portions for eating as you see fit within the next 4 days. Reheat portions in the microwave, covered, for 90 seconds to 2 minutes.
- Make and refrigerate to cook later: Make the recipe up until just before the final baking stage. Cover with a lid or foil and refrigerate for up to 24 hours before baking. Bake in a 400F oven for 20-25 minutes or until the internal temperature reaches 160F and the cheese is bubbly. I did this once when traveling with the dish – made the recipe until the final baking stage, took the mac and cheese to go, then did the final bake step at the event destination.
- Make and freeze to cook later: I have NOT tried freezing this dish, however I do think it’s possible. Here’s what I would do to freeze the macaroni and cheese: Make the recipe up until just before the final baking stage in a freezer to oven safe dish. Let it cool completely, then cover with a lid or wrap tightly in foil and freeze for up to 2 months. Bake in a 350F oven for 55-65 minutes or until the internal temperature reaches 160F and the cheese is bubbly.
How long does the mac and cheese keep?
Eat cooked leftovers within 4 days.
Cook the refrigerated, unbaked mac and cheese within 24 hours of refrigerating. Cook the frozen, unbaked mac and cheese within 2 months of freezing.
More dinner recipes from Project Meal Plan:
- Low Carb Spaghetti Squash Spaghetti Bake
- Prep Ahead Rotisserie Chicken Nachos
- Veggie Loaded Rotisserie Chicken Casserole
Did you make this? I want to see how it turned out! Tag me in your social media post @projectmealplan and use #projectmealplan when you share!
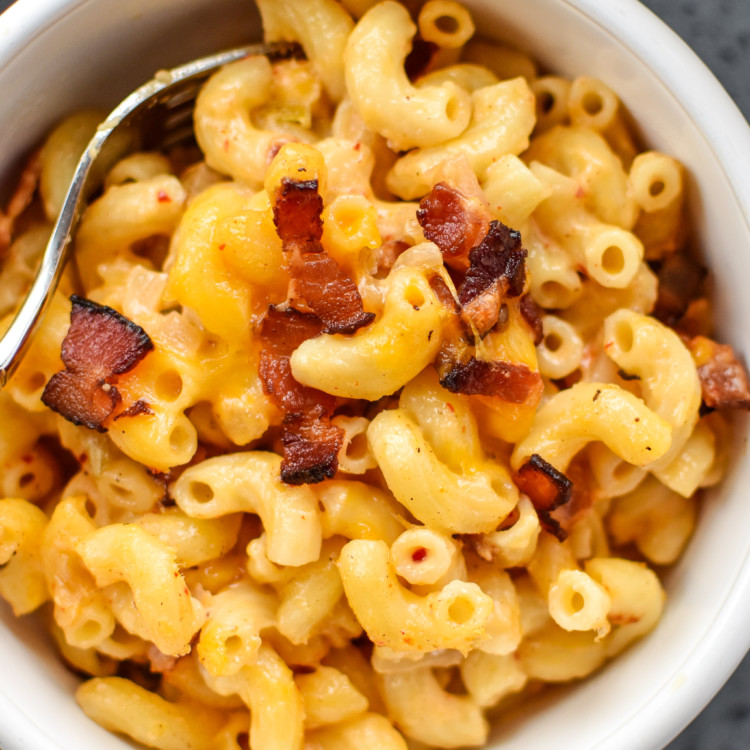
Kimchi Bacon Greek Yogurt Mac and Cheese
The ultimate comfort food with a twist – you will not believe this Kimchi Bacon Greek Yogurt Mac and Cheese is made with Greek yogurt! Make and take this impressive mac and cheese dish to your next potluck or eat the BEST leftovers at home all week!
Ingredients
- 1 pound elbow macaroni noodles
- 8–10 ounces raw bacon strips (I prefer ButcherBox bacon)
- 2 tablespoons all-purpose flour
- 1 + 3/4 cup nonfat or 2% milk
- 2 cups freshly grated medium cheddar cheese (divided)
- 1 cup 2% Greek yogurt
- 1/2 teaspoon salt & 1/4 teaspoon black pepper
- 1 cup kimchi, drained and roughly chopped
Instructions
- Cook the macaroni: Heat several quarts of water in a large stockpot over high heat, and cook noodles according to package directions until just barely al dente, the minimum cook time on the package. Drain and set aside in a strainer, adding a few drops of oil or cold water and stirring minimally to ensure they don’t stick together.
- Cook the bacon: Lay the bacon strips out horizontally on a cutting board, and then using a sharp chef’s knife, cut the bacon strips vertically into several small slices, small enough to be considered bacon bits (but they don’t have to be super tiny). Heat the same large stockpot over medium heat and add the raw bacon pieces. Cook for 9-11 minutes or until cooked through and beginning to crisp, stirring occasionally. Remove the pan from heat and remove all the bacon bits, leaving the bacon fat. Place the bacon bits in a paper towel lined bowl to absorb extra grease and set aside. At this point, preheat the oven to 450F.
- Make the cheese sauce: Place the large stock pot with bacon fat over low heat. You should have about 2 tablespoons of bacon fat, or enough to coat the bottom of the pan (no need to measure). If you think you have too much fat in the pan, remove a 1/2 tablespoon or so and continue. If you don’t have enough fat, add 1/2 tablespoon butter. Add flour to the pan and whisk continuously until the fat and flour have thickened (around 90 seconds). Add the milk, 1/4 cup at a time, whisking continuously until completely added. Let the milk heat for about 2 minutes, while you continue to whisk. Add cheese (reserve 1/3 cup for topping), and whisk continuously as it melts. Add greek yogurt, salt, and pepper, and continue to whisk until a smooth sauce has formed (about 1 minute). Remove from heat.
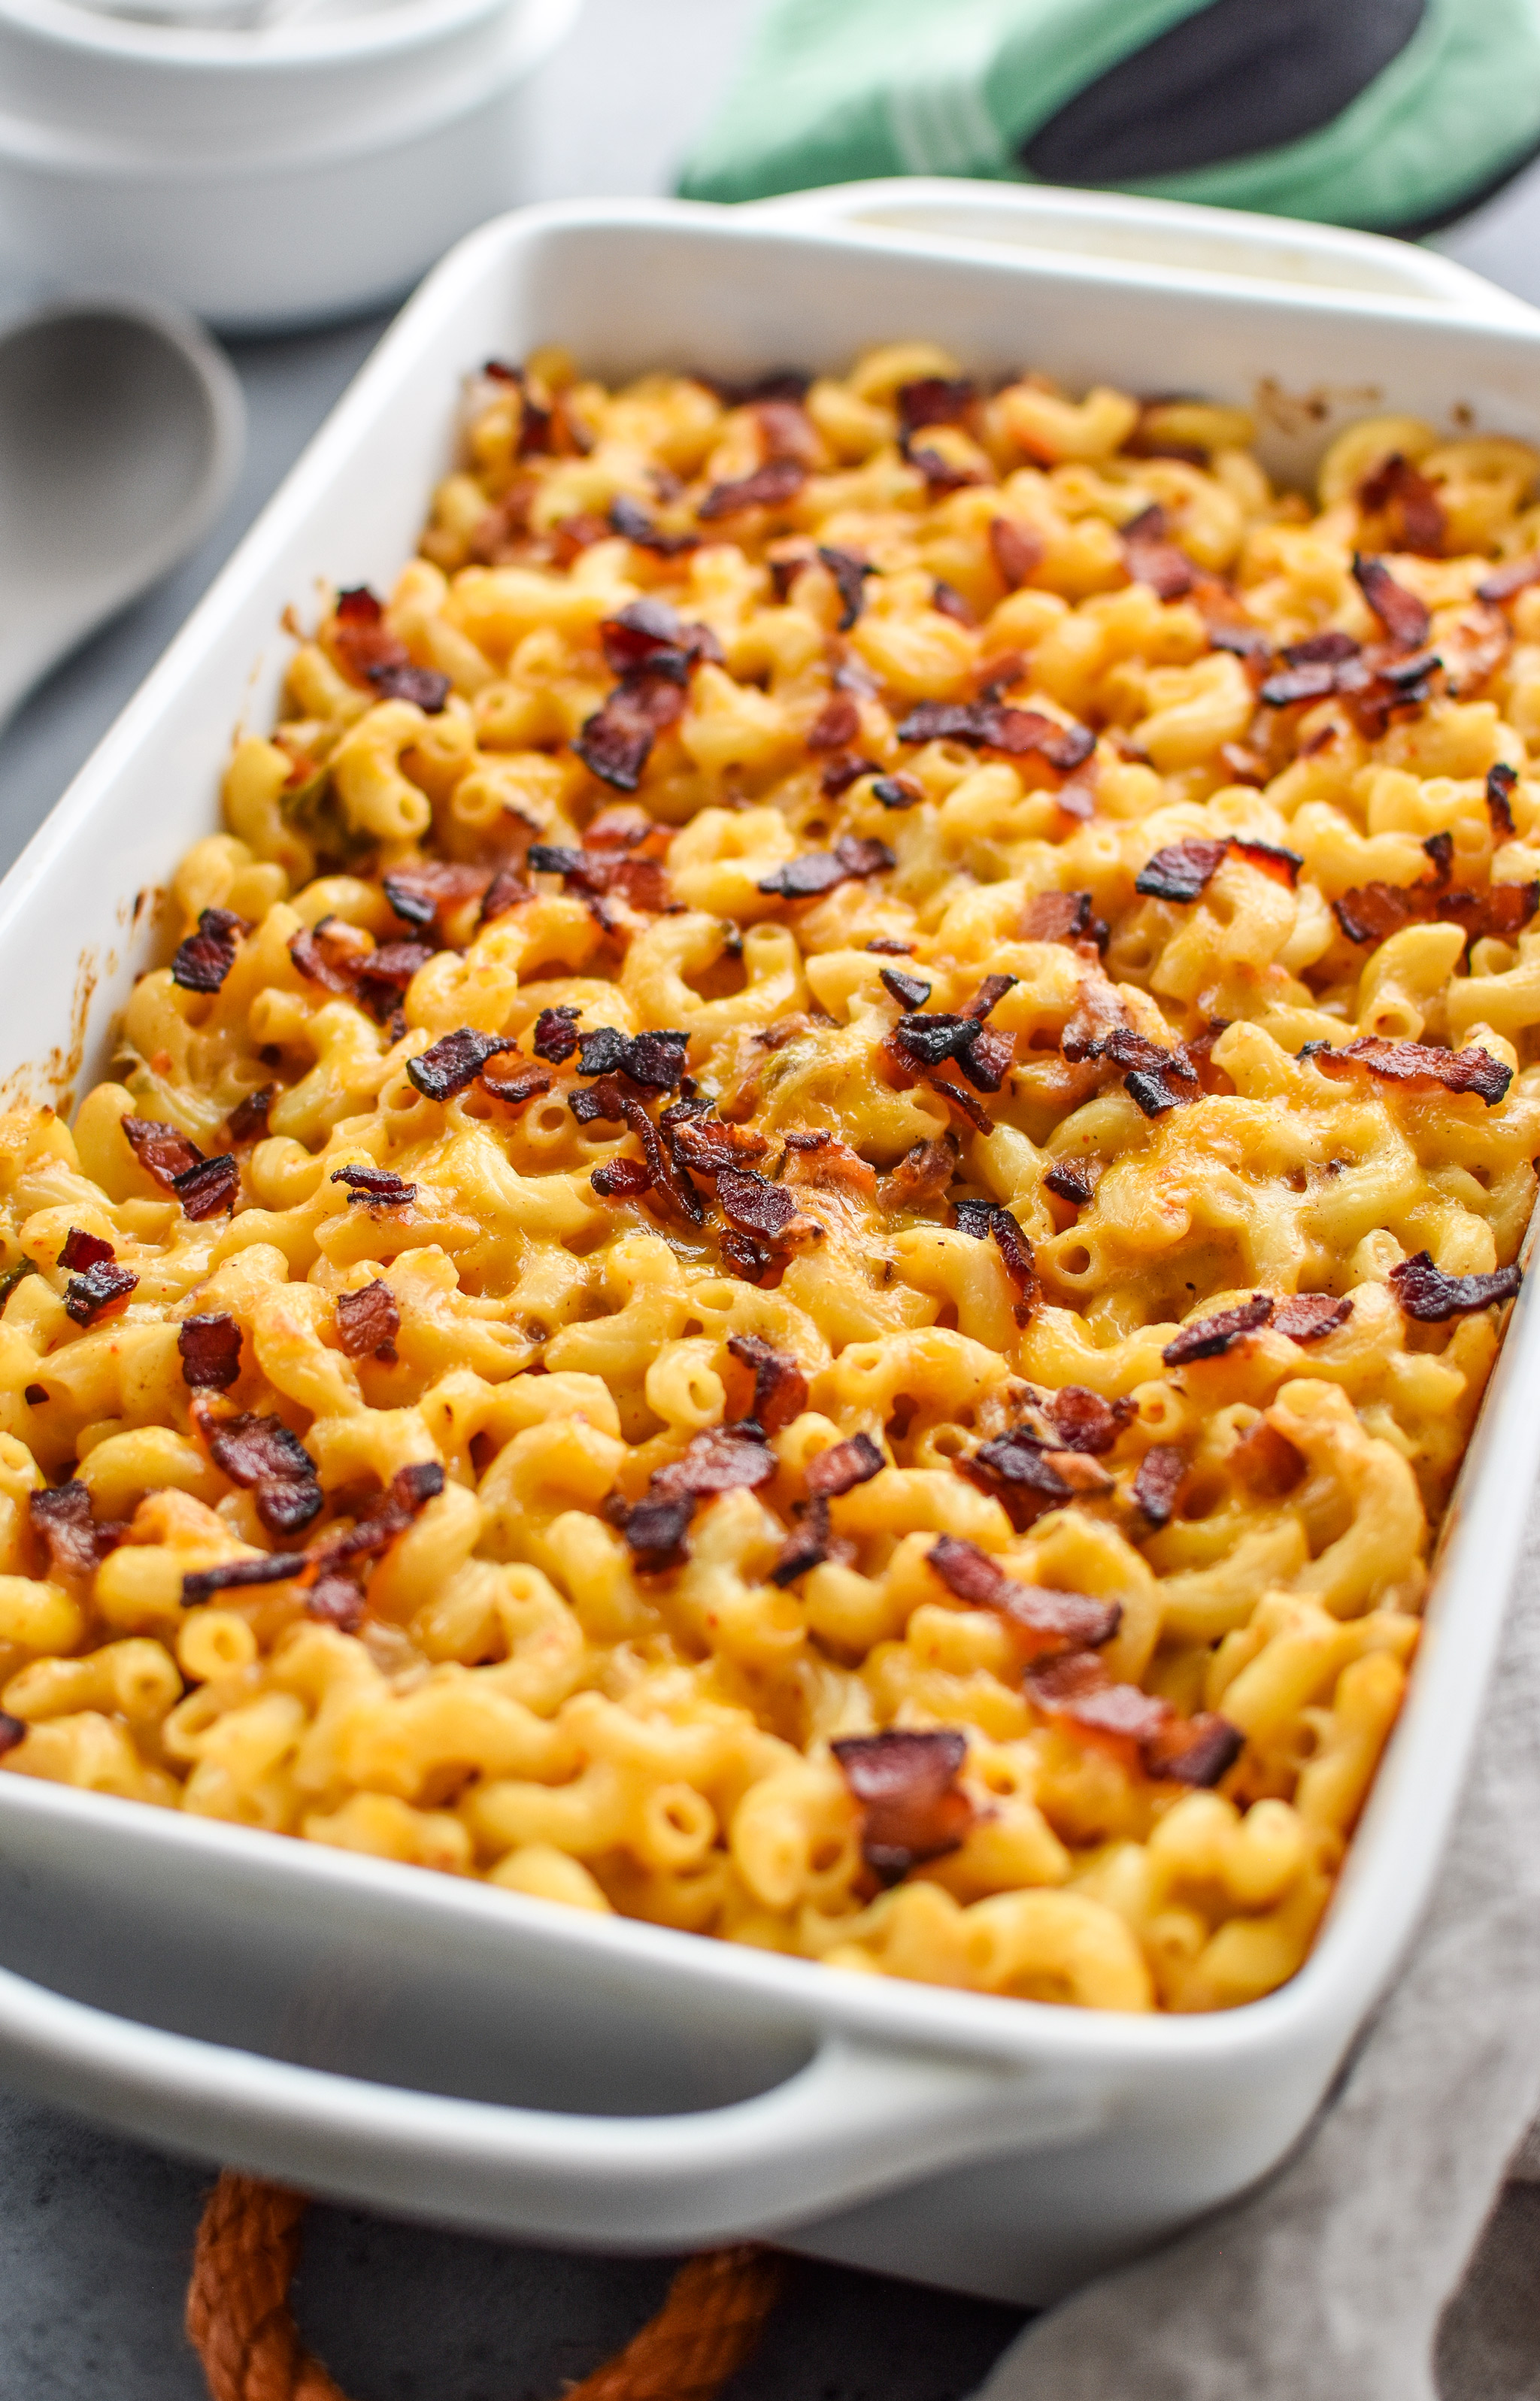
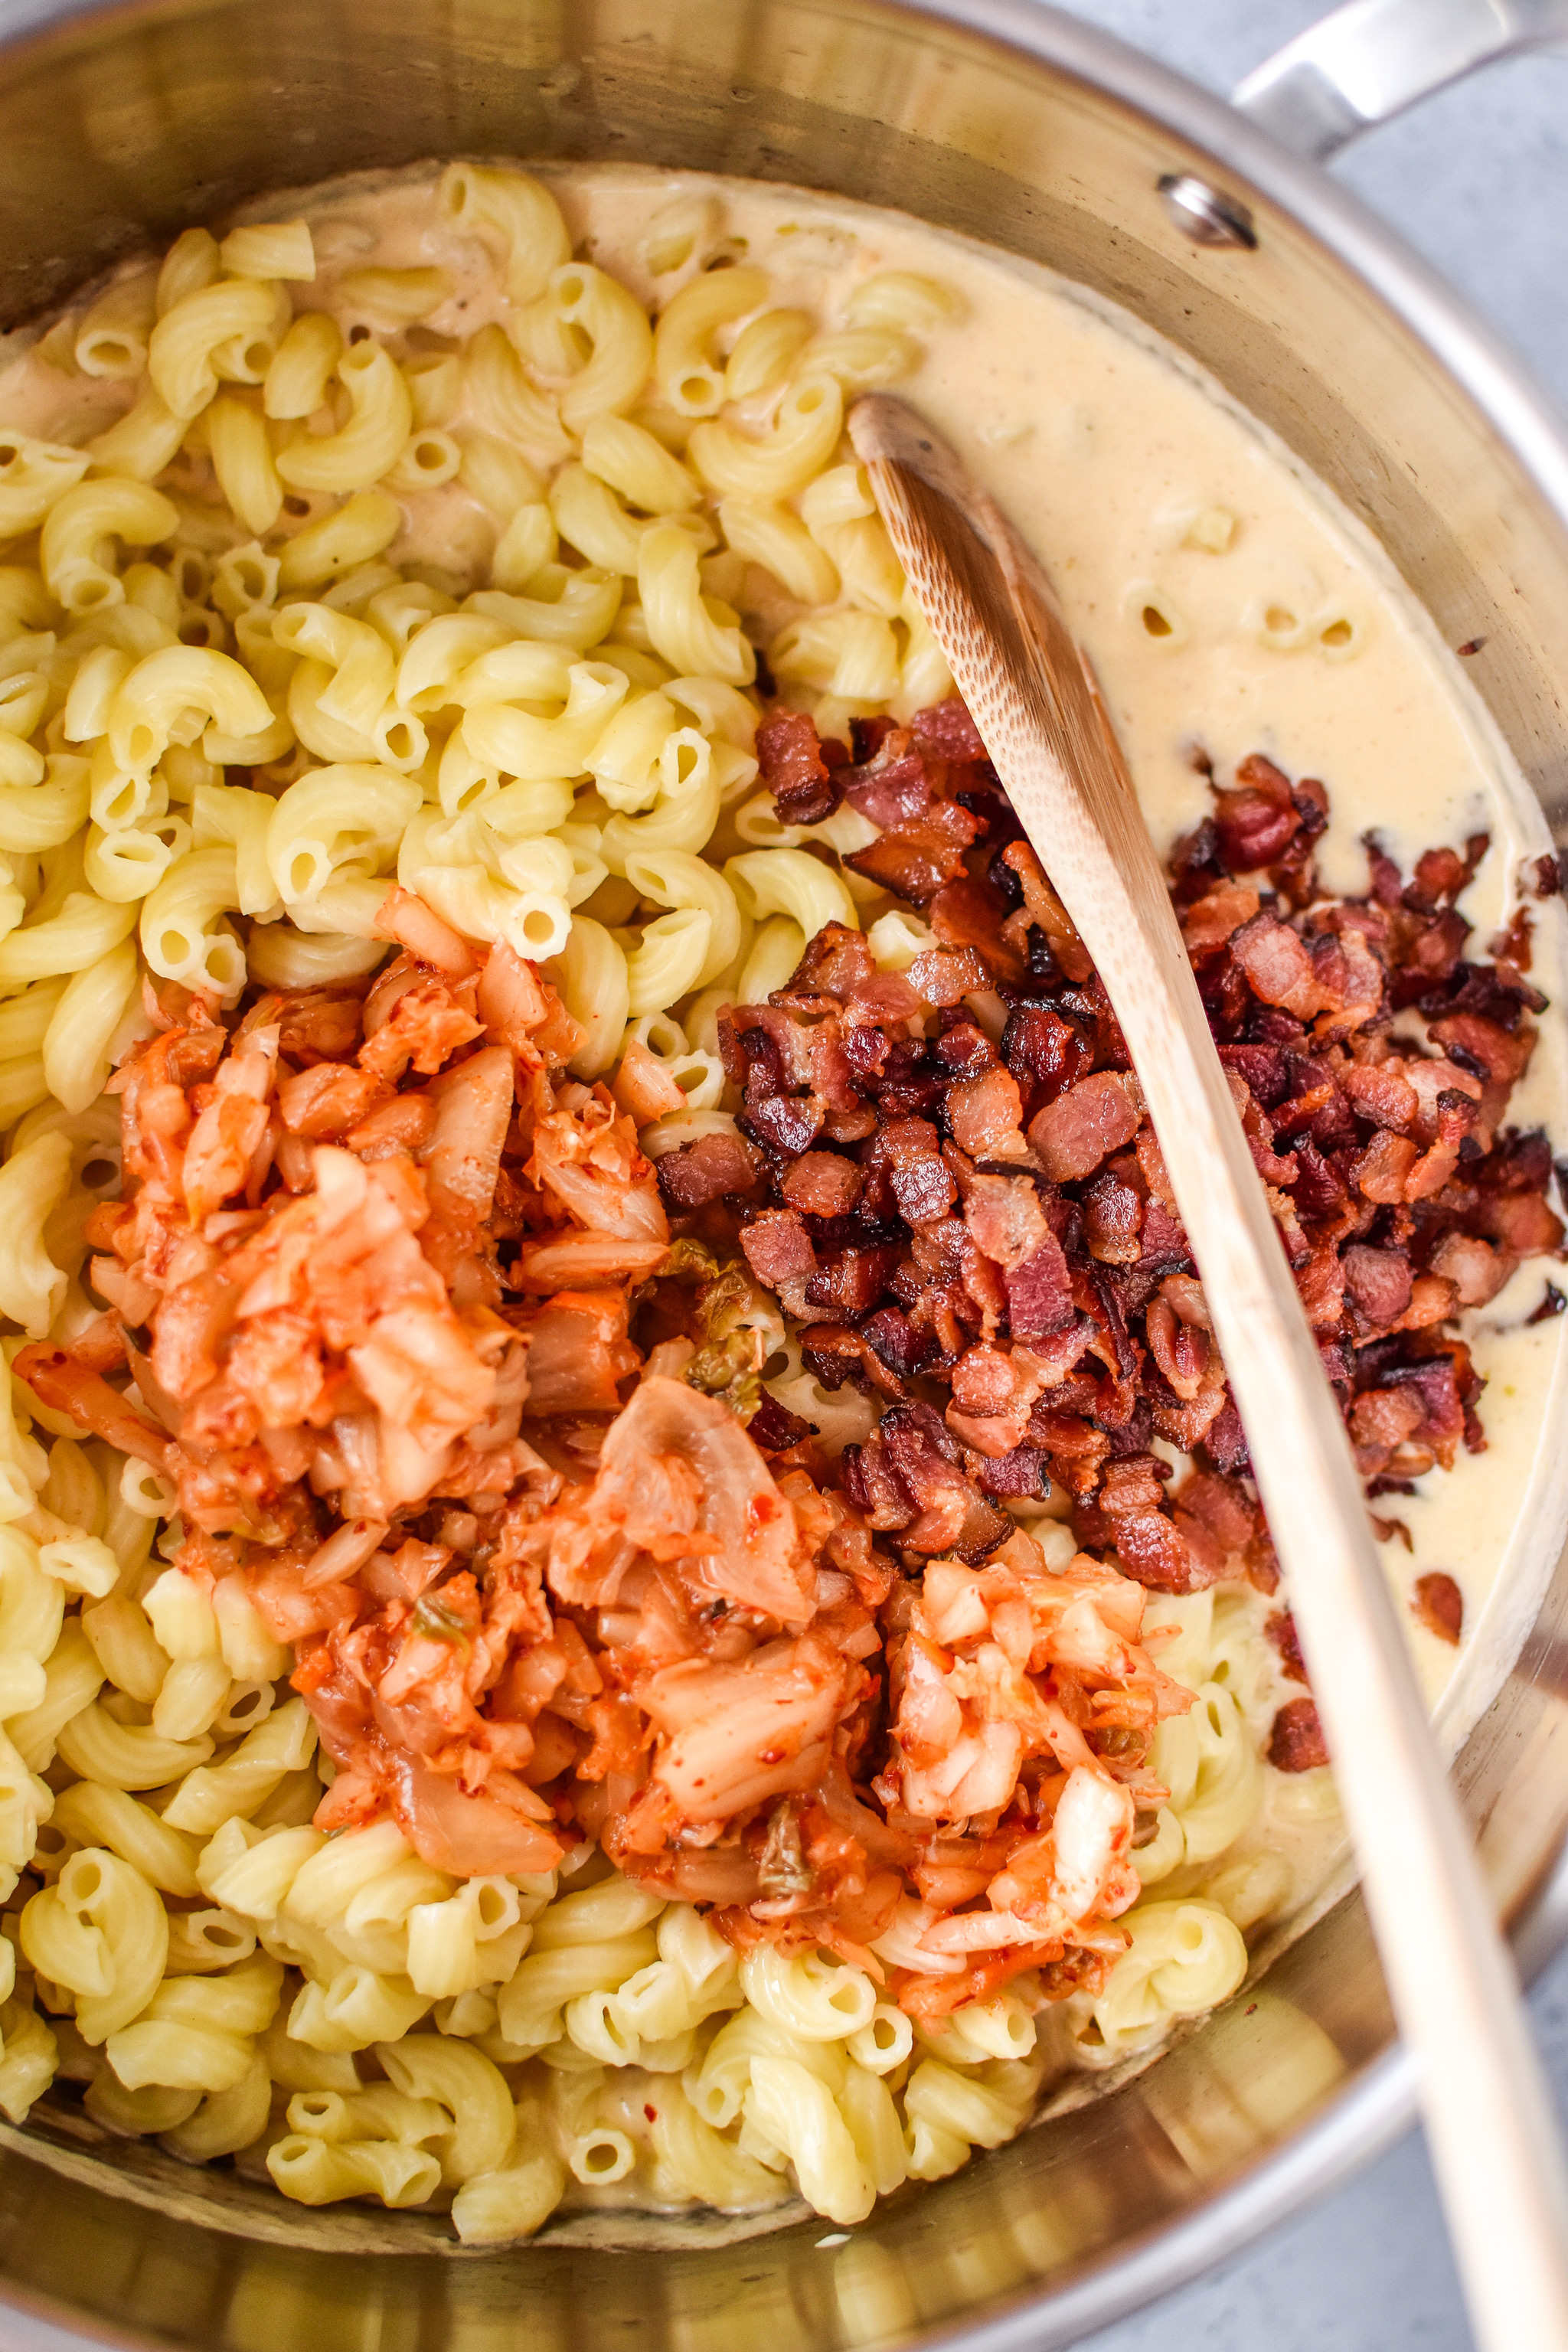
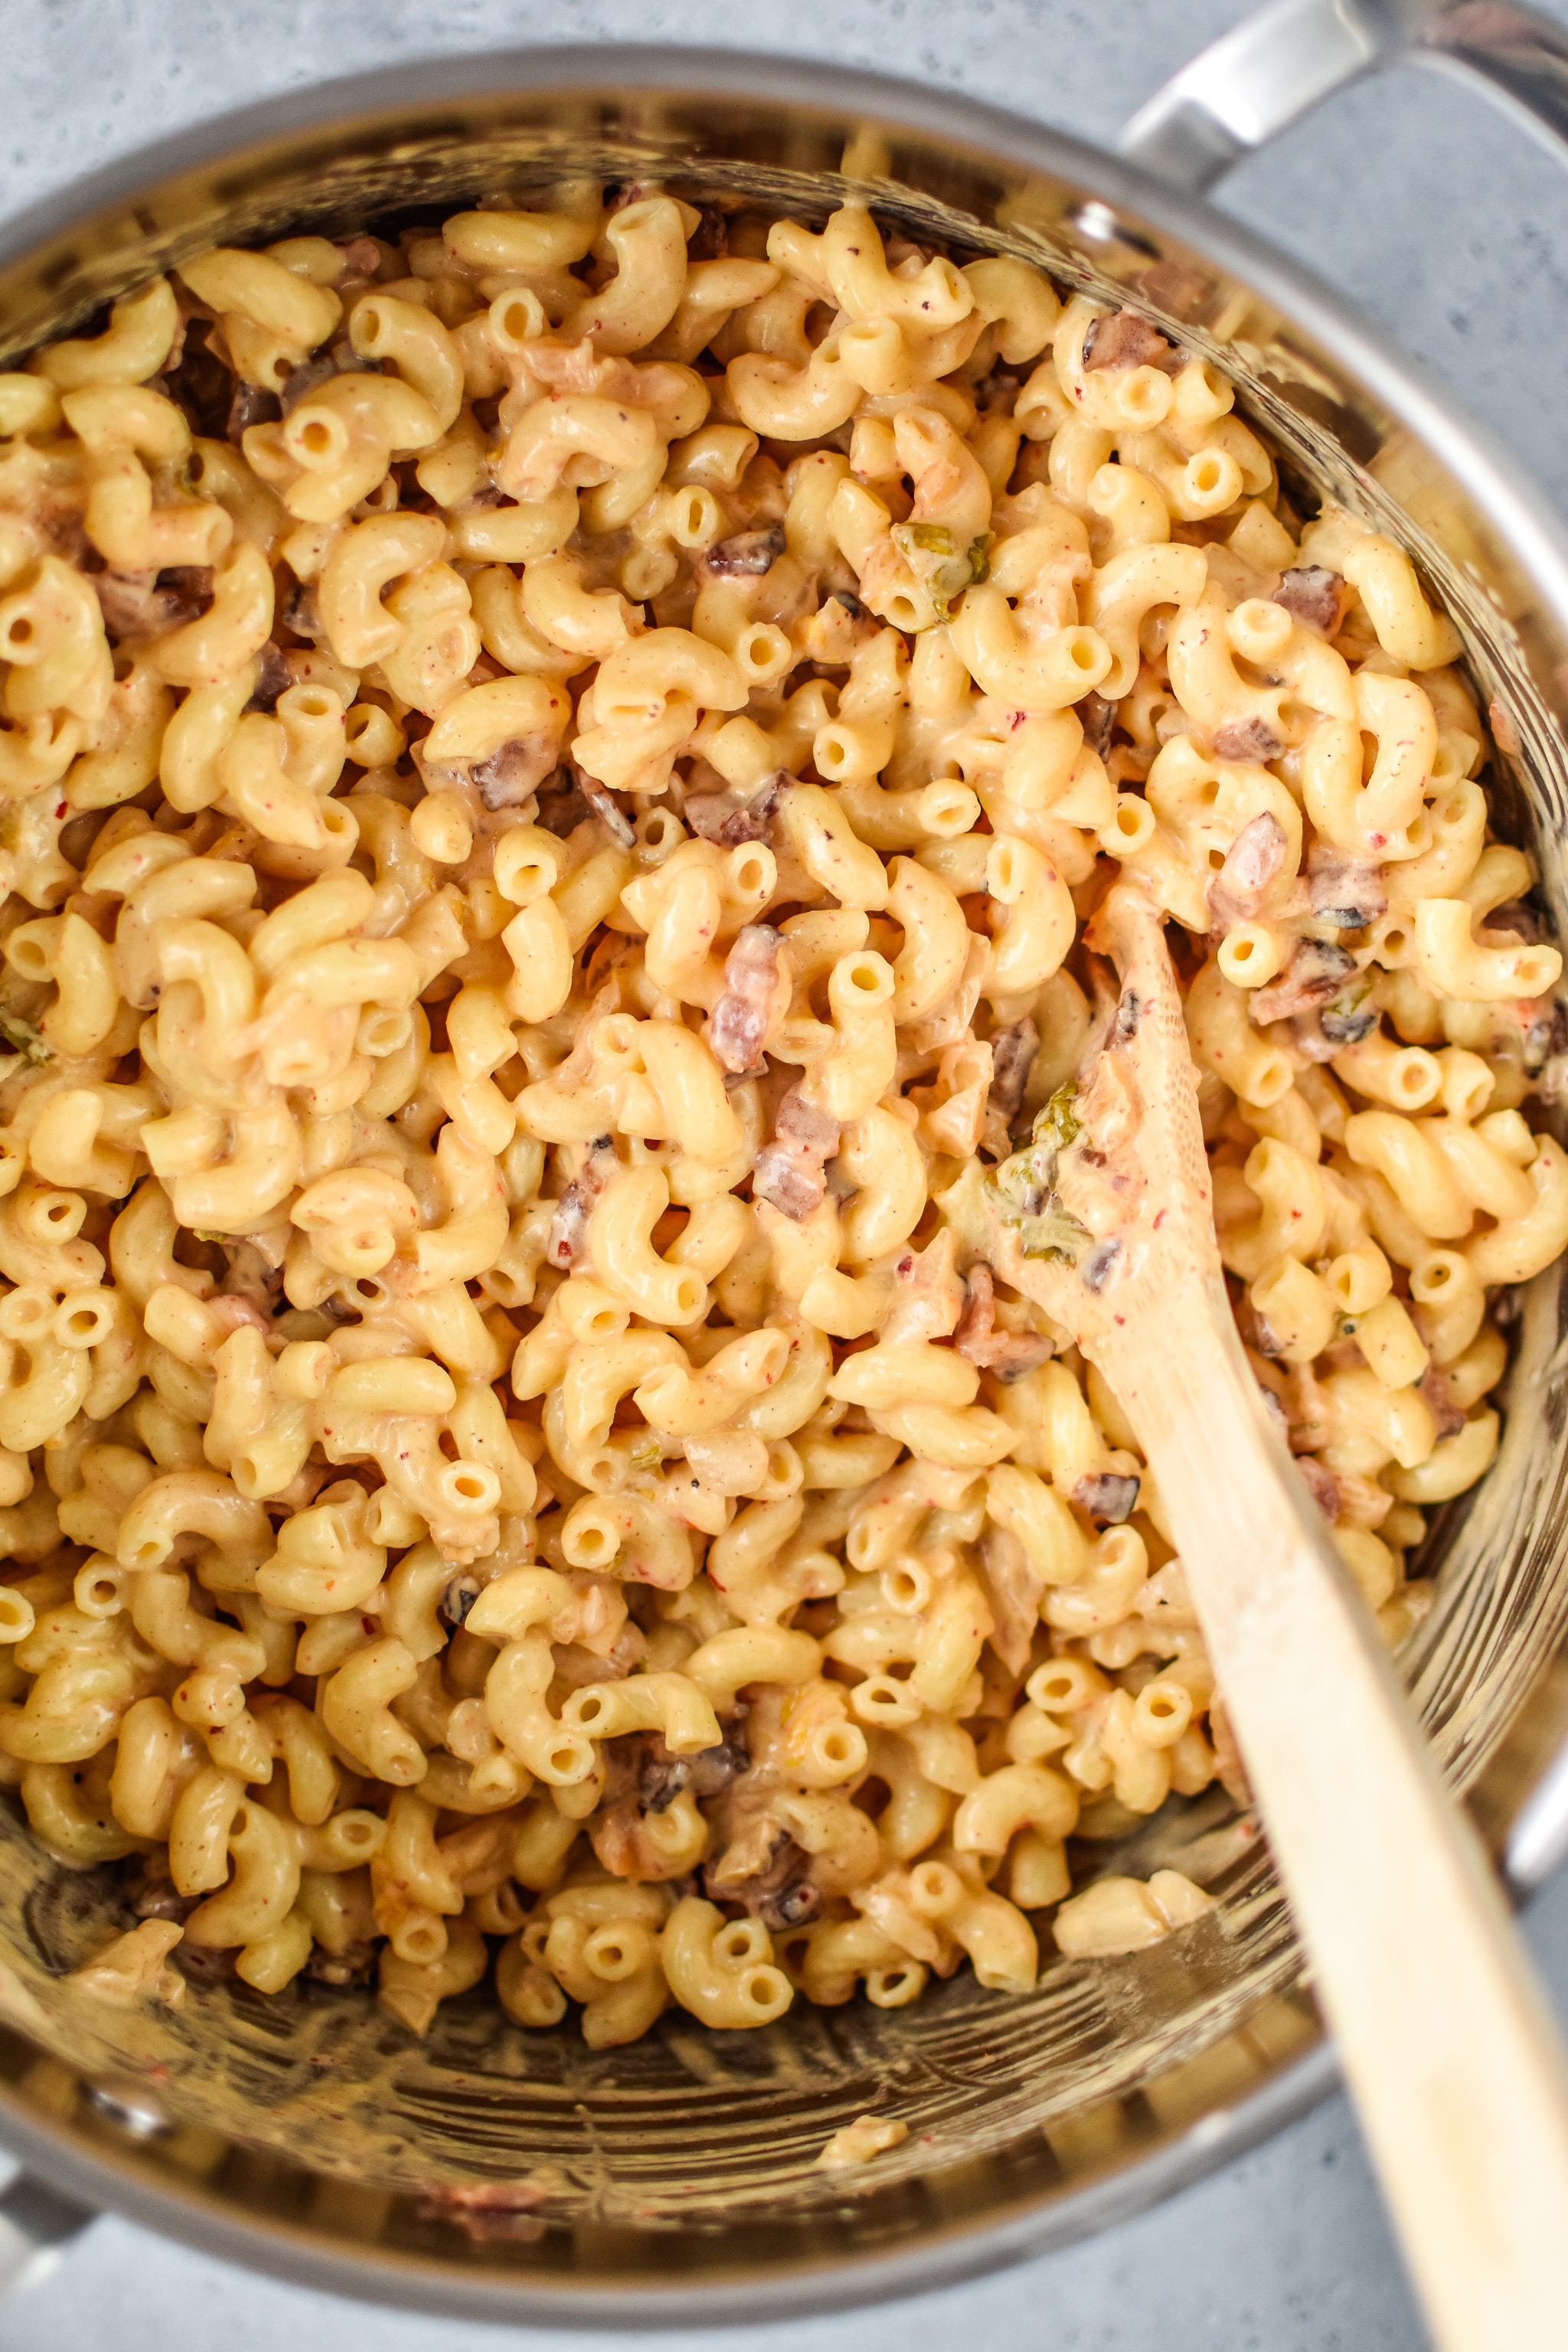
- Put it together: Add the cooked macaroni, kimchi, and bacon bits (save a few for topping) to the pot with the sauce. Stir until well-mixed. Pour everything into a lightly greased 9×13 inch casserole pan. Top with remaining cheese and bacon bits. Bake uncovered for 12-15 minutes until the cheese is bubbly and top is golden to your liking. Enjoy immediately or refrigerate and enjoy as leftover for up to 4 days.
Notes
Make and refrigerate to cook later: Make the recipe up until just before the final baking stage. Cover with a lid or foil and refrigerate for up to 24 hours before baking. Bake in a 400F oven for 20-25 minutes or until the internal temperature reaches 160F and the cheese is bubbly. Make and freeze to cook later: I have NOT tried freezing this dish, however I do think it’s possible. Here’s what I would do to freeze this dish: Make the recipe up until just before the final baking stage in a freezer to oven safe dish. Let it cool completely, then cover with a lid or wrap tightly in foil and freeze for up to 2 months. Bake in a 350F oven for 55-65 minutes or until the internal temperature reaches 160F and the cheese is bubbly.
Recipe adapted from Greek Yogurt Macaroni and Cheese from Tori Avey. Nutrition information estimated with MyFitnessPal.
Nutrition Information
- Serving Size: 1/8 of dish
- Calories: 471
- Fat: 29g
- Saturated Fat: 16g
- Trans Fat: 0g
- Carbohydrates: 27g
- Fiber: 1g
- Protein: 25g
Once again, I promise you can’t taste the Greek yogurt in the mac and cheese. Just try it! Hope you enjoy my take on a classic comfort with this Kimchi Bacon Greek Yogurt Mac and Cheese!


Leave a Comment