

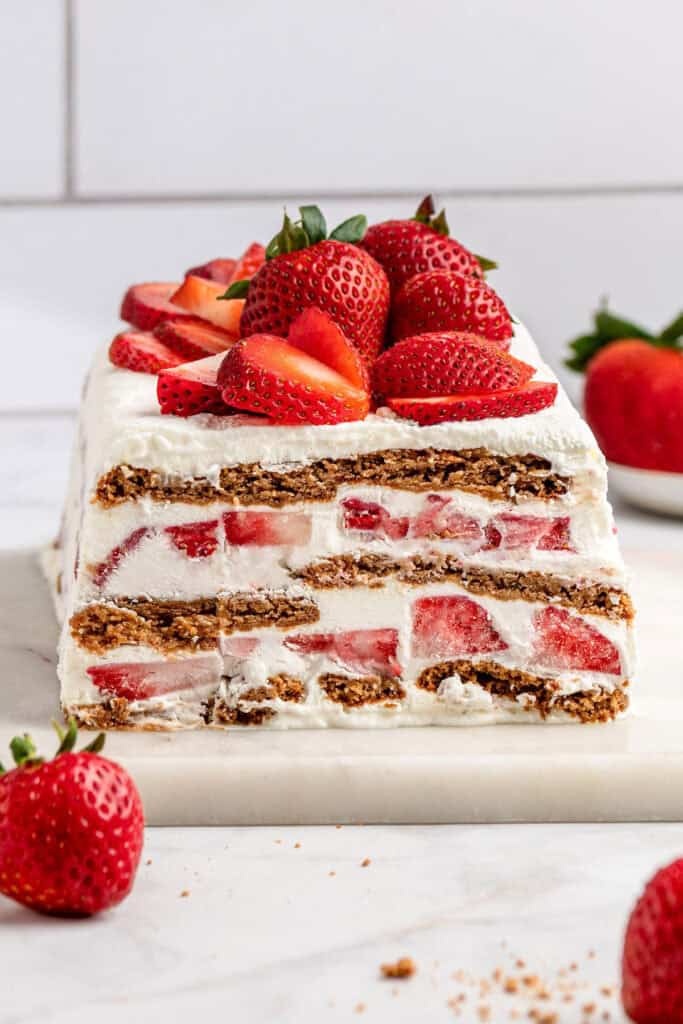
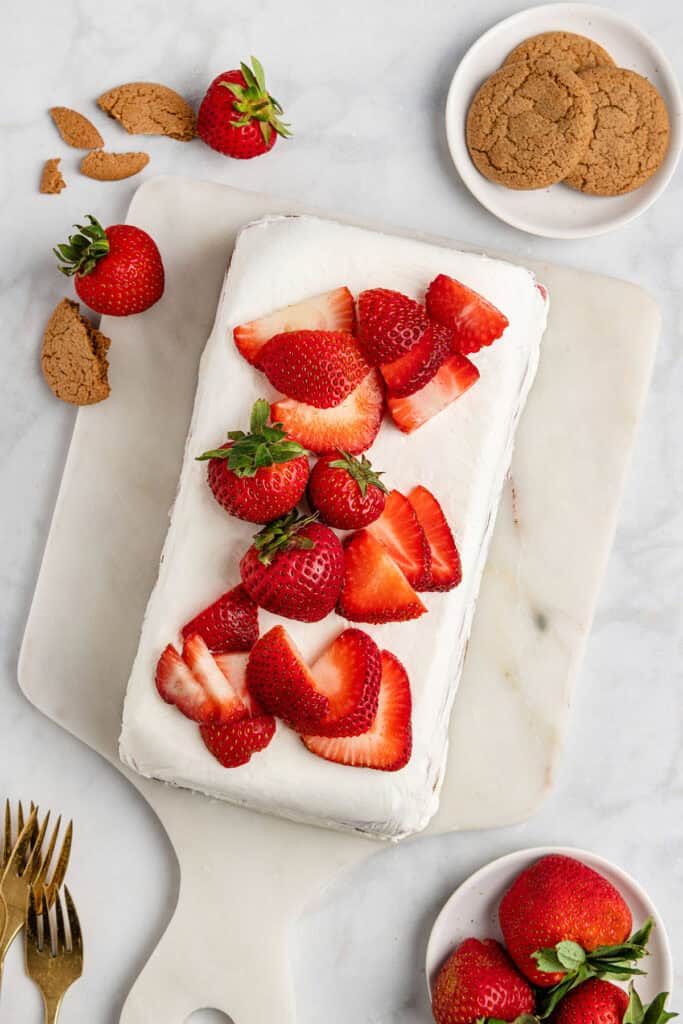
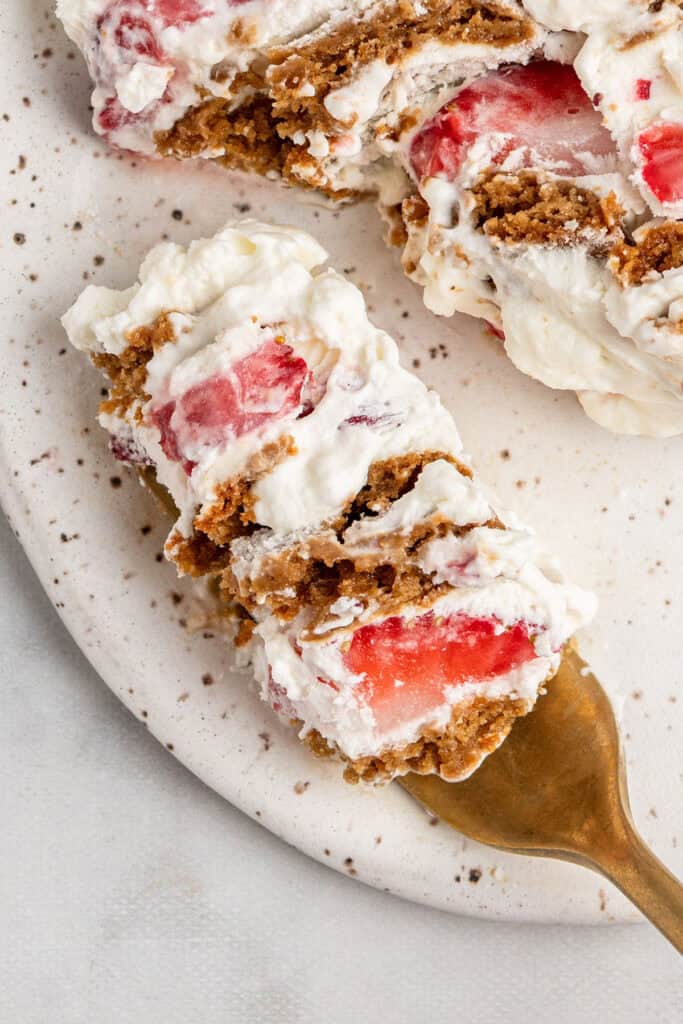
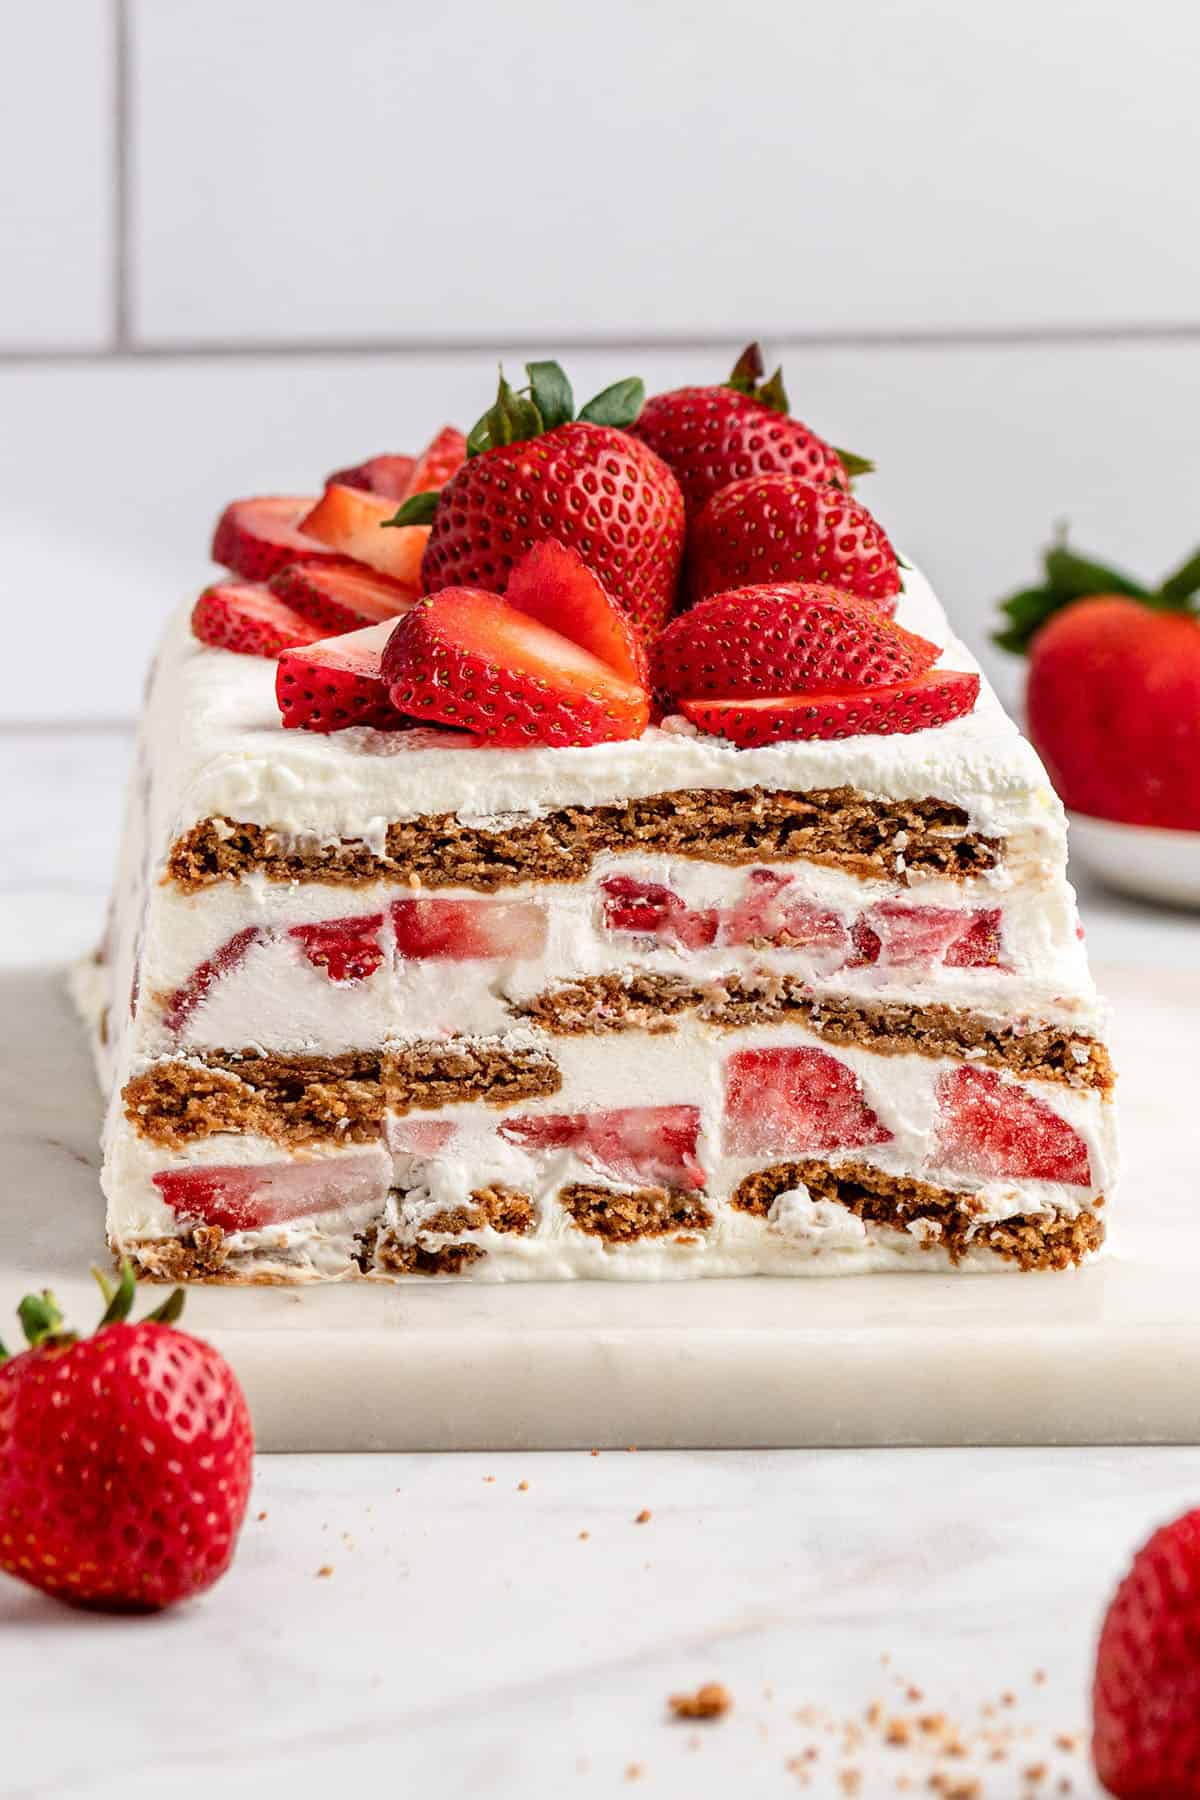
This dreamy, no-bake Strawberry Gingersnap Icebox Cake is made with layers of sweet whipped cream, fresh sliced strawberries, and Gingersnap cookies. Make ahead, chill overnight so the cookies soften, then serve at your next summer party!

Get my FREE 10 Best Make-Ahead Treat Recipes eBook 🍥

Note from Danielle
This cake disappears way too fast. Consider it part of the summer berry magic phenomenon. OMG berries! And then suddenly, the entire Costco container is gone. What?!
In a similar fashion, this icebox cake disappears magically. It’s light, dreamy, sweet (but not too sweet), and full of fresh strawberries. It basically floats into your mouth ✨
Not to mention, it’s so easy to make, you’ll be shocked. With just five ingredients, you can prep it ahead of time, present to all after dinner, and be the hero of summer. Enjoy!

👉 Here in the post, you’ll find detailed info and helpful tips based on my personal experience with this recipe.
🖨️ For the printable recipe card with ingredients list and concise instructions, keep scrolling or hit the ‘Jump to Recipe’ button at the top of the page.
🙋♀️ Frequently asked questions about this recipe are located after the recipe card.
Recipe Overview
Total Time: 8 hours 25 minutes
Difficulty: Easy
Method: No-Heat
Prep: Make-Ahead Friendly
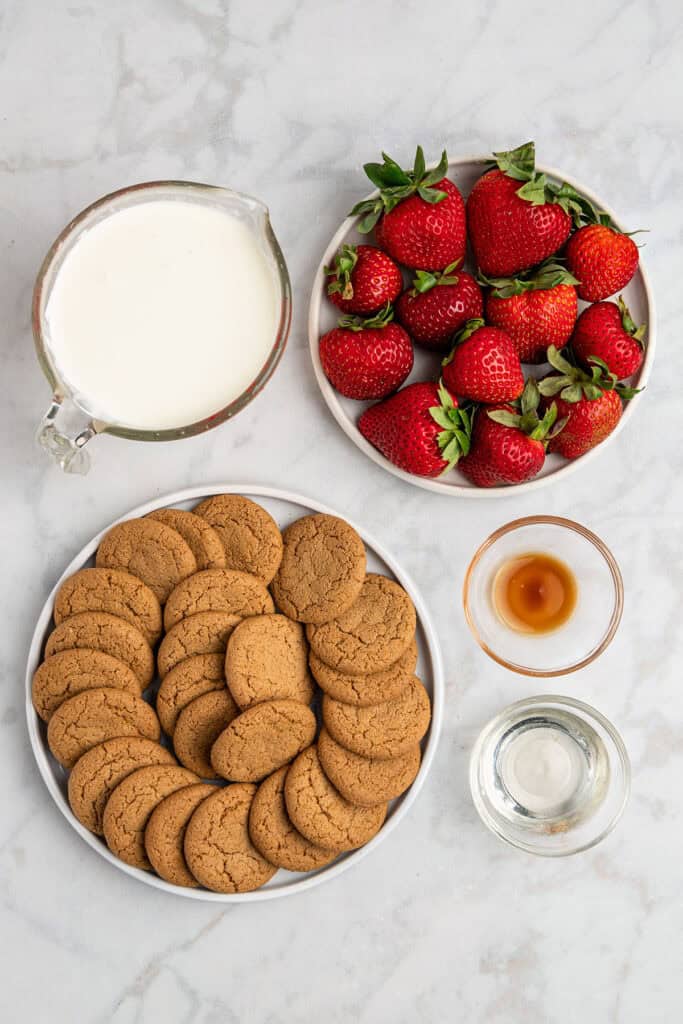
Ingredients in this Strawberry Gingersnap Icebox Cake:
You only need five ingredients to make this impressive summer dessert. Icebox cakes are super flexible on flavors, but they all have three main components: whipped cream, cookies, and fruit or other flavor add-in (may be just vanilla!).
Here’s a list of everything I used in this recipe, plus some helpful info on each:
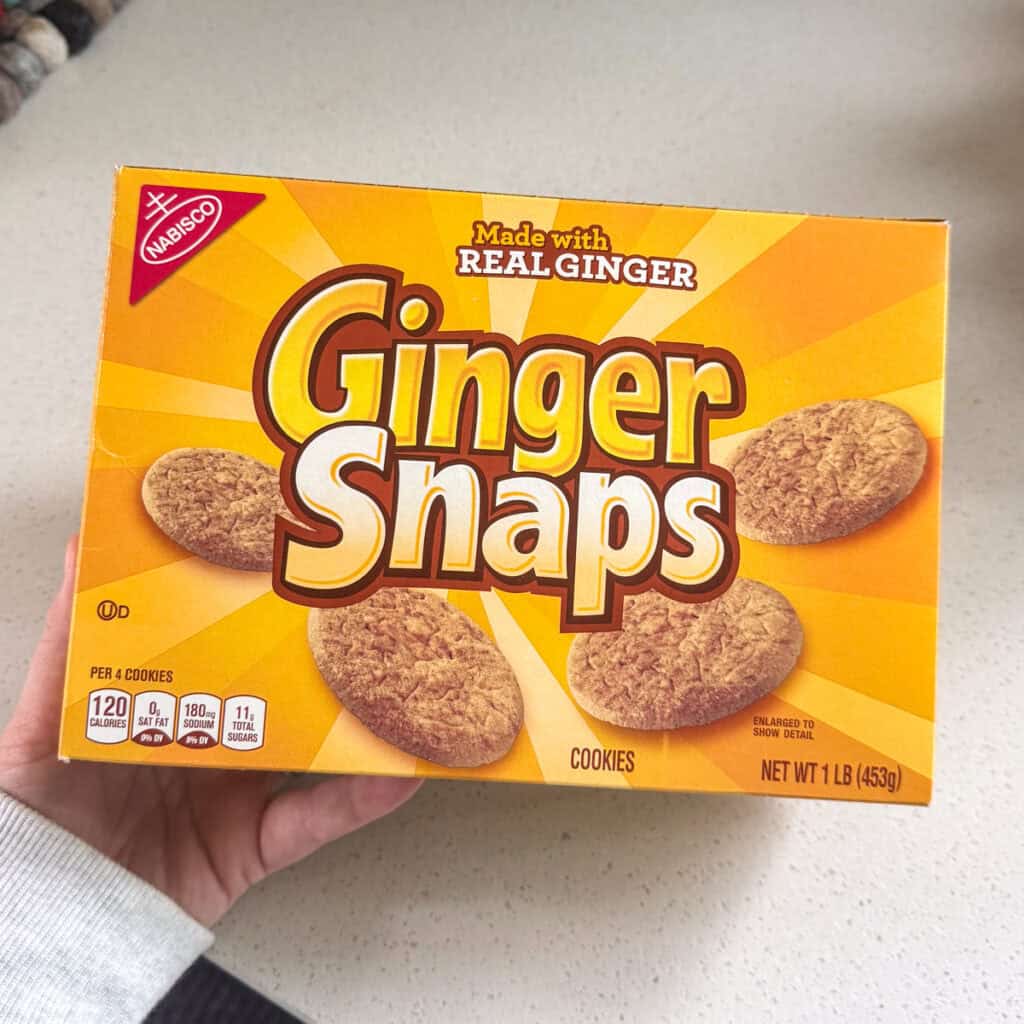
What kind of cookies to use:
Look for this specific box of cookies made by Nabisco. They’ll have “Gingersnaps” written in huge text, so you can’t miss them! Available at most grocery stores.
Equipment you’ll need to make this Strawberry Gingersnap Icebox Cake:
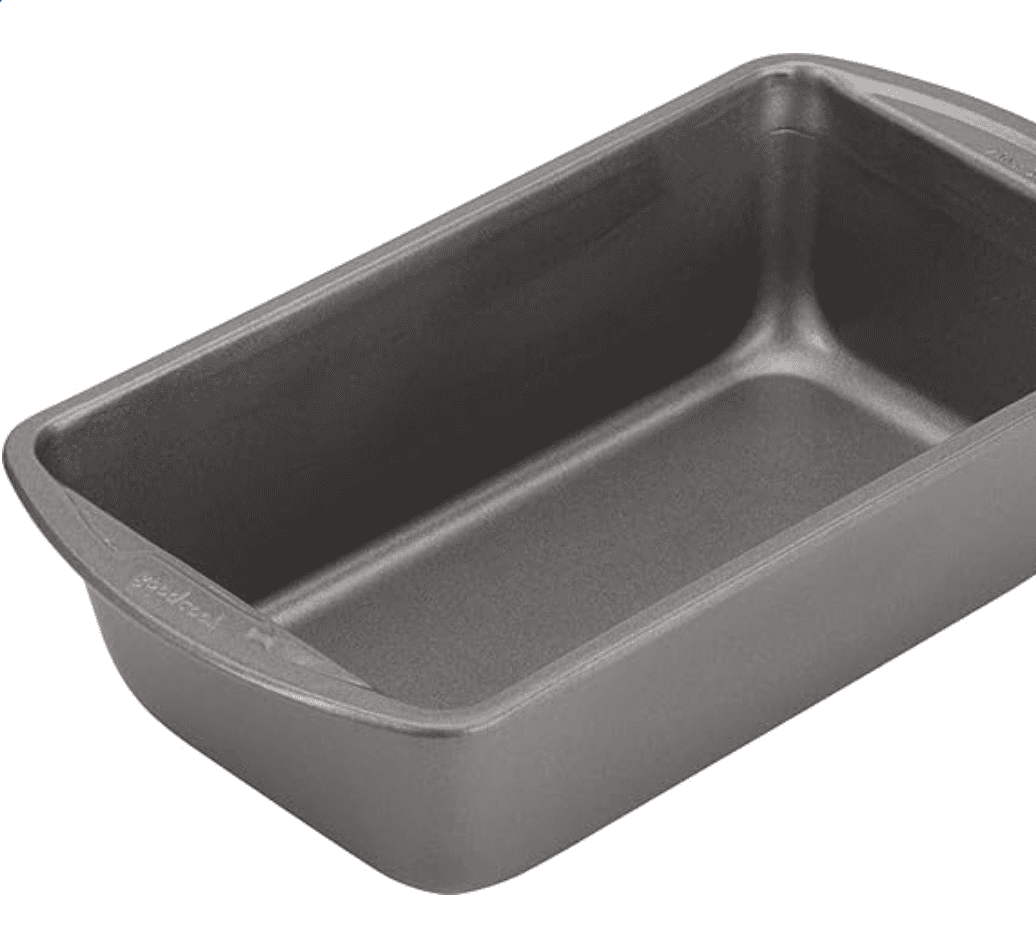
The only thing you really need to make an icebox cake is the loaf pan to assemble and form the cake. However, you can technically just stack an icebox cake if you want, like this icebox cake tower from Smitten Kitchen.
- 9×5 loaf pan – For our perfect little icebox cake, we’re assembling it inside a loaf pan. Every kitchen should have a 9×5 nonstick loaf pan (affiliate link!), essential for baking banana bread, but also for a homemade icebox cake!
- mixer – You can technically whip the cream by hand, but who has time for that? Either a hand mixer or a stand mixer will work. I used a Cuisinart 9-Speed Handheld Mixer (affiliate link!) for mine.
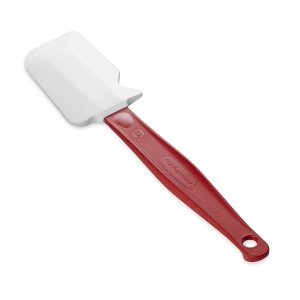
- spatula – Either an offset spatula, or a rubber spatula like this Rubbermaid High Heat Spatula Scraper (affiliate link!) will work for spreading the layers of whipped cream into the loaf pan.

What is an icebox cake?
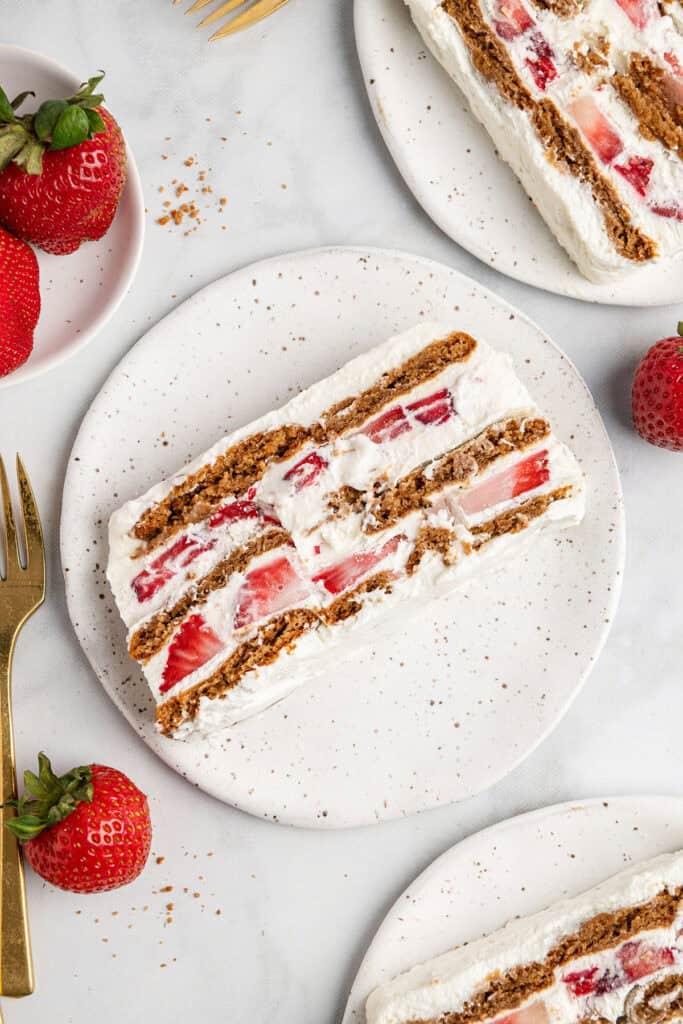
An icebox cake is a no-bake, layered, chilled dessert, made with whipped cream and crispy wafer style cookies. Icebox cakes come in a variety of flavors; the only requirement is an extended chill time in the fridge to soften the cookies into silky cake-like layers.
An ‘icebox’ is an insulated cold cabinet, commonly used before electric refrigerators were invented. For more on iceboxes, I love this article: The Icebox, the Predecessor of Modern Refrigeration from the NPS.

Related: Looking for more recipes to get through the summer heat? Browse my list of Favorite Summer Recipes for your next meal plan!
How to make this Strawberry Gingersnap Icebox Cake:
Despite looking fancy, there’s not too much work involved with making an icebox cake (at least, compared to a normal cake). Make your ginger syrup, or just use powdered sugar. Either way is delicious, but using ginger syrup will infuse even more flavor into the icebox cake.
Thanks to the store-bought gingersnap cookies, you’ll just need to slice the strawberries, whip the cream, then assemble the cake in a loaf pan. Have your ginger syrup pre-made, or just use powdered sugar.
Here’s a breakdown of each cooking step, plus some extra tips you might find helpful:
1
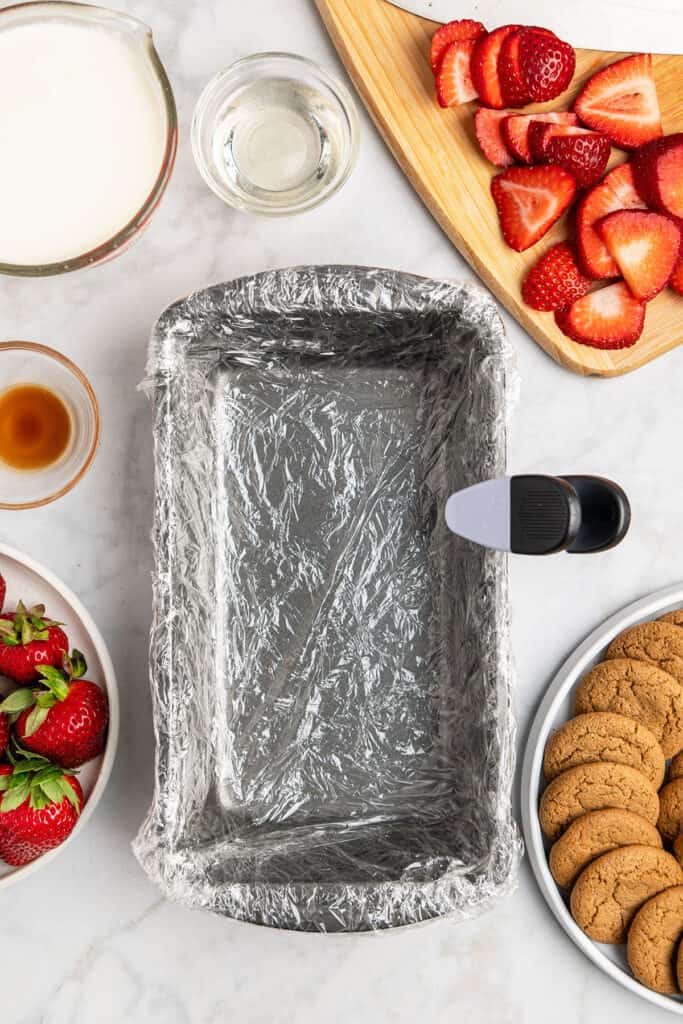
Prepare the pan:
Line a 9×5 inch loaf pan with a double layer of plastic wrap. Use a chip clip to secure it to the sides if that helps you.
2
Whip the cream:
In a stand or stand mixer and large bowl, whip the heavy cream, ginger syrup (or sugar), and vanilla on medium-high speed, until soft peaks are formed when you lift the mixer.
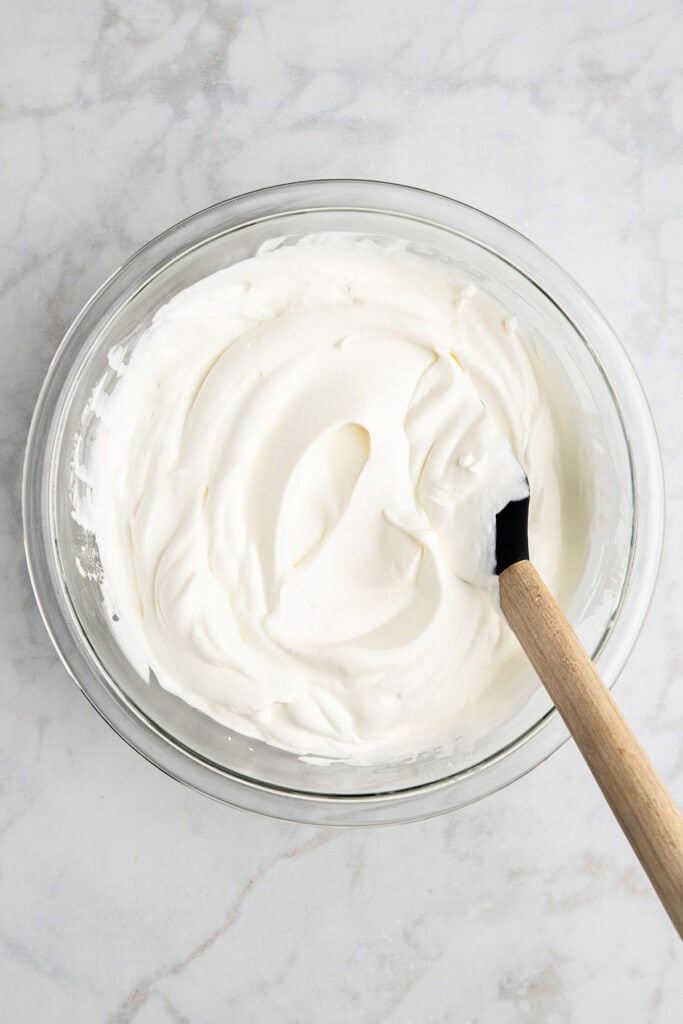
Whipping cream to soft peaks 🥣
Be careful: don’t over-whip the cream, as it can become grainy. We want a smooth, soft texture for the whipped cream.
For soft peaks, the cream should pull up when you lift the mixer, but the peak should fall over gently. Here’s more helpful info and tips on Homemade Whipped Cream from Sally’s Baking.
3
Assemble:
Using a spatula, spread a thin layer of cream onto the plastic wrap in the bottom of the pan, being sure to get it into all the corners too. This will end up being the top of your icebox cake!
Next, continue the layers by adding:
- A layer of gingersnap cookies
- then, a layer of cream
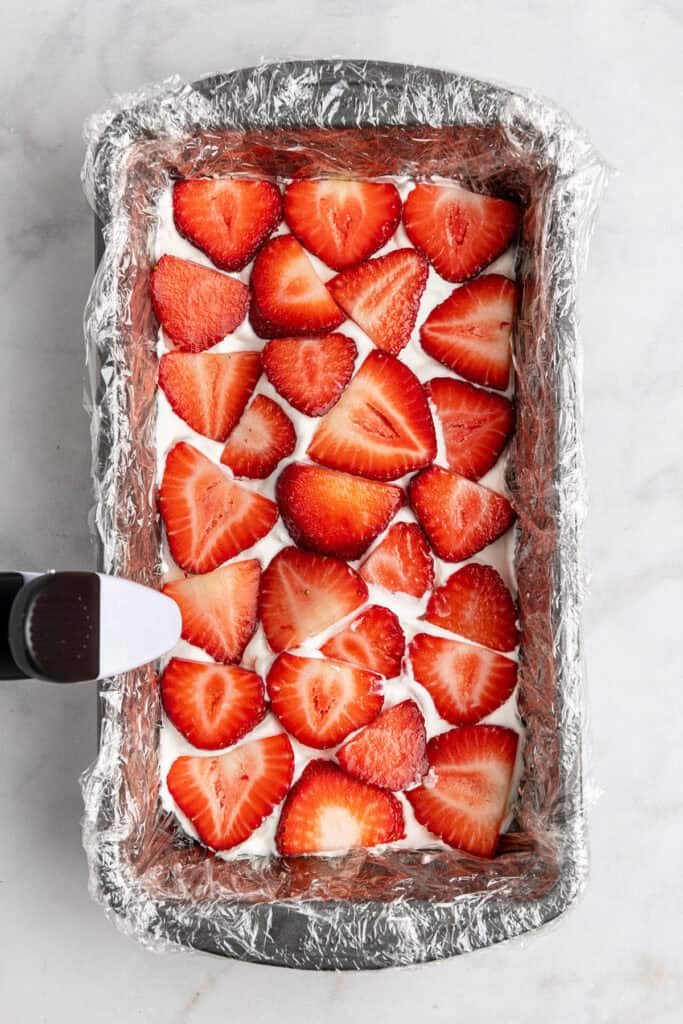
- then, a layer of sliced strawberries
- then, back to cream again!
- Repeat with cream between each layer of cookies and strawberries, until near the top of the loaf pan.
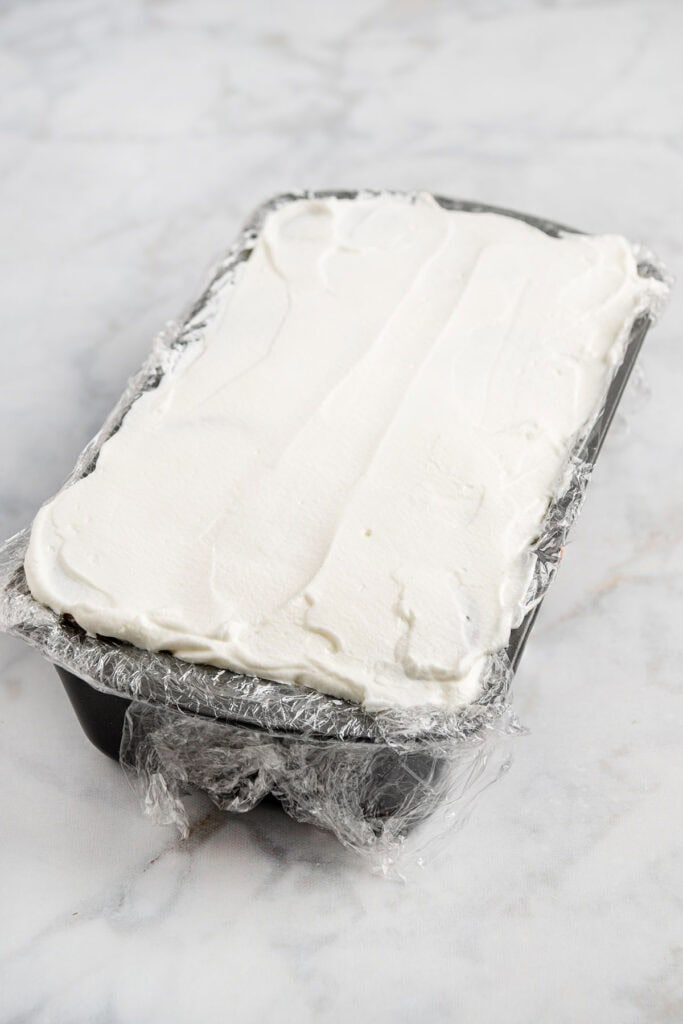
The final two layers should be cookies, followed by cream, leveled off on the top.
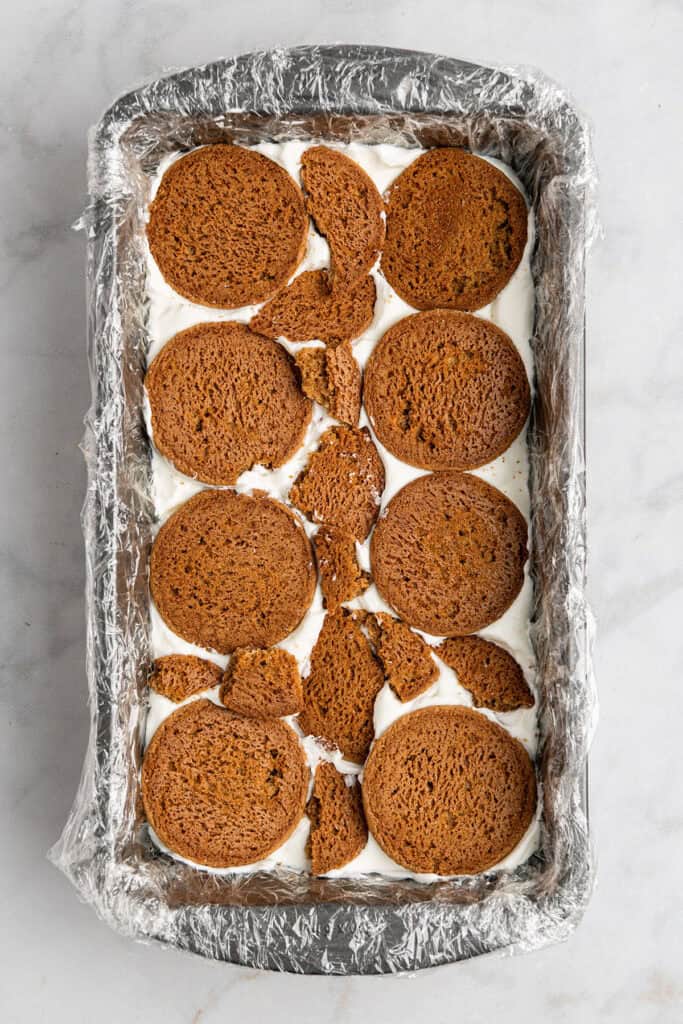
Cookie layer tip:
Break a few extra cookies to fill in the gaps in the cookie layers. I prefer more cookies in the cookie layer, but that’s just me!
You won’t be able to tell they’re broken when you slice the cake later; they’ll just make more defined, cake-like cookie layer!
4
Chill the cake:
Fold the plastic wrap over or use an additional piece to cover the top of the cake.
Chill the cake in the fridge for at least 8 hours, or up to 24 hours, before serving.
5
Slice & serve:
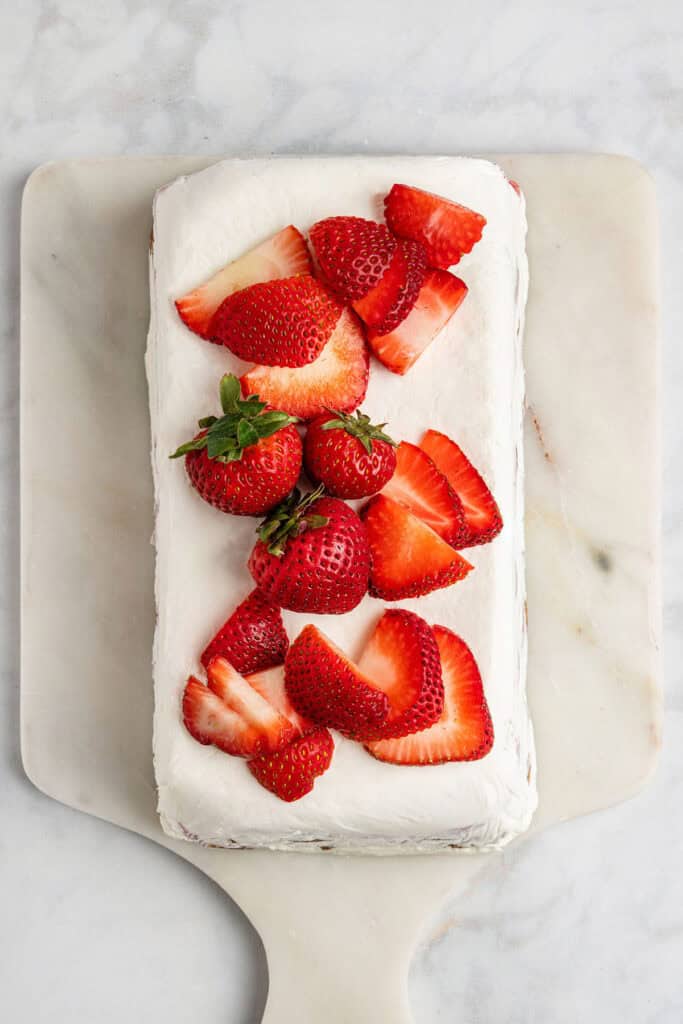
Take the top cover wrap off, then place your serving platter upside down on the loaf and carefully flip the whole thing over. Careful! It should slide out easily.
Peel off the plastic wrap, then decorate with any extra sliced or whole strawberries and whipped cream, if you wish.
Slicing tip:
Use a serrated or sharp chef’s knife, and wipe your knife between slices for cleanest cuts.
Best tips for making this icebox cake:
Here are my best tips for making this refrigerator (icebox) cake successfully in your own kitchen:
- Don’t overmix the whipped cream, or it may become grainy and lose that smooth texture we’re going for. My best advice is to pay close attention and not walk away when whipped (if using a stand mixer).
- Break some cookies to fit all the space in the cookie layer. The more cookies, the better the gingery cake-like layer!
- Remove as much moisture as possible from the strawberries. After washing your strawberries, be sure to either let them air dry completely, or use a paper towel to pat them dry as you slice.
Can I help?
For more detailed tips on making the ginger simple syrup, please browse the full blog post for my Make-Ahead Ginger Lime Syrup, but omit the lime for this recipe!
What to serve with Strawberry Ginger Icebox Cake:
This recipe makes a delightful dessert all by itself, but I would also recommend serving it with a cup of hot black coffee ☕️
If you like this…
If you like this recipe, you’ll love my Easy Strawberry Sauce! Another make-ahead sweet recipe to take advantage of during strawberry season. Pair with ice cream!
Ways to customize this recipe:
Here are some ideas on ways to customize this cake recipe to your own tastes:
- change the syrup or sweetener – Powdered sugar is the best choice for plain sugar to sweeten, but any flavor of simple syrup will work too. Or maybe chocolate syrup? Fun!
- swap the cookies – Any crispy wafer style cookie will work; it doesn’t have to be Gingersnaps. You can use vanilla or chocolate cookies, and then expand the flavor profile from there.
- go wild with flavors – This strawberry gingersnap version is just one option. To get an idea of how many options there really are, you should browse this Icebox Cake Showdown from The Kitchn. S’mores, chocolate, Oreos, oh my!
More Make-Ahead Desserts

How to meal prep this recipe:
This icebox cake recipe requires an 8-hour chilling period, meaning it must be made-ahead for the intended results. The moisture from the cream softens the gingersnap cookies into a smooth, caramelly tasting ginger flavored layer.

Is this recipe freezer-friendly?
While technically, icebox cakes are freezer-friendly, I would avoid it with this version, unless totally necessary. The strawberries may give off some moisture when they thaw. But if you do freeze it, let me know how it goes!
How to store leftover Strawberry Ginger Icebox Cake:
Store leftovers covered in the fridge and enjoy within 48 hours. The cake will continue to soften as it chills, and the best presentation will be on the first serving. But it will still be good to eat after that!
Want to Save this recipe for later?
Did you make this? I want to see how it turned out! Tag me in your social media post @projectmealplan and use #projectmealplan when you share!
Print
Strawberry Gingersnap Icebox Cake
This dreamy, no-bake Strawberry Gingersnap Icebox Cake is made with layers of sweet whipped cream, fresh sliced strawberries, and Gingersnap cookies.
- Total Time8 hours 25 minutes
- Yield8 servings 1x
Ingredients
- 2 cups heavy whipping cream
- 2 tablespoons ginger simple syrup, *see note (or powdered sugar)
- 1/2 teaspoon pure vanilla extract
- 24–30 Gingersnap cookies
- 1/2 pound sliced strawberries
Instructions
- Prep the pan: Line a 9×5 inch loaf pan with a double layer of plastic wrap. Use a chip clip to secure it to the sides if that helps.
- Whip the cream: In a stand mixer with whisk attachment or hand mixer and large bowl, whip the heavy cream (2 cups), ginger syrup (or powdered sugar) (2 tablespoons), and vanilla (1/2 teaspoon), until soft peaks are formed when you lift the mixer.
- Assemble: Using a rubber spatula or offset spatula, spread a thin layer of cream onto the plastic wrap on the bottom of the pan, being sure to get it into all corners as well (this will be the top of the cake). Next, add a layer of gingersnaps (~8-10 per layer), then cream, then sliced strawberries, then cream again. Break a few cookies to fill in the gaps in the cookie layers.
- Repeat with cream between each layer, until you’re near the top of the loaf pan.
- The final two layers should be cookies, followed by cream, leveled off on the top.
- There should be 3-4 layers of cookies total.
- Chill: Fold the plastic wrap over, or use an additional piece to cover the top of the cake. Chill in the fridge for at least 8 hours, or up to 24 hours.
- Serve: Take the top cover wrap off, then place your serving platter upside down on the loaf and carefully flip the whole thing over. Peel off the plastic wrap, then decorate with any extra sliced or whole strawberries and whipped cream, if you wish. Wipe the knife between slices for cleanest cuts. Store leftovers covered in the fridge and enjoy within 48 hours; however, it is best enjoyed the first time it is served.
Notes
Ginger simple syrup: For the best ginger flavor, make and chill a batch of this Ginger Lime Syrup, but omit the lime juice, then use it in this recipe. You can make a half batch, if preferred. You can also purchase ginger syrup online. Alternatively, you can use the same amount of powdered sugar.
Nutrition information estimated with My Fitness Pal.
- Prep Time: 25 minutes
- Chill Time: 8 hours
- Category: Dessert
- Method: Chilled
Nutrition
- Serving Size: 1 slice (~1 inch wide)
- Calories: 328
- Fat: 24g
- Carbohydrates: 26g
- Fiber: 1g
- Protein: 3g
Did You Make This?
I love seeing what you made! Leave a review below, and be sure to tag me at @ProjectMealPlan when you share a photo!

Frequently Asked Questions
Can you use dairy-free whipping cream?
I have not tested this recipe with anything other than heavy whipping cream. However, I’m sure it’s possible! There are nearly unlimited ways to customize an icebox cake. Check out this GF/DF S’mores Icebox Cake from Iowa Girl Eats.
Do I have to use ginger syrup? What are the options?
No, it is not a requirement to use ginger simple syrup. You can use the same amount of powdered sugar instead, or plain simple syrup if you have it.
I do recommend using the ginger syrup for the best flavor, as it compliments the Gingersnaps really well.
Recipe developed by Rachel Phipps. Photography by Christine Ma.