This post may contain affiliate links. Please read our disclosure policy.
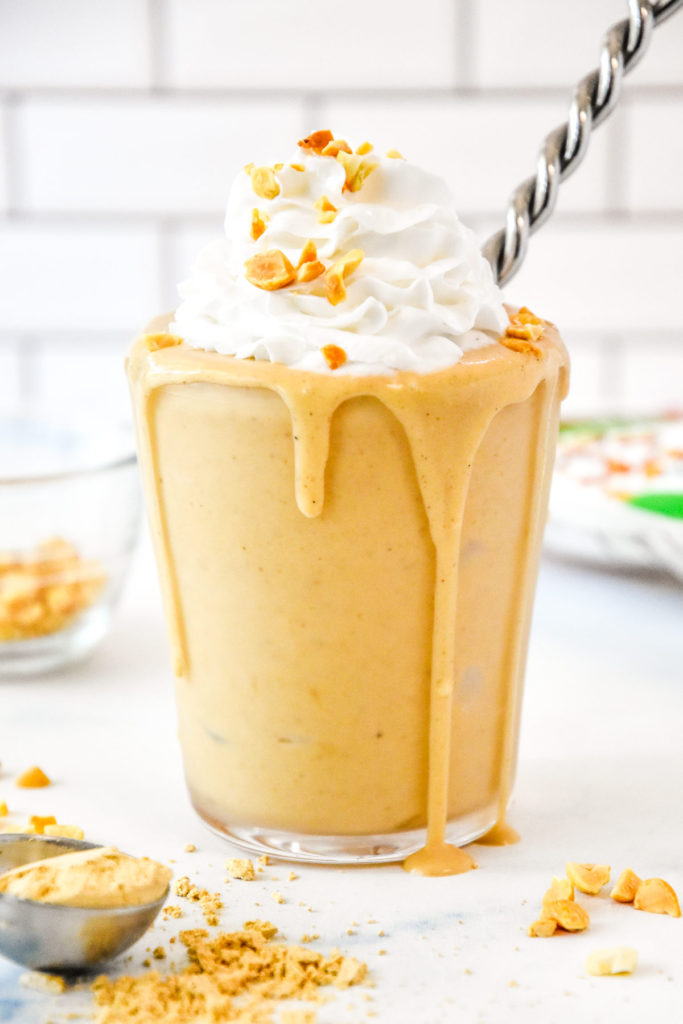
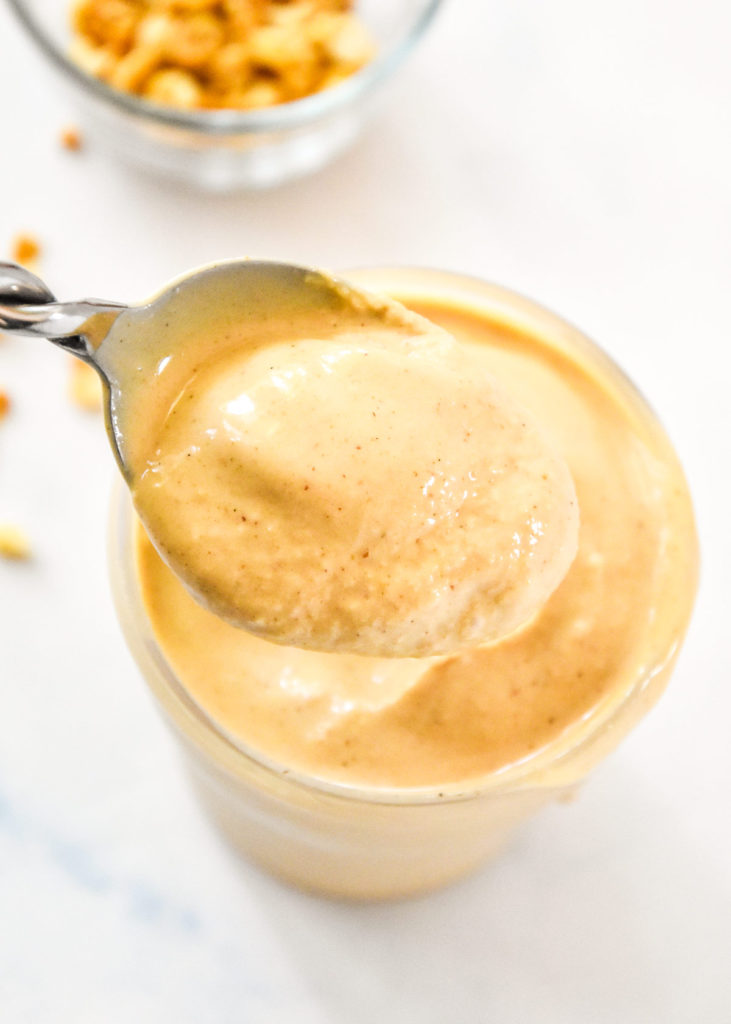
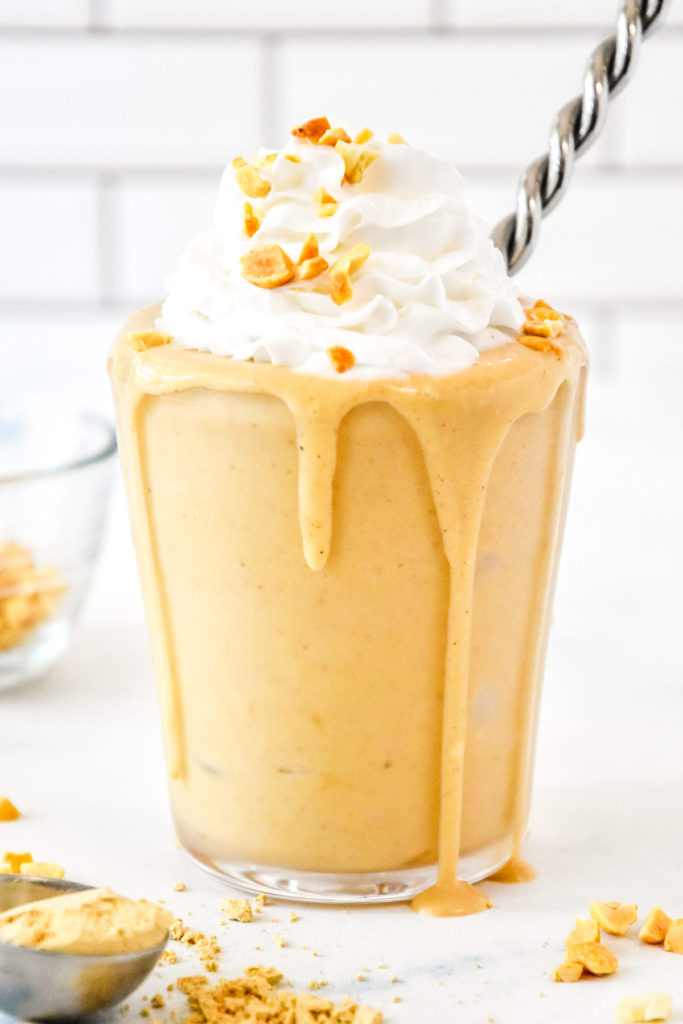
This Peanut Butter Powder Milkshake is a next-level homemade treat with just 3-ingredients, including peanut butter powder instead of regular peanut butter! All the PB flavor you love with the creamiest texture, & easily made dairy-free!
Recipe Overview
Total Time: 5 minutes
Difficulty: Easy
Method: Blended
Prep: 5 Ingredients or Less
What are the ingredients in this Peanut Butter Powder Milkshake?
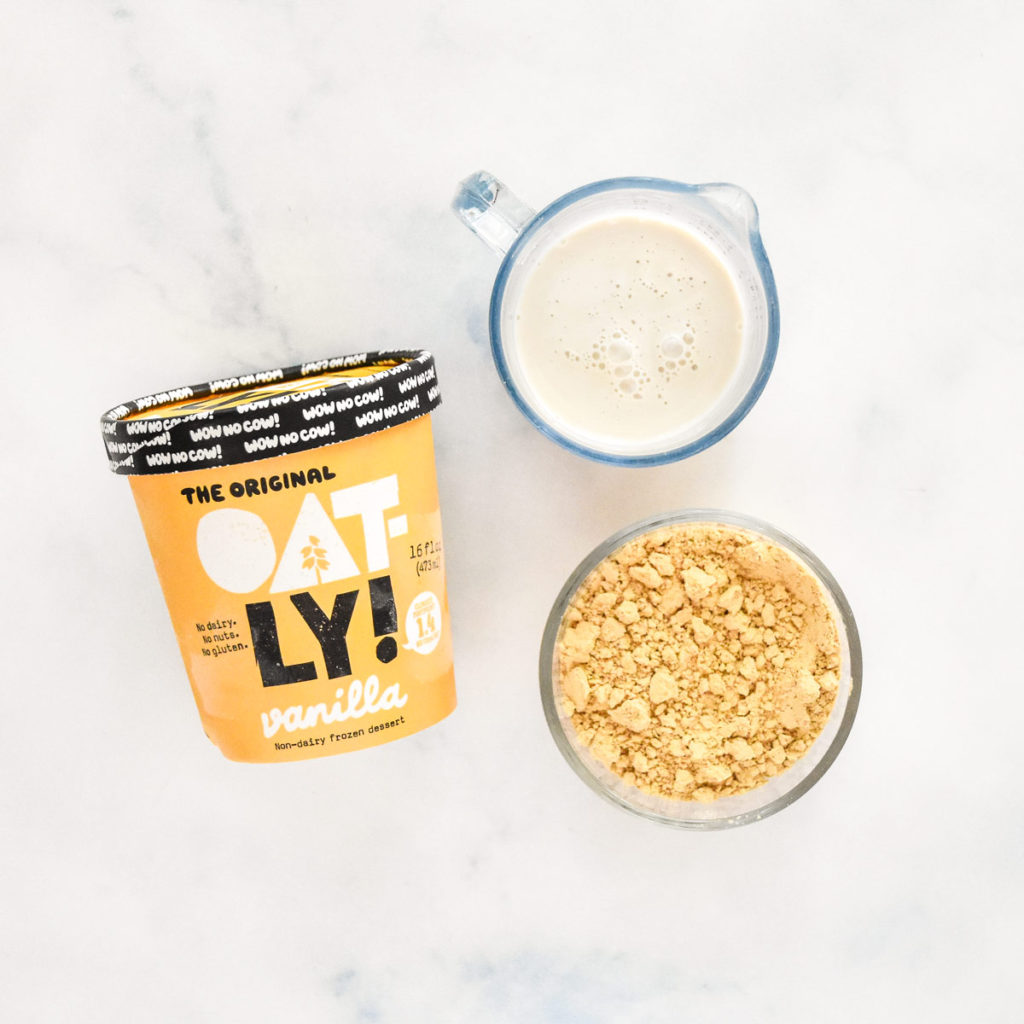
This milkshake is a 3-ingredient masterpiece, and the absolute best way to level up your homemade milkshake & ice cream game. Here are ingredients I used in this recipe, plus a little info on each:
- milk of choice – Homemade milkshakes are actually quite flexible and easy to make. If you always keep dairy milk on hand, use that. Pretty much any milk alternative you like will work. My favorite thing to use is plain Nutpods because it’s creamy and dairy-free, which means it’s not messing up the flavors at all but still making the milkshake nice and smooth.
- vanilla ice cream – Your favorite vanilla ice cream will totally work here. I specifically tested with dairy-free oat milk ice cream to see if it would work, and it was incredible. So I’m betting it would be even more incredible with regular ice cream!
- peanut butter powder – This is the important ingredient. Since this PB powder is just PB with the oil pressed out, we’re basically adding a ton of PB flavor without all the extra moisture that would normally come with it. This is great for our milkshake, as we want it to be cold and creamy, not oily and room temp.
- toppings: whipped cream, chopped peanuts, drizzled peanut butter – Trader Joe’s has the best dairy-free whipped cream if you’re that sort of thing!
Why use peanut butter powder instead of regular peanut butter?
Don’t get me wrong! I love peanut butter. But there are plenty of reasons to use PB powder over peanut butter in this situation. PB powder is just peanuts pressed to remove the oil.
- less oil – Usually peanut butter has a lot of oil in it. Since the oil is removed, we can add lots of peanut butter flavor without adding so much oil to the ice cream shake. This also means we can stack on the PB flavor while keeping the same ice cream consistency.
- less calories – Using peanut butter powder works out to about 300 less calories per serving than using regular peanut butter. We simply don’t need the oil in this recipe, so in my opinion, it’s cool there’s a product like this.
Equipment you’ll need to make this milkshake:
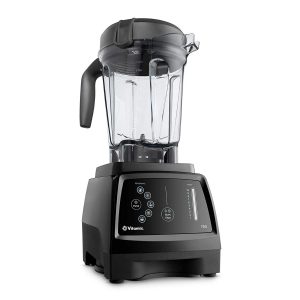
You’ll need some kind of blender to make your homemade milkshakes. I used a Vitamix to make mine. A smaller blender will work too. Be sure to push down the sides as needed while blending so everything mixes well.
How to make this Peanut Butter Powder Milkshake:
Homemade milkshakes could not be any easier! The hardest part is pulling out your blender and putting it back away when you’re done. I promise it’s worth it for this incredible treat!
Get everything else set up before you remove your ice cream from the fridge. You want it to be as solid/hard/frozen as possible, which will give you a thicker shake later on.
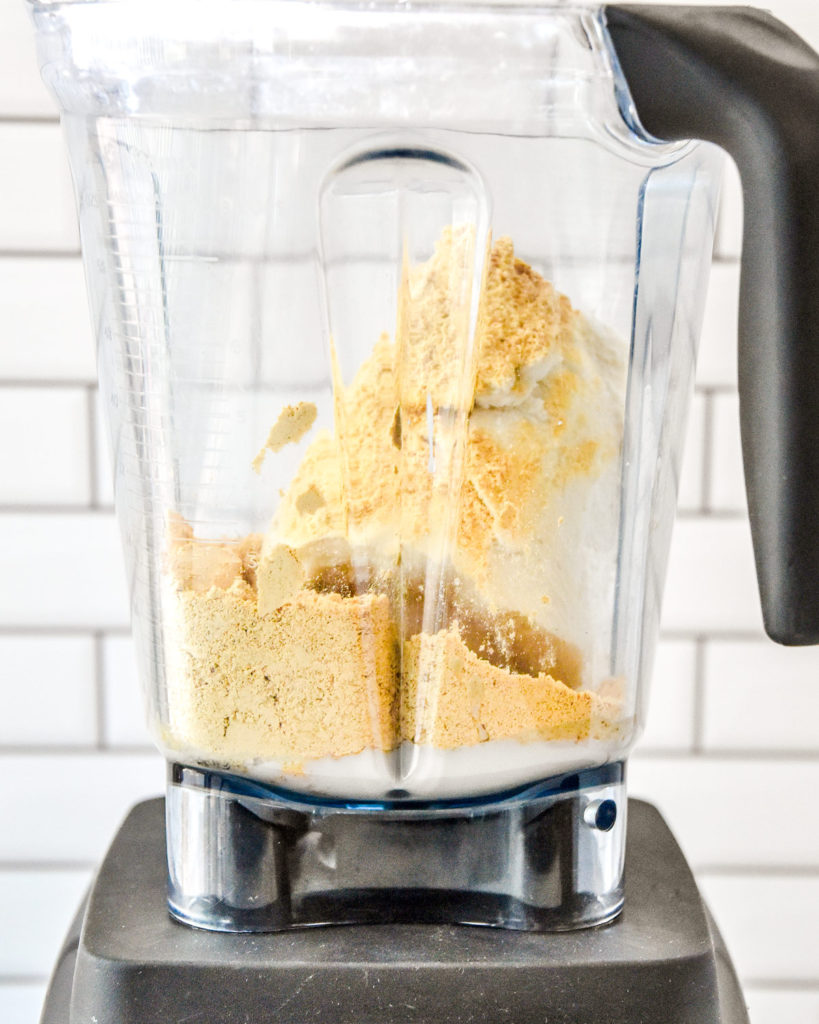
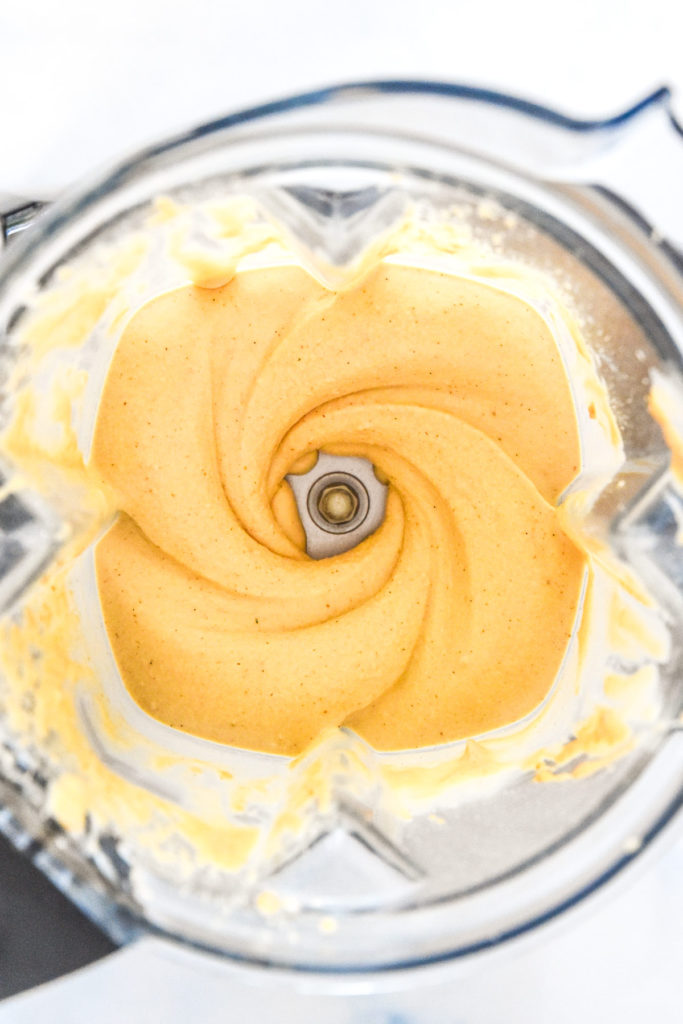
Once you’re ready with the blender and ingredients, start by adding the milk to the blender first. Having some liquid at the bottom first is the best way to help everything blend together overall.
Next, add the ice cream and then the peanut butter powder. Put the lid on and blend until smooth. If you’re using a Vitamix, you may have to pull out your blender tamper to help it blend. Be sure to push down the sides and get everything blended as well as you can.
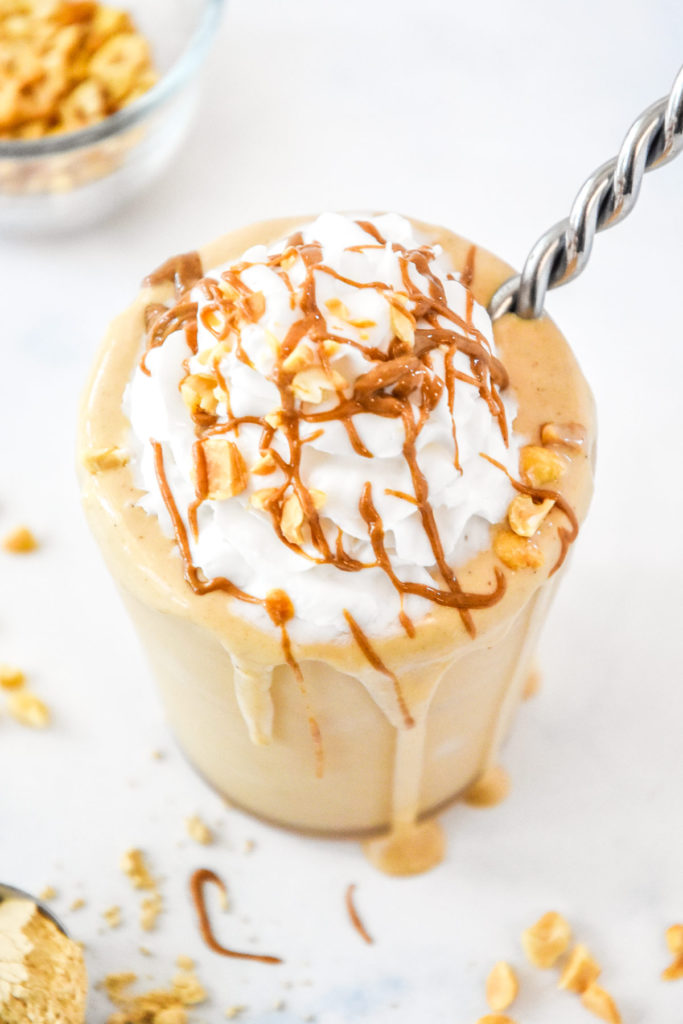
Once smooth, serve the milkshake in two small cups, topped with whipped cream and crushed peanuts if you’d like. If you keep regular peanut butter on hand, a warm drizzle of that is delicious on top too!
Best tips for making homemade milkshakes:
Here are my best tips for making milkshakes at home:
- Make sure your ice cream is super cold, from the depths of your freezer! This helps make a thicker shake overall.
- Don’t let any peanut butter powder get stuck on the sides of the blender – use a spatula to push those goods down so they blend in!
- I recommend using your blender tamper! If you don’t have a blender tamper, use a spoon to break up the ice cream into smaller pieces. You can also add a tiny bit more milk if needed to help blend.
Ways to customize this Peanut Butter Powder Milkshake:
There are so many ways to customize ice cream and milkshakes, I couldn’t possibly name them all. But here are my top 3 ideas that don’t include topping variations!
- add some strawberries and jam after blending and on top to make it a PB&J milkshake!
- add some chocolate chips or edible cookie dough for some added chocolate flavors
- add half a banana for additional volume, texture, and taste (you will taste banana but that’s a delicious combo too!)
How to store leftover Peanut Butter Powder Milkshake:
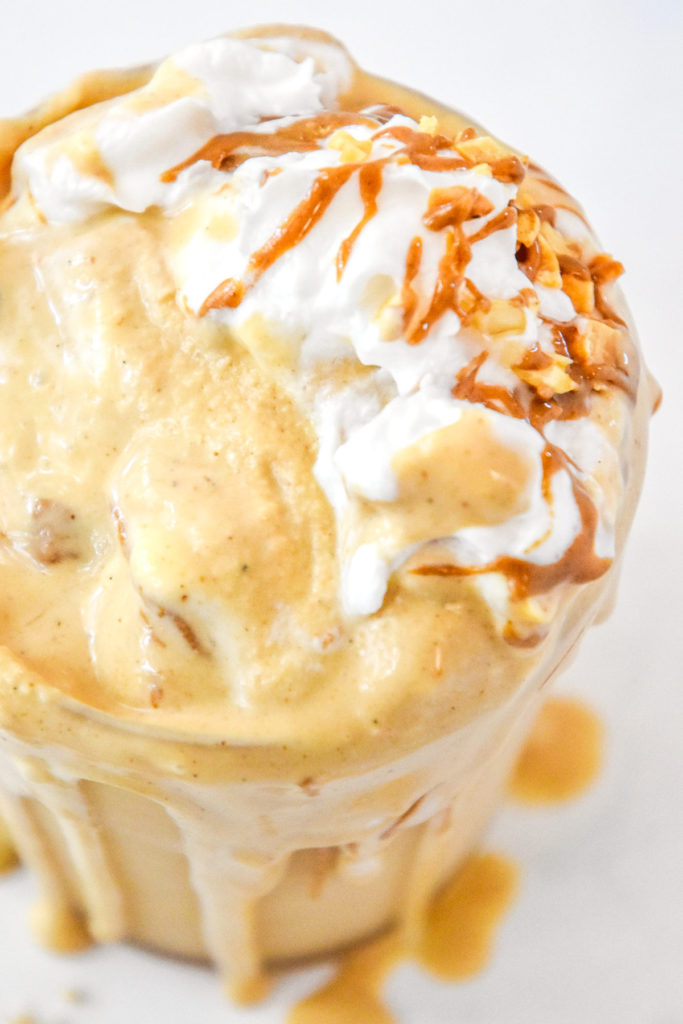
Leftovers can be frozen and re-blended later, but the consistency may change a bit. Add some additional PB powder and milk if needed.
Did you make this? I want to see how it turned out! Tag me in your social media post @projectmealplan and use #projectmealplan when you share!
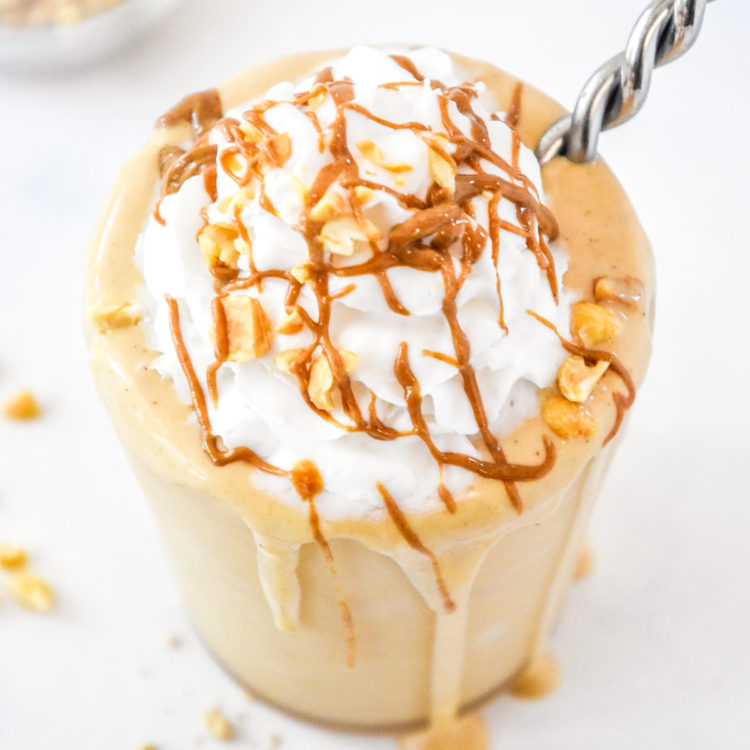
Peanut Butter Powder Milkshake
This Peanut Butter Powder Milkshake is a next-level homemade treat with just 3-ingredients, including peanut butter powder instead of regular peanut butter! All the PB flavor you love with the creamiest texture, & easily made dairy-free!
Ingredients
- 1/2 cup milk of choice (I like plain Nutpods!)
- 1 pint (16-ounces) vanilla ice cream
- 1/2 cup peanut butter powder (such as PB2)
- toppings: whipped cream, chopped peanuts, drizzled peanut butter
Instructions
- Blend: Add the milk (1/2 cup) to the blender or Vitamix first, followed by the ice cream (16-ounces) and then the peanut butter powder (1/2 cup). Put the lid on and blend until smooth, pushing down the sides and using the blender tamper as needed.
- Serve: Once smooth, serve the milkshake in two small cups, topped with whipped cream and crushed peanuts if you’d like. Leftovers can be frozen and re-blended later, but the consistency may change a bit.
Notes
Any kind of ice cream will work here – I used oat milk ice cream because that’s my preference. I also prefer plain Nutpods because they’re smooth and creamy while being dairy free, but any milk you have on hand will work.
Nutrition information estimated with My Fitness Pal using oat milk ice cream and plain Nutpods.
Nutrition Information
- Serving Size: 1/2 of recipe
- Calories: 608
- Fat: 33g
- Carbohydrates: 70g
- Protein: 15g
Frequently Asked Questions
What kind of ice cream do you recommend?
I’m not very picky when it comes to ice cream, except that I prefer non-dairy, and I think oat milk ice cream is delicious. Your favorite brand of vanilla ice cream will work just fine.
Can I double the recipe for four servings?
Yes, you can double this recipe to make four servings, however make sure you’re using a large blender like a Vitamix, or one that will fit two pints of ice cream.
Can I halve the recipe for one serving?
Yes, especially if you’re using a smaller blender, I do think this would work just fine.

Leave a Comment